How to print high temperature PEEK and PEI comes down to three numbers and one habit: a nozzle that holds 400°C or above, a build plate that stays above the glass transition temperature of the polymer, an actively heated chamber that keeps every layer warm, and filament that is bone dry when it enters the extruder. PEEK is semi-crystalline and melts near 343°C, so it needs the most heat and a slow, controlled approach; PEI is amorphous and prints at a slightly lower burden. They are not interchangeable, and treating them as such is the reason most first high-temperature prints fail.
I have watched a lot of people approach this in the wrong order — buying filament first, then worrying about the machine. Work the other way around. Confirm your hardware can hold temperature, get the supplier’s validated profile for your exact grade, dry the filament, and run a small coupon before you commit to a full part.
Table of Contents
- 1What You Need
- 2PEEK and PEI are two different jobs
- 3The hardware checklist
- 4What each chamber temperature tier unlocks
- 5Step-by-Step: How to Print High Temperature PEEK and PEI Safely
- 61. Identify the polymer and machine limits
- 72. Dry and prepare the filament
- 83. Prepare the extruder and heated chamber
- 94. Set a material-specific temperature profile for PEEK and PEI
- 105. Calibrate, test, and complete the print
- 116. Anneal and remove the part safely
- 127. Common mistakes to avoid
- 13Common Mistakes: Troubleshooting PEEK and PEI Prints
- 14When the nozzle is clogged and nothing comes out
- 15Safety and fumes
- 16Frequently Asked Questions
- 17Can a regular FDM printer print PEEK or PEI?
- 18What is the difference between PEEK and PEI for 3D printing?
- 19Why does PEEK or PEI filament need to be dried before printing?
- 20What temperature should a high-temperature chamber be for PEEK and PEI?
- 21How can I reduce fumes and warping when printing PEEK or PEI?
- 22Conclusion
What You Need
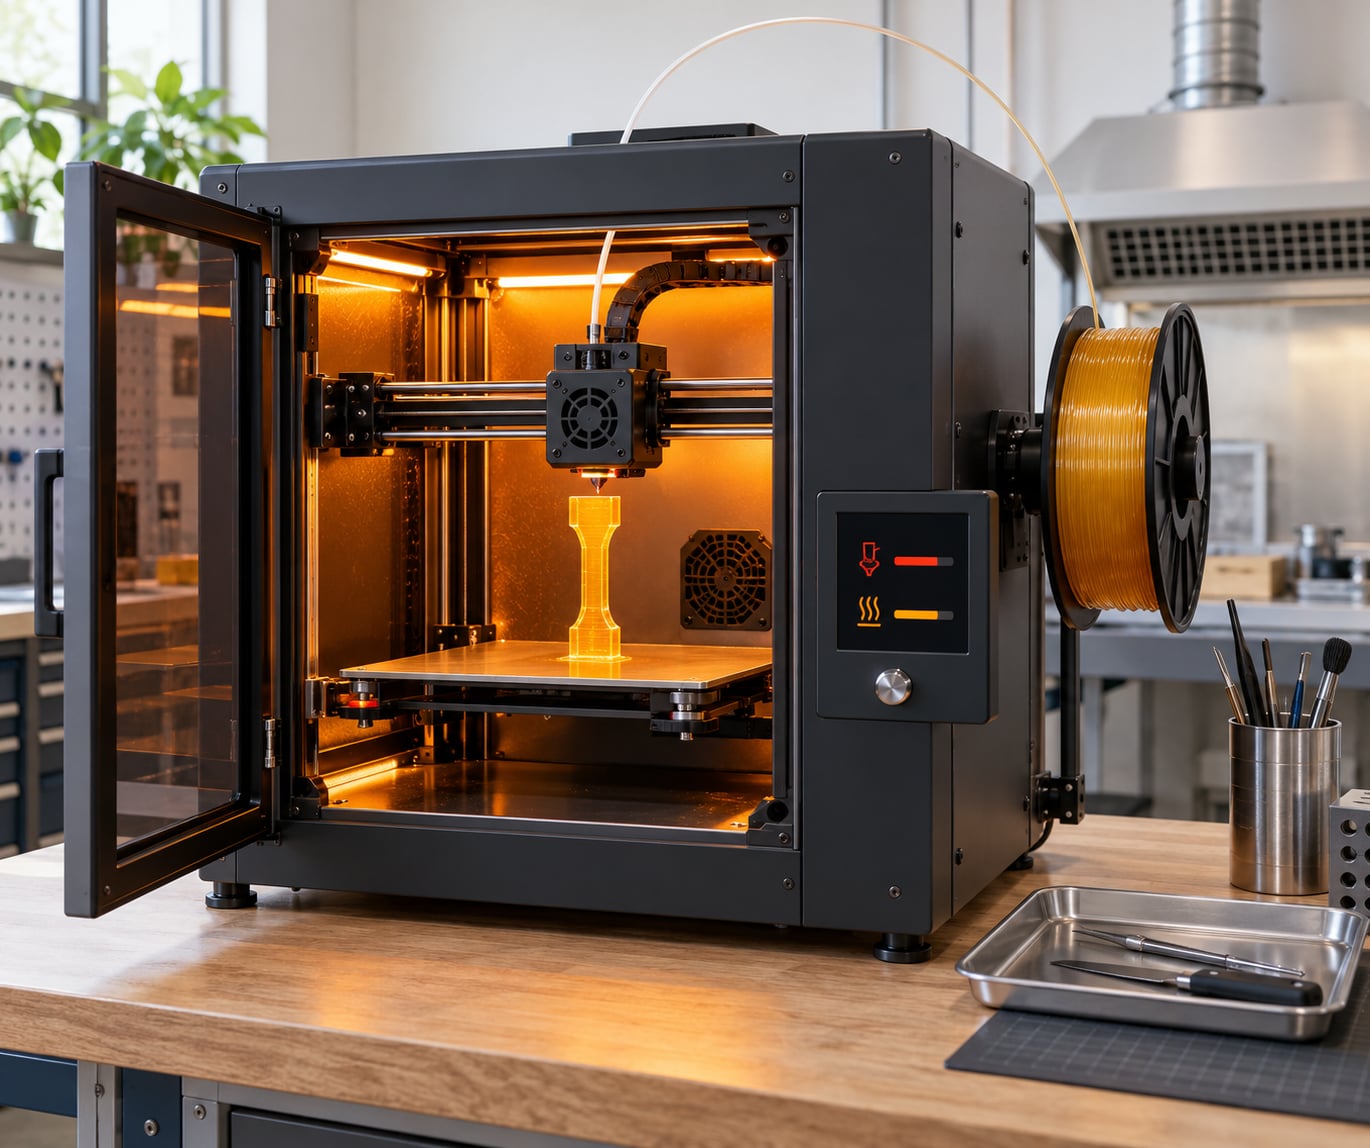
The short answer is that you need an all-metal hotend rated to 500°C, an enclosed frame with an actively heated chamber, a heated bed that reaches at least 120°C, a rigid motion system, and fume extraction. Without those five things, PEEK and PEI printing is not a settings problem you can solve in the slicer.
PEEK and PEI are two different jobs
PEEK (polyetheretherketone) is a semi-crystalline PAEK-family thermoplastic. Its properties depend on how much crystalline structure develops during printing, which means the thermal history of the part matters as much as the extrusion temperature. It holds continuous service temperatures around 260°C and shrugs off steam and harsh chemicals.
PEI (polyetherimide, sold by SABIC as ULTEM) is amorphous. It has no crystallisation phase to drive, so it prints more predictably and reaches high strength without a post-print anneal. The common grades are ULTEM 1010, a lower-flow version, and ULTEM 9085, the higher-flow grade most people start with.
As a rule, start with PEI 9085 and step up to PEEK once your machine holds temperature steadily through a long print. Several people who posted their conversion notes on the Ultimaker community forum made exactly that move, and their advice was consistent: fix the hardware before chasing filament brands.
The hardware checklist
Work down this list and confirm every line before you order filament.
- All-metal hotend rated to 500°C with no PTFE in the melt zone. PTFE softens well below the temperatures PEEK needs, and liner degradation is the top hardware reason consumer conversions fail.
- Actively heated chamber with a real heater and insulation, not a warm box. Around 80°C is the practical ceiling for most converted machines because motors and electronics start complaining above it.
- Heated bed reaching 120°C or more, verified with an independent thermometer rather than the machine’s own display.
- Heater cartridge with enough wattage to reach and hold nozzle temperature. The 25W cartridge common on consumer machines plateaus around 400°C and triggers firmware timeouts; a 40W 24V cartridge fixed that for one converter.
- Thermocouple or sensor rated for the range. PT100 sensors were reported failing repeatedly at 350–400°C in that same conversion, which meant swapping to a K-type thermocouple with a suitable amplifier.
- Insulated heat block. Ceramic tape wrapped over the block and secured with polyimide tape cut heat-up time noticeably at 400°C and above.
- Filament drying system with a way to dry in the spool or a dry box you can feed from.
- Fume extraction running before the heater comes on.
What each chamber temperature tier unlocks
This is the fastest way to understand what a machine can actually do.
| Chamber temperature | What it unlocks | Typical materials |
|---|---|---|
| No active chamber heating | Consistent geometry at small part sizes only; layer bonding is weak on anything tall | Standard thermoplastics |
| Around 80°C | Reliable small PEI and PEKK parts; PEEK at reduced size and slower speeds | PEI 9085, PEKK, PPSU |
| Around 100°C | Larger PEI parts, better crystallisation on PEEK, fewer warping failures | PEI 1010, PEEK |
| Around 150°C | PEEK approaching in-situ crystallisation; the glass transition region of the polymer sits here | PEEK |
| Around 200°C | Full crystallisation during the print and the largest reliable PEEK parts | PEEK, filled PEEK grades |
One more caution before you buy. Vendor datasheets describe resin, and filament specs describe extruded strand. Printed parts are a third thing entirely. Follow the datasheet your filament supplier publishes for FFF, and where possible follow a profile validated on your machine class.
Step-by-Step: How to Print High Temperature PEEK and PEI Safely
The workflow below runs in the order that saves you time. Skipping the early steps is why people end up with clogged nozzles and lifted first layers after hours of printing.
1. Identify the polymer and machine limits
Read the spool, not the listing. VICTREX AM 450 FIL is PEEK. ULTEM AM1010F is PEI. Some Ultem-class filaments are copolyimides with different flow and thermal behaviour, and one Reddit thread about high-temperature food-contact parts turned on exactly that confusion.
Then check your machine’s validated range against the supplier’s requirements. For VICTREX AM 450 FIL the published conditions call for a melt window of 340–450°C, a build space of at least 150°C, and a bed above 150°C. For ULTEM AM1010F the figures are a 370–390°C nozzle, a 150°C plate and roughly a 90°C chamber, with drying at 120°C for 8 hours. If your machine cannot hold those numbers, the honest answer is that it is not ready, and a service bureau or a machine with in-situ crystallisation is the shorter path.
On the question of printing PEEK at 350°C: the melt point is about 343°C, so 350°C is barely above it. You will get poor flow, stringing, and weak layer bonding. One converter described PEEK as gummy at 400°C with flow improving as the temperature rose toward 430°C, and successful prints on that machine ran at 385–400°C nozzle with a 110–150°C bed.
2. Dry and prepare the filament
Moisture is the quiet cause of most PEEK problems. Wet filament pops and spits in the nozzle, the vapour bubbles out mid-layer, stringing gets worse, and the part looks scorched even when it was not. Published guidance for AM 450 FIL puts the ceiling at 0.020% moisture.
Dry in a dedicated high-temperature dryer using the supplier’s cycle: 120°C for 5 hours is the published figure for that grade, and 120°C for 8 hours for ULTEM AM1010F. A food dehydrator modified for temperature control works for a lot of hobbyists, but check that it holds temperature accurately at the top of the cycle rather than cycling wildly.
PEI is more forgiving than PEEK, which is another reason to start there, but dry it anyway. Handle dried filament with dry gloves and transfer it straight into a sealed dry box with desiccant. Print from the dry box or a sealed spool box; every minute of open-air time in a humid room works against you. Condition filament that has been stored open before its first print — moisture uptake from storage is separate from moisture absorbed during a print.
3. Prepare the extruder and heated chamber
Start with a clean, unblocked nozzle. Cold-pull maintenance on a regular machine habitually leaves a plug of plastic in the melt zone, and at 400°C that plug deforms and presses upward into the heater block, killing the print hours in. If the nozzle has PEEK frozen in it, the recovery procedure is in the troubleshooting section below.
Confirm the filament path contains no PTFE above the heat break, that the heat break is seated and the fan path is unobstructed, and that the chamber heater is holding setpoint before you load material.
Load the filament and purge at roughly 380–400°C for PEEK, or 370–385°C for PEI, directly into the build plate or a scrap block rather than into the air. Purge volume is substantial for these materials and the melt strength of PEEK makes the purge stringy and long. A purge tower is safer than letting it drip.
Select the build surface with care, because this is a real trade-off and there is no best option in the abstract.
| Build surface | Where it works | Where it fails |
|---|---|---|
| PEI sheet (ULTEM or powder-coated) | Very strong adhesion, survives high bed temperatures, reusable with proper release | Adhesion can exceed the part’s own strength and tear corners off during removal, as one converter found after switching from polyimide tape |
| Polyimide (Kapton) tape | Consistent first-layer grip at high temperature, forgiving, easy to replace when it degrades | Wrinkles and bubbles appear over time; multiple layers of tape lose grip; replaces frequently |
| PEI tape | Middle ground: better release than a rigid PEI sheet, less maintenance than taped Kapton | Rides up at the edges on long prints if not seated carefully |
| Adhesive powder or glue | Works on bare aluminium, releases cleanly, no plastic surface to deform | Loses strength at extended high bed temperatures; needs reapplication often |
Mask the bed surface away from the part footprint. That single step prevents molten polymer from fusing to the surface and makes removal far less violent.
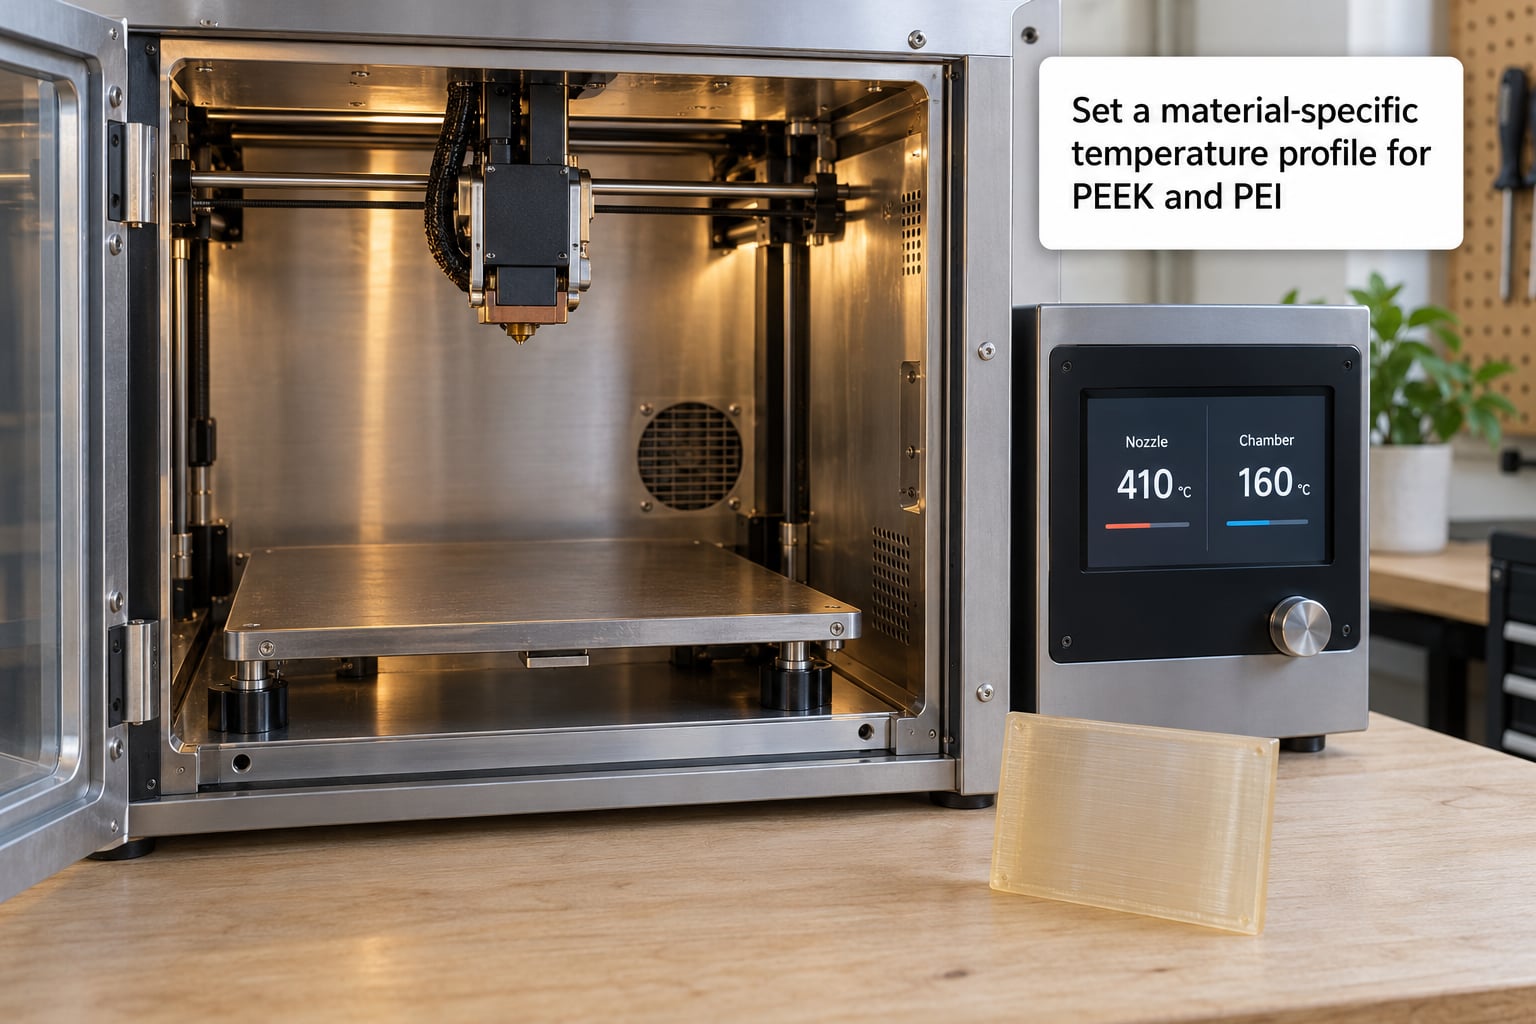
4. Set a material-specific temperature profile for PEEK and PEI
Set from the supplier’s validated profile for your grade, then adjust one variable at a time. Treat the table below as a starting range, not a guarantee — every chamber, every filament batch, and every part geometry behaves a little differently.
| Setting | PEEK starting range | PEI starting range |
|---|---|---|
| Nozzle temperature | 380–430°C | 370–390°C |
| Bed temperature | 120–160°C, above the glass transition of about 143°C | 110–150°C |
| Chamber temperature | 80–150°C, higher for larger or stronger parts | 80–100°C |
| Initial layer height | 0.3–0.4mm | 0.2–0.3mm |
| First layer speed | 20–30mm/s | 20–30mm/s |
| Maximum print speed | 40–60mm/s; some machines accept up to 180mm/s but layer bonding degrades | 40–55mm/s |
| Part cooling fan | Off or minimal, usually 0–20% | Off or minimal |
| Drying | 120°C for about 5 hours, below 0.020% moisture | 120°C for about 8 hours |
| Annealing | 170–180°C cycle per supplier guidance | Optional; properties do not depend on it |
Speed matters more than most slicer defaults allow. The frequently quoted optimum for high-performance polymers is around 55mm/s, with 180–250mm/s treated as a machine maximum rather than a working speed. If you print hot and fast, expect stringing and a weak Z axis.
Add a brim of 10 to 30 outlines for first-layer adhesion on these materials. The extra plastic is trivially removable; a lifted bottom layer is not.
Keep every layer above the glass transition temperature for the whole print. That means no part cooling fan, no draft in the chamber, and a chamber that has soaked for 20 to 30 minutes after reaching setpoint before the first layer starts. Cold corners in a large chamber produce warped corners, and warped corners lift off the plate mid-print.
Design for Z. Inter-layer adhesion is the weakest axis in a printed part regardless of material, so orient load paths along the XY plane, avoid tall thin sections, and split tall parts into bonded sections if stiffness in Z matters.
5. Calibrate, test, and complete the print
Print a coupon first — a 20–40mm cube with an optional wall — not your actual part. On this coupon you can check extrusion consistency, layer bonding, corner warp, and first-layer adhesion in a fraction of the time a failure would cost you.
To break a coupon by hand, a healthy PEEK or PEI part resists layer separation and snaps in the bulk of the section. If it splits cleanly at a layer line, your chamber is too cold, your speed too high, or your filament wet.
Then check the printed part for the things that only show up in geometry: stringing between features, extrusion gaps, cracking at corners, brim adhesion, and support contact marks. Support material must be the same polymer as the part — there is no soluble support that dissolves reliably in these materials — which means designing support interfaces that release with minimal mechanical force.
Let the machine cool on its own before you touch anything. Do not open the chamber the moment the print finishes. Cracking and warping during cooldown is the single most avoidable failure in this workflow, and it comes from people in a hurry with a part cutter.
Remove the part while the plate is still slightly warm rather than fully cold, and support it with both hands. Fully cold PEEK is more brittle, and a cold snap can crack a corner that was fine.
6. Anneal and remove the part safely
Annealing is how you raise PEEK’s crystallinity, which raises stiffness, dimensional stability, and chemical resistance. It is optional for PEI because amorphous PEI has no crystallinity to develop.
The published guidance for AM 450 FIL points to a cycle in the 170–180°C range. Ramp slowly, hold, and cool slowly. Fast ramps create internal stress and a fast cool-down creates distortion — a part that comes out of the oven visibly warped or dished has usually been through a cycle that was too quick rather than one that was too hot.
Support the part during the cycle. Large parts need a fixture or sacrificial support because gravity plus soft polymer at 170°C adds up. Expect dimensional change and plan your tolerances accordingly, especially for anything with a fit. Annealing also unifies colour and surface appearance across the part, because different regions of the print reached different crystallinity.
Always follow your polymer supplier’s cycle. This is the one step where improvising with a kitchen oven is a good way to ruin a part you spent hours on.
7. Common mistakes to avoid
Most of these are covered in the troubleshooting table below, but three come up often enough to name here.
Printing with the part cooling fan on, or leaving the chamber door ajar, breaks the entire premise of the process. The chamber exists to keep every layer hot; defeating it means printing a weaker, more warp-prone part at a much higher material cost.
Over-speeding to save time is the second. At 40 to 60mm/s these polymers already take hours on a small part.
Skipping filament drying is the third. It costs a few hours and it fixes problems people spend days chasing.
Common Mistakes: Troubleshooting PEEK and PEI Prints
Each row below maps a symptom to its most likely cause, the corrective action, and the observation that tells you the fix worked. Change one thing at a time, because these materials punish simultaneous changes.
| Symptom | Likely cause | Corrective action | Confirming observation |
|---|---|---|---|
| Bottom layer lifts or corners curl | Bed below the glass transition temperature of the polymer, or too little brim | Raise bed toward 150°C, add 10–30 brim outlines, verify surface is clean and level | First layer stays bonded through the full print; corners sit flat at cooldown |
| Filament deforms and pushes up into the nozzle block | Cold pull left a plug in the melt zone that softened and travelled upward | Clear the nozzle mechanically, then purge at temperature before every load | Clean extrusion resumes and flow is steady for the whole spool |
| Nozzle clogs repeatedly mid-print | Damp filament, excessive retraction, or a cold zone in the melt break | Dry filament properly, disable retraction or reduce it, verify no PTFE above the heat break | Longest uninterrupted run matches your spool estimate |
| Heavy stringing | Temperature below the polymer’s practical melt window, which is what makes PEEK look gummy at 400°C | Raise nozzle in 5°C steps toward the upper end of the supplier’s range | Strings shorten then stop; surface texture tightens |
| Poor layer bonding, part splits at a layer line | Chamber too cold, print speed too high, or moisture | Raise chamber setpoint, drop speed to 40–55mm/s, verify moisture is under 0.020% | Break test fails in the bulk of the section rather than along a layer |
| Corners warped, centre flat | Temperature gradients in the chamber and insufficient soak time | Extend heat soak to 30 minutes, improve chamber insulation, reduce part size | Corners hold position from layer to layer |
| Part cracks after removal or after annealing | Cool-down shock, or an anneal ramp that was too fast | Let the chamber cool fully, support the part during handling, slow the anneal ramp | Part stays intact through a full cooldown and anneal cycle |
| Corner of the part tears off on removal | PEI sheet adhesion exceeded the part’s own strength | Use polyimide tape or powder glue, or score and break the sheet around the part | Part releases without force and without material loss |
| Stringy, discoloured, brittle extrusion | Nozzle temperature above the supplier’s melt window, or air gap drawing fumes into the melt | Drop nozzle temperature, close the chamber fully, add an air gap before the nozzle | Extrusion colour returns to normal and remains consistent |
| Extrusion gaps on thin walls | Volumetric flow exceeded, or moisture-driven popping | Lower volumetric limit in the slicer, increase layer height slightly, re-dry filament | Walls close consistently across the full height |
| Firmware temperature lock or timeout error | Heater cartridge wattage too low, or a sensor failing above 350°C | Fit a higher-wattage cartridge, replace PT100 with a K-type thermocouple and matching amplifier | Nozzle holds setpoint for the full print without a lock error |
| Support removal cracks the part | Same-material support with no designed release geometry | Redesign interfaces with draft and a small sacrificial gap, or machine the interface after printing | Supports release with hand tools only |
When the nozzle is clogged and nothing comes out
This is the top complaint in the PEEK community and the reason people abandon the material. Soaking a clogged nozzle in acetone does nothing useful against PEEK, because PEEK resists solvents and the plug is fused to the metal.
The practical sequence: heat the hotend to its maximum validated temperature and let it soak so the plug softens, then push filament through under pressure. If that fails, remove the nozzle hot and let it cool, then push the solidified plug out mechanically from the wide end with a nozzle-cleaning needle or an inert rod sized to the bore. Ice water on the nozzle tip after removal helps the plug contract and release. Replace the nozzle if the bore is damaged, because a scored or deformed orifice causes under-extrusion long after the clog is gone.
People running filled grades such as PEEK-CF or PEKK report the same clogging behaviour as unfilled PEEK, so the same procedure applies.
Safety and fumes
Run extraction before the heater comes on, and keep it running through cooldown. Forum threads on HT conversions consistently treat a fume hood as the baseline practice, not an upgrade.
Both polymers degrade before they fail catastrophically, and degraded extrusion looks different from healthy extrusion: stringier, discoloured, brittle. That is your early warning that dwell time is too long or temperature too high.
On regulated parts, be clear about boundaries. FFF output is not automatically suitable for food contact, medical implant, or aerospace-certified use even when the polymer grade itself carries the approval. Chemical and food contact statements usually assume injection moulded or vendor-qualified parts. For anything regulated, print via a service bureau that can document the process, or qualify your own machine properly.
Frequently Asked Questions
Can a regular FDM printer print PEEK or PEI?
Not reliably. You need an all-metal hotend rated to 500°C, an actively heated chamber, a bed reaching at least 120°C, and an enclosed frame. Community conversions of consumer printers did produce successful PEEK prints at 385-400°C nozzle with a 110-150°C bed, but only after fitting a 40W heater cartridge, insulating the heat block, and replacing a PT100 sensor that failed at those temperatures. Most people end up spending more than a used entry-level HT machine costs.
What is the difference between PEEK and PEI for 3D printing?
PEEK is semi-crystalline, so its strength depends on how much crystalline structure develops during printing and post-print annealing. PEI is amorphous and reaches its properties as printed. In practice PEEK is harder to print: higher nozzle temperatures, hotter chamber, tighter moisture control, and crystallinity distortion risk during annealing. PEI 9085 prints more predictably and is the sensible starting point on a machine with an 80°C chamber.
Why does PEEK or PEI filament need to be dried before printing?
Both polymers absorb moisture from the air, and steam forms inside the melt zone during extrusion. That steam pops at the nozzle, causes stringing, leaves voids between layers, and makes parts brittle. Published guidance for VICTREX AM 450 FIL puts the ceiling at 0.020% moisture, with drying at 120°C for around 5 hours. ULTEM AM1010F is published at 120°C for 8 hours. Print straight from a sealed dry box and wear dry gloves when handling.
What temperature should a high-temperature chamber be for PEEK and PEI?
Around 80°C is the practical floor for reliable small PEI parts and roughly the ceiling for most converted consumer machines. Around 100°C unlocks larger PEI parts and better PEEK crystallisation. At about 150°C, near the glass transition region, PEEK approaches in-situ crystallisation and larger parts become practical. Around 200°C enables full crystallisation during the print. Keep every layer above the glass transition for the whole print and soak the chamber for 20 to 30 minutes first.
How can I reduce fumes and warping when printing PEEK or PEI?
For fumes, start extraction before the heater switches on, keep the chamber sealed, add an air gap before the nozzle, and lower the nozzle temperature if you see discoloured or stringy extrusion. Fume extraction and a sealed chamber are standard practice in the high-temperature printing community, not optional extras. For warping, heat soak the chamber for 20 to 30 minutes, raise the bed above the glass transition temperature, add 10 to 30 brim outlines, orient load paths in the XY plane, and keep the part small enough for your chamber tier.
Conclusion
Four things decide whether a high-temperature print works, and the order matters. Identify the exact polymer and grade from the spool, then verify your machine can hold nozzle, bed, and chamber temperatures for the supplier’s validated profile. Dry the filament to the published moisture ceiling and print from a sealed box. Run a small coupon, check layer bonding and corner warp, and only then commit to a full part — with an anneal cycle at the end if you are working with PEEK and need the extra crystallinity.