Yes, a single-extruder printer can print in more than one color: the slicer splits the model by color, the machine stops at the layer where the color changes, you swap the filament, purge the old color out of the hotend, and press resume. It works on almost any FDM printer with a pause function, including an Ender 3, a CR-10, a CR-6SE, a Flashforge Adventurer, or a Prusa MINI.
Budget about 20 minutes of slicer setup up front and 2 to 5 minutes of hands-on time at the machine for each color change. If you have never done a manual swap, expect one scrapped test print before it feels routine.
Table of Contents
- 1What You Need
- 2Step-by-Step
- 3Step 1: Choose a Color-Changing Method
- 4Step 2: Prepare and Slice the Model for Color Changes
- 5Step 3: Load and Prime the Filament
- 6Step 4: Set Temperatures, Retraction, and Wipe Behavior
- 7Step 5: Run a Test Print and Inspect the Result
- 8Common Mistakes
- 9Frequently Asked Questions
- 10Can a single-extruder 3D printer print multiple colors?
- 11How do I change filament mid print?
- 12What is the difference between M600 and M247?
- 13How do I stop colors from bleeding or looking muddy?
- 14How much filament is wasted on a color change?
- 15Is multicolor printing worth it without an MMU?
- 16Conclusion: Start With a Small Test Print
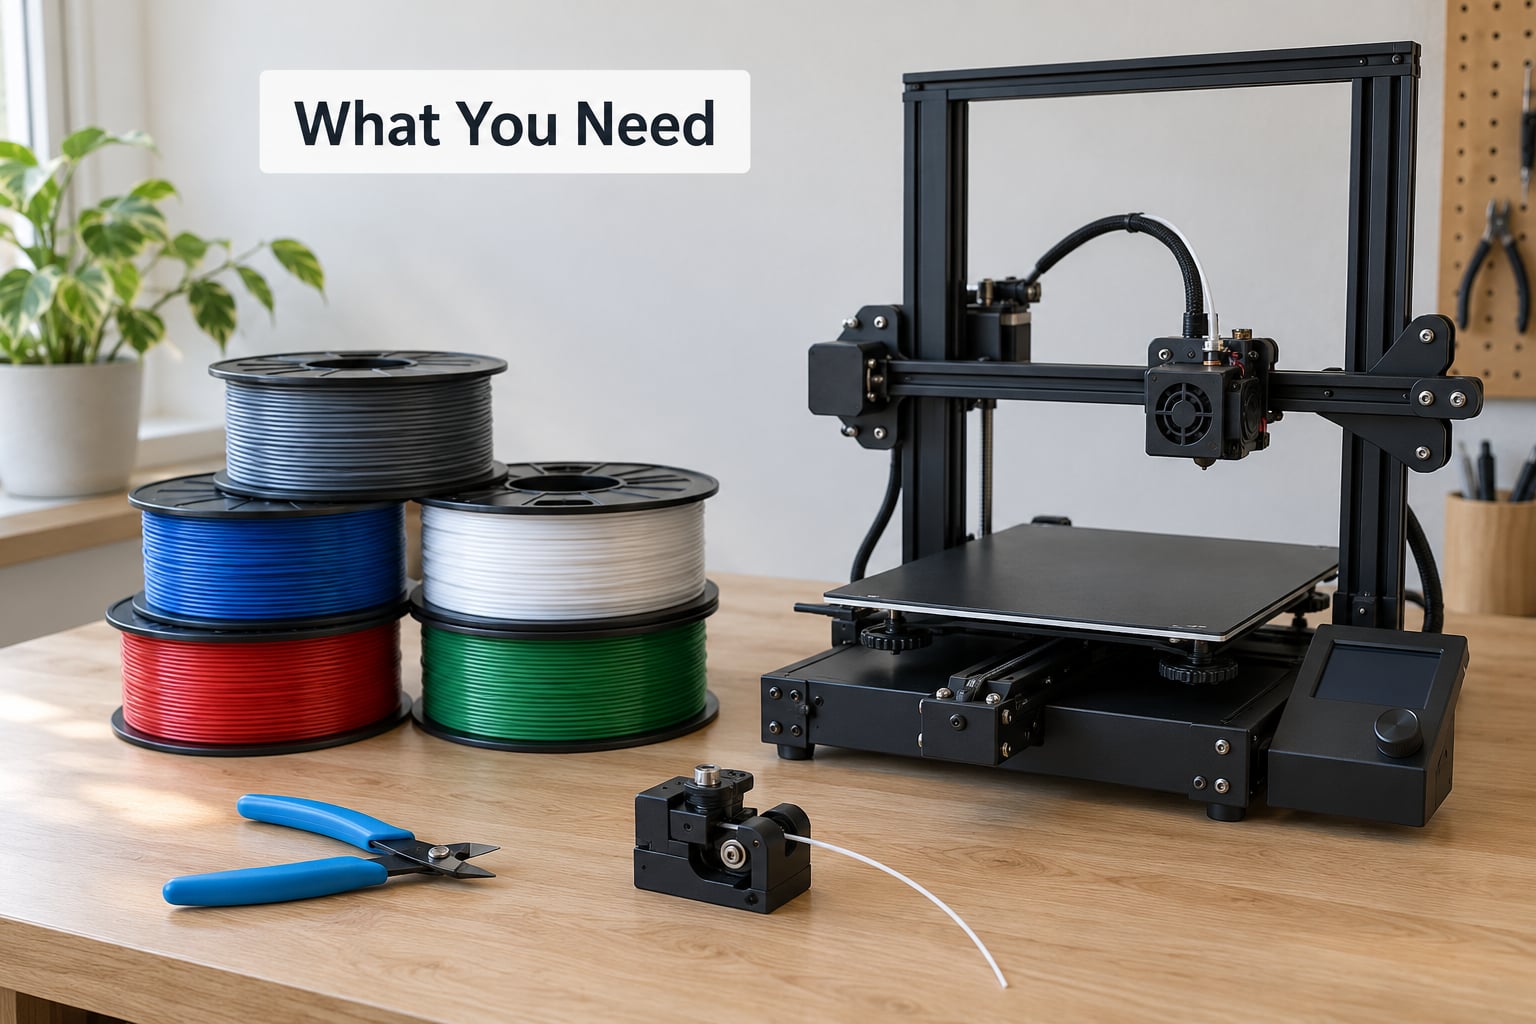
What You Need
Three practical routes get you multiple colors from one nozzle, and they need different amounts of hardware.
Manual filament swapping is the one to start with. The printer pauses, you pull the old filament out of the extruder, feed the new one in, purge, and resume. No hardware at all, works on any machine, and the only real cost is your attention and some wasted filament per change.
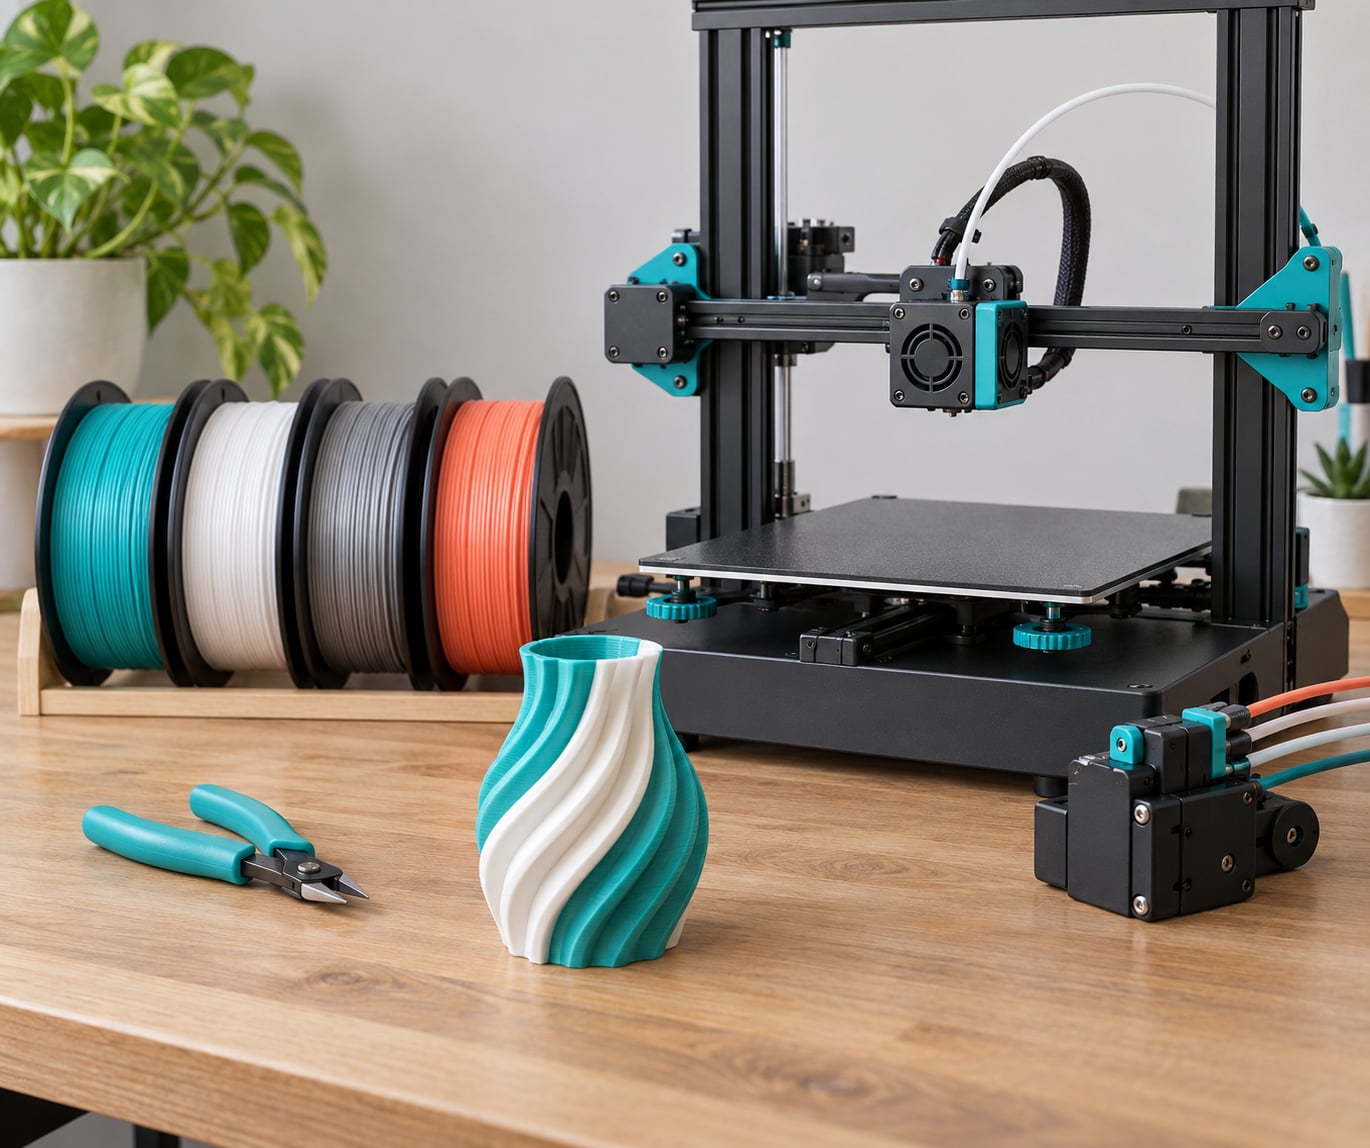
An automatic filament-changing device (AMS, AMS-lite, MMU, or a tool changer) parks the nozzle, swaps the filament itself, and runs a purge sequence. It handles unattended multi-color prints and multi-material jobs such as PLA plus PETG, but it only works on printers with a supported mount point and matching firmware, and it adds purge waste you can see.
Separate color parts means splitting the model into individual bodies and printing each one in its own color, either in one sliced job with ordered color changes or as separate print jobs. It sidesteps same-layer color entirely and is the cleanest result when the parts only need to touch, not interlock.
For the manual route you need: a spool of each color, dry filament, a nozzle at the right temperature for that material, and a printer whose firmware can pause mid-print. A flush cutter and a pair of gloves make the swap cleaner. Most filament spools are not sealed enough to skip drying, and wet filament feeds badly right after a swap, which is when you least want a feed problem.
Keep the leveling or bed-sampling area of the build plate empty. That tip comes from the r/3Dprinting multicolor thread, and it matters because a purge blob landing in the sample area can ruin the leveling mesh for later prints.
One safety point before you start: the nozzle and heat break get hot enough to soften filament that lingers in the extruder. The Prusa community forum has documented fat tips where withdrawn filament grabs the heat break. Work at a comfortable pace, never force a stuck filament, and keep the nozzle from sitting against the finished part.
Step-by-Step
Step 1: Choose a Color-Changing Method
Pick the method that matches how many color changes the model has and how much attention you want to give the printer.
Manual swapping suits two or three color changes, one-off prints, and beginners. Automatic changers suit models with many changes, multi-material jobs, and overnight runs. Separate color parts suit models that are already divided into distinct components, or that you can reshape to be divided.
Also decide now whether your colors change layer by layer (a band of one color stacked above a band of another) or within the same layer (a logo or a logo next to a base). Layer-by-layer needs only a color change at a specific height. Same-layer color needs painting or splitting in the slicer plus at least one change per layer that mixes both colors, which multiplies the purge waste fast. If the model only has to look multicolor from one angle, redesigning it to stack in bands is usually the cheaper path.
Step 2: Prepare and Slice the Model for Color Changes
The slicing step is where most people lose the thread on how to do multicolor prints with one extruder, because the slicer has to be told where the color boundary sits rather than detecting it on its own.
Layer-by-layer color changes need one slicer setting: an instruction to change color at a chosen layer.
In PrusaSlicer and OrcaSlicer, open the Preview, right-click a layer, and add a color change, or use the multi-filament filament settings and set a filament change on the filament assignment screen. The same effect comes from a custom G-code layer change. In Cura, the equivalent is a color change at a specific height in the Print Settings, or a start G-code that issues a filament change command. In Simplify3D, the traditional route is multiple virtual extruders: define two extruder profiles, assign different filament to each, and paint regions with them.
Same-layer color needs a model that actually separates into bodies. In PrusaSlicer, use the Paint tool and the Split to objects command, then send the parts to different extruder or filament slots. In Cura, use Split to objects, then assign the parts to separate extruders. If the model is one solid mesh with no natural split, you will have to cut it in your modeling program along sensible boundaries first.
Two G-code commands come up constantly here. M600 is a semi-automatic filament change: the printer parks the nozzle and waits, you swap the filament, then confirm and it resumes. M247 is a tool change command: the printer runs the unload, reload, and prime sequence itself once you confirm the new filament is seated. The Prusa forum uses that split to explain the difference, and most consumer firmware supports M600 for manual multi-color while M247 only does something useful on machines built for an automatic changer. Use the pause and color-change features in your slicer unless you know your firmware handles these commands.
Design for the transition. A color change that lands on a seam or a natural edge hides far better than one across a flat face. Thin geometry also helps: the r/3Dprinting user who printed a two-color phone case designed each segment at about 0.2 mm so the two halves sat flush against each other. The same forum thread recommends adding as many skirt lines as you have color groups, with skirt height reaching the highest layer where a change happens, to force clean segment starts and ends.
Step 3: Load and Prime the Filament
Load the new filament while the printer is paused, and the order matters: remove the old color completely before you seat the new spool.
Heat the nozzle to the running temperature for the old filament first. A soft, runny old filament pulls out cleanly; a cold or hardened one breaks and leaves fragments in the extruder. Then release it with the cold-end lever (or the extruder release on printers that have one) and pull the strand straight out from the top of the extruder. Do not push the filament backward from the hotend into the extruder, because that risks shoving softened material up against the heat break, which is the fat-tip problem forum users have run into.
Next, heat the nozzle to the new filament’s temperature, cut a clean angled end on the fresh strand, push it through the extruder, and let the printer feed it until it appears at the nozzle. Wipe the nozzle with a damp cloth or a piece of tape before you resume, and confirm the plate is still at the temperature the material wants. If the machine has a Z-hop or travel-lift setting, normal Z-hop is the safe default: it lifts the nozzle clear of the part during travel so a fresh color change does not drag across the existing surface.
Step 4: Set Temperatures, Retraction, and Wipe Behavior
These are the settings that decide whether a transition looks clean or smeared, and the ranges are machine-specific, so follow your printer and slicer documentation for the exact names.
Nozzle temperature should be the higher of the two filaments’ recommended temperatures, not a guess. If you are swapping between materials with very different settings, such as PLA and PETG, expect to change more than the color at the swap.
Retraction distance or amount matters more than most people expect. A too-short retraction leaves old color in the melt zone and you get a muddy first layers after the change. Too long causes under-extrusion gaps, especially on a long bowden setup. Work from your printer’s baseline retraction and only adjust for the tool or material in front of you.
Purge volume is the amount of filament the slicer tells the printer to extrude after a change to clear the old color, measured in mm3. The community-favored starting point in PrusaSlicer is a purge volume of 2.0 with purge into infill switched off for the cleanest swap, and even then some transition stringing persists. Purge into infill routes that extra material into the model’s infill instead of a discard block, which saves filament but puts waste inside the part. If purge blobs are landing on the model, route the purge into another object or object in your slicer rather than onto open air.
Wipe and retraction behavior around the change, plus the travel speed during purge, are worth a look in your slicer’s filament change settings. Values differ enough between machines and materials that I would copy the profile your printer vendor publishes and adjust from there.
Step 5: Run a Test Print and Inspect the Result
Print a small test before you commit several hours to a detailed model, and check five things.
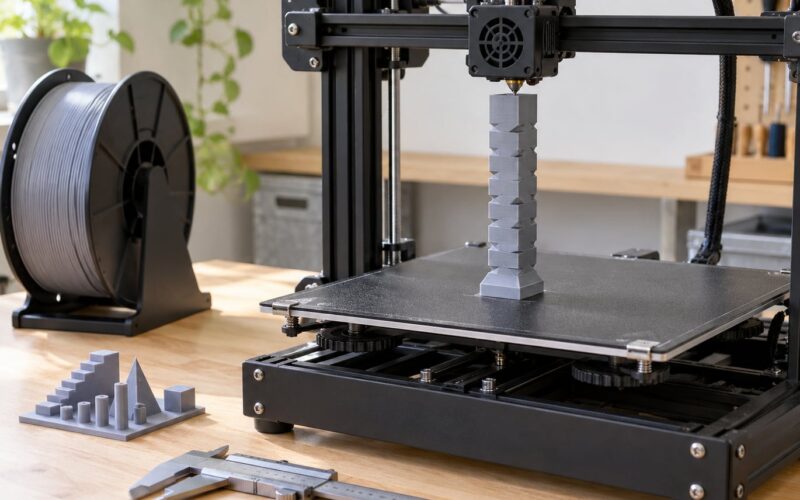
Print a short, simple object that has at least one color change and a flat top surface: a short tower with one color for the first few layers and a second color above it works well. Then inspect it.
Color registration: does the change start exactly at your chosen layer, or is there a stray line of the wrong color? Seams: are the segments meeting cleanly or is there a visible step? Stringing: is filament stretched between the nozzle and the part after the change? Layer bonding: does the new color sit on the old one firmly, or can you push it off? Transition lines: is there a raised bead where the purge landed?
If a color bleeds into the next, raise the purge volume or add a taller purge tower. If you get gaps, lengthen retraction. If the top layer dents, the nozzle sat too close to the part while paused, so increase the travel lift or move the nozzle away before swapping. Fix one variable at a time and reprint the same small test, because changing three settings at once tells you nothing.
Common Mistakes
Six problems account for nearly every failed single-extruder multicolor print, and each has a specific fix.
Tangled or wet filament. Spools that have been open pick up moisture, and the filament feeds unevenly or snaps right after a swap. Dry the filament for the length of time your dryer recommends, confirm the spool turns freely, and shake the spool before loading it so tangled strands fall loose.
Purge blobs on the model. Purged filament has nowhere to go, so it drips or strings onto the print. A single extruder cannot fully remove this, which the r/3Dprinting community states plainly. Route the purge into infill or into another object in your slicer, and keep purge volume low.
Color bleeding between colors. Old color remains in the melt zone and shows up in the first layers after a change. Increase purge volume, add a purge tower tall enough to cool the nozzle, and use high-contrast color pairs so any residue is easy to spot.
Weak bonding between color segments. A color change in the middle of a wall splits one extrusion into two, and the joint is the weak point. Lower the layer height around the change, avoid more than one color change per layer in a structural area, and add more infill or a thicker wall in the slicer.
Colors printing in the wrong order. The slicer groups color regions and can emit them in an order you did not intend. Check the filament assignment screen and the printed order preview before printing, and split the model to objects if the slicer keeps merging regions.
Misaligned or offset color regions. Same-layer color depends entirely on the split being exact, and thin walls make a small offset obvious. Split the model along clean geometric boundaries, avoid color transitions on features thinner than about 0.8 mm, and print a small section at higher layer height to check the fit before the full model.
Frequently Asked Questions
Can a single-extruder 3D printer print multiple colors?
Yes. The slicer splits the model by color and inserts a pause at the layer where the color changes. You unload the old filament, load the new one, purge the hotend, and resume. Any printer that can pause mid-print can do this, and multi-color prints without an MMU are the most common way beginners add color to a printer.
How do I change filament mid print?
In PrusaSlicer or OrcaSlicer, right-click the layer where the color changes in the Preview and add a color change, or assign different filaments to separate extruder slots. In Cura, set a color change at a specific height in Print Settings. Pause the print, heat the nozzle to the old filament temperature, release the cold-end lever, pull the strand out from the top, then load the new filament and purge.
What is the difference between M600 and M247?
M600 is a semi-automatic filament change. The printer parks the nozzle and waits for you to swap the filament, then resumes when you confirm. M247 is a tool change command: the printer runs the unload, reload, and prime sequence itself after you confirm the new filament is seated. M247 only does something useful on machines built for an automatic changer.
How do I stop colors from bleeding or looking muddy?
Residue of the old color is still in the melt zone when the new color starts. Increase the purge volume, add a purge tower tall enough for the nozzle to cool, and check that your retraction is long enough to clear the melt zone. Dark-to-light transitions show contamination fastest, so test that pair first. If the bleed is severe, route the purge into infill or another object instead of open air.
How much filament is wasted on a color change?
It depends entirely on your purge volume setting. A low purge volume wastes a few millimeters of filament per change but risks color contamination. The community-favored starting point in PrusaSlicer is a purge volume of 2.0 with purge into infill off, which favors clean color over saving material. Ten changes at that setting still costs more filament than most people expect, so reducing the number of changes is the bigger win.
Is multicolor printing worth it without an MMU?
For two or three color changes on a single model, yes. Manual swapping costs only your time and a little filament, and it is the cheapest way to try a technique before committing to hardware. If your prints regularly need many changes, run them unattended overnight, or use PLA with PETG in the same model, an automatic changer starts to pay for itself in saved filament and in avoiding blobs.
Conclusion: Start With a Small Test Print
Start with a manual pause-and-swap on a two-color test object, keep the model splitting into layer-by-layer bands rather than same-layer regions, and validate your temperatures, retraction, and purge volume before printing anything detailed. That is how to do multicolor prints with one extruder in practice: band the colors, pause, swap, purge, and prove it on something small first.
Once the small test looks clean, the decision gets easier. If your regular models need four or more changes, or you want PLA and PETG in one part, an automatic filament changer removes the babysitting and cuts the blobs. If they need two or three changes on a single item, manual swapping on the printer you already own is the right call.