A clogged nozzle is usually a five-minute fix: heat the nozzle to the temperature your filament needs, work a 0.3 mm cleaning needle through the opening, and test the flow again. That short answer is what most people searching 3d printer nozzle clogged how to clean are really after, and it works far more often than the forum threads suggest.
The slow part is telling a clog apart from a filament-feed fault, wet filament, or an under-extrusion setting. Get that wrong and you will clean a nozzle that was never blocked. The sequence below moves from the mildest action to the most invasive, so you stop as soon as flow comes back.
Table of Contents
- 1What You Need
- 2Step-by-Step: 3D Printer Nozzle Clogged? Clear It in Order
- 31. Identify the Clog and Protect the Printer
- 42. Reload the Filament and Set the Correct Temperature
- 53. Try a Controlled Cold Soak
- 64. Clean the Nozzle Opening Mechanically
- 75. Use a Material-Safe Heat Break
- 86. Inspect the Heater, Thermistor, and Heat Break
- 97. Test Extrusion and Watch the First Layer
- 10Common Mistakes
- 11Frequently Asked Questions
- 12What is the safest way to clean a 3D printer nozzle clogged with PLA?
- 13Can I use a needle or small drill to clear a clogged 3D printer nozzle?
- 14How do I remove a permanently installed nozzle safely?
- 15Is a solvent soak safe for ABS, ASA, and other engineering plastics?
- 16Why does my 3D printer keep clogging after cleaning the nozzle?
- 17Conclusion: Start With the Safest Effective Fix
What You Need
Most clogs need very little. Start with the items that work without opening anything.
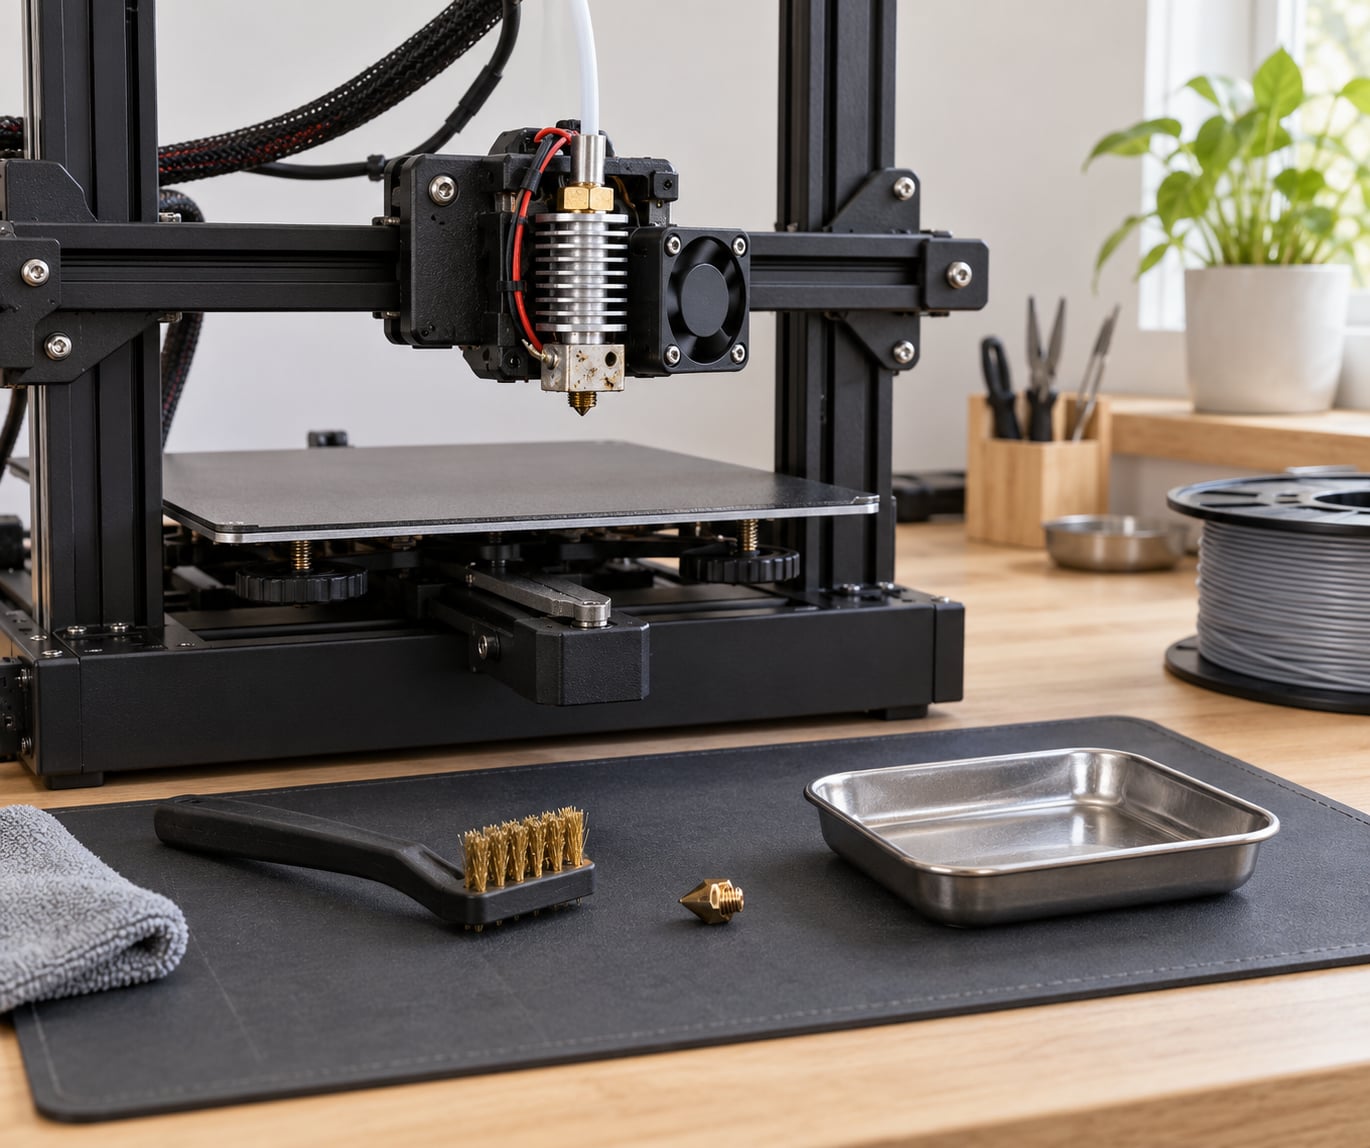
- A cleaning needle: 0.3 mm stainless needle or an acupuncture needle. For a 0.4 mm nozzle, 0.4 mm is the absolute ceiling and 0.3 mm is what I use.
- A brass wire brush or copper wool: for carbonized plastic around the tip and the heater block faces.
- Heat-resistant gloves or needle-nose pliers: for cold-pulling and handling a hot nozzle.
- Warm soapy water, a small tray, and a soft cloth: for soaking a removable nozzle.
- The same filament you are printing, or a cleaning filament if your printer supports one.
Two more items only apply if the softer methods fail. A removable nozzle and the correct wrench are needed if your hotend uses a threaded nozzle you can unscrew. A solvent and a sealed glass container are needed for a chemical soak, along with gloves and a well-ventilated spot.
Check your printer manual before removing the heater block. Some machines route the hotend through a shroud, and a few have non-standard mounts where the threads or the heater cartridge sit close to the part you are pulling.
Step-by-Step: 3D Printer Nozzle Clogged? Clear It in Order
1. Identify the Clog and Protect the Printer
Five signs point to a blockage rather than a feed problem:
- The extruder clicks or grinds and the filament chews or slips.
- Filament ooze comes out around the nozzle but no plastic reaches the bed.
- Flow is weak, sputtering, or stops mid-line on an otherwise sound print.
- Filament snaps off inside the extruder or the hotend.
- Nothing comes out at a normal print temperature, even after a long heat soak.
Now separate a clog from the alternatives. Wet filament bubbles and pops; under-extrusion from loose extruder tension or a wrong flow rate scales the whole print down evenly rather than cutting out mid-line. Neither shows the ooze-around-the-tip or no-flow-at-all pattern.
Safety first: cancel the print, switch off the machine, and give the hotend ten minutes or more to cool. Move the print head to the front of the bed so you can reach it without leaning over the whole machine. Keep the part-cooling fan running while the hotend is hot so heat creep does not add a second problem.
2. Reload the Filament and Set the Correct Temperature
Unload the spool so you can see whether the filament comes out clean or covered in burnt flakes. Flakes at the feeder mean the clog may sit higher up, and pushing a needle at the tip will not touch it.
Heat the nozzle to the temperature range your filament maker lists. As a rough guide, PLA sits around 200-220 °C, PETG around 230-240 °C, and ABS and ASA around 240-260 °C. Never go past the maximum your hotend is rated for, even if the material would take it, because the silicone sock, the heater cartridge insulation, and the heat break all suffer.
Load fresh filament and extrude slowly by hand or with a manual axis move at a low speed. If plastic flows in a steady strand, you did not have a full clog. If nothing comes out, continue down the list.
3. Try a Controlled Cold Soak
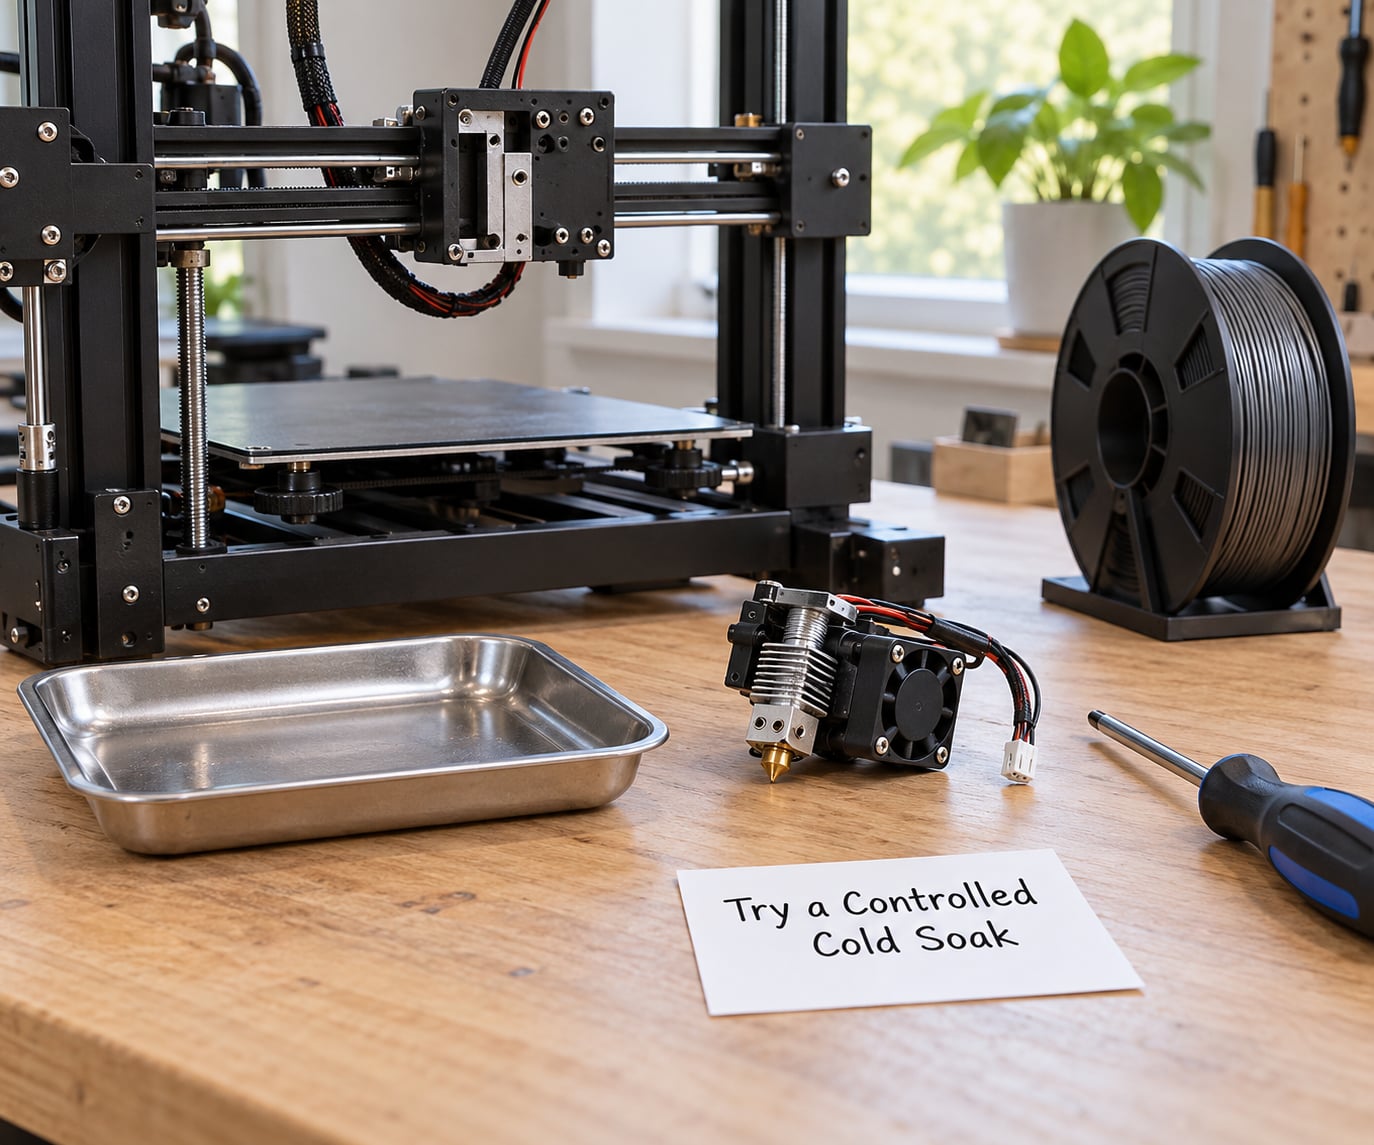
The cold pull, often called the atomic method, works best on a plug of broken filament or a stubborn chunk, and less well on burnt residue baked into the tip.
- Heat the nozzle and purge until filament flows cleanly.
- Drop the temperature to roughly 90-150 °C while feeding filament slowly. The filament firms up inside the nozzle and grips itself.
- Pull hard by hand or with pliers. You should feel it release and pull out as one piece.
- Let it cool to room temperature, then purge again at normal temperature to flush fragments.
Two or three cycles are normal before you change approach. Position the head over a tray or build plate so a molten purge has somewhere to go, and never force the pull while the plastic is still soft.
4. Clean the Nozzle Opening Mechanically
This is the method most people mean when they ask how to unclog a 3D printer nozzle. Heat the nozzle to its working temperature, insert the 0.3 mm needle into the opening, and twist it gently as you push rather than stabbing straight down. Withdraw and repeat several times.
For a threaded nozzle you can unscrew, take it off and soak it in warm soapy water for fifteen minutes. Brush the tip and the hex flats with a brass brush, then run the needle through again while it is warm. Reinstall it snug but not crushed.
Skip the drill bits and the aggressive scraping. A 0.8 mm twist drill passed through a 0.4 mm nozzle permanently widens the opening, and a knife blade or file takes material off the sealing face.
5. Use a Material-Safe Heat Break
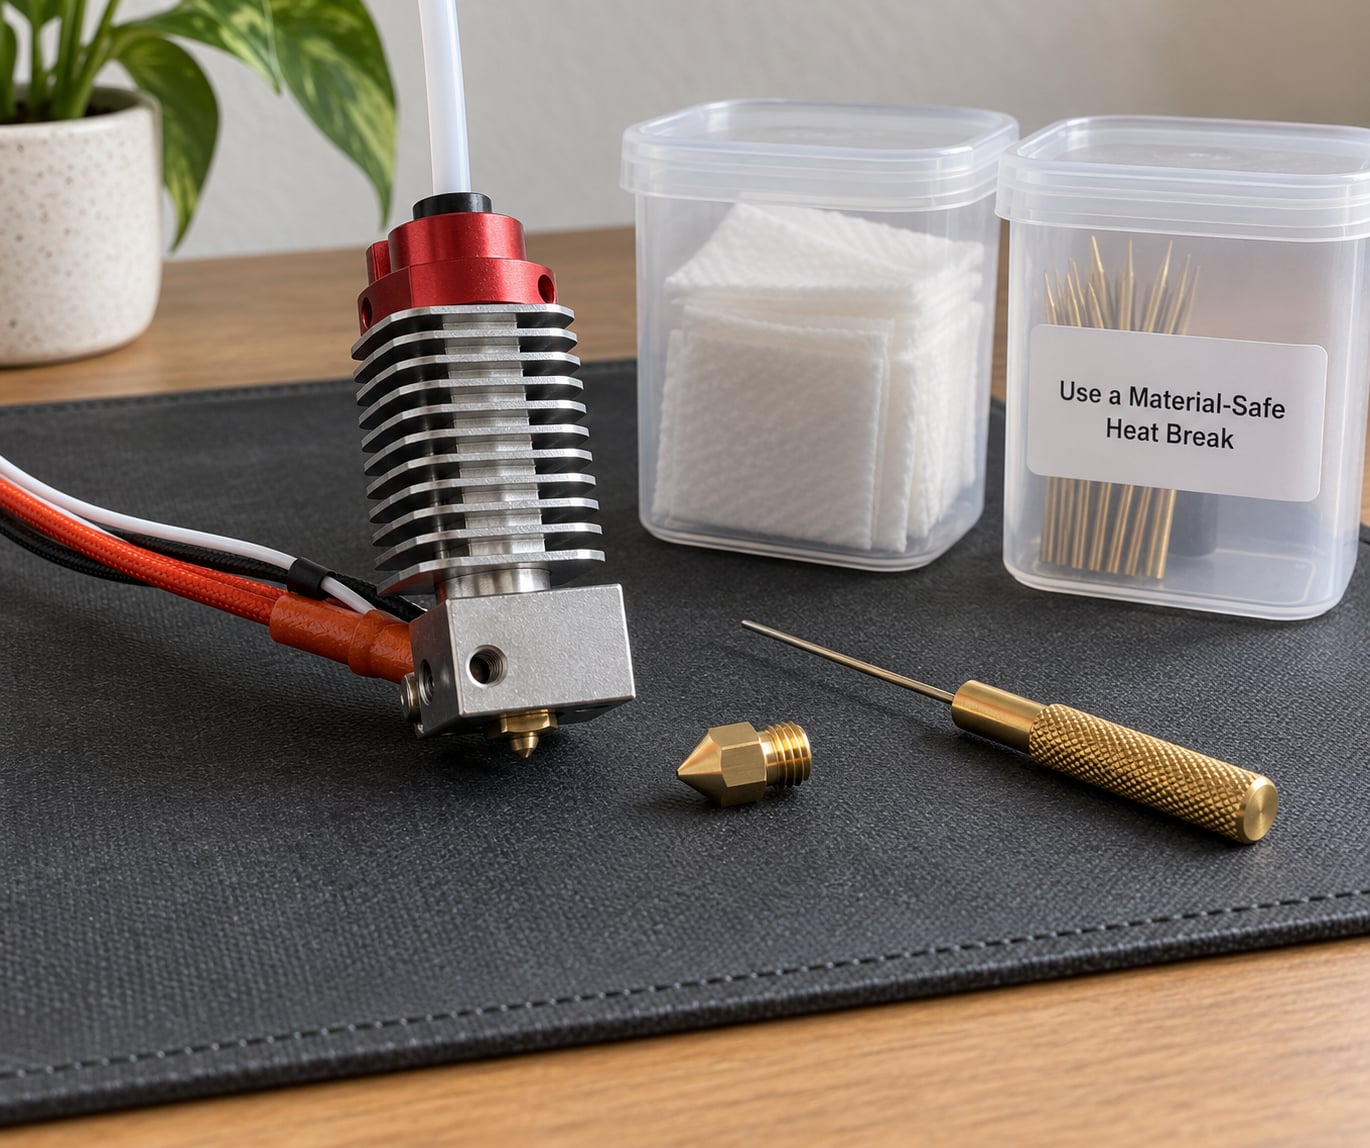
When nothing mechanical works, a solvent soak dissolves plastic that heat alone will not shift. Acetone suits ABS, ASA, and HIPS. Ethyl acetate suits PLA and PETG, and nail-polish remover containing it is the common substitute.
Remove the nozzle, put it in a sealed container, cover it with solvent, and leave it from thirty minutes up to twenty-four hours depending on how thick the deposit is. Take it out, flush the residue with a brush, and dry it fully before reinstalling.
Soak the nozzle only. Never immerse a heater block, thermistor, wiring, silicone sock, or heat break, and never mix two solvents together or pour one back into the bottle. Work away from the printer, keep the container closed, and open a window.
6. Inspect the Heater, Thermistor, and Heat Break
Some clogs never clear because the cause is not plastic. Tell-tale signs include temperature readings that swing or drift during a print, a hotend that overshoots well past the set value, and filament that re-solidifies above the heater block inside the heat break tube.
Two quick checks take a minute. After a normal print, the heatsink and heat break should feel only warm, not hot, and the heatsink cooling fan should spin freely with nothing blocking the duct. If the fan is slow, the duct is clogged, or the whole assembly is hot to the touch, heat creep is pushing melted plastic back up into the cold section, and that will clog the nozzle again within days.
Leave the repairs to a technician when the heater cartridge or thermistor is cracked, the heat break tube is warped or scorched, or you see burnt residue baked into threads. Those are not cleaning jobs.
7. Test Extrusion and Watch the First Layer
Clear the job: heat to the working temperature, then extrude 100 mm of filament into the air. A healthy nozzle gives a consistent strand of the right diameter with no gaps, cracks, or spurting.
Run a flow rate test over 20-30 mm and compare it against your slicer’s flow multiplier. A nozzle that flows unevenly after a clean purge usually has a worn or partly blocked opening, and the honest answer there is to fit a new nozzle.
Print a single-layer test and look at the first layer. A clean, consistent first layer means the block is resolved. Raised lines on one side, gaps, or a curling edge usually trace back to Z offset, bed adhesion, or over-extrusion rather than a clog.
Common Mistakes
- Overheating past the hotend limit. Correction: stay inside the filament maker’s range and the machine’s maximum. Extra heat softens the heat break and the sock instead of the plug.
- Forcing filament with the motor. Correction: if the extruder grinds, stop. That is how drive gears and the idler tension get chewed up.
- Using an oversized needle or a drill bit. Correction: 0.3 mm for a 0.4 mm nozzle, inserted warm with a twisting motion.
- Mixing cleaning chemicals or soaking an assembled hotend. Correction: one solvent, one container, detached nozzle only.
- Skipping the heat-creep check. Correction: touch-test the heatsink and confirm the cooling fan runs freely after every clean.
Prevention is mostly drying and temperature control. Store filament sealed with desiccant, especially in humid rooms, and dry it if it crackles loudly when you extrude it. Keep the nozzle temperature as low as your layer adhesion allows, purge properly when you change materials, and brush the tip after a few prints.
Frequently Asked Questions
What is the safest way to clean a 3D printer nozzle clogged with PLA?
Start cold. Remove the filament, heat the nozzle to the PLA range of roughly 200-220 °C, and let it sit for two or three minutes so soft residue melts back out. If nothing comes out, work a 0.3 mm needle through the opening with a twisting motion while the nozzle is still warm. Avoid heating past your machine’s rated maximum, and skip any solvent unless you have removed the nozzle from the hotend first.
Can I use a needle or small drill to clear a clogged 3D printer nozzle?
A 0.3 mm cleaning needle or acupuncture needle is the standard tool and it works on most partial clogs. Use a drill bit only if it is thinner than the nozzle opening, and never force it. Anything wider than the opening permanently stretches or splits the hole, so flow then swings wildly and the nozzle has to be replaced. Twist the needle rather than stabbing, and warm the nozzle first so the needle does not snap off inside.
How do I remove a permanently installed nozzle safely?
It depends on the printer. Many hotends use a threaded nozzle held by one or two set screws, which you loosen with the correct hex key while the assembly is warm. Others clamp the nozzle inside a heater block with two bolts, and those threads strip easily if you overtighten. Read your printer manual first, support the heater block so it does not drop, and never lever against the heater cartridge wires or the thermistor.
Is a solvent soak safe for ABS, ASA, and other engineering plastics?
A soak is safe on the metal alone, but only with the right solvent. Acetone dissolves ABS, ASA, and HIPS, while PLA and PETG respond better to ethyl acetate. The soak must happen on a fully detached nozzle; a heater block, thermistor, silicone sock, or heat break will be damaged by solvent. Work in a ventilated space, keep the container sealed, never mix two solvents, and let the part dry completely before it goes back near the heater.
Why does my 3D printer keep clogging after cleaning the nozzle?
Usually the clog is a symptom rather than the cause. Heat creep lets molten filament travel up into the cold section, wet filament leaves bubbles and burnt flakes that block the opening again, and worn drive gears or loose extruder tension chew the filament instead of feeding it. Check that the heatsink is only warm after a print and that the cooling fan runs freely, dry your filament, then re-test before blaming the nozzle.
Conclusion: Start With the Safest Effective Fix
Start by identifying the material and confirming it is a clog rather than a feed or moisture fault. Then escalate in order: reload at the correct temperature, run a cold pull if the plug is filament, work a 0.3 mm needle while the nozzle is warm, remove the nozzle and soak it in a solvent matched to the plastic, and only then open the hotend. If the nozzle clears but the clog returns within days, stop cleaning and look at heat creep, dry filament, and extruder tension. Updated for 2026.