Mesh bed leveling is a calibration routine where a sensor probes your build plate at a grid of points, stores those readings as a height map, and then makes tiny Z-axis corrections while printing so the nozzle holds the same distance from the plate across the whole bed. On a small printer it takes a couple of minutes. On a first-timer, the whole leveling job is well under ten minutes once you know the order.
The awkward part is not the clicking. It is knowing which control to turn, and when to stop turning it. That is what this walkthrough gives you.
Table of Contents
- 1What You Need for Mesh Bed Leveling
- 2Step-by-Step: Level Your 3D Printer Bed
- 31. Prepare the Printer and Build Plate
- 42. Heat the Bed and Select the Correct Nozzle Height
- 53. Set the Initial Gap
- 64. Check the Center and Four Corners
- 75. Repeat the Leveling Checks
- 86. Confirm the Setup With a Test Print
- 9Common Mesh Bed Leveling Mistakes Beginners Make
- 10Frequently Asked Questions
- 11Do I need to level the bed every time I start printing?
- 12What is the difference between bed leveling and Z-offset?
- 13How should I use the paper test on a new 3D printer?
- 14Why is my first layer good in the center but poor at the corners?
- 15Does mesh bed leveling work the same way for PLA and PETG?
- 16Conclusion: What to Do First
What You Need for Mesh Bed Leveling
Gather these five things before you start, and the leveling step becomes boring in the best way.
- The printer and the filament you plan to use. PLA and PETG behave differently against the same plate.
- A clean build surface. Wipe it down. Skin oil and finger prints are enough to break adhesion on an otherwise perfect first layer.
- The printer’s own leveling controls, or a compatible leveling tool. That is the on-screen menu, a probe, a BLTouch-style sensor, or a piece of paper for manual printers.
- A clean, lint-free cloth and something like isopropyl alcohol if your plate is glass, PEI or smooth.
- The manufacturer’s manual for your specific model. Adjustment order and knob positions differ between brands.
Temporary helpers such as glue stick or painter’s tape only belong on printers that ship with them or that use them for specific filaments like PETG. On a textured PEI sheet, glue stick makes things worse.
Step-by-Step: Level Your 3D Printer Bed
Printers arrive with one of four leveling systems: manual (you do everything), assisted (a sensor nudges you along), automatic (the printer meshes on its own before printing), and sensor-based contact probing. The order below works for all four. Where the action differs, I have said so.
1. Prepare the Printer and Build Plate
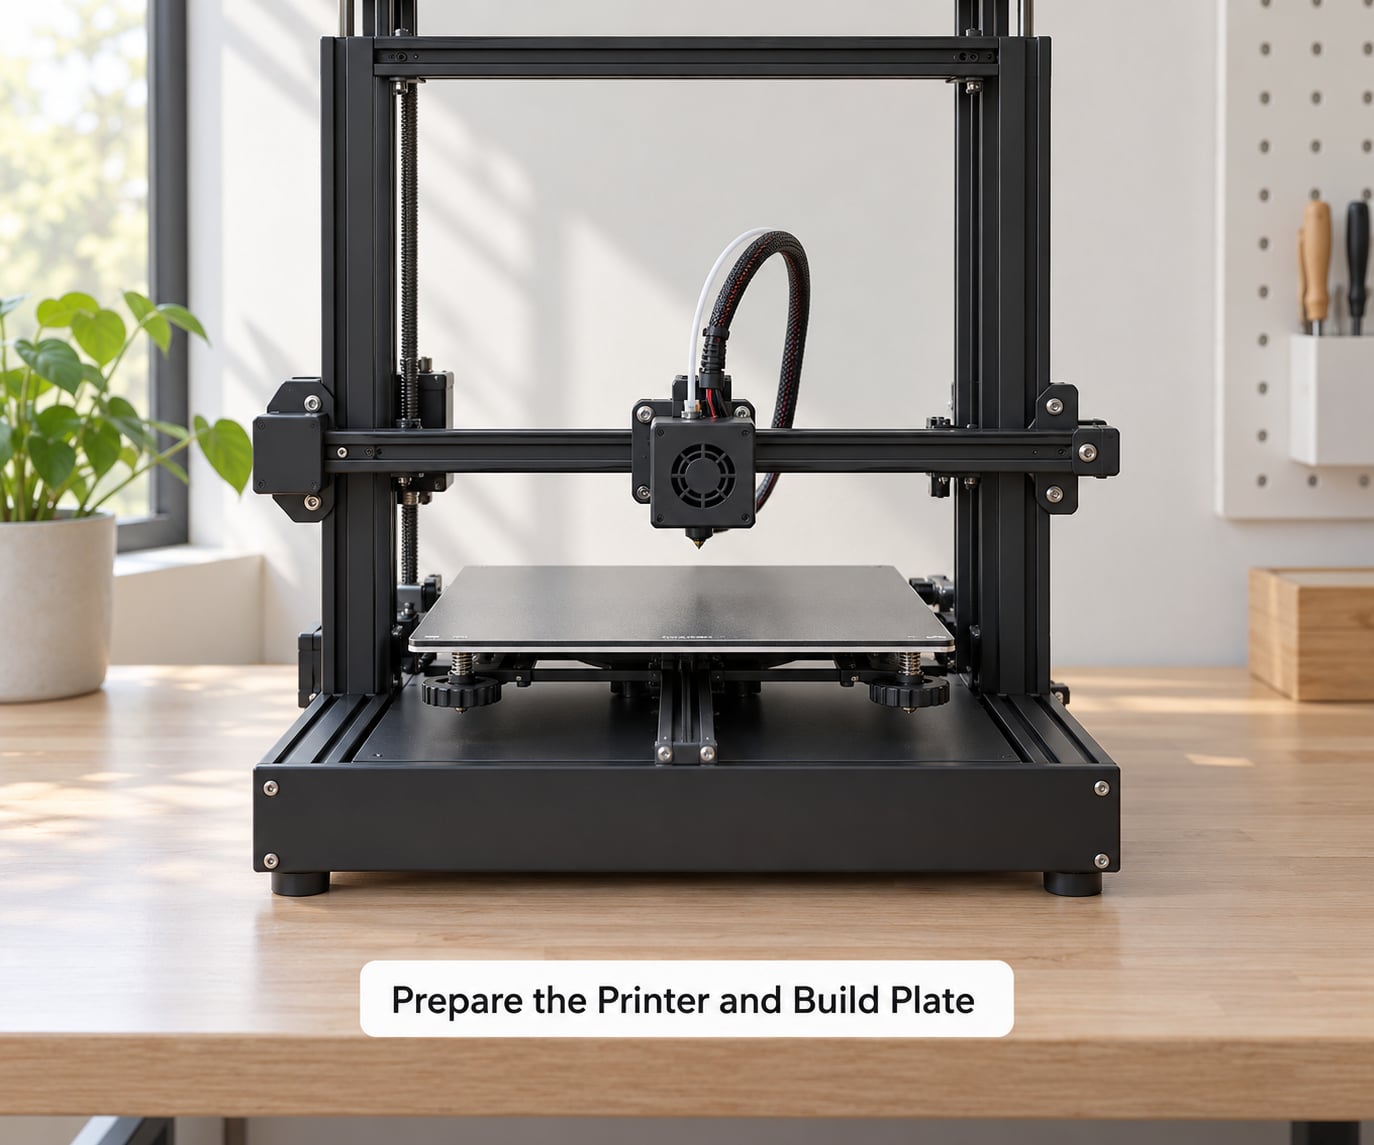
Switch the printer on and follow whatever the manual says about letting it settle. Most manufacturers want the machine at normal operating temperature before you measure anything, and some want it idle and cool instead. Skipping this is the single most common reason a good print fails on day two.
Put the printer on a solid surface where nobody will bump it, clear any debris or plastic strands off the plate, and make sure no loose material sits where the nozzle passes over. Do not slide the printer across the desk right before calibrating. Vibration moves the frame a fraction, and that fraction is enough to throw the readings off.
2. Heat the Bed and Select the Correct Nozzle Height
Heat both the bed and the nozzle to the temperatures your filament expects. Thermal expansion is the reason for this: a cold aluminium plate grows as it heats, so a gap you measured at room temperature will not exist once the bed is at 60C for PETG.
Handle a hot nozzle with the tool the printer came with. Keep fingers well clear and never cool a nozzle with a wet cloth.
Leveling is not the same job as nozzle-offset or Z-offset calibration. On printers that do those separately, such as most Bambu Lab and Creality models, set the nozzle offset first so the nozzle is the right distance from the plate, then run the mesh routine.
3. Set the Initial Gap
Start from the printer’s default or the slicer’s default rather than guessing a number. Those defaults are usually right to within a few hundredths of a millimetre, and the mesh routine needs a sane starting height before it measures anything.
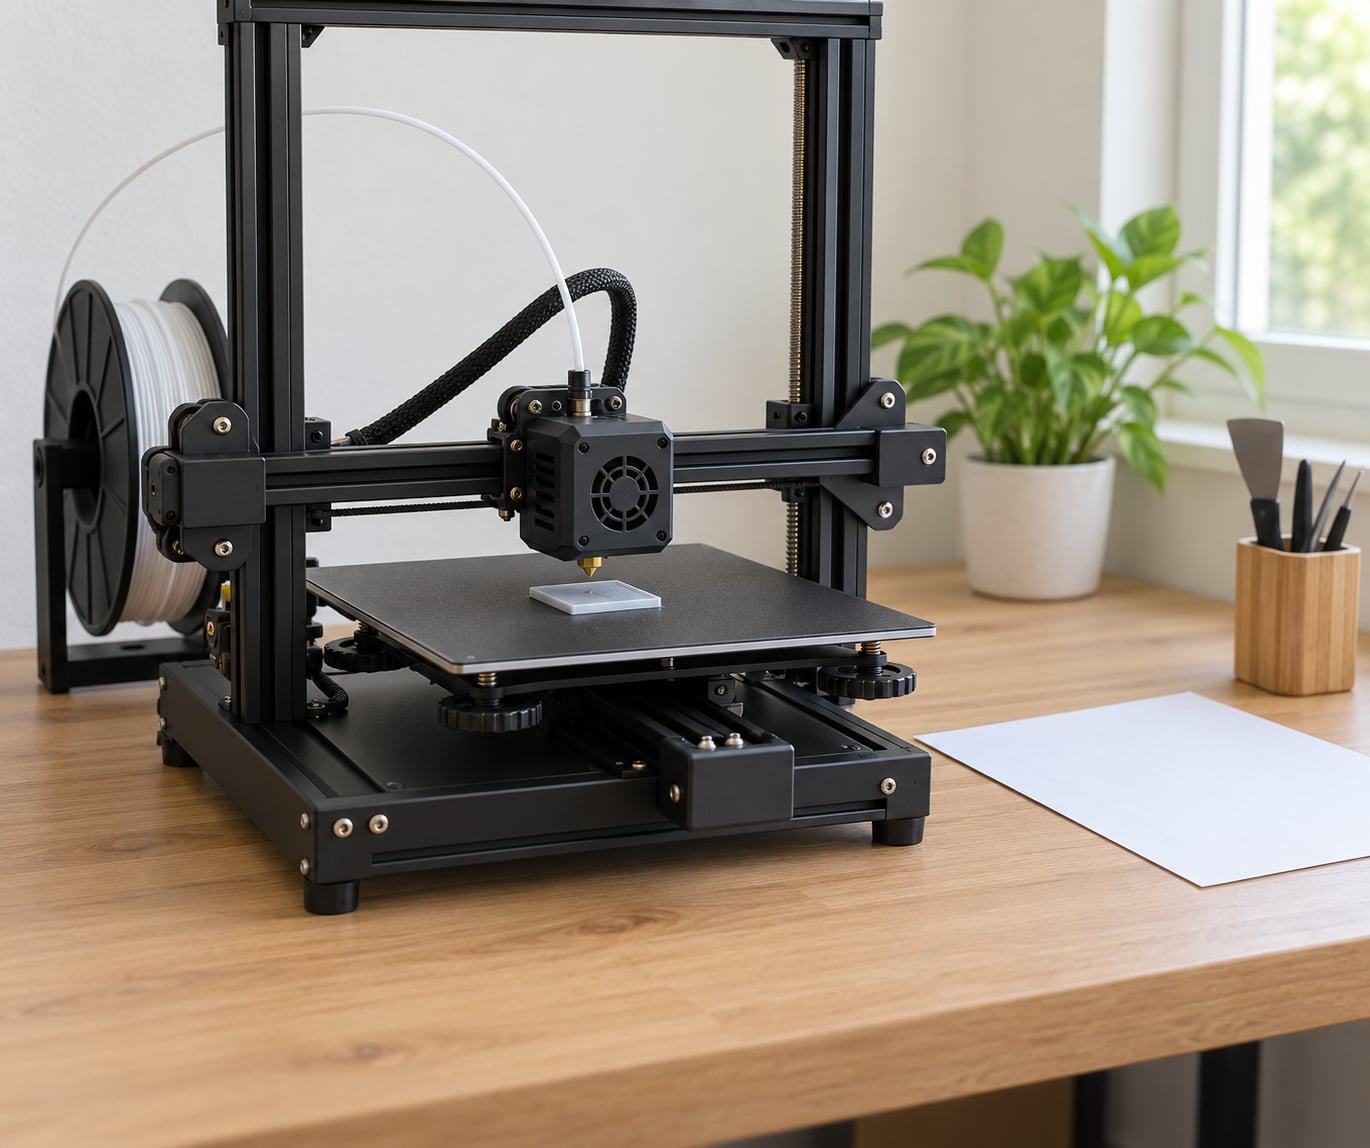
The paper test is still useful on manual printers. Slide a clean sheet of ordinary paper under the nozzle, lower the nozzle, and tighten the knob until the paper drags with light resistance, then back the knob off a quarter turn. Treat it as a feel check, not a measurement. Duet engineers have pointed out for years that paper is a feeler gauge, so the nozzle ends up roughly 0.1mm above the plate rather than at zero.
Never force the bed upward into a hot nozzle. If the paper will not move at all, back the knob off and start again.
4. Check the Center and Four Corners
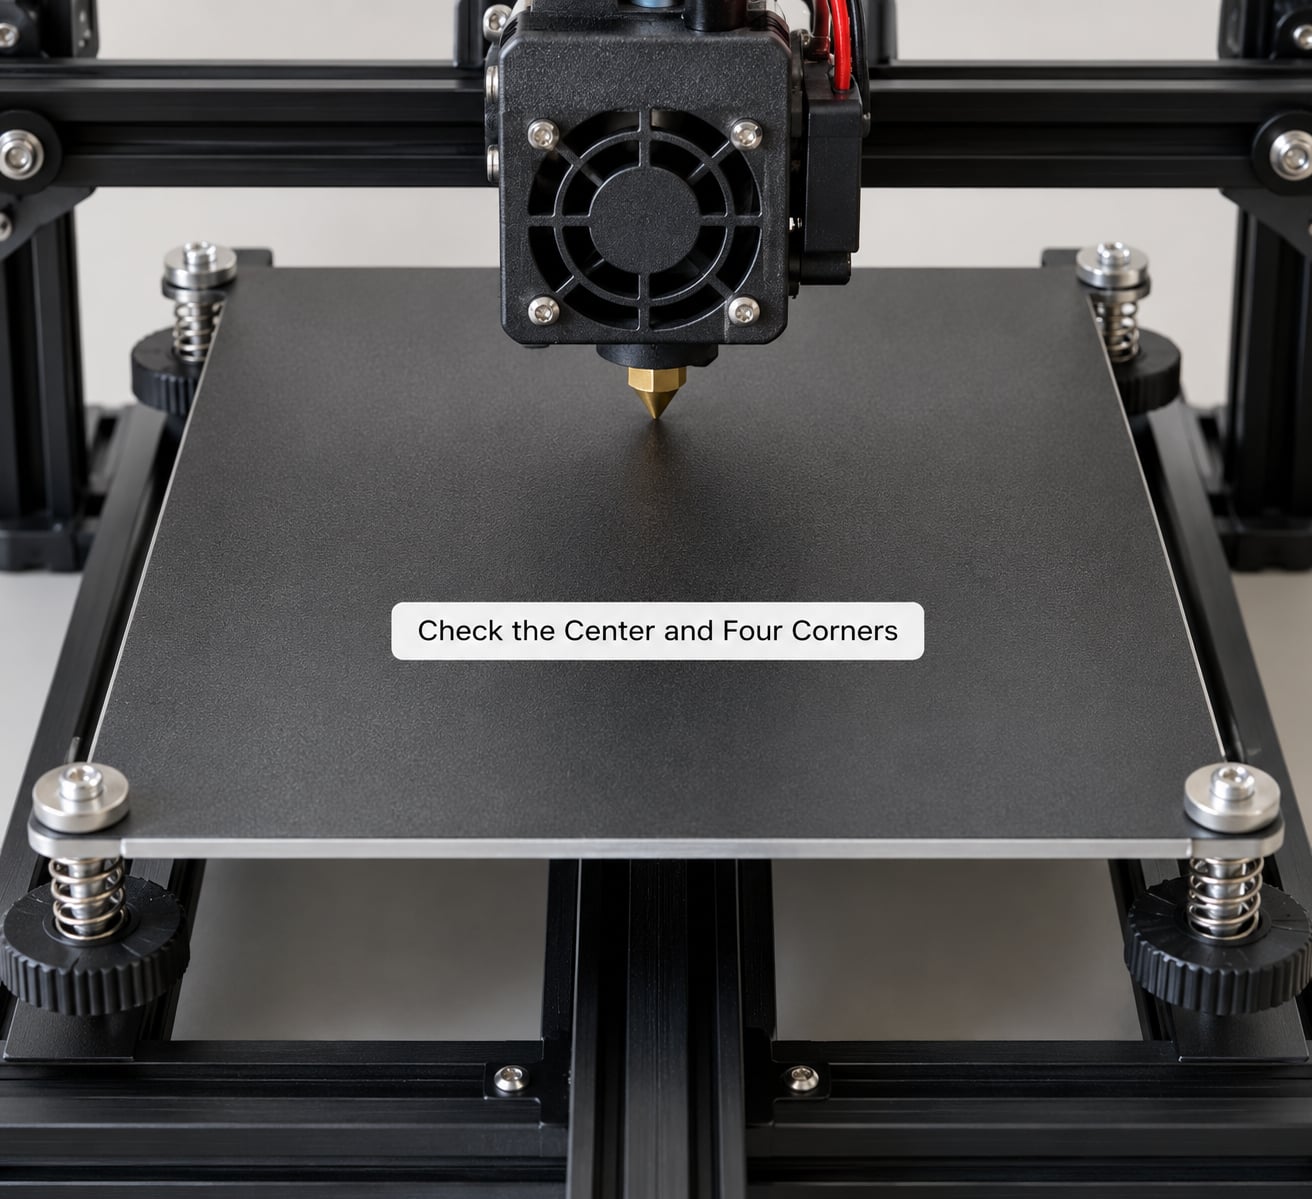
Send the nozzle to the center of the plate and do the gap check there. Then repeat at each of the four corners, where most printers have their own adjustment knob, screw or spring.
Corners usually need more adjustment than the center because the mounting points sit further from the plate’s center of mass. Delta printers are the exception: their bed usually hangs from a single center adjustment screw, so there are no corners to turn and the mesh only has to correct for a plate that flexes.
If a corner will not hold adjustment after two careful attempts, stop and check the manual for that model’s frame or tension procedure. A loose bed mount or a stripped thread will not be fixed by turning the knob harder.
5. Repeat the Leveling Checks
Every corner adjustment changes the angle the plate sits at, which shifts the center and the other corners. So one pass rarely holds. Repeat the sequence until adjusting one point barely moves the others.
A repeatable loop: center, front-left, front-right, back-right, back-left, then back to the center. Once the center no longer needs changes after a corner turn, you are close. At that point, switch to a full mesh or the printer’s automatic routine instead of five-point checks.
Sensor-based printers do this loop for you and probe more points, often 5 by 5 for 25 readings, up to 9 by 9 for 81. The extra points catch gentle curves that five-point leveling walks straight past.
6. Confirm the Setup With a Test Print
Print something small and flat using the same filament and temperatures you plan to use for real parts. A simple square outline, a raft, or a thin brim pattern is enough. Judge the result line by line.
Lines that look squashed and stuck together mean the nozzle is too low. Lift the nozzle by a fraction of a millimetre using your printer’s Z-offset setting or its baby-stepping feature, then print again. Gaps between lines mean the nozzle sits too high, so lower it the same small amount. Ridges or wrinkles along a line point to over-extrusion rather than bad leveling. A first layer that grips in the middle and lifts at the corners means the corners still need work.
PETG, ABS and flexible filaments all behave differently from PLA. PETG typically wants roughly 0.05mm more offset than PLA after calibration, because it flows harder and sticks more aggressively. Give each new filament its own test square.
Common Mesh Bed Leveling Mistakes Beginners Make
Almost every failed first layer traces back to one of the following.
Leveling with a cold bed. Cold readings do not describe the hot plate you are about to print on. Heat the bed and nozzle to your filament’s normal temperatures first, and re-run the mesh after a large temperature change.
Turning a corner knob without rechecking the center. The plate pivots, so the center drifts every time. Run the center-corner-center loop until the center stops moving.
Treating the paper test as universal. It works on manual Cartesian printers and poorly on heated beds, warped glass, and machines with an auto Z-offset already in firmware. Use the printer’s own routine where one exists.
Skipping the surface clean. A fingerprint or a thin film of grease reads as “good adhesion is impossible.” Wipe the plate before you calibrate and before you print.
Confusing Z-offset with bed level. Z-offset sets the overall nozzle-to-plate distance. Bed level spreads that correct distance evenly. If the mesh says the bed is uneven, changing Z-offset alone will not fix it, and turning Z-offset after a good mesh usually ruins the mesh.
Using the wrong test settings. Calibrating with the bed hot and then printing cold, or testing with PLA and printing PETG, gives you a measurement for the wrong job. Match the test to the real print.
Moving the printer after calibrating. Pick it up and carry it to your desk, or knock the frame on the way to the shelf, and the mesh is stale. Re-level before the next print.
One last tip that resolves most remaining complaints: re-run the mesh routine whenever you change the nozzle, swap the build plate, move the printer, or shift to a different filament. It costs a few minutes and removes the biggest variable.
Frequently Asked Questions
Do I need to level the bed every time I start printing?
Usually no. Once your bed mesh is stable, most printers reuse the saved height map, and re-probing every print only adds time. Re-mesh after moving the printer, changing nozzles or plates, changing filament, or after a visible first-layer problem. Run it every print if your setup shifts around a lot, such as a portable printer in a vehicle.
What is the difference between bed leveling and Z-offset?
Z-offset sets the single distance between nozzle and plate, and it applies everywhere on the bed. Bed leveling sets how much of that distance varies from point to point. A perfect Z-offset with a tilted bed still gives you a squashed corner or a gap. Most printers need both, set in that order: Z-offset first, then the mesh.
How should I use the paper test on a new 3D printer?
Heat the printer as if printing, park the nozzle over the center of a clean cold plate, and lower it slowly while sliding a clean sheet of paper underneath. Tighten until the paper moves with light drag, then back the knob off about a quarter turn. Repeat at the corners. Remember paper is a feeler gauge, so you end up roughly 0.1mm above the plate, not at zero.
Why is my first layer good in the center but poor at the corners?
The plate is higher at the corners than at the center, so the nozzle drags there instead of pressing the plastic down. Raise the corners, then recheck the center because adjusting them moves everything. If the corners will not hold, the mounting springs, screws or frame may be loose, and software compensation cannot fix a mechanical fault.
Does mesh bed leveling work the same way for PLA and PETG?
The mesh itself is filament-independent, but the settings around it are not. PETG flows harder and clings to smooth plates, so it usually needs a nozzle about 0.05mm higher than PLA and often a slower first layer. Flexible filaments shift under the nozzle and need gentler retraction. Always test with the filament you plan to print in.
Conclusion: What to Do First
Here is the sequence. Clean the plate, heat the bed and nozzle to your filament’s normal temperatures, run the printer’s own leveling routine, then print a small flat test square and adjust by fractions of a millimetre until the lines fuse without gaps.
Exact control names and adjustment order vary between models, so keep your printer’s manual open beside you and follow its sequence rather than any generic checklist. Updated for 2026.