How to flash firmware on a 3D printer safely comes down to four things: know exactly which controller board is inside the machine, download firmware built for that board, save a copy of every setting you have tuned, and keep the power on for the whole write. Most “bricked” printers I have seen were not damaged hardware at all. They were a mismatched firmware file or a USB cable pulled out halfway through a write, and both are avoidable.
A stock SD card update on a Creality-style board takes about five minutes and needs no tools. A Marlin build and upload through VS Code or Arduino IDE takes closer to 40 minutes the first time, most of it spent on configuration rather than on flashing. Klipper adds a second machine, usually a Raspberry Pi, so plan an evening for it instead of a coffee break.
Firmware is the low-level software on your printer’s mainboard that turns the G-code from your slicer into motor steps, heater setpoints and sensor readings. When it is stale or mismatched, the machine prints worse and, more seriously, it can lose the thermal runaway protection that shuts a heater down when temperature climbs past the setpoint without the sensor agreeing.
Nothing here is difficult hardware work. It is careful, methodical software work, and the difference between a smooth update and a dead board is usually fifteen minutes of reading before you start.
Table of Contents
- 1What You Need
- 2Step-by-Step: How to Flash Firmware on a 3D Printer Safely
- 3How to Flash Firmware on a 3D Printer Safely: Prepare the Printer
- 4Download and Verify the Correct Firmware
- 5Back Up the Current Configuration
- 6Connect Using the Correct Flashing Method
- 7Write and Verify the Firmware
- 8Complete the First Boot and Test the Printer
- 9Common Mistakes
- 10Safety and Recovery Tips
- 11What to Do If the Printer Will Not Start
- 12Frequently Asked Questions
- 13Can I flash firmware with the 3D printer powered on?
- 14Do I need to update firmware every time I update printer settings?
- 15Can flashing firmware erase my printer calibration?
- 16What should I do if the flashing software cannot find my printer?
- 17Is it safe to update firmware over Wi-Fi?
- 18How do I know whether the firmware update was successful?
- 19Conclusion
What You Need
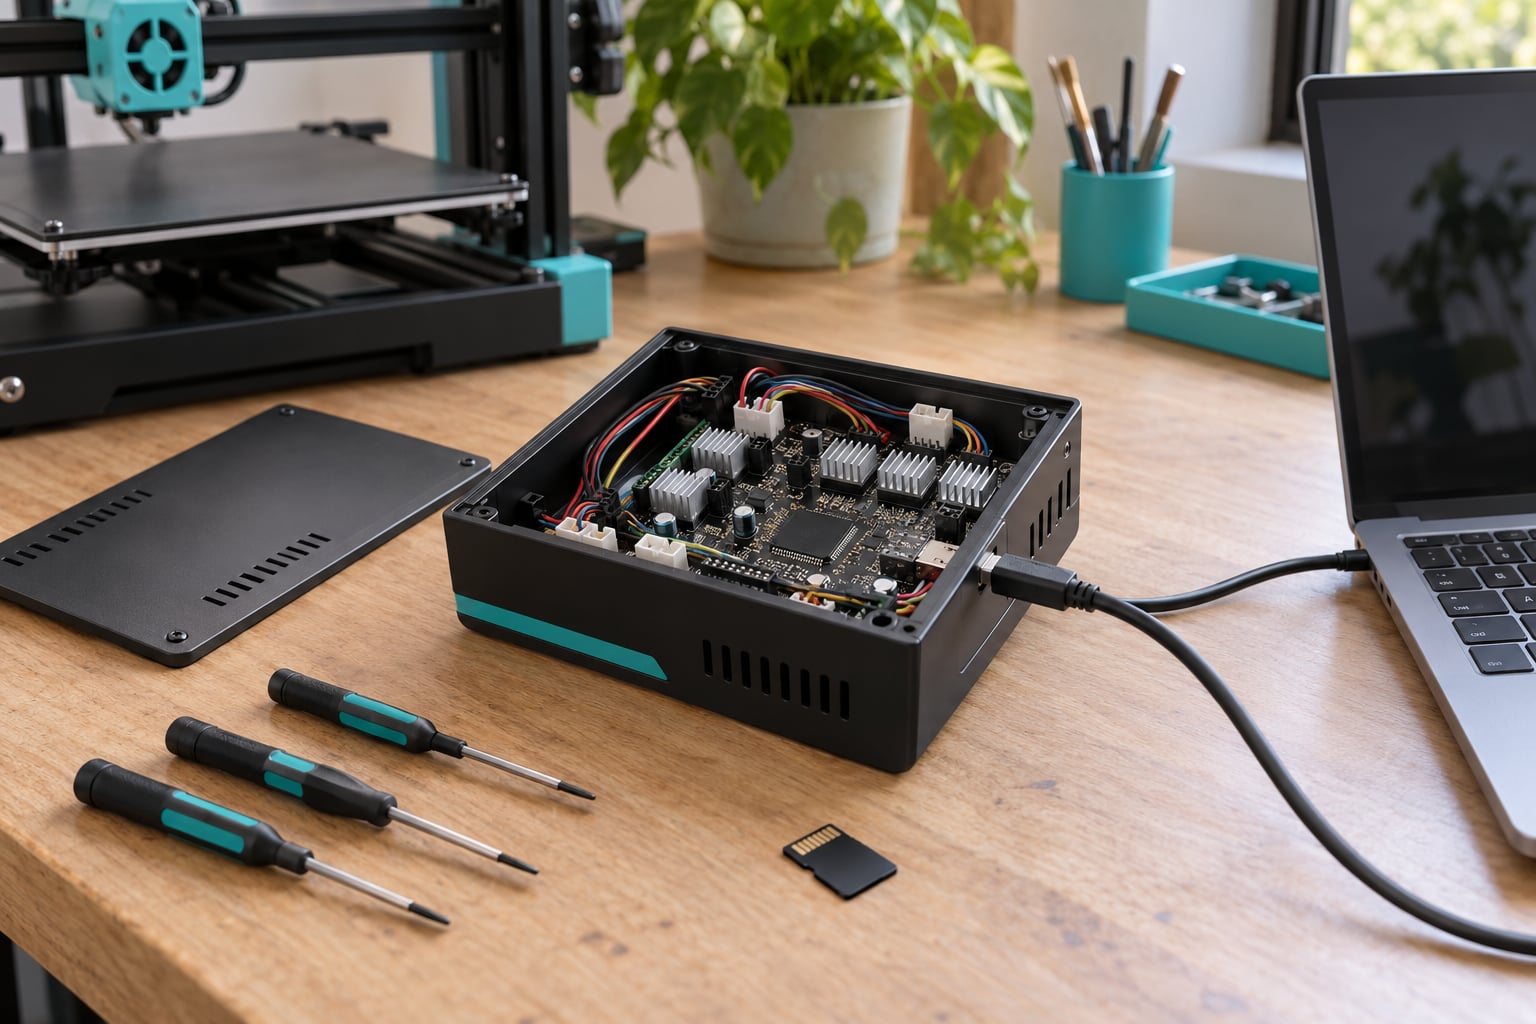
Before anything else you need to identify what is actually inside your printer. Open the electronics compartment, or remove the LCD and its holder on older Creality machines, and read the silkscreen on the board itself. You are looking for a chip marking such as STM32F103RET6, STM32F407VE, ATmega2560 or RP2040, plus a board revision number like 4.2.2, 4.2.7, 5.1 or E3 V3.0.
That single line of text decides everything else. A Creality 4.2.2 board is an 8-bit AVR running the vendor’s own bootloader. A 4.2.7 or a silent board is a 32-bit STM32 that uses a different bootloader entirely. Flashing Marlin to one and then to the other with the same file is how people end up with a printer that powers on and does nothing.
You also need the firmware platform your printer currently runs, and the platform you want it to run. Marlin and its forks run directly on the printer with no extra hardware. Klipper runs its heavy lifting on a Raspberry Pi or similar computer and keeps only a small microcontroller firmware file on the board. RepRap Firmware and Smoothieware behave differently again, and each vendor ships its own flashing utility with its own menu names.
- Your printer model and exact controller board revision
- The firmware file, matched to that board, taken from the manufacturer or the firmware project’s own releases
- A computer: Windows, macOS or Linux
- A microSD card, usually 8 GB to 32 GB, and a card reader
- A reliable USB data cable, not a charge-only cable
- A backup of your current configuration, saved somewhere outside the printer
- A way back in: an ISP programmer, or vendor access to a known-good stock firmware file
- An independent way to cut power, so you are never relying on the printer’s own switch during a fault
That last item is the one people skip. I use a switched power strip for every board-level flash. If a step goes wrong and the board starts cycling resets or pulling current hard, one flip stops it before the supply or the board takes damage.
Step-by-Step: How to Flash Firmware on a 3D Printer Safely
How to Flash Firmware on a 3D Printer Safely: Prepare the Printer
Start with the printer cool and idle. If you have just finished a print, let the hotend and bed drop below 40 degrees and give the part a few minutes to cool before touching anything. A printer that has just finished a print is also the machine most likely to resume printing on its own if a firmware change resets it, so stop any active job in your host software first.
Power the machine down fully rather than leaving it on standby. Then disconnect the mains lead and wait about 30 seconds before opening the case. Some boards back-power the display and SD reader from the USB port, which is why a printer with USB plugged in and the power switch off will still show a live backlight. Unplug the USB cable too until you actually need it.
Note the details of your current setup while the printer is open and still working, not after you have already changed something. Look for jumper shunt positions, particularly the two sets that select 5V or 24V supply for fans and stepper drivers on older boards. Photograph the jumpers before moving them. A photo of the original position is worth more than a written note, because it also captures the board revision and cable routing in the same frame.
Confirm three things before you write anything: the firmware environment or binary target that matches your chip, the serial port the board will appear on, and the connection mode. For an STM32F103 board that normally means a USB serial port named something like COM3, /dev/ttyUSB0 or /dev/tty.usbserial-XXXX, at 115200 or 250000 baud. For an AVR board being flashed over USB you need 115200 baud. Get the port name from the boot screen first if you can: most Creality LCDs show a USB serial port value on their information page, and Marlin and Klipper both print it on the mainboard boot log.
Remove stale configuration data only when the method calls for it. Over SD, deleting the old configuration file and the old firmware file from the card prevents the board from booting a stale image. Over USB with a bootloader you do not need to erase anything first, and if a vendor utility has an erase option, leave it alone unless its documentation tells you to use it.
Download and Verify the Correct Firmware
Get firmware from the printer manufacturer, from the controller project itself, or from a maintainer whose build files you can trace back to that project. For Marlin, the source lives in the official repository and the release files are published there. For Klipper, the microcontroller firmware file comes from the Klipper project’s build server once you have compiled it for your board, and the printer configuration comes from Klipper’s own example configurations or a configuration validated for your model.
Creality publishes prebuilt firmware.bin files on its own support pages. Community maintainers such as TH3D, Kersey Fabrications and Jay Aristide publish prebuilt images too, and those saves a beginner an entire build cycle. The trade is that you inherit that maintainer’s choices, which is usually a good deal for a first upgrade and a poor one if your printer has modifications the maintainer did not have in mind.
Match the file to four things at once: printer model, board revision, hardware features, and regional power requirements. A firmware build for a printer with a BLTouch or CR Touch differs from one without it, because the probe changes the homing routine and the Z offset handling. Builds for 110V and 230V heaters differ in their maximum temperature settings, and getting that wrong on a 110V machine is a genuine hazard rather than a paper cut.
Check the file type before you copy anything. A firmware.bin is a compiled binary that goes straight onto an SD card or through a flashing utility. A firmware.hex is Intel HEX for a programmer or for a compile-and-upload workflow, and it cannot simply be renamed into a .bin. Some RP2040 and STM32 boards use a .uf2 file that is copied onto a drive which appears in bootloader mode. Match the extension to the instructions for your board.
Do a last sanity check on the name and the size. A mainboard firmware image is typically a few hundred kilobytes; if your download is 2 KB you grabbed a webpage or a link, not the firmware.
Back Up the Current Configuration
This is the step that separates a five-minute fix from a two-day rebuild. Save it before you download anything new, while the printer still works.
On Marlin, your tuned settings live in two files inside the source tree. Configuration.h holds pin assignments, thermistor types, steps per millimetre and feedrates. Configuration_adv.h holds acceleration, jerk, linear advance and advanced probing behaviour. Copy both out of the Marlin folder on your computer and keep them in a dated folder somewhere outside your build directory. Some Marlin builds store compiled settings in the board’s EEPROM instead, so back that up too: in Marlin, use M500 to write current settings to EEPROM and M501 to read them back, and on a stock Creality screen the equivalent is the save-configuration option in the settings menu.
On Klipper, the equivalent is the printer.cfg file plus anything it includes, and the machine needs a full copy of its config directory, not just the main file. Klipper’s web interfaces let you download it directly: in Fluidd, open the Configuration section and use the download button; in Mainsail, use Machine, then the file manager or the download option in the configuration area. Download printer.cfg, any macro files and the web directory if you have customised it. Record the MCU serial identifier while you are there, because a board swap changes it and every Klipper config references it.
Write down the numbers that took you an afternoon to tune: probe offset or Z offset, steps per millimetre for each axis, extruder steps per millimetre, retraction distance and speed, PID values if you have autotuned them, and any mesh or bed levelling data. Filament runout pin numbers, BLTouch servo angles and custom start G-code belong on the same page. Photographs of the LCD menu screens work as well as text for anything you configured through a display that has no file.
Keep the backup somewhere the flash cannot touch. A folder on the same machine is fine; the root of the microSD card is not, because the next step is to format that card.
Connect Using the Correct Flashing Method
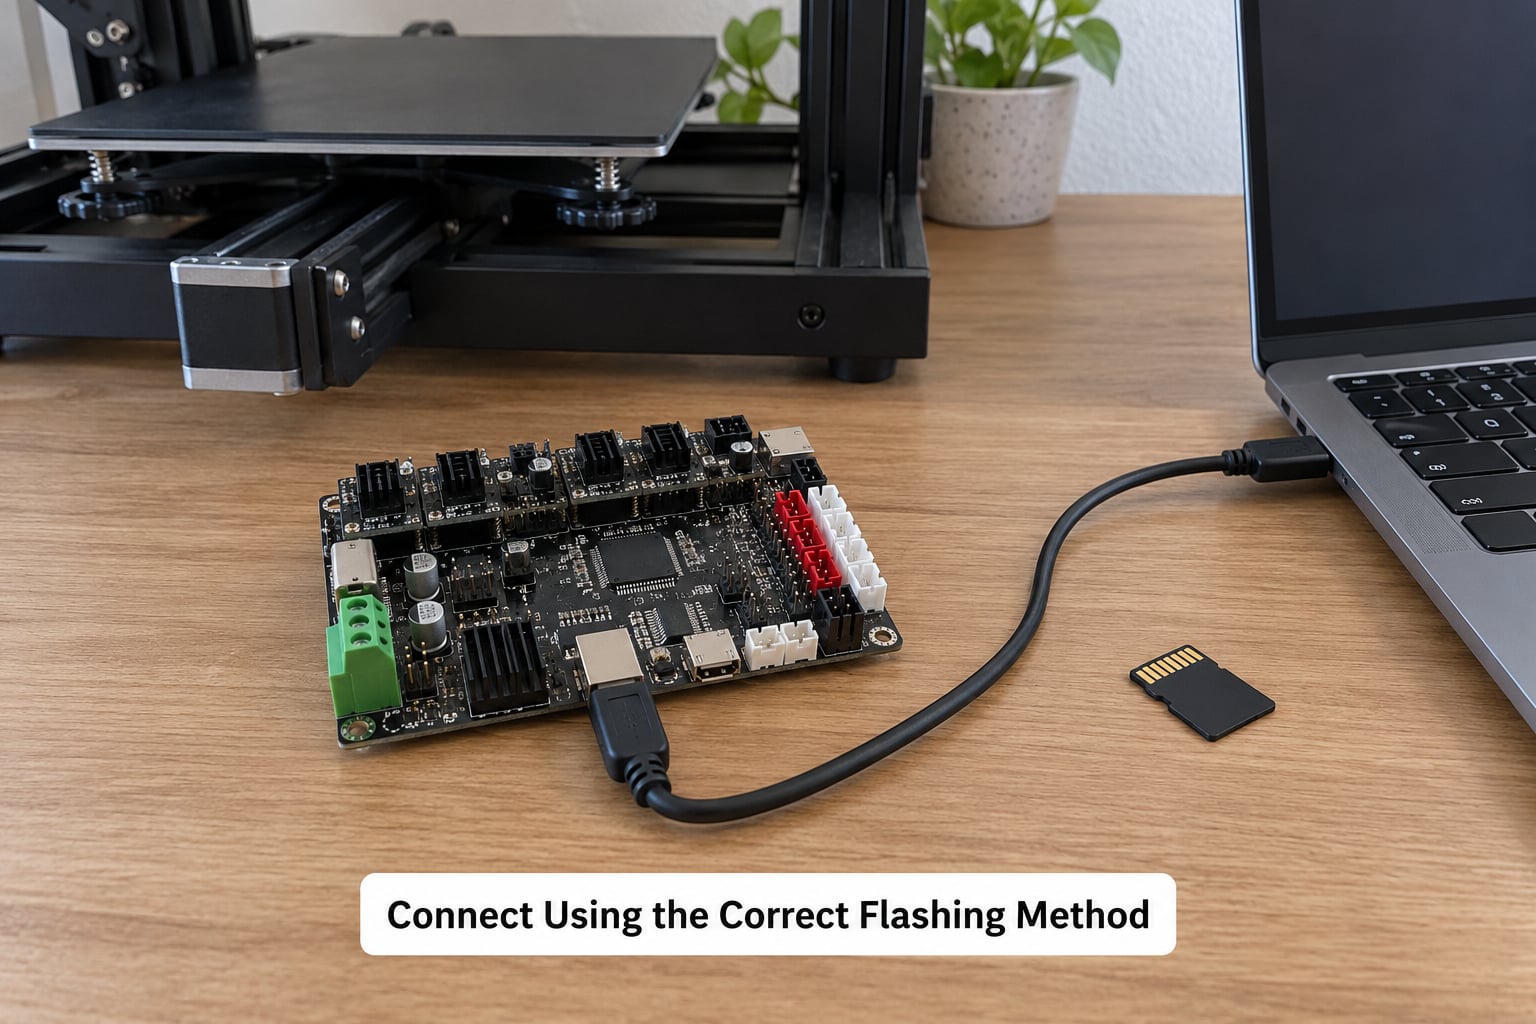
Four methods cover almost every printer out there. Which one you use depends on your board and whether it has a working bootloader.
SD card boot update. The simplest method on Creality 4.2.2, 4.2.7 and silent boards, and on plenty of vendor clones. You format the microSD card, copy firmware.bin to the root, insert it, and power on. Many of these boards show a short progress bar on the LCD. The printer reboots automatically at the end. There is a catch specific to some models: the printer may only read the card on certain boot states, so if it ignores the card, move the file or try a differently formatted card before assuming the card is faulty.
USB serial through the bootloader. This is the right choice for STM32 boards whose bootloader is intact, and it is how you install Marlin on most 32-bit printers. Arduino IDE with the STM32 board package, PlatformIO inside VS Code, STM32CubeProgrammer, or Creality’s own board tools all work. Arduino IDE needs the flash algorithm file in its boards folder and sometimes a manually added programmer entry. PlatformIO handles the same upload with far less setup, which is why most experienced builders use it. The vendor utilities are the least fiddly if you stayed on stock firmware and want to go back to it later.
ISP programmer. An AVRISP mkII, USBasp or similar programmer wired between your computer and the board’s ISP header bypasses the bootloader entirely. It works on a board with a corrupt bootloader, which is why it is the standard recovery path. It also writes the bootloader itself, which is the step needed before a fresh board will accept normal USB uploads.
Network or over-the-air install. If your printer runs Klipper, or if a vendor ships a browser-based or OctoPrint-based updater, the flash happens over the network or from your host software. This is convenient and it is also the least recoverable option, so save your configuration first.
Plug in a direct USB port on the computer rather than a hub, and use a cable known to carry data. Charge-only cables are the single most common reason a tool reports “no serial port found.”
Write and Verify the Firmware
If you are compiling from source, the build has to finish cleanly before anything is written. In VS Code with PlatformIO, open the Marlin folder, edit Configuration.h, pick the correct environment from the PlatformIO sidebar to match your board and processor speed, then run Build. Read the output rather than skimming it. A build that ends with warnings is usually fine. A build that ends with an error produces no uploadable file, and clicking Upload anyway will not help.
If you are using a prebuilt binary, this step is just a file transfer. Either way, the sequence before the write is the same: select the port, select the connection method, and enter bootloader mode where your board needs it. STM32 boards that expose BOOT0 and BOOT1 jumpers need both set to boot mode. Some Creality 4.2.7 and silent boards instead have two tiny buttons on the board, usually marked BOOT and RESET, which you hold while pressing power. On RP2040 boards you hold the BOOTSEL button while plugging in USB.
Watch the output line by line during the write. A healthy STM32 upload erases the flash, writes the sectors and finishes with a verification step. Any error in that sequence means the flash contents are now undefined, so stop and fix the cause rather than trying to boot the result. Do not disconnect the cable or cut power while the write is in progress; a partially written flash is the difference between a firmware problem and a board replacement.
On SD card updates, wait for the printer to finish its automatic restart, then power it down before you touch the card. Removing an SD card while the board is reading it corrupts the filesystem, and a corrupt filesystem is exactly the problem some owners reported after an update that appeared to go fine.
One point worth stating plainly: a successful transfer is not the same as a valid flash. The file transferred, the tool reported success, and the board still booted to a blank screen is a real combination, and it usually means the wrong environment, a wrong processor speed or a bootloader that expects a different image. Verify the result by watching what the board does next, not by trusting the tool’s final line.
Complete the First Boot and Test the Printer
On the first boot after a successful write, keep the printer in reach and your hand near the power cutoff. A Marlin or Creality board prints a boot log to the screen or to a connected serial terminal listing firmware version, board type and EEPROM settings. Klipper prints its startup and looks for each MCU by serial ID; if it cannot find one, the connection is wrong rather than the firmware being bad.
Restore your saved settings. On Marlin, restore Configuration.h and Configuration_adv.h before the next build, or write the backed-up EEPROM values back with M501 followed by M502 and M500 if you saved them that way. On Klipper, upload your printer.cfg and macro files through Fluidd or Mainsail and restart the firmware service. Then check that the extruder is heating and the bed is heating when you command it, and that the reported temperatures are plausible on both.
Verify motor direction before the printer moves far. With the printer on a flat surface and nothing in the way, jog each axis a few millimetres from the host interface and confirm the axis moves the direction you expect. A reversed axis after a firmware change is nearly always a pins or direction setting that differs between builds, not a mechanical fault, and it is cheap to fix at 5 mm and expensive to fix at 200 mm.
Home cautiously. Raise the Z offset a little higher than usual for the first home so that even a wrong probe offset cannot drop the nozzle onto the glass. Then move the nozzle over the bed, lower it slowly with the paper-drag method, and set your Z offset again if the value did not survive the flash.
Run a small test print before you restore normal operation. A single-layer temperature tower plus a short 20 to 30 mm cube tells you whether extrusion is right, whether the first layer adheres and whether anything is dragging. Check the first layer closely. If it is not stuck to the bed, fix the offset before printing anything else.
Common Mistakes
The wrong board or the wrong file. Symptoms: the printer powers on, the screen stays blank, or the boot log reports an unexpected board type. Cause: a firmware built for a different revision, most often 4.2.2 firmware on a 4.2.7 board. Fix: re-read the silkscreen and rebuild for the exact environment. Check regional voltage settings too before writing anything else.
Bootloader mode never entered. Symptoms: the flashing tool finds no target, or finds the board then loses it. Cause: jumpers or buttons in the wrong state, or holding the button too late. Fix: hold BOOT and press the power button, release power then release BOOT, and confirm with a USB device listing that the board shows up as a DFU or bootloader device before starting the write.
No serial port found. Symptoms: the tool lists zero devices, or only one and it is wrong. Causes: charge-only USB cable, USB hub, a driver missing on macOS or Windows, or a board that only enumerates once boot mode is active. Fix: swap the cable first, try a direct port, then install the board’s driver.
The SD card is ignored or the file name is wrong. Symptoms: the printer boots to the old firmware, or shows a screen error. Causes: FAT32 formatting, the file sitting in a subfolder, an unexpected file extension, or a card size the board does not like. Fix: format as FAT32, copy the file to the card root, confirm the name matches exactly what the board expects including the extension, and try a different card. Formatting alone does not fix some of these, so change one variable at a time.
Incomplete or corrupt write. Symptoms: random resets, garbled display, a board that dies partway through boot. Causes: unstable USB, a hub, power loss mid-write, or removing the SD card too early. Fix: use a direct port, keep power on, and let the SD card update run through its automatic restart before removing it.
Lost EEPROM values. Symptoms: steps are wrong, the bed probe behaves oddly, runout sensing is dead. Cause: firmware that reads default settings, or an updated build that resets stored values. Fix: restore the EEPROM dump or re-enter the settings. This is why the backup step exists.
Probe does the wrong thing after the flash. Symptoms: the nozzle crashes into the bed, or the printer runs to its limits on the first move. Cause: a build with no probe configured on a printer that has one, or a build expecting a BLTouch where you have a CR Touch, or a stale probe offset. Fix: match the probe type in the build, re-run the offset procedure with the nozzle raised, and check the Z homing behaviour before a real print. One owner on r/3Dprinting reported exactly this after an update: the printer crashed into build plate limits at random until the probe type matched again.
Network or web interface will not come back. Symptoms: Fluidd or Mainsail refuses to load after a Klipper flash. Causes: the new MCU serial identifier is not in printer.cfg, a changed baud rate, or the Pi lost network config. Fix: connect by SSH or a monitor and keyboard, check the serial identifier with lsusb or ls /dev/serial/by-id, correct it in printer.cfg, restart the firmware service.
Apparent success, failed startup. Symptoms: the tool reports success, the printer shows a logo and nothing else. Cause: usually the environment or processor speed flag is wrong, so the firmware is valid but written for different hardware. Fix: rebuild with the correct environment, or reflash the last known-good stock binary before trying anything else.
Safety and Recovery Tips
Thermal runaway protection is the reason firmware maintenance is not optional housekeeping. On Marlin it is controlled by settings such as WATCH_TEMP_PERIOD, WATCH_TEMP_HYSTERESIS and the heater-specific temperature limits. A build with protection disabled, or with limits raised far above what your hardware can safely reach, removes the last automatic defence between a failed sensor and a melted bed or a smoking hotend. Check it after every flash.
Keep power stable for the whole write, and use a connection you trust. A direct USB port and a mains supply that is not sharing a circuit with a kettle or a laser cutter make interrupted writes much less likely.
Keep your recovery firmware. Two files matter: the last known-good stock binary, and the previous good configuration. Store them on the same computer as your build, in a folder named for the printer and dated.
Know how to enter bootloader mode before you need it, not during. It takes five minutes to learn on a machine that works, and it is the single most useful five minutes you can spend before starting.
Never diagnose a persistent fault on hardware the instructions tell you to isolate. If the manual says to disconnect power before checking wiring, disconnect it. Live probing on a board with a crashed supply is how a logic fault becomes a dead board.
Use an independent heater cutoff or switched power strip where the board supports it, and know which switch controls the printer before anything starts smoking.
What to Do If the Printer Will Not Start
Work in order, cheapest step first, and stop as soon as it comes back.
Read the serial log before touching anything else. Connect over USB at the right baud rate and open a serial monitor. A board with a valid bootloader and no firmware prints nothing at all. A board running incompatible firmware often prints noise or repeats a reset line. A board with a working firmware and a broken screen prints its whole boot log, which tells you the printer is fine and the display is the problem.
Re-enter bootloader mode. Hold BOOT or set the jumpers, power the board, confirm the device enumerates as DFU or as a bootloader serial port, then flash the last known-good binary. This single step fixes most “bricked” printers, including several cases owners described on r/3Dprinting after a failed community firmware install left the screen stuck with no way back.
Try the SD card route even if the board seems dead. Put the known-good firmware.bin on a freshly formatted card and power on. On boards that read the card early in boot, this works when USB will not.
If the board enumerates but never accepts a write, power down and check the supply. Under-voltage or a cracked capacitor will let USB enumerate and then fail mid-write. Look for discolouration around the stepper driver chips and the input capacitors while the board is unpowered.
If there is still no response, attach an ISP programmer. For AVR boards this writes the bootloader and then the firmware with avrdude. For STM32 boards use SWD with an ST-Link and STM32CubeProgrammer. Both work on a board with no bootloader at all, which is the situation this method exists for.
Use the manufacturer’s rescue procedure last but before giving up on the board. Creality, Prusa, Bambu Lab and Anycubic all publish a reset or recovery path, and on several models a full reflash with the vendor tool restores a board that other methods cannot reach.
If the board is confirmed dead and the rescue path fails, replacement is cheaper than diagnosis at that point. Boards such as the SKR Mini E3 are inexpensive precisely because the alternative is a printer sitting unusable.
Frequently Asked Questions
Can I flash firmware with the 3D printer powered on?
No, not for SD card updates. With that method the printer must be powered off when you insert the card, then switched on to read the file. USB and ISP flashing are the reverse: the board needs power during the write, so never cut it mid-transfer. Keep mains power connected throughout a USB flash and use a switched strip if you need a fast cutoff.
Do I need to update firmware every time I update printer settings?
Usually not. On Marlin, most tuning lives in Configuration.h and Configuration_adv.h and can be edited and rebuilt without touching what runs on the board right now. Some builds keep values in EEPROM instead, so check which style yours uses. Firmware updates matter when you change hardware, like a new probe, board or sensor, or when you want fixes to thermal protection and motion planning.
Can flashing firmware erase my printer calibration?
It can, and it does often enough that you should assume it will. Settings stored in EEPROM reset to defaults unless you restore a dump or set them again. Probe offsets, steps per millimetre, retraction and PID values are the usual casualties. That is why you save a configuration backup and take photographs of the LCD menus before starting, not after.
What should I do if the flashing software cannot find my printer?
Swap the USB cable first. Charge-only cables carry no data and are the most common cause by a wide margin. Then try a direct port instead of a hub, confirm the board is in bootloader mode so it enumerates as a DFU device, and install the driver your operating system needs. On macOS and Windows, check the device manager or system information for any unknown USB device that appears when you hold the boot button.
Is it safe to update firmware over Wi-Fi?
It works, and it is how Klipper and several vendor updaters handle updates, but it removes your safety net. A dropped connection mid-write leaves undefined flash contents, and you cannot reach the printer to fix it if it drops at the wrong moment. Over a network update, keep the printer powered from a stable supply, save your configuration first, and know the USB recovery path before you start.
How do I know whether the firmware update was successful?
The flashing tool reporting success only means the transfer finished. Watch the boot: the printer should start its normal sequence, show a readable display or a full boot log, hold temperature at room temperature, and respond to a command from your host software. Klipper should find every MCU by serial identifier. Then home cautiously and print a small test before you trust it with a real job.
Conclusion
Three things keep a firmware update boring: read the board revision off the silkscreen before you download anything, save your configuration and calibration to a folder outside the printer, and confirm the file matches your board, your hardware and your mains voltage. With those three done, flashing is a short, repeatable job. Keep a known-good stock binary handy, learn the bootloader button combination while the machine still works, and you have a recovery path for every failure that follows.