To set up a webcam for print timelapses, mount it so the whole build plate stays in frame, switch autofocus and auto exposure off, and drive the capture with OctoPrint and the Octolapse plugin so a frame is grabbed on every layer change or on a fixed timer. The frames get compiled into a sped-up video at the end. Budget roughly 30 minutes for the first setup and about a day of tinkering to get it right.
Most people who get bad print timelapse footage have the same two problems: the camera hunts for focus and never settles, and the brightness changes frame to frame. Neither is a software bug. Both come from leaving a control on automatic.
This guide covers the whole chain, from choosing a webcam through downloading the finished file, plus what to do when a printer is enclosed in an acrylic box.
Table of Contents
- 1What You Need
- 2How to Set Up a Webcam for Print Timelapses: Step by Step
- 3Step 1: Choose a Stable Camera Position
- 4Step 2: Connect the Webcam and Set Up OctoPrint and Octolapse
- 5Step 3: Frame the Printer and Build Area
- 6Step 4: Improve Lighting and Reduce Glare
- 7Step 5: Set Focus and Exposure So Nothing Drifts
- 8Step 6: Configure Timelapse Recording for Print Timelapses
- 9Step 7: Run a Test Print and Start Recording
- 10Common Mistakes and Quick Fixes
- 11Frequently Asked Questions
- 12What type of webcam is best for 3D printer timelapses?
- 13How do I keep the exposure consistent during a print timelapse?
- 14Should I record at 30 fps or use a time-lapse interval?
- 15Can I use a webcam while the 3D printer is enclosed?
- 16What software can I use to record a webcam timelapse?
- 17How far should the webcam be from a 3D printer?
- 18Conclusion
What You Need
The cheapest workable setup is a USB webcam, a Raspberry Pi running OctoPrint, and a clamp mount. Everything else is refinement.
- A USB webcam with manual focus. A physical focus ring is the single feature worth paying for, because it lets you dial the build plate in sharp at close range. The Logitech C270 is the community default for exactly that reason, and the C920/C922 class is the most common recommendation for people who want a cleaner image.
- Something to run OctoPrint on. A Raspberry Pi 4 is the usual answer. A Pi 3B+ works. A Pi Zero 2W can capture snapshots but is painfully slow at rendering the final video, and can stall the printer’s command stream while it works. An old Android phone running OctoPrint for Android is a solid alternative that gives better image quality than a cheap Pi camera.
- A mount that does not touch the printer. A small tripod, a monitor arm clamped to the desk, or a printed bracket. Bolting the camera to the printer frame transfers every vibration into the shot.
- A powered USB hub. A Pi with a webcam and a printer both plugged in can brown out. A hub with its own power supply removes a whole class of random dropouts.
- A data-capable USB cable. Charge-only cables are the quiet reason many people conclude their webcam is broken.
- Steady, non-dimming light. A ring light, a photography LED panel, or a strip mounted outside the enclosure.
- Optional but useful: OctoEverywhere or Obico for remote monitoring from the same camera, and a desktop or laptop to render the finished video.
Put the Pi on a shelf or a wall mount rather than on the printer itself. Vibration through a frame is a known cause of microSD card corruption, and the Octolapse wiki notes that good lighting also cuts snapshot acquisition time, which shortens the pauses between layers.
Before you buy anything else, decide which capture route you are taking. All three produce the same finished video; they differ in effort and image quality.
| Route | Hardware | Image quality | Best for |
|---|---|---|---|
| OctoPrint on a Raspberry Pi with a USB webcam | Pi 4 plus a USB webcam | Moderate, usually 720p or 1080p depending on the webcam | The default choice, and the one with the most troubleshooting guides online |
| OctoPrint on a retired Android phone | Old phone running OctoPrint for Android, plus a camera app | Noticeably better than a budget Pi camera | Anyone who already has a spare phone and does not want to flash an SD card |
| Raspberry Pi camera module | Raspberry Pi Camera Module v2 on a ribbon cable | Clean and consistent, but needs board config edits | Fixed installs where you will not move the camera again |
| DSLR or mirrorless with a capture card | Camera, HDMI capture card, and a Pi or PC to trigger it | Best available, up to 4K | Channel videos and portfolio shots once the basics work |
The Pi camera route needs extra setup on recent Raspberry Pi OS releases, where the old driver configuration no longer applies cleanly. If you want the shortest path from unboxing to a finished file, use a USB webcam on OctoPi.
How to Set Up a Webcam for Print Timelapses: Step by Step
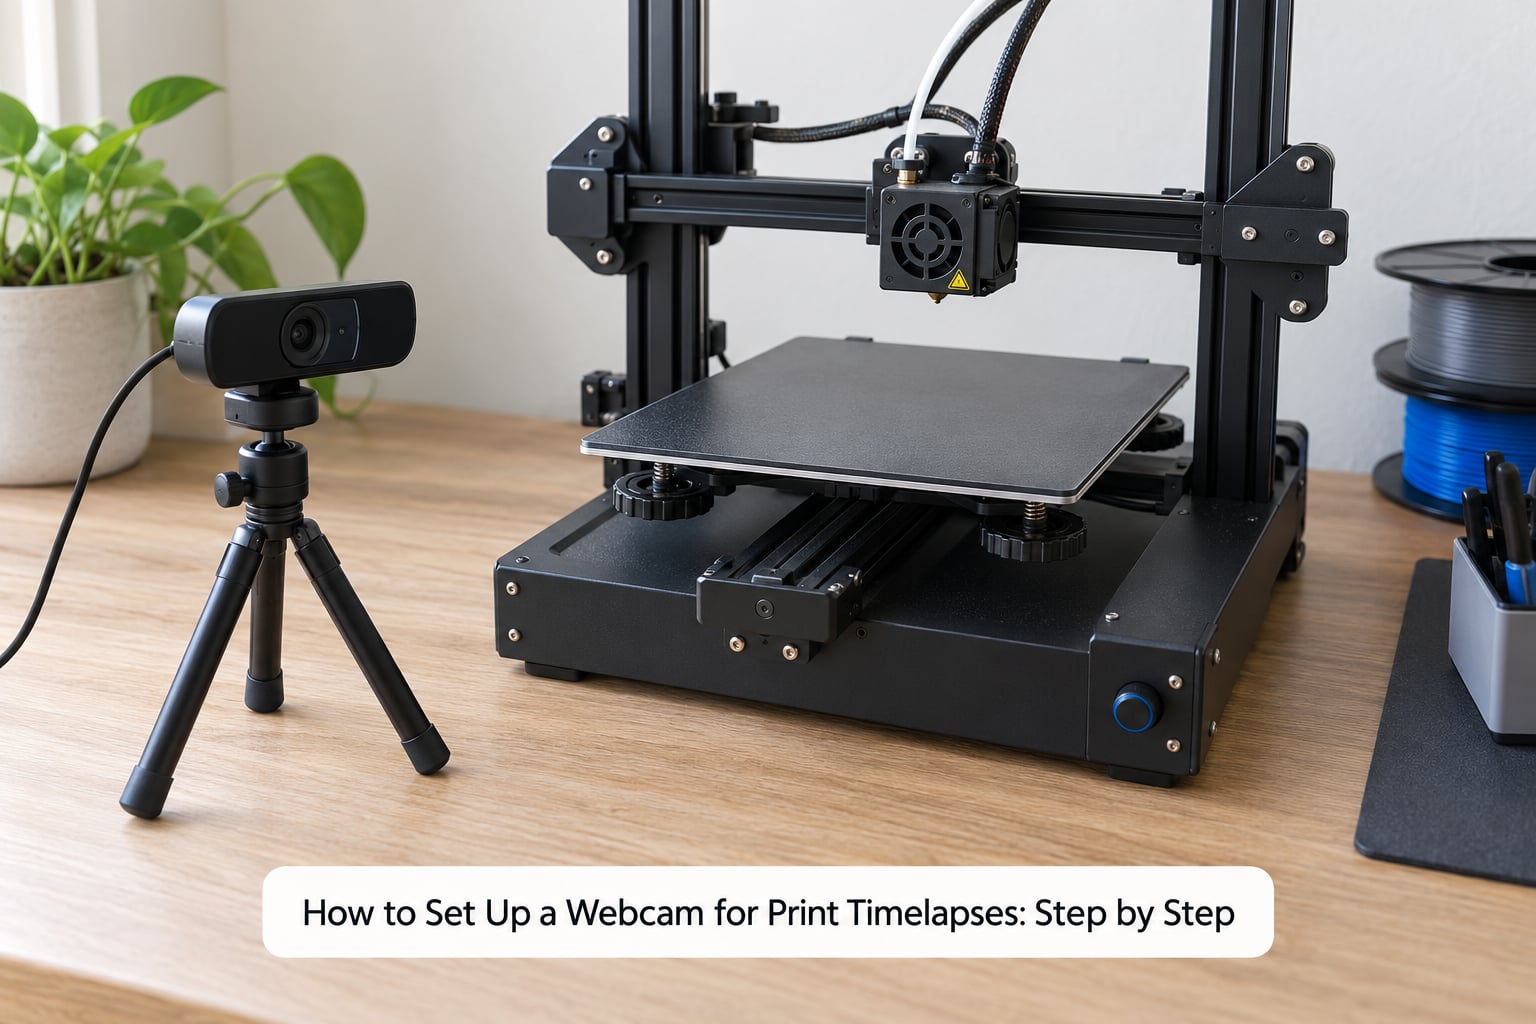
Work through these steps in order. The order matters because framing changes exposure, and lighting changes both.
Step 1: Choose a Stable Camera Position
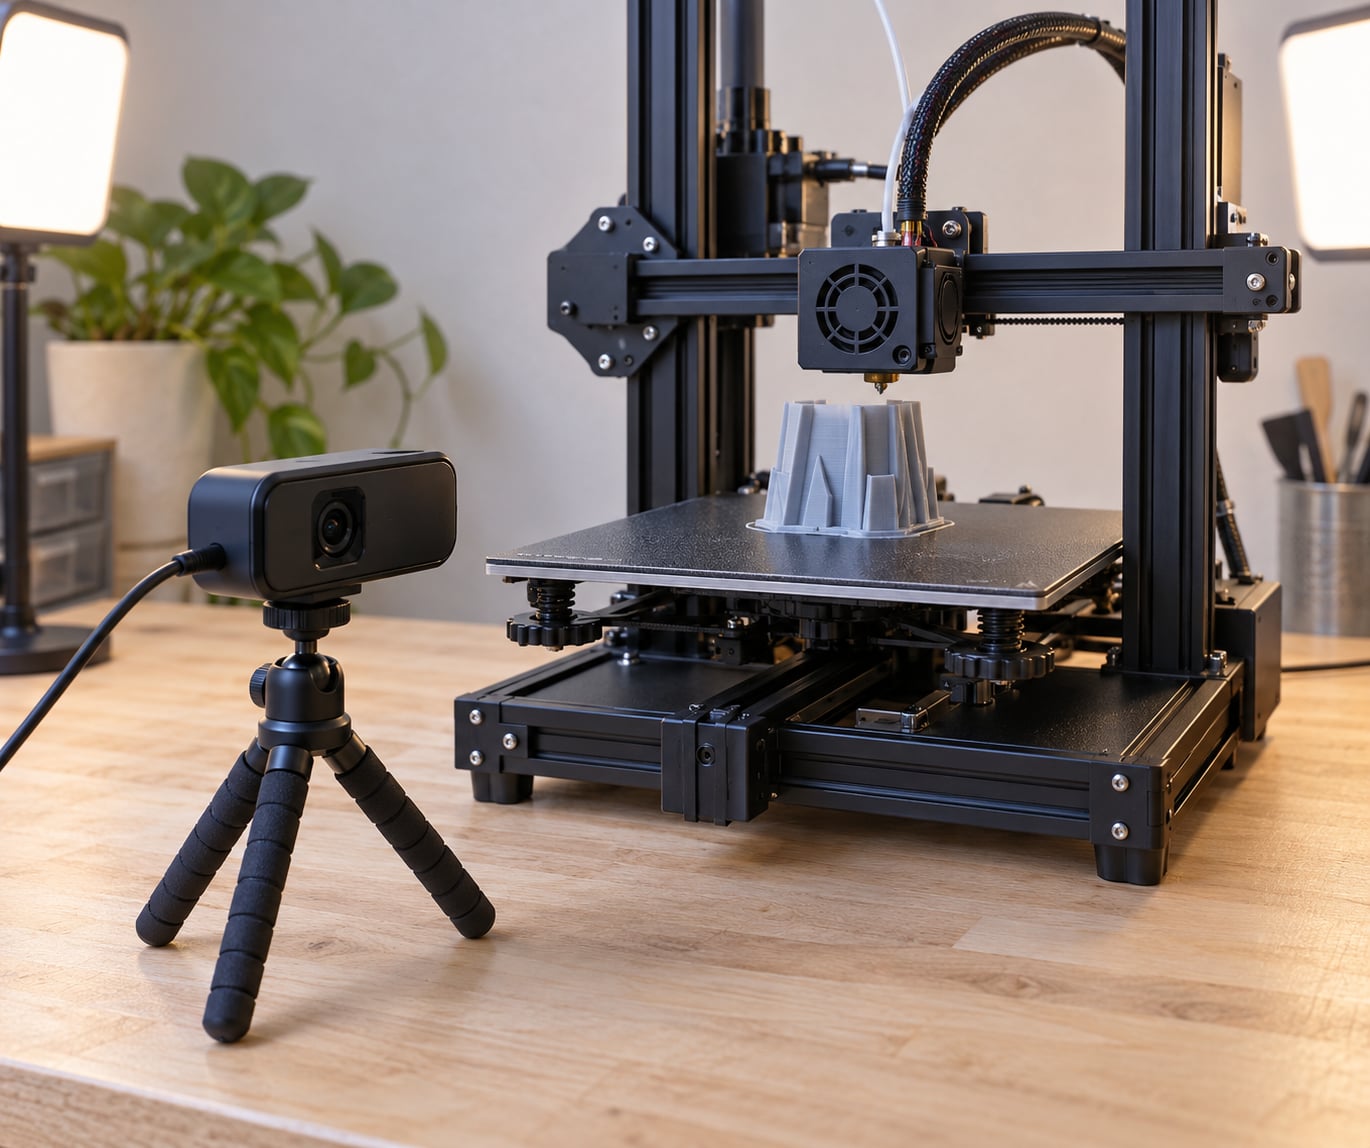
Mount the webcam front-and-center, angled down at roughly 20 to 45 degrees, with the lens about 30 to 45 cm from the front of the build plate. It worked if a full-height print stays inside the frame from the first layer to the last, without the camera shifting when you touch the machine.
Clearance is the part people skip. A camera positioned directly above the center of the bed gives the nicest shot and then blocks every time you need to reach in and remove a print. A front-three-quarter angle from a corner clears the bed and still shows layer growth well. Mount it on something weighted, so a knocked cable cannot swing the frame.
Four mounting options, cheapest first:
- A small tabletop tripod. Works, but drifts as the desk gets nudged. Add a dab of removable thread locker to the ball joint.
- A monitor arm or desk clamp. The most stable cheap option, and it moves easily when you change the angle.
- A printed bracket clamped to the printer’s own frame. Excellent framing, but only if the camera sits on a separate arm that does not touch the frame, otherwise you inherit every vibration.
- A wall or shelf mount with a short USB extension. The best for an overnight print, since nothing mechanical sits near the machine. Keep the run under about 3 meters, or the webcam will drop frames over unpowered-hub-quality distance.
Whatever you choose, tape the cable down along the mount. A cable that catches on a passing sleeve is the most common reason a frame tilts halfway through a print.
Step 2: Connect the Webcam and Set Up OctoPrint and Octolapse
Plug the webcam into the Pi, flash OctoPi to the SD card, boot it, and connect the printer over USB. In OctoPrint, open Settings, then Webcam & Timelapse, tick Enable webcam, and paste the two fields exactly as they appear in the docs:
Stream URL: /webcam/?action=streamSnapshot URL: http://127.0.0.1:8080/?action=snapshot
It worked if the live stream loads in the OctoPrint tab and the snapshot test returns a still frame within a few seconds. Then install Octolapse from Plugin Manager and restart. Octolapse is consistently described in the communities as the least frustrating path for beginners, because it handles the head-parking trick that makes the nozzle appear to stand still.
Step 3: Frame the Printer and Build Area
Use the live preview to center the printer, then leave about 10 percent margin on each side of the print volume. It worked if you can start a print from the live view and watch the whole bed stay inside the frame through a full Z travel.
Check three things before moving on: the gantry at full Y travel, the toolhead parked over the front-left corner, and the tallest print your printer can make. Most framing misses happen at the top of the Z axis, not at the sides.
Step 4: Improve Lighting and Reduce Glare
Use diffuse, indirect light from two sides and keep it on for the entire print. It worked if the preview shows even brightness across the bed with no bright hotspot on the print surface.
Glare comes off the spring steel bed, the glass bed, and the acrylic panels of an enclosure. Move the light source at an angle rather than overhead, and avoid pointing any lamp straight down the camera’s line of sight.
If frames flicker in a regular pattern, suspect PWM dimming. Cheap LED strips and desk lamps pulse their brightness at a low frequency to simulate dimming. The camera samples at a different rate than the human eye, so each frame catches a different point in the pulse cycle and the video strobes. Test it by filming the light source at its lowest dimmer setting and watching the preview: visible pulsing means that lamp cannot be used. Replace it with a light that runs at full brightness all night.
Inside an enclosure, mount the LED strip on the outside frame or on a bracket rated for the chamber temperature, and angle it at the bed rather than at the panel. Do not enclose the light source’s own heat with the print chamber if the strip is not rated for it.
Step 5: Set Focus and Exposure So Nothing Drifts
Turn autofocus off, turn auto exposure off, and set white balance manually. It worked if you walk away for ten minutes, come back, and the image looks identical.
Autofocus hunting is the number one complaint in the print forums. A Logitech C270 inside an enclosure is reported as producing an extremely blurry picture, and the cause is the camera deciding the print is too close and focusing past it. Most cheap webcams have a minimum focus distance of a few centimeters, so anything at 30 cm is out of focus unless you turn it around.
The fix is mechanical: twist the focus ring until the layer lines are sharp in the preview. The advice that shows up most often across OctoPrint threads is to set a static zoom and sharpen on the middle of the print plate. Then, in Octolapse’s image preferences, switch the camera to manual exposure mode, set the exposure time absolute, and set red and blue balance by hand. Pick a power line frequency of 50 Hz or 60 Hz to match your mains supply.
Also close the blinds and keep room lights on a schedule for the whole print. A room light switching off at 9 pm will leave the last third of your timelapse in the dark, because auto exposure will stretch itself to compensate.
Step 6: Configure Timelapse Recording for Print Timelapses
Choose your snapshot plan in Octolapse, then set a bitrate high enough for the resolution you picked. It worked if a test run produces frames that are sharp, evenly lit, and evenly spaced.
Two snapshot modes exist and they produce very different pacing:
- On Z change (layer change). A frame is taken every time the printer reports a new layer. This is what most people want for a print timelapse, because pacing stays even regardless of how fast the printer moves. A print that takes 4 hours at 20 layers per hour becomes 80 frames.
- Timed. A frame is taken every N seconds, independent of the print. Useful for an enclosure test or a fail-detection clip, but you get uneven spacing because some layers print fast and some print slow.
For resolution, 1280×720 at 30 fps is plenty for a web video and cheap to render. 1080p is worth it if you plan to crop. Turn extruder stabilization on in Octolapse so the print head parks at a fixed position before each shot; leave animated stabilization off. Raise the video bitrate well above the default if you see blocky compression artifacts in the finished file.
You can also start capture without touching the OctoPrint interface. Inject a snapshot call into the start G-code in your slicer, the same injection people use in Cura or Creality Slicer, and the timelapse begins the moment the print starts.
Plan the output length before you start. A six-hour print at 20 layers per hour gives you roughly 120 layer frames, which compiles to about four seconds of video at 30 fps. If you want a longer clip, drop the output to 24 fps or capture every second layer instead. Going the other way, a 30-minute print with one frame every 30 seconds yields only sixty frames and plays back as a fast, jumpy flicker, which is why the layer-change mode is worth the setup.
Step 7: Run a Test Print and Start Recording
Record a five-minute test print first and watch the whole file before committing to a long job. It worked if you see no focus shifts, no brightness drift, no glare blooms, and no dropped frames.
Playback reveals things the preview hides. Choppy sections usually mean the render fell behind on a Pi Zero or the bitrate was too low. A bright flash every few frames points back at PWM lighting or an unlocked exposure. A frame where the nozzle is nowhere near the same spot means stabilization is off.
One last habit worth building in: keep the capture computer off the printer frame and off the printer’s USB power. If your printer’s firmware has a built-in timelapse mode, note that on several machines it uses the internal camera and ignores the external one entirely, so the file you get from the printer’s own menu will not use your webcam.
The same webcam can pull double duty. Pair OctoPrint with OctoEverywhere or Obico and the live stream becomes remote monitoring you can check from a phone, which matters if you ever start long prints away from home. Keep the usual safety habits regardless of camera: confirm the bed is clear before every start, and never rely on remote monitoring to catch a thermal runaway in time.
Common Mistakes and Quick Fixes
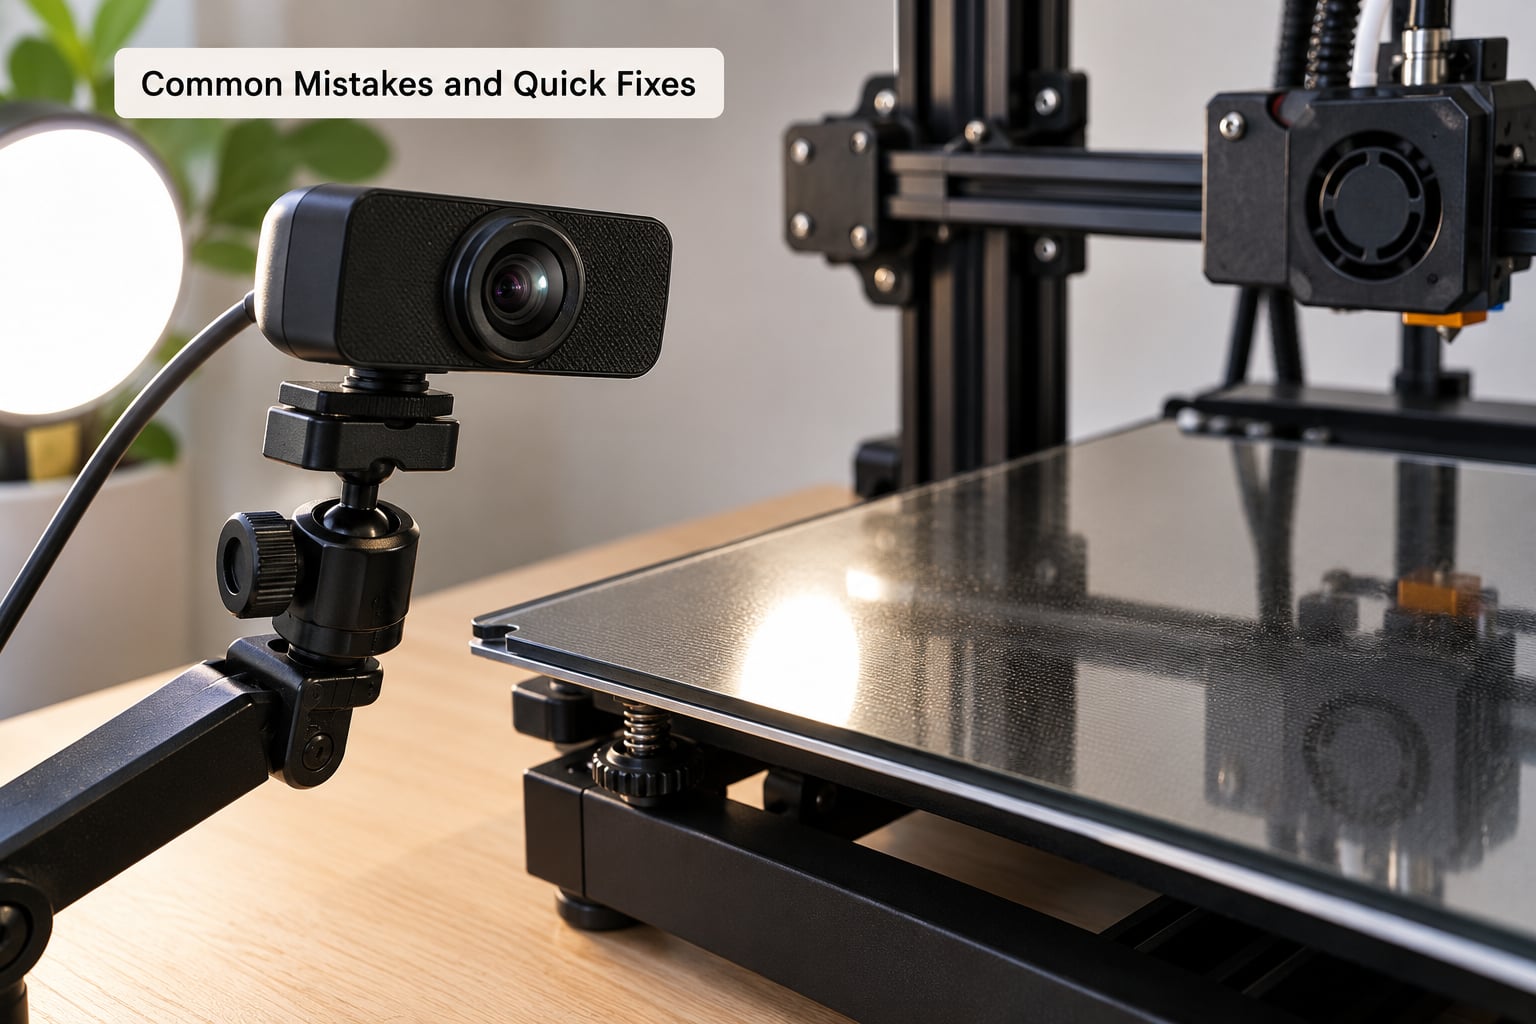
Almost every bad print timelapse traces back to one of these. Match the symptom, apply the fix, then record another short test.
| Symptom | Likely cause | Fix |
|---|---|---|
| Blurry image, or sharp then blurry | Autofocus hunting, or the webcam’s minimum focus distance is shorter than the camera-to-bed distance | Disable autofocus, twist the manual focus ring until layer lines are sharp at the center of the print plate |
| Brightness pulses frame to frame | Auto exposure adjusting for each frame | Set manual exposure and exposure time absolute in Octolapse image preferences |
| Regular strobing in the finished video | PWM dimming from LED strips or desk lamps | Test each lamp at its lowest dimmer setting and replace any that pulse |
| Color shifts between frames | Auto white balance reacting to changing light | Set red and blue balance manually and keep room lighting constant |
| Last third of the video goes dark | Room light switched off or blinds closed mid-print | Lock exposure and leave room lights on for the entire print |
| Camera drifts or the shot wobbles | Mount attached to the printer frame or a light cable | Move the camera to a separate weighted tripod or desk clamp |
| Print goes out of frame at the top | Framed for the bed, not for full Z height | Recheck the preview with the gantry at full Y travel and the toolhead parked |
| No snapshots captured at all | Snapshot URL wrong, or the camera is not selected as the source | Confirm the snapshot URL reads http://127.0.0.1:8080/?action=snapshot and test it in the browser |
| Camera not detected at all | Charge-only USB cable, or an underpowered port | Swap to a data cable and move the webcam to a powered USB hub |
| Dropped frames and stuttering playback | Rendering on a Pi Zero 2W, or bitrate too low | Capture on the Pi, render the JPEG sequence on a desktop instead |
| Unstable-looking playback | Timed snapshot mode with uneven layer durations | Switch the snapshot plan to on Z change |
| SD card corrupts during long prints | Vibration from the printer frame into the Pi | Mount the Pi off the printer and away from the frame |
A few settings are better left alone. Octolapse’s image stabilization and effects controls have known issues and rarely improve output. Turn them off rather than experimenting mid-project.
If your footage is good but the file is huge, that is a rendering problem, not a camera problem. Let the Pi take the snapshots and hand the JPEG sequence to a desktop for encoding.
Frequently Asked Questions
What type of webcam is best for 3D printer timelapses?
Any webcam with a manual focus ring works well, and that ring matters more than resolution. The Logitech C270 is the most-recommended budget option because you can dial it sharp at roughly 30 cm, where most fixed-focus webcams blur. The C920 and C922 class gives a noticeably cleaner image at 1080p. Avoid cameras with no manual focus control and no way to disable autofocus.
How do I keep the exposure consistent during a print timelapse?
Switch auto exposure off and set exposure and exposure time absolute in Octolapse’s image preferences, then set red and blue balance manually too. Keep room lights on and blinds closed for the entire print, because any change in ambient light forces auto controls to compensate. Match the power line frequency to your mains supply at 50 Hz or 60 Hz.
Should I record at 30 fps or use a time-lapse interval?
Use a time-lapse interval, not continuous 30 fps recording. Continuous capture of a six-hour print produces an enormous file and renders slowly. Capture one still every few seconds or on every layer change, then compile those stills into a 30 fps video. 1280×720 at 30 fps output is plenty for web video, and 1080p is worth it if you plan to crop.
Can I use a webcam while the 3D printer is enclosed?
Yes, but an enclosure changes three things. Autofocus has nothing to focus on except the print through the panel, which is why blurring is common there. Tinted or amber acrylic panels shift color, so set white balance by hand. Heat is a factor too, so mount any LED strip on the outside frame or on a heat-rated bracket and keep it aimed at the bed rather than the panel.
What software can I use to record a webcam timelapse?
OctoPrint with the Octolapse plugin is the standard route and handles the head-parking that makes a part appear to grow on its own. A retired Android phone running OctoPrint for Android works too and often produces a better image than a Pi setup. Without OctoPrint, mjpg-streamer with a simple script can take snapshots on a timer, but you lose layer-change triggering.
How far should the webcam be from a 3D printer?
Between 30 and 45 cm from the front of the build plate is the useful range, angled down 20 to 45 degrees. Closer than about 20 cm pushes past the minimum focus distance of most webcams and everything goes soft. Farther away and the print fills too little of the frame. Set the distance, then twist the focus ring until the layer lines are sharp.
Conclusion
Start by mounting the camera somewhere it cannot be bumped, 30 to 45 cm from the bed and angled down at the center of the print plate. Then record a five-minute test and fix what shows up in the playback before you commit to a long job.
Position and lock the camera, run a short test clip, then begin the full timelapse. Stable framing and consistent lighting matter far more than expensive equipment, and a spare webcam with its autofocus turned off will beat a costly camera left on automatic.