A loose extruder gear is a drive gear that has shifted or is spinning freely on the extruder stepper motor’s shaft, usually because the small grub screw holding it backed out. Learning how to fix a loose extruder gear takes about 30 minutes and a 1.5 mm or 2 mm hex key, and in most cases the only part you need is the set screw itself rather than a new gear.
Ignore the noise for a few minutes and the fault tends to show up as under-extrusion at hour nine of a long print, which is the most expensive way to learn this. Confirm the gear is actually loose before you take anything apart, because a clicking extruder has several causes and only some of them are the drive gear.
Key takeaways
- Power off, unplug, and let the hotend cool to room temperature before touching the extruder assembly.
- A witness mark across the gear and shaft shows slipping in about a minute, with no disassembly at all.
- Turn the set screw until it is snug against the shaft, then a fraction more, then stop. Round shafts need threadlocker; a filed flat accepts a full-size M3 screw.
- Compacted plastic dust in the tooth roots causes the same clicking as a loose gear, and a brush clears it.
- A loose idler axle or a loose bearing sounds nearly identical to a loose drive gear but is fixed completely differently.
Table of Contents
- 1What You Need
- 2Step-by-Step: How to Fix a Loose Extruder Gear
- 3Step 1: Confirm the Problem and Check for a Broken Gear
- 4Step 2: Power Off and Access the Extruder Safely
- 5Step 3: Inspect the Gear, Shaft, and Mounting Hardware
- 6Step 4: Tighten or Replace the Loose Extruder Gear
- 7Step 5: Check Alignment and Test the Extruder
- 8Common Mistakes
- 9Frequently Asked Questions
- 10How do I tell if my extruder gear is worn instead of just loose?
- 11Why does my extruder gear keep coming loose after every print?
- 12How tight should an extruder set screw actually be?
- 13Does the order of the idler gear and drive gear matter?
- 14When should I replace the whole extruder instead of just the gear?
- 15Conclusion
What You Need
The tool list is short: a hex key (1.5 mm for most grub screws, 2 mm on some models), a small Phillips driver for the extruder cover, a stiff brush or an old toothbrush, a cotton swab, and a marker pen. The pen is not optional in my workflow, because marking the gear and shaft is how you confirm the fault instead of guessing.
For parts, have a replacement set screw on hand in the size your extruder uses, and match the gear bore to the motor shaft diameter. That last point is where a lot of purchases go wrong, so check the shaft diameter and whether the bore is a plain round hole or a D-shaped seat before ordering anything.
Screw size, hex key width, and gear fit differ between manufacturers, and press-fit extruders have no set screw at all. Use the service manual or the printer’s parts diagram for your exact model, and never force a screw that does not thread freely into the gear.
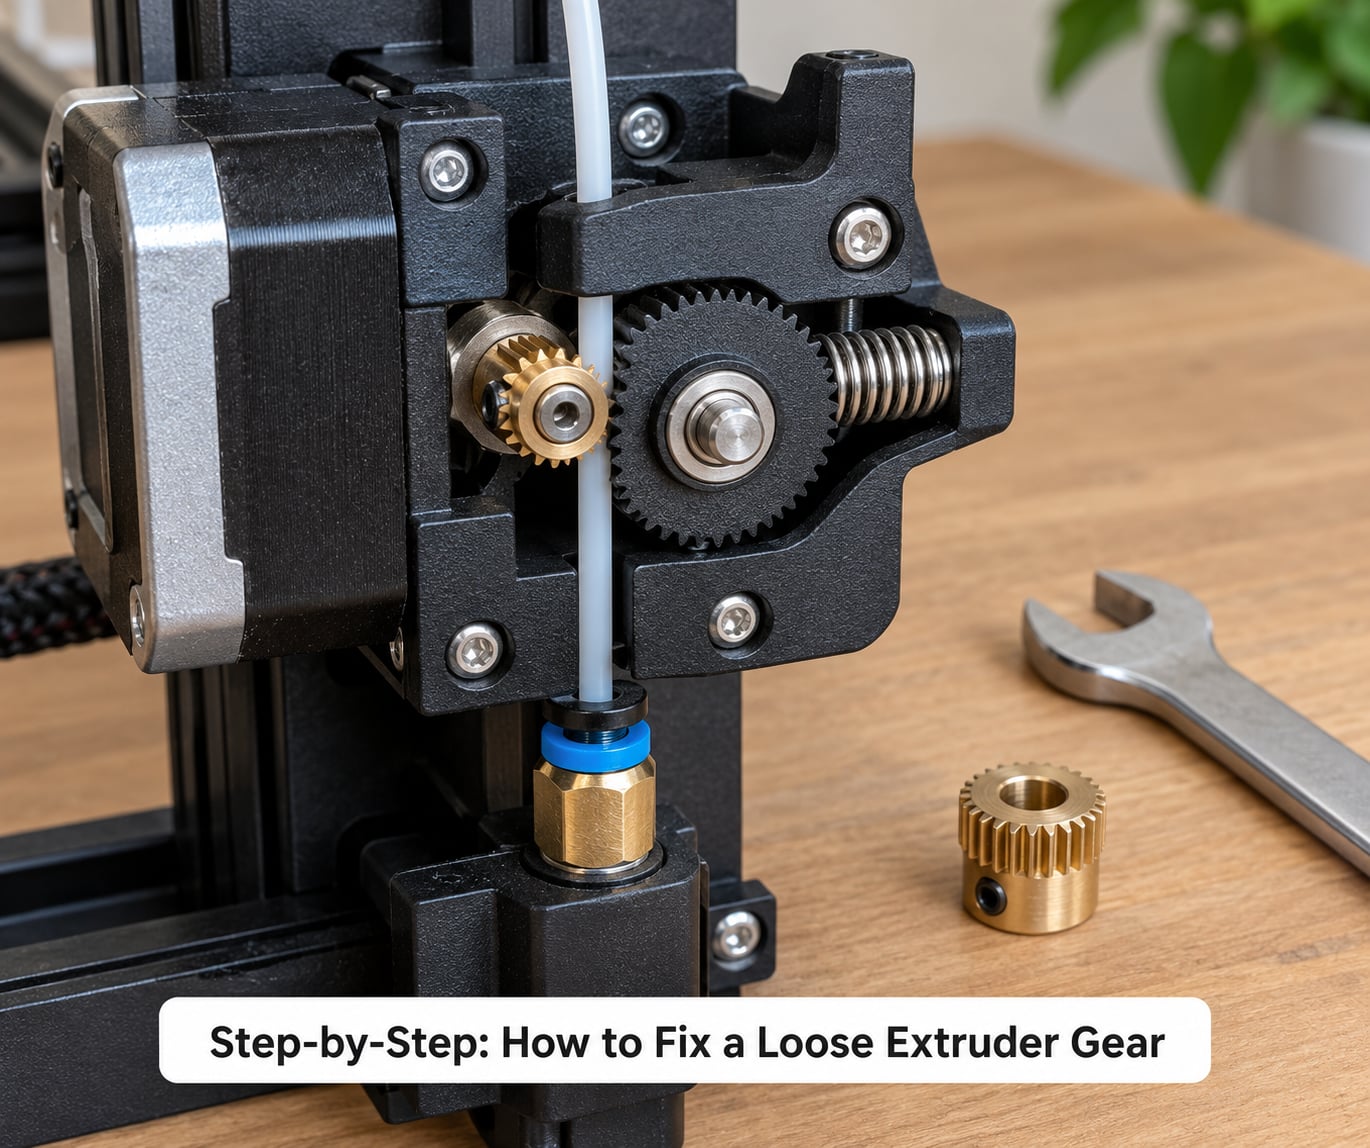
Step-by-Step: How to Fix a Loose Extruder Gear
Step 1: Confirm the Problem and Check for a Broken Gear
Run the extruder by hand first. Push filament in until the gears engage, then turn the idler wheel clockwise as if the motor were feeding. If the wheel turns but the filament does not move, the drive gear is spinning on the shaft without turning it.
Mark a small witness line across the face of the drive gear and continue it onto the motor shaft with a marker pen. Turn the motor shaft by hand and watch the line. A positive result means the two marks drift apart: the shaft is turning inside the gear. That test takes about a minute and it saves you from replacing a perfectly good gear.
Now check for damage. Rounded or hooked tooth tips, plastic dust compacted into the tooth roots, and shiny flat spots on the teeth all point to wear. If the gear still bites the filament cleanly after cleaning, treat it as loose rather than broken.
Step 2: Power Off and Access the Extruder Safely
Turn the printer off at the mains, unplug it at the wall, and let the hotend cool fully. Heat creep and burns aside, working on a live machine risks the drive electronics, and a warm extruder body makes plastic hardware brittle.
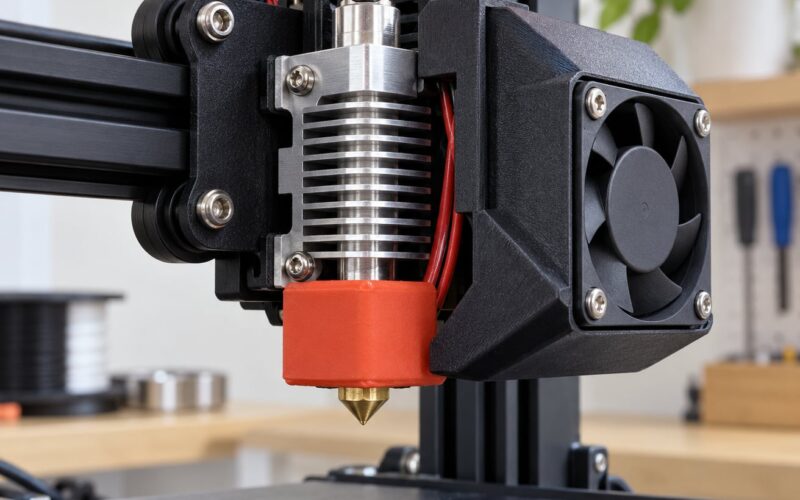
Remove the extruder cover according to the model’s manual. On Ender 3, Ender 3 V2, and V3 direct drive machines the whole feeder comes off the carriage after four screws; on a Bowden setup you open the enclosure at the back of the frame instead. Keep the small screws in a dish so nothing disappears into the frame.
Step 3: Inspect the Gear, Shaft, and Mounting Hardware
With the motor off, try to turn the drive gear on the shaft with your fingers. A full turn of rotation means the gear is loose; a small amount of play that stops against the set screw is normal. Push the gear toward the motor body and check the collar: if the collar has backed off the flat, the gear sits on a round shaft with nothing to clamp against, which is the most common root cause.
Look closely at the set screw head. If it sits proud, shiny, or spins without turning the gear, the threads are stripped. A screw that has been drilled out, glued, or painted over usually needs replacing rather than tightening.
Clean the teeth while the gear is exposed. Brush away fine plastic dust first, then swab the tooth roots with a little isopropyl alcohol and let it dry fully before refitting.
Step 4: Tighten or Replace the Loose Extruder Gear
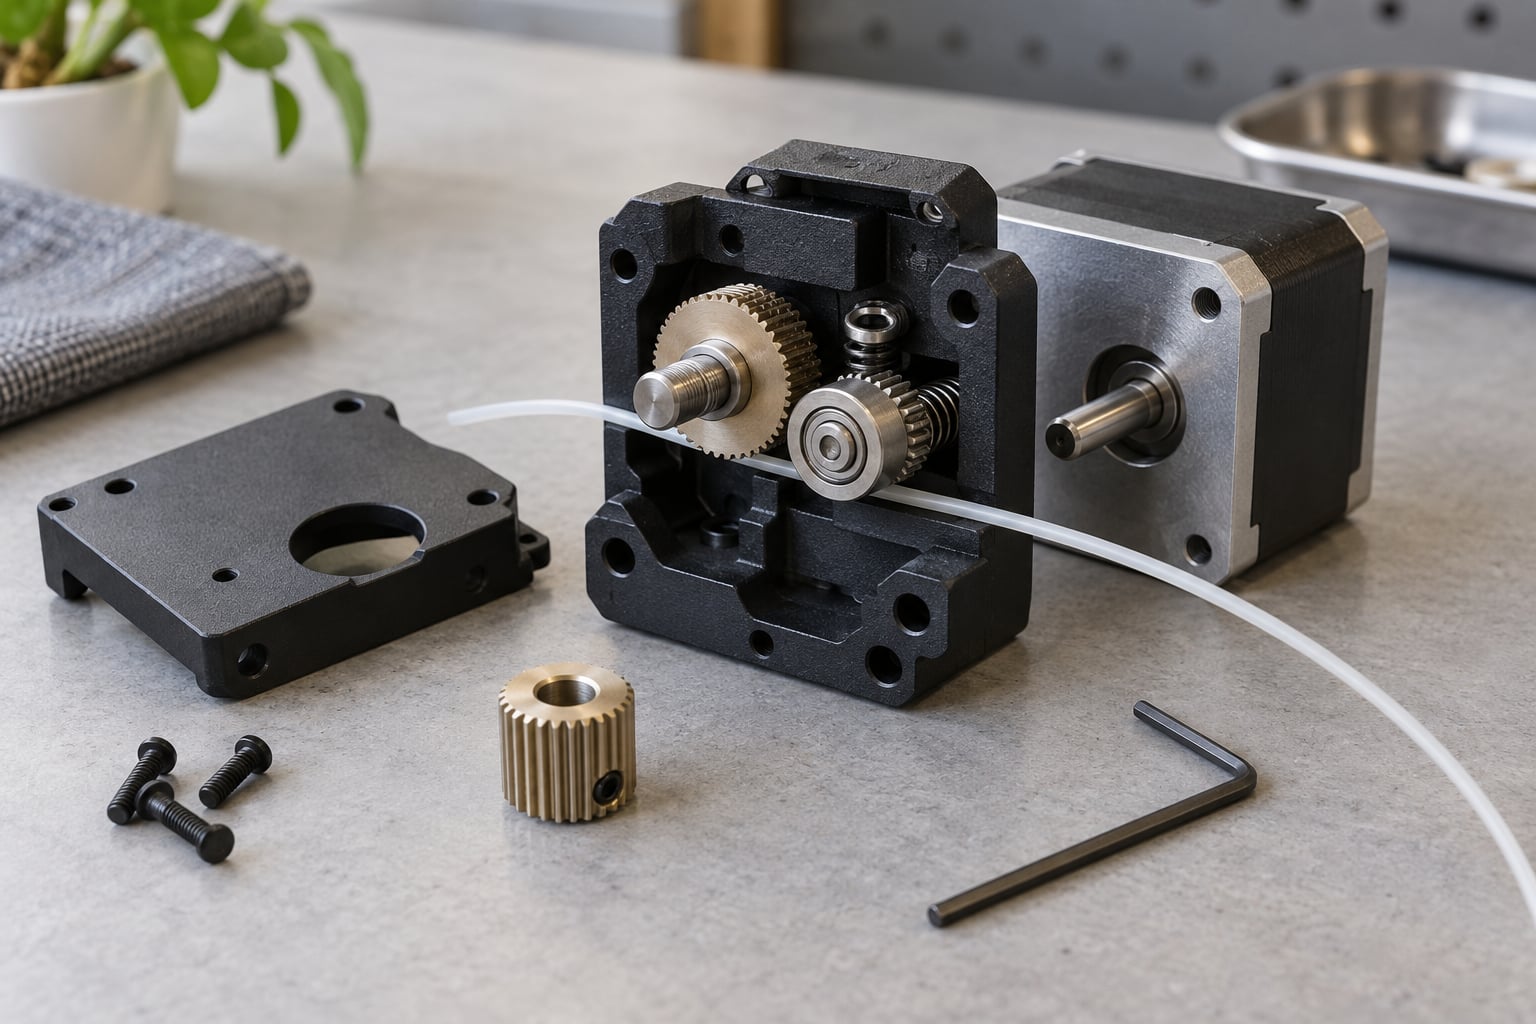
On an Ender 3, loosen the set screw, push the collar hard against the motor body so it seats on the motor’s flat face, and retighten while holding the gear in place. On a Prusa-style dual-drive extruder, check the same thing on both the drive gear and the idler gear, because either one can lose torque.
Tighten the set screw until it is firm against the shaft, then add roughly a quarter turn. That is enough. It bites into a round shaft and stops the gear creeping.
Apply a single drop of removable threadlocker (the blue kind) to the screw threads before refitting, position the gear correctly, then let it cure fully before printing. Permanent red threadlocker holds better but makes the gear a permanent fitting, and curing heat near the motor housing can shorten motor life, so use it only when you are certain the gear position is final. If the threads are already damaged or the screw keeps backing out, remove it and fit a full-size M3 screw instead; a flat filed on the shaft makes far more clamping torque than the tiny grub screw did.
If the gear bore itself is oval or the teeth are chewed, replace the gear. When a new gear fails the same way within days, the shaft or the bore is the real problem, not the gear.
Step 5: Check Alignment and Test the Extruder
Refit the gear so the teeth sit square to the filament path and the gear runs concentric with the idler gear, not tilted. Clear the filament path end to end: sweep out debris at the entry, run a cleaning filament or a bowden tube through the housing, and confirm the idler bearing spins freely by hand.
Reassemble, then do a controlled feed rather than a full print. Heat to normal temperature and issue a manual extrude of 100 mm at a slow speed, watching the filament marker. Repeat three times. If the marker advances a consistent distance each time with no clicking, the repair holds. Run a short test print next to finish the check.
If it still clicks, move on to the idler side rather than tightening anything further. A loose idler axle or a worn bearing inside the idler produces the same noise and none of the gear fixes will touch it.
Common Mistakes
- Overtightening the set screw. The screw bottoms out in the gear, flattens, and strips, which leaves you with a worse repair. Snug plus a quarter turn is the target.
- Misaligning the gear on the shaft. A tilted gear leaves a ridge that shaves filament and wears one tooth flat. Set the collar position before tightening, not after.
- Forcing a damaged gear back on. If the bore is oval, no amount of tightening restores torque. Replace it and check the shaft diameter at the same time.
- Tightening the wrong fastener. The screw holding the motor to the bracket is not the gear screw, and tightening it changes frame alignment. Only the set screw in the gear matters.
- Skipping the filament path check. Packed debris at the gear entry will ruin a fresh gear within minutes. Clean it before testing.
- Testing on a cold machine. Cold filament and a cold motor give misleading results and stress the gears. Test at printing temperature with a short extrude cycle.
- Reusing super glue or nail polish as a fix. Both can gum up the bore, and getting them off again often means soaking the gear, which is how the screw thread ends up stripped for good.
Frequently Asked Questions
How do I tell if my extruder gear is worn instead of just loose?
Turn the motor shaft by hand with a witness mark across the gear and the shaft. If the marks stay aligned and the gear still slips on the filament, it is worn rather than loose. Worn gears show rounded or hooked tooth tips, shiny flats on the teeth, and fine plastic dust packed into the tooth roots. Clean the teeth first, since compacted dust alone can stop the gear biting.
Why does my extruder gear keep coming loose after every print?
The usual cause is a set screw on a smooth round motor shaft with nothing behind it to push against. The screw tightens against the curve and slowly walks itself loose as the motor runs. Push the collar hard against the motor body so it seats on the flat, hold the gear in place while tightening, and add a drop of removable threadlocker to the threads.
How tight should an extruder set screw actually be?
Tighten until it is firm against the shaft, then add about a quarter turn. The screw only needs to dimple a round shaft enough to stop the gear creeping. On a shaft with a filed flat or a D-shaped seat, firm contact is enough and extra pressure buys nothing. If the screw needs more than that to hold, the shaft or the collar is the problem, not the torque.
Does the order of the idler gear and drive gear matter?
On a dual-drive extruder the drive gear must sit on the motor shaft and the idler gear rides on a free axle. Install them the other way round and the motor simply spins its own axle, producing constant clicking and no feed. The idler gear must be free to rotate on its axle but must not be able to wobble or move along it.
When should I replace the whole extruder instead of just the gear?
Replace the whole assembly when the motor shaft itself is damaged, when the gear bore cannot hold a set screw, or when the housing, motor mount, and idler bearing are all worn. If the motor runs cool and the drive gear bore is intact, a gear and a set screw are enough. A press-fit extruder with no set screw also needs its own manufacturer guidance rather than generic advice.
Conclusion
Start by confirming the gear is the fault, not assuming it. Put a witness mark on the gear and shaft and turn the motor by hand: if the marks drift apart, you have a loose extruder gear and the repair is straightforward. Push the collar against the motor body, tighten the set screw to firm plus a quarter turn, and add a drop of removable threadlocker on a round shaft. Then verify the alignment, clear the filament path, and test with a short 100 mm extrude at printing temperature before you commit a long job to it.