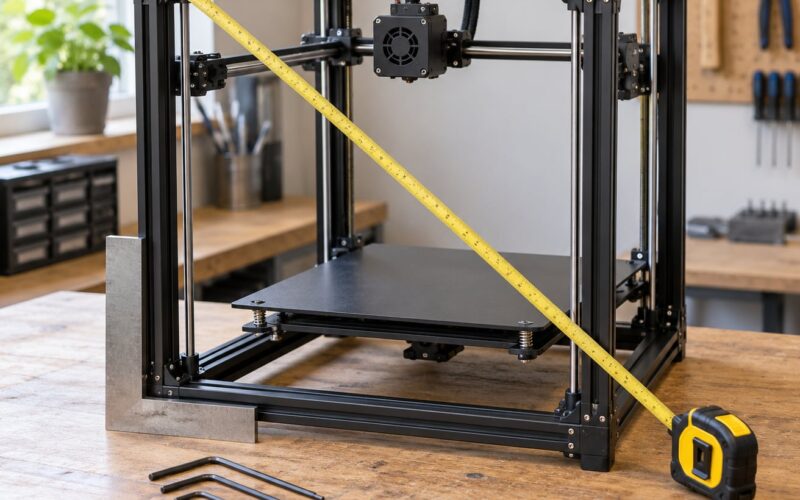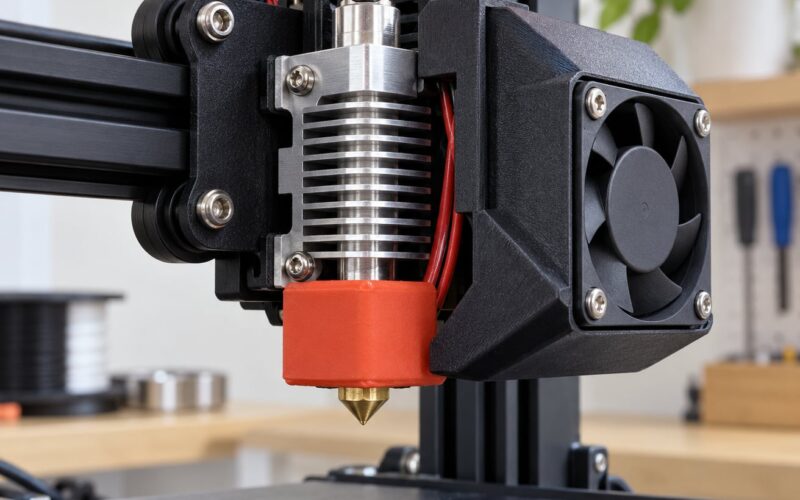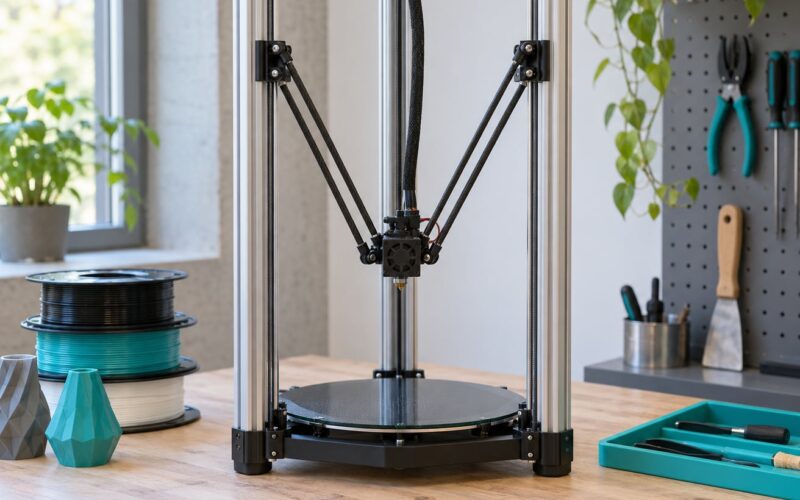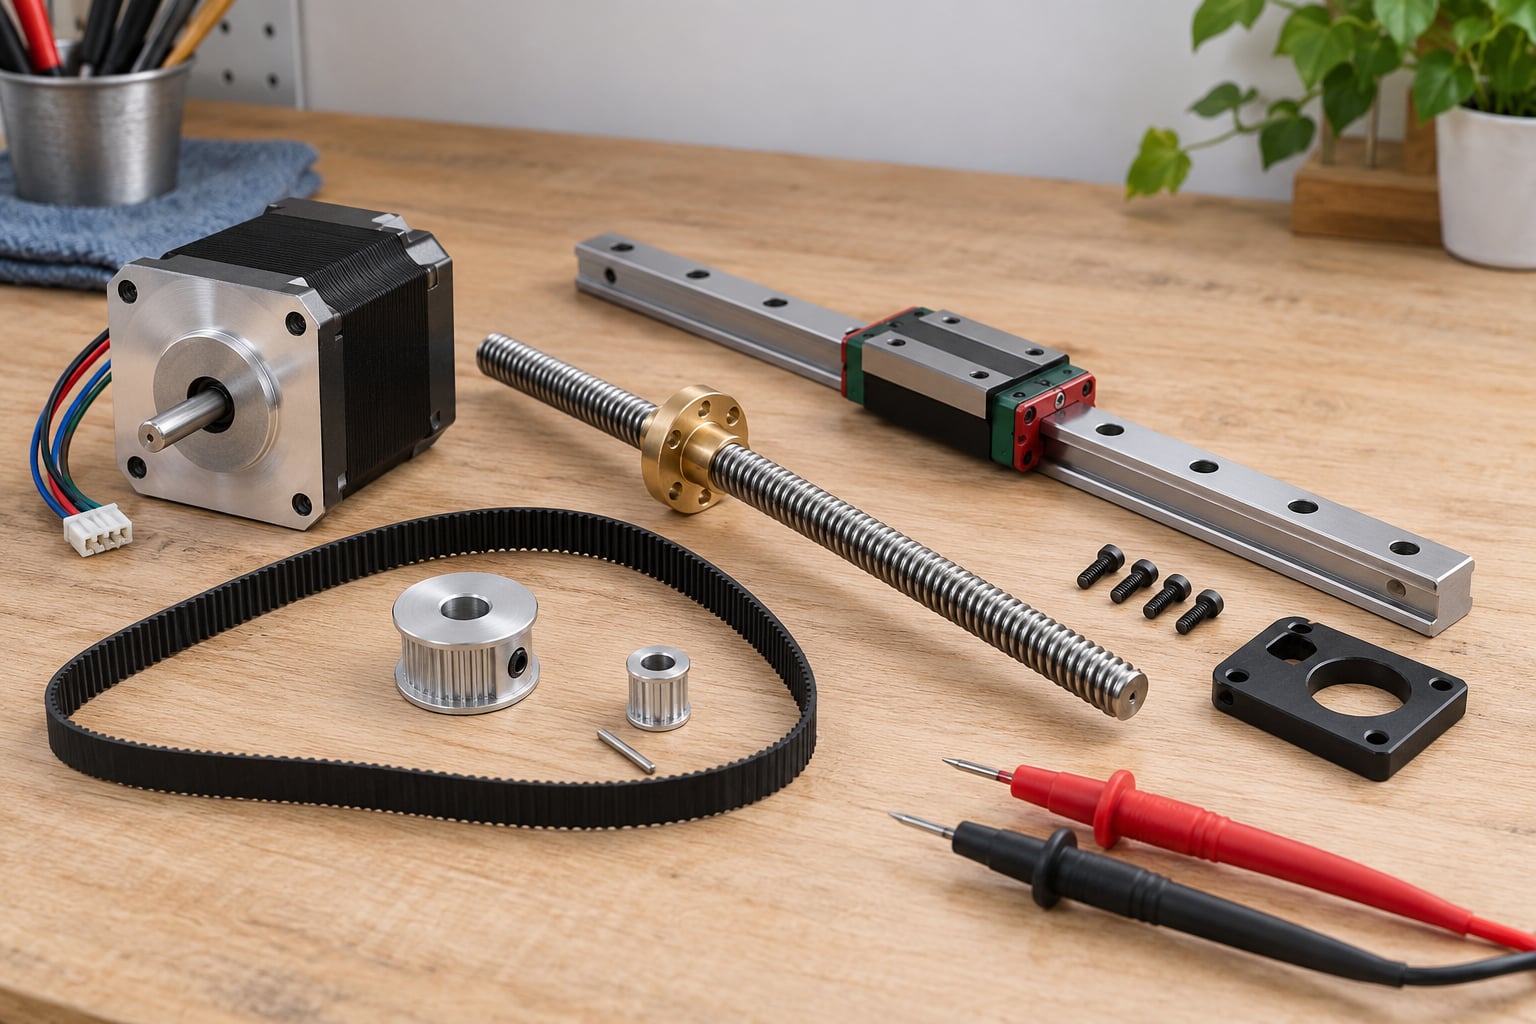
A stepper motor skips steps when the driver sends a step pulse and the rotor fails to advance, so the axis travels less far than the controller believes it did. Nearly every case of stepper motor skipping steps causes ends up being a torque shortfall: the motor could not supply enough turning force for the demand at that speed and current. Work the load first, then current, then supply voltage, and only then start swapping parts.
This guide covers FDM printers on Cartesian, CoreXY, and delta frames, plus the same physics on hobby CNC routers and laser cutters running GRBL or Marlin. Keep one change in the machine at a time, because two variables moving together is how people end up with three motors on the bench and the same layer shift on the build plate.
Table of Contents
- 1What Does It Mean When a Stepper Motor Skips Steps?
- 2The Main Stepper Motor Skipping Steps Causes
- 3How to Diagnose the Problem Step by Step
- 4Diagnose stepper motor skipping steps causes in this order
- 5How to Fix Electrical and Driver Problems
- 6How to Fix Motion Settings That Overload the Motor
- 7How to Fix Mechanical Drag and Alignment Problems
- 8What to Check on a Closed-Loop or Cartesian 3D Printer
- 9When Should You Replace the Motor, Driver, or Belt?
- 10Frequently Asked Questions
- 11Can a stepper motor skip steps because it is too small?
- 12Should I increase motor current whenever my 3D printer loses steps?
- 13Why does a stepper motor skip steps only during fast moves?
- 14Is motor skipping always caused by a dirty belt?
- 15How do I know whether the problem is the motor, driver, or mechanics?
- 16Can overheating cause a 3D printer stepper motor to skip steps?
- 17Start With the First Check
What Does It Mean When a Stepper Motor Skips Steps?
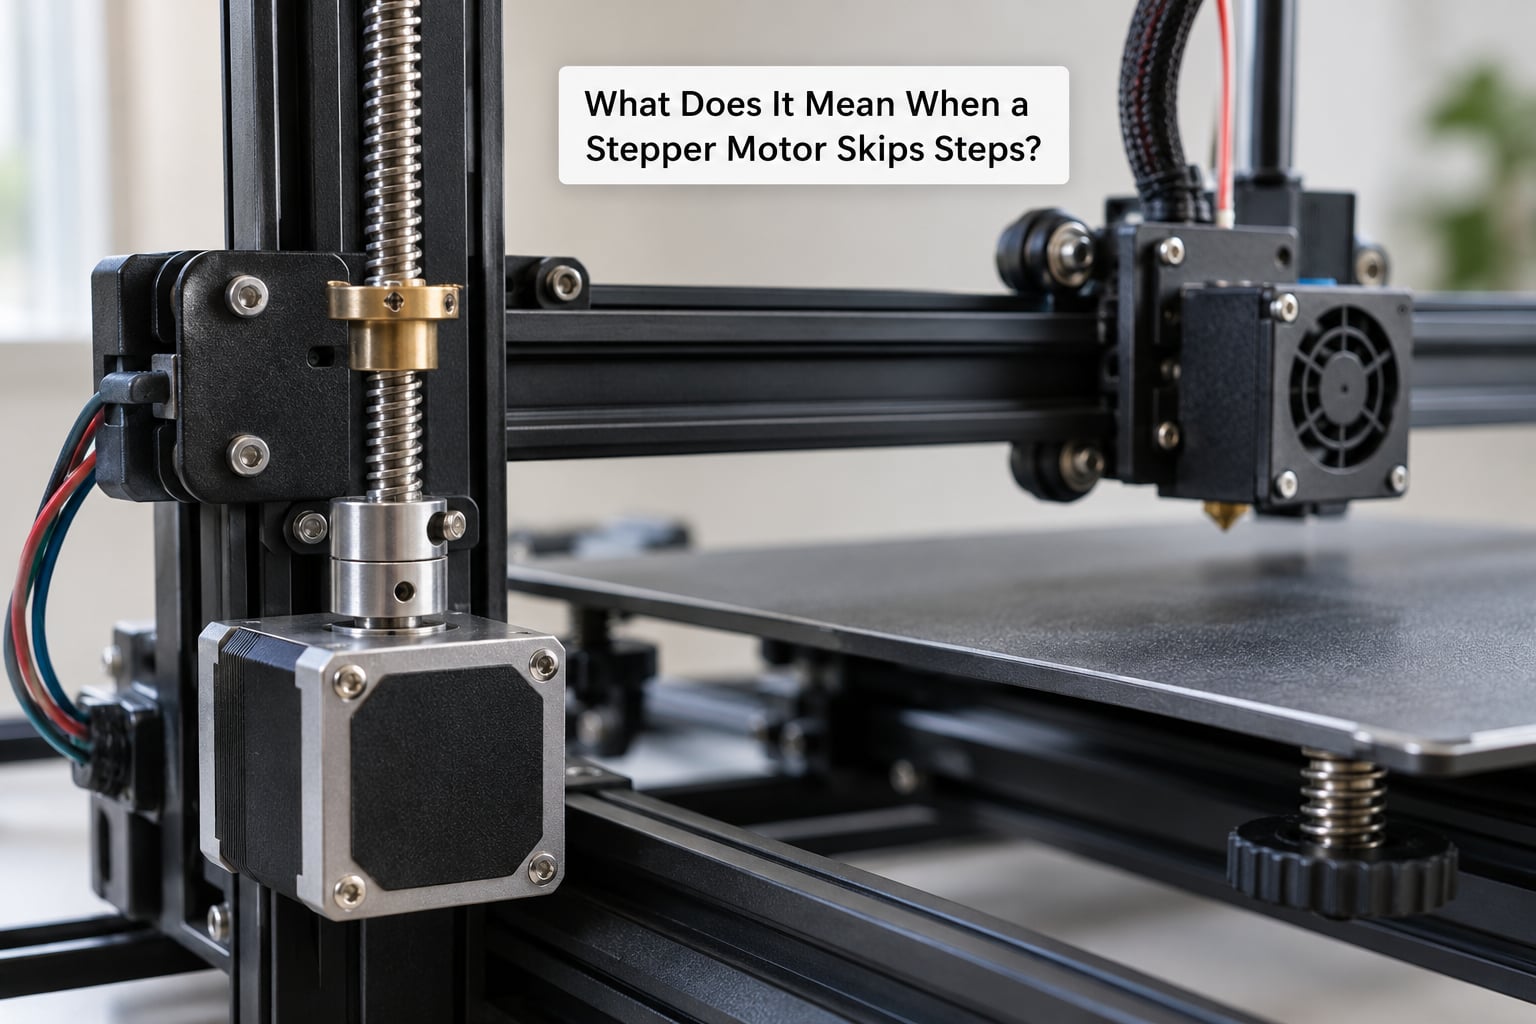
Step loss is a positioning error the printer cannot see. A stepper is an open-loop device: the driver energises coil pairs in a fixed sequence and simply assumes the rotor followed every pulse. There is no encoder telling the board where the shaft actually is. If the load demand beats the torque available at that pulse, the rotor stays put for that one step, the position error never gets corrected, and every move afterwards is offset by the amount it should have moved.
Two torque numbers explain most failures. Holding torque is what the motor can resist while stationary and energised, and it depends directly on current. Pull-in torque is what the motor can actually deliver while spinning, and it falls as speed rises because the coils generate back-EMF that works against the supply. That is why a motor that sits still all day can still lose steps on a fast traverse, and why an overloaded axis can stall even at 10 mm/s.
It helps to separate step loss from the noises that get reported alongside it. A stall is the same failure taken to its limit: the rotor stops turning entirely and the axis simply stops. Vibration without displacement usually means resonance in the mid-speed band rather than step loss, and it grows louder as you approach it. The dry chatter during retraction on a Bowden setup is the extruder spring or a loose fitting, not the motor.
On the machine, an X or Y step loss shows up as a skewed or rotated layer with the print continuing on a shifted coordinate frame. Z step loss shows up as a bed crash or a sudden Z offset change partway through the print. Extruder step loss shows up as clicking and under-extrusion. Which one you have narrows the causes down more than anything else you can check.
The Main Stepper Motor Skipping Steps Causes
In rough order of how often they turn out to be the culprit:
- Mechanical drag or friction in the axis — binding rails, a tilted bed support, a dry or overtightened lead screw, a dirty idler bearing.
- Motor current too low — a Vref that was never set, or that got reset when the firmware or board changed.
- Supply voltage too low or sagging at the driver input under load, especially on a 12V system driving an axis.
- Acceleration and jerk set too high for the torque the motor has at speed.
- Driver misconfigured or failing — wrong Vref, microstepping jumpers changed without updating steps per mm, thermal shutdown, a dying chip.
- A damaged motor — an open or shorted winding, a burnt coil, or a rotor rubbing the stator.
- Microstepping mismatch between the firmware value and the hardware jumpers, which usually shows up as wrong axis distances rather than pure loss.
- Signal and wiring problems — a chafed step or direction wire, a connector not fully seated, or motor leads twisted with the step leads.
A note worth reading twice: cause 8 on that list is the one people misread most. Motor wires twisted together with step and direction wires pick up switching noise on the pulses, and the driver can misplace or drop steps. Keep them separate and route them away from the power harness.
| Symptom | Most likely cause | First check |
|---|---|---|
| Skipping only at high speed and acceleration | Torque collapsing with speed, or current too low | Move the axis by hand with power off; check Vref |
| Grinding growl that starts a few layers in | Carriage or bed binding, worn idler bearing | Slide the carriage by hand at every bed height |
| Musical squeal that changes pitch, no layer shift | Normal mid-speed resonance, not a fault | Nothing — lower feedrate to confirm |
| Skips with no load, including a cold first layer | Vref, supply voltage, or a driver fault | Measure voltage at the driver, then Vref |
| Skipping gets worse as you raise current | Driver, board, or mechanical binding | Stop raising current; test a known-good driver |
| Extruder clicking and under-extrusion | Filament friction, partial clog, dirty feeder gear | Push filament through cold by hand |
| Axis is silent and does not move at all | Driver dead, enable line off, or a blown coil | Swap driver first, then motor |
How to Diagnose the Problem Step by Step
Diagnose stepper motor skipping steps causes in this order
1. Stop the print and note the axis. Which axis shifted, at what layer height, and was it at the start or partway through? Skips that begin after 5 or 10 layers point at heat, bed growth, or a support that contacted the head. Skips from layer one point at settings, wiring, or current.
2. Kill the power and move the axis by hand. With the machine unplugged, the axis should travel smoothly along its full travel with firm but easy hand pressure. Heavy spots, binding at a specific point, or a screw that will not turn mean mechanics, not electronics. This is the single highest-value test and it costs nothing.
3. On an extruder, push filament through by hand. It should move with a firm push. If it takes serious force or will not move, the motor is fine and the filament path is fighting back.
4. Check belts and pulleys. Look for glazing, frayed teeth, dust packed into the idler, or a pulley set screw backed off. A GT2 belt on a CoreXY should deflect roughly 5 to 7 mm at the middle of the span when pushed sideways with a consistent force — loose enough to slip teeth, tight enough to hum.
5. Measure supply voltage at the driver, under load. A reading that collapses when the axis moves is a wiring, connector, or supply capacity problem. A reading that holds at the PSU but sags at the driver is a thin cable or a long thin extension.
6. Measure Vref and compare it against the driver. On an A4988 the common target is a reference voltage giving roughly 0.4 V to 0.7 V; on a DRV8825 the formula from the datasheet divides the trim pot voltage by eight. On TMC2208 boards the current is usually set in firmware instead. What matters is that the motor’s rated current per phase is never exceeded.
7. Swap one component at a time. A known-good driver is a better test than a new motor. Then a known-good motor. Chase in that order, because the driver is cheaper, easier to swap, and fails more often than the motor does.
How to Fix Electrical and Driver Problems
Work the cable and connectors first. Unplug the machine, then reseat the motor connector at both ends — JST-style connectors are easy to insert one pin short of home. Check the stepper motor cable for chafed insulation where it flexes with the axis, especially at the gantry. Run the motor leads twisted together and away from step and direction wires.
Never tighten a connector or touch a driver’s heatsink with the machine powered. On some boards the heatsink and the surrounding parts are at supply potential, and a slipped screwdriver is a short circuit you do need.
For current, the rule is to stay inside the motor’s rating. A NEMA 17 rated at 1.5 A per phase should never see a Vref calculated for 2 A, even though many boards will happily allow it. Excess current heats the coils, and heat shortens winding life long before the driver complains.
If the driver is TMC2208 or TMC2209, run it in spreadCycle for high torque on a loaded axis and check that the current set in firmware matches the motor. If it is an A4988 or DRV8825, confirm the microstep jumpers match the MS1/MS2/MS3 value in firmware. Changing jumpers without updating steps per mm produces a machine that moves the right distance but with far less incremental torque between steps, which shows up as skipping on short moves.
Driver temperature matters too. A driver that is too hot enters thermal shutdown and cuts current mid-move, which looks exactly like random step loss. Add airflow over the board, fit a heatsink with thermal paste if it has none, and clear dust from the heatsink fins.
How to Fix Motion Settings That Overload the Motor
Acceleration asks the motor to change speed fast, and a stepper has less torque the faster it goes. Squeeze both ends of that and the torque available never covers the demand. In Marlin, the settings that matter most are acceleration, jerk, and minimum feedrate; in Klipper they are acceleration and square_corner_velocity, which works like jerk.
The conservative adjustment order works better than random tweaking. Drop acceleration by about half and run a short test. If the layer shift disappears, move up in steps until it returns, then settle one notch below. If it does not disappear, acceleration was never the problem, so put it back where it was.
Maximum feedrate comes next. A 200 mm/s traverse on an axis whose motor was sized for 120 mm/s is asking for torque the motor does not have. A slightly slower top speed with clean corners usually prints faster overall than one that keeps shifting layers.
Do not chase this inside the printer’s limits. A machine rated for 150 mm/s and a belt-pulley combo that expects it will run reliably; a spec sheet number is not a challenge. Make changes within what the firmware and the hardware were designed for, and change one value per test print.
How to Fix Mechanical Drag and Alignment Problems
Mechanics come first because a binding axis makes every electrical fix look like it half worked. The signs that point to mechanics rather than a driver: skipping that worsens as the bed rises, a grinding growl instead of a smooth musical note, skipping that only happens in one direction of travel, or skipping that appeared after a crash or a recent maintenance job.
Re-tension belts to a consistent deflection, since one axis usually drifts tight long before the others go loose. Check that pulleys sit square to the rail and that set screws are locked against flat spots. Bearings that feel gritty need replacing; bearings that feel fine but have visible play are still worth replacing.
On lead-screw Z axes, back off the anti-backlash nut until the screw turns freely end to end with no binding, then add just enough preload to remove slack. Over-preloading a lead screw is a common cause of skipping that gets worse as the print warms up, because the metal expands.
Two easy-to-miss culprits: a cable loop that catches the toolhead or the bed, and a bed that is not sitting square on its supports, which ties up the Z bearings. Also check that nothing rubs only after the machine warms up, because a warped bed, a hot end, or a part that grew slightly will find the axis at layer 200 rather than layer 2.
What to Check on a Closed-Loop or Cartesian 3D Printer
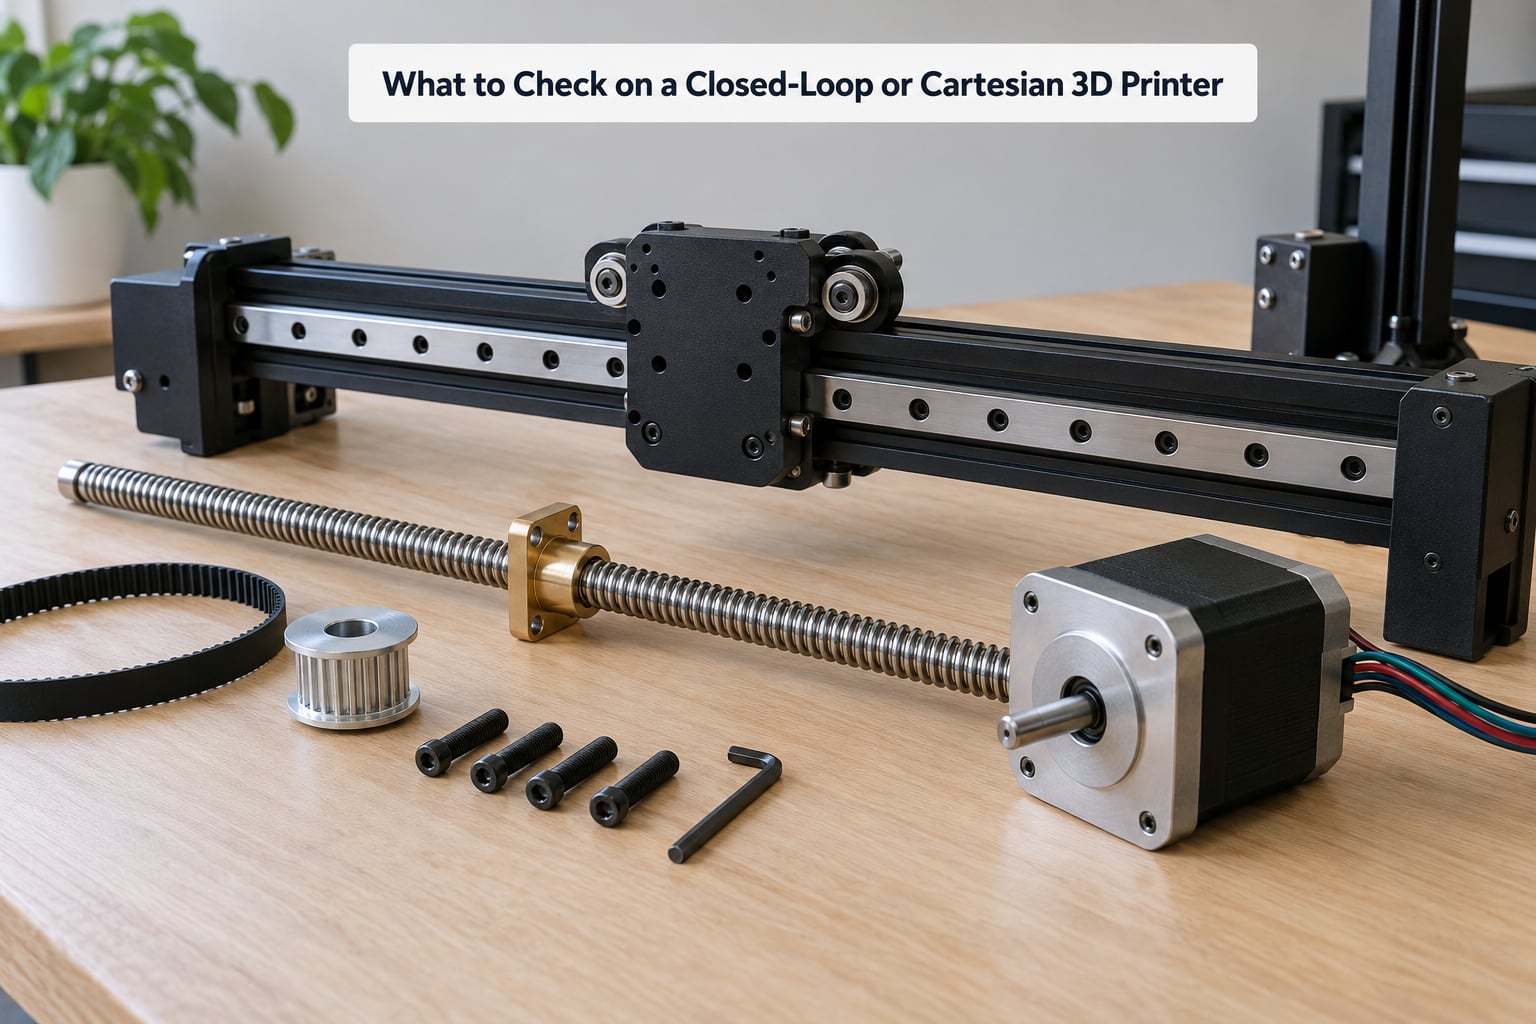
On a Cartesian machine each axis is independent, so you can test them one at a time: home and move each axis alone with the other motors disabled. A shift on X that does not reproduce when you move X by itself means something is coupling into it, most often bed or gantry alignment.
On a CoreXY, belt tension runs in two loops per motor and a single loose span will show up as a diagonal layer shift. Rotate the pulleys by hand and listen for grit, then check each idler bearing for play. Change one belt at a time and re-check deflection before moving on.
On an enclosed printer with dual Z motors, make sure the leadscrews are turned to the same height and the bed can rise without binding at either end. Skipping that only happens once the chamber heats up usually means a warped bed or a fan shroud catching the gantry, not an electrical fault.
Whatever the frame, resist changing more than one variable in a session. Write down what you changed and what happened, because the instinct after two failed fixes is to change something else entirely.
When Should You Replace the Motor, Driver, or Belt?
Replacement is the last step in the diagnostic order, not the first. It is worth it when you have already confirmed the mechanics move freely, the supply voltage holds under load, and the Vref is correct for the motor.
Replace the driver when it gets unusually hot at normal current, drops output intermittently, or fails to move the motor in any way once the enable and step lines are confirmed. A driver that kills current mid-move under thermal shutdown is a thermal problem first and an electrical one second.
Replace the motor when a multimeter shows an open winding or a winding shorting to the case, when the rotor rubs the stator with the shaft turned by hand, or when a known-good driver and known-good settings still produce skipping under no load. A motor that fails at a conservative current and speed after the mechanics check out is genuinely done.
Replace the belt when teeth are shiny, cracked, or missing, or when it skips teeth at the pulley no matter how the tension is set. Belts are consumable parts and a fresh one is a fast, decisive test.
Skip the swap if the axis binds by hand or if skipping started right after you changed firmware, jumpers, or motion settings. Those cases are configuration, not hardware failure.
Frequently Asked Questions
Can a stepper motor skip steps because it is too small?
Yes, and it is one of the most common causes. A motor has a fixed holding torque and less pull-in torque at speed, so a motor sized for slow, lightly loaded moves will lose steps on a fast or heavily loaded traverse. Check the manufacturer torque curve against your mass and acceleration before buying anything. If the axis moves freely by hand and still skips, the motor is probably undersized rather than faulty.
Should I increase motor current whenever my 3D printer loses steps?
Only after you rule out mechanical drag, and never above the motor rating. Turning the current up raises holding torque and heat, and it will not help if a binding bearing or tight lead screw is the real load. It can also make skipping worse when the driver is faulty. Measure Vref first, set it once, and keep a record of the value so you can put it back.
Why does a stepper motor skip steps only during fast moves?
Torque falls as speed rises because back-EMF from the coils works against the supply voltage, so the motor has less pull-in torque at 150 mm/s than when stationary. On top of that, high acceleration asks for extra torque the motor may not have. Fixes in order: remove drag, lower acceleration, lower maximum feedrate, then check current and supply voltage.
Is motor skipping always caused by a dirty belt?
No. A dirty or loose belt is one cause among many, and it only applies to belt-driven axes. The same symptom comes from binding rails, low current, sagging supply voltage, aggressive acceleration, a failing driver, or a damaged winding. That is why the diagnostic order starts with moving the axis by hand with the power off: it separates mechanical load from everything else in about a minute.
How do I know whether the problem is the motor, driver, or mechanics?
Start with mechanics: unplug the machine and move the axis by hand. Binding means mechanical. If it is smooth, measure supply voltage at the driver under load, then measure Vref. A sagging voltage points at wiring or the supply. Next swap in a known-good driver with the same jumpers set. If a good driver still skips with a good motor on the same axis, the motor or its cable is at fault.
Can overheating cause a 3D printer stepper motor to skip steps?
Yes, in two ways. Motor coils lose torque as they get hot, and drivers enter thermal shutdown and cut current mid-move, which looks like random step loss. Skips that appear only after the chamber or bed has been hot for a while point at heat. Improve airflow over the driver, fit a heatsink, and check that the bed and gantry are not binding as the frame warms up.
Start With the First Check
Pause the print and identify the axis. With the machine unplugged, move that axis by hand along its full travel, and on an extruder push filament through the feeder by hand. That single minute splits stepper motor skipping steps causes into the mechanical half and the electrical half before you touch a setting or spend a part.
Then work in order: remove mechanical drag, confirm supply voltage holds at the driver under load, verify current against the motor rating, adjust acceleration and feedrate conservatively, and only then swap a driver or a motor. Follow the driver and motor datasheets for Vref, current, and microstepping values rather than values from a forum post, and change one thing per test.