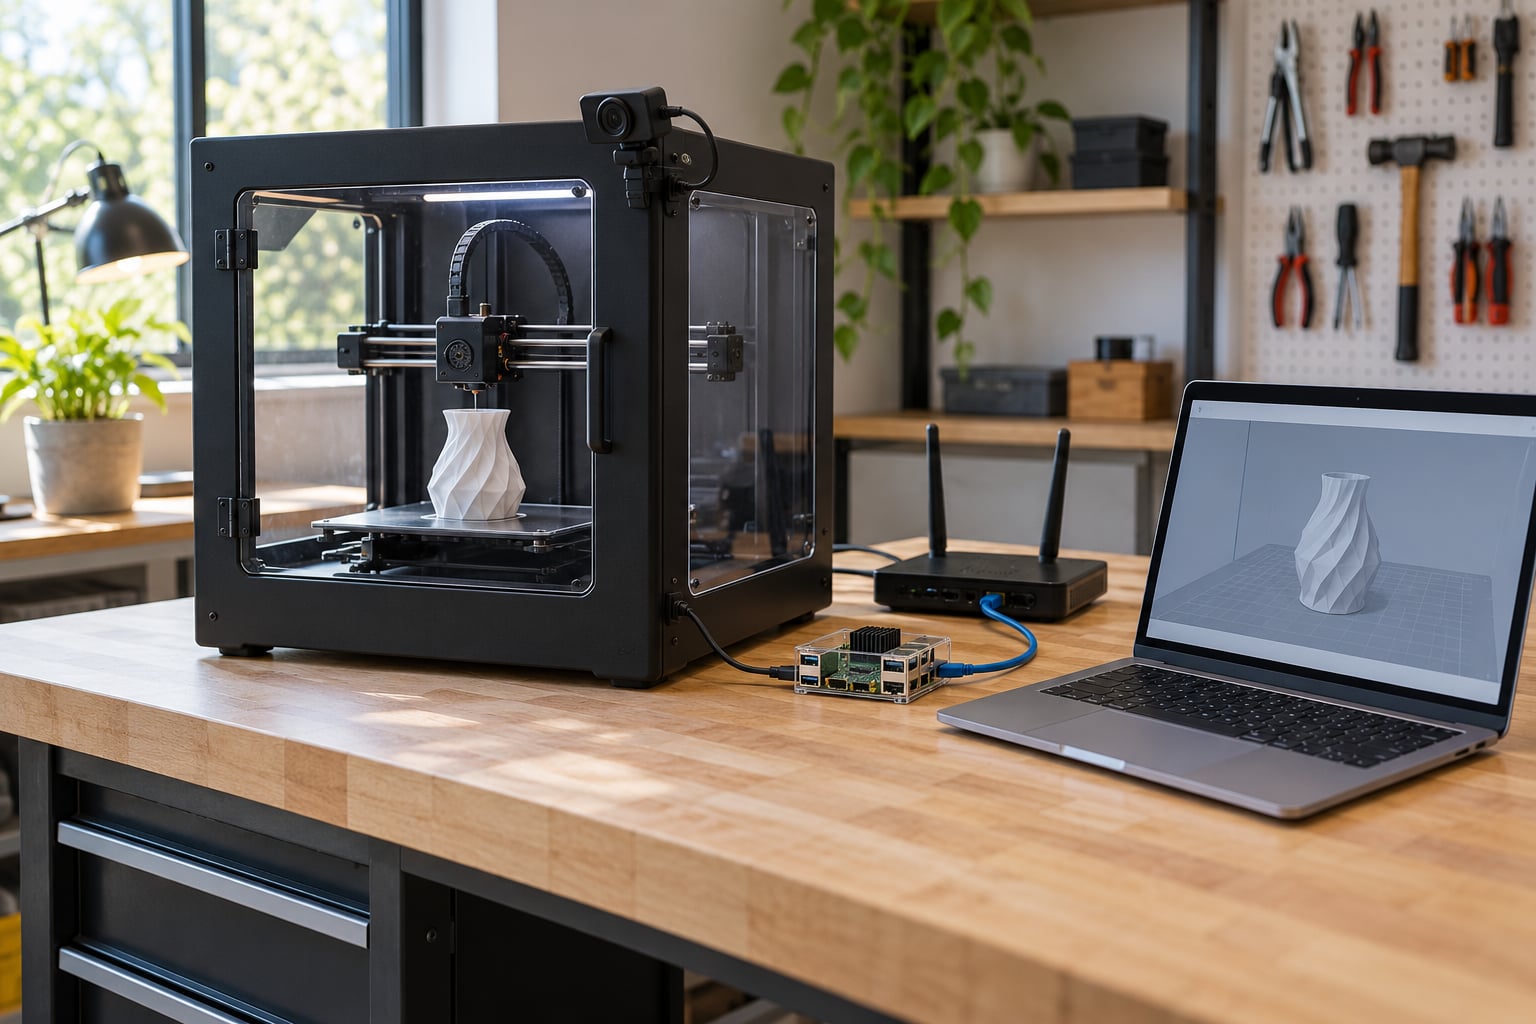
You monitor a 3D print remotely by putting a small always-on computer between the printer and your network — usually a Raspberry Pi running OctoPrint, or Klipper with Mainsail — and then reaching it through a cloud tunnel or a VPN so your phone shows live video, nozzle and bed temperatures, progress and alerts from anywhere. Budget about an hour for the first setup.
That matters because a print that fails at hour nine of a twelve-hour job wastes the filament, the electricity and your night. Most remote setups pay for themselves the first time they catch a first-layer problem while you are at work.
I have run prints from hotels, from the car park outside a makerspace and from an office desk, and the setup that keeps working is the boring one: wired Ethernet for the printer server, a camera placed for the nozzle rather than the whole machine, and alerts that do not depend on video streaming at all.
This guide is for home hobbyists, small print farms and makerspaces. If you are new to remote access, start with the vendor’s own app if your printer has one, then decide whether you need OctoPrint or Klipper at all.
Table of Contents
- 1What You Need
- 2The computer that talks to the printer
- 3The camera
- 4The network
- 5Safety and security basics
- 6How to Monitor a 3D Print Remotely: Step-by-Step
- 7Step 1: Check Printer and Network Compatibility
- 8Step 2: Choose How You’ll Monitor a 3D Print Remotely
- 9Step 3: Connect the Printer to the Network
- 10Step 4: Install and Configure the Monitoring Software
- 11Step 5: Add Remote Camera Monitoring
- 12Step 6: Set Up Alerts and Notifications
- 13Step 7: Test Access and Secure the Connection
- 14Which Remote Monitoring Method Should You Pick?
- 15Common Mistakes
- 16Frequently Asked Questions
- 17Can I monitor a 3D print remotely without internet service?
- 18Is a camera necessary to monitor a 3D print remotely?
- 19Can I pause or stop a 3D print from my phone?
- 20How much mobile data does remote 3D printer monitoring use?
- 21What is the safest way to access my 3D printer remotely?
- 22Does remote monitoring show failed prints in real time?
- 23Conclusion
What You Need
Every remote monitoring setup has the same four layers: a way to talk to the printer board, a computer that stays on, a way to see the build chamber, and a route out to the internet. You can mix and match, but each layer has a minimum.
The computer that talks to the printer
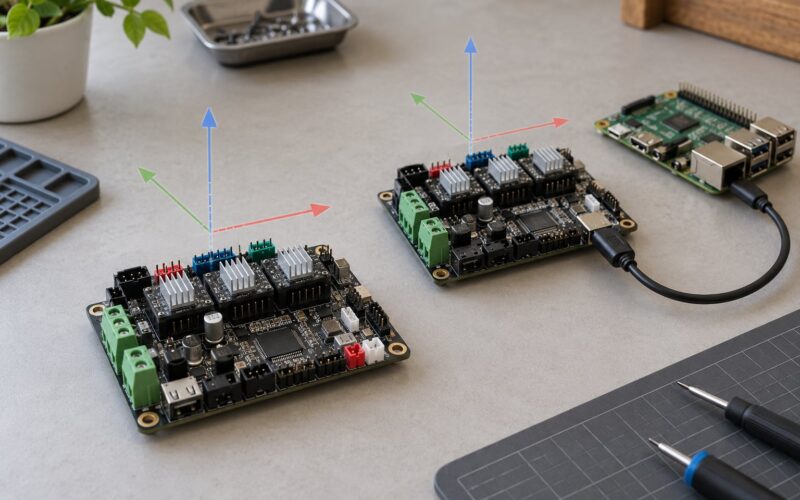
Most desktop and laptop 3D printers expose a serial or USB connection that carries temperature readings and motion commands. Something has to translate that into a web page you can open. In practice there are four common routes.
- Camera only. A standalone Wi-Fi camera pointed at the build plate, viewed through the manufacturer’s own app. No printer data, no controls, no temperature readings. It works on printers with no USB connectivity at all, which makes it the fallback for enclosed printers with locked-down boards.
- Browser-based printer interface. OctoPrint or Duet Web Control running on a Raspberry Pi, an old laptop, a mini PC or a NUC. You get live temperature graphs, a print queue, gcode upload, and full control over a file you selected. This is the standard hobbyist answer and the one most forum threads point at.
- Self-hosted dashboard. Klipper firmware with Moonraker, fronted by Mainsail or Fluidd. You trade some plug-and-play simplicity for faster streams, input shaping, more sensors and a very responsive interface. Experienced users running several machines tend to land here.
- Vendor cloud service. PrusaLink for Prusa machines, the Bambu Lab apps, Ultimaker Connect, Creality’s own cloud. These are the fastest route and the least flexible: you get what the vendor decided to build, and access depends on someone else’s servers being up.
None of these assume a particular brand. The interface labels differ by firmware and version, so treat every menu name below as a label to look for rather than a promise of an exact path.
The camera
A USB webcam or a Pi camera module is enough. What matters far more than resolution is that it can actually resolve the nozzle tip and the first layer. Autofocus that hunts in the dark is worse than a fixed-focus lens, and a camera looking straight into a lit chamber or a window behind it produces glare that hides exactly the detail you want to see.
The network
Ethernet for the printer server if you can manage it. Wi-Fi works, but a congested 2.4 GHz band is the single most common reason a live view stutters and a page load times out mid-print. Whatever you choose, avoid guest networks — most of them put client isolation on, so your phone can reach the internet but never the printer.
Safety and security basics
Never forward your printer’s ports to the open internet. Older forum advice still recommends it, and it is how people end up with strangers in their print queue. Use an authenticated tunnel or a mesh VPN instead, change any default credentials, and put the printer on a guest or separate VLAN if your router supports one.
On unattended prints, keep a working smoke alarm near the machine, never block the vents, and don’t run a printer you suspect has a damaged cable or a hot-end shroud problem. A camera is monitoring, not a fire alarm.
How to Monitor a 3D Print Remotely: Step-by-Step
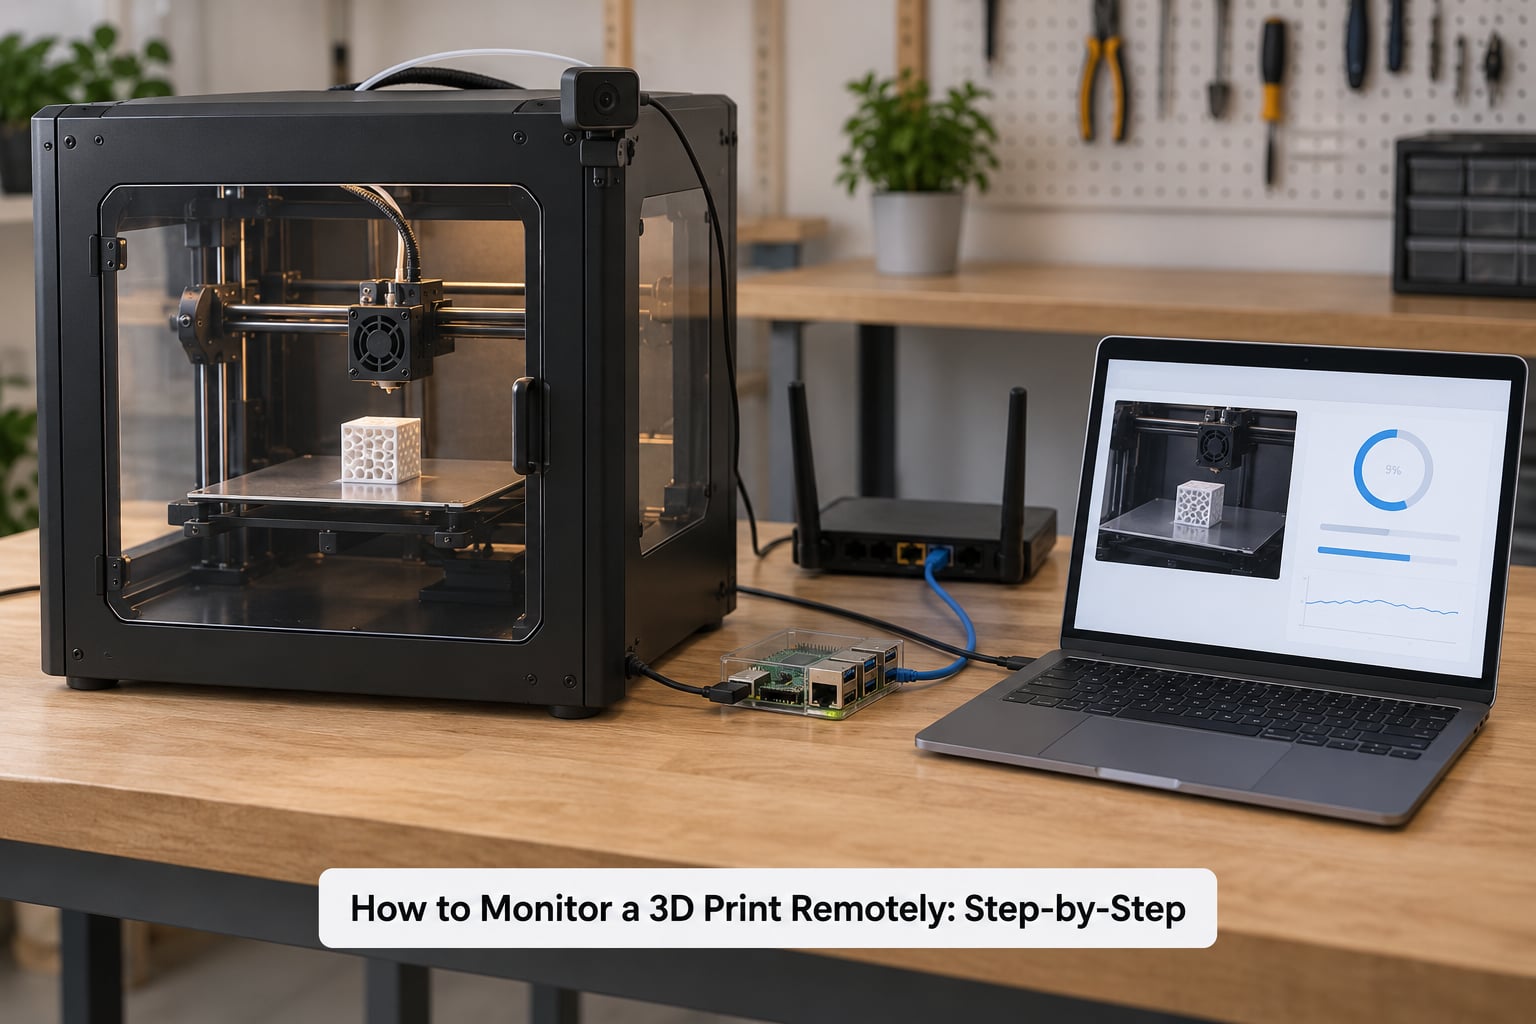
Seven steps, in the order that avoids the most rework. Get through step four and you already have monitoring; the rest turns it into something you can trust from another city.
Step 1: Check Printer and Network Compatibility
Start by finding out whether your printer’s board can be talked to. A USB serial connection is the usual answer, and OctoPrint’s Connection wizard will tell you within a minute whether a port opens and whether the firmware answers serial commands. If the board refuses serial-over-USB, you may need to enable that setting in the printer’s own menu, or use the vendor’s app as your base.
Then check the network. Open a terminal on the computer that will host the server, find its own address, and confirm the router gives both devices a lease. Write the printer server’s address down somewhere you will find it in six months, because a DHCP change is the most common reason a working setup suddenly stops answering.
Step 2: Choose How You’ll Monitor a 3D Print Remotely
Pick one path and finish it before starting another. If your printer’s vendor cloud already does what you need, stop there — it takes an afternoon and zero configuration. If you want temperature history, a print queue and gcode upload from your phone, OctoPrint on a Raspberry Pi is the shortest route. If you already run Klipper or plan to, keep the same firmware and use Moonraker with Mainsail.
Budget roughly ten minutes for an OctoPrint install once the SD card image is downloaded. Users on r/3Dprinting consistently describe that as the whole setup, and the reason OctoPrint keeps winning recommendations is that the install is boring rather than clever.
Step 3: Connect the Printer to the Network
Wire the Raspberry Pi, mini PC or old laptop to the router with Ethernet if the cable exists. Connect the printer board to that same machine by USB. Both devices now share a subnet, which is the only thing a local web interface needs.
Give the server a static DHCP reservation in your router so its address never moves, and give the printer a fixed address too if its firmware allows one. Turn off Wi-Fi on the server after you confirm Ethernet works; a server that tries two paths at once is a common source of phantom disconnections.
Test before going further: open the interface’s address in a browser on a phone joined to the same Wi-Fi. If that loads, your local monitoring path is proven.
Step 4: Install and Configure the Monitoring Software
For OctoPrint on a Raspberry Pi, flash OctoPi to a microSD card, boot it, and open its address in a browser. The Setup Wizard walks through adding the serial port, choosing a printer profile, and connecting the printer. Menu names differ a little between versions and operating systems, so if a label looks different, trust the wizard’s position in the flow rather than a screenshot from a year ago.
Once it connects, confirm five readings before you walk away: current nozzle temperature, bed temperature, print progress percentage, estimated time remaining, and filament used. If all five move sensibly during a short test print, your telemetry is trustworthy. That status data — not the camera — is what actually tells you a print is going wrong.
For the Klipper route, flash Klipper to the board, add Moonraker as the API layer, and open Mainsail or Fluidd. Mainsail is the more active community, Fluidd is the older and calmer interface. Both read temperatures, position, progress and estimated time from the same Moonraker data.
Step 5: Add Remote Camera Monitoring
Mount the camera so the nozzle and the first ten layers are visible, usually high and slightly to one side, looking down into the chamber. Keep it out of the airflow path and away from the hot end where heat haze will blur the picture.
Lighting matters more than resolution. A strip of diffused light aimed at the print area eliminates the shadow the gantry head throws, and something behind the camera pointing at the nozzle removes the backlight glare that makes a bed look like a white blob. Turn off autofocus if it keeps hunting; a fixed focus set for the nozzle distance is more predictable.
Stream it through your local dashboard first, then expose it the same way you expose the interface. Check the feed from your phone on mobile data, not on the home Wi-Fi, because that is the test that actually matters.
Step 6: Set Up Alerts and Notifications
Enable five alerts and ignore the rest until something breaks: print finished, print failed or paused, thermal runaway or temperature fault, filament runout if your setup has a sensor, and the server or camera going offline.
Push notifications through the vendor app, email, or a Discord, Slack or Pushover channel if you already live in one of those. Set temperature thresholds from your printer and material rather than copying a universal number — a PLA bed and an ABS bed have very different normal ranges, and an alert that fires every hour gets muted within a day.
Step 7: Test Access and Secure the Connection
Turn off Wi-Fi on your phone, or use a different network entirely, then open the dashboard. Anything that only works on the home Wi-Fi is LAN monitoring, not remote monitoring — this distinction trips up more beginners than anything else in this guide.
Now secure it. A hosted tunnel such as the one Obico provides for OctoPrint, or OctoEverywhere, gives you an authenticated HTTPS address with no router changes and no open ports; that is the safest option for most people. A mesh VPN like Tailscale or WireGuard is the other good one, and forum users who insist on owning their whole path tend to prefer it, though r/klippers threads note beginners find it a steeper first climb.
Whatever you choose, change default credentials, turn on two-factor authentication if the service offers it, and never expose OctoPrint’s raw port. Port forwarding is the one option on this list I would not recommend to anyone.
Which Remote Monitoring Method Should You Pick?
Here is the honest comparison. Costs are described as free or paid at the platform level rather than as amounts, because plans change often — check the provider’s current pricing page before you commit.
| Method | Cost | Setup difficulty | Works off-network | AI failure detection |
|---|---|---|---|---|
| Standalone camera app | Free to paid | Very low | Yes | No |
| Vendor cloud app | Free to paid | Very low | Yes | Varies by brand |
| OctoPrint on a Pi, LAN only | Free | Low | No | No |
| OctoPrint plus Obico or OctoEverywhere | Free tier, paid above | Low | Yes | Yes |
| Klipper, Moonraker and Mainsail, LAN only | Free | Medium | No | Via add-on |
| Any local server plus Tailscale or WireGuard | Free to paid | Medium to high | Yes | Via add-on |
The pattern worth remembering: the local platform is free and powerful, and the paid or hosted layer is almost always just the route to it. Obico’s free tier covers simple remote checks, which is why long-time users describe it as good enough for years before they upgrade.
One caution on AI failure detection. It watches the video for signs of a spaghetti failure or a bad first layer, so a camera that cannot resolve the nozzle will generate false alarms until you turn the feature off — a complaint that shows up in thread after thread. Fix the lighting and framing first, and only then judge the tool.
Common Mistakes
The printer vanished from the network. A DHCP lease expired and the address changed. Set a static reservation, then restart the server. If it happens weekly, the Wi-Fi signal or the router is the real problem — move to Ethernet.
Video fails but status data works. The video path is far heavier than the JSON status path, so this is usually a bandwidth or encoder problem, not a broken install. Drop the stream resolution and frame rate, switch the dashboard to a snapshot mode, or move the server to a wired connection.
Temperatures read wrong or flatline. On OctoPrint this usually means the serial connection dropped mid-print, often because of an underpowered Raspberry Pi or a marginal USB cable. A short powered hub fixes more of these than any software setting.
Alerts never arrive. Nine times out of ten the notification integration was enabled but never tested. Send a test notification before the long job, not during it, and confirm the phone can receive them over mobile data.
Access works at home and nowhere else. That is LAN-only access wearing a remote hat. Add a tunnel or a VPN; the dashboard will not cross networks by itself.
The camera can’t show the nozzle. Reposition it higher and closer to one side, add diffused lighting, remove anything reflective inside the chamber, and disable autofocus. Do a five-minute test print before the twelve-hour one.
Two habits save most of this pain. Run one complete test print end to end — start, monitor from off-network, receive the finish alert — before you trust the setup with anything you care about. And write down your server address, your tunnel provider, and which alert options you enabled.
Frequently Asked Questions
Can I monitor a 3D print remotely without internet service?
Only from inside your own home network. Local interfaces like OctoPrint, Mainsail and Fluidd all work fine with no internet connection at all, as long as your phone or laptop is on the same network as the printer server. Once you want access from work, a hotel or a friend’s place, you need an outside route: a hosted tunnel such as Obico or OctoEverywhere, or a mesh VPN like Tailscale. Those require internet on both ends.
Is a camera necessary to monitor a 3D print remotely?
No, but it is the difference between watching and guessing. Status data gives you nozzle and bed temperature, progress percentage, estimated time remaining and filament used, which reliably catch thermal faults and runouts. A camera is what catches a first-layer problem or a spaghetti failure before it ruins the print. If your printer’s board cannot be talked to at all, a standalone camera app may be your only option for seeing anything.
Can I pause or stop a 3D print from my phone?
Usually yes, as long as your printer exposes its controls through whatever monitoring software you use. OctoPrint, Moonraker and the major vendor apps all allow pausing, resuming and cancelling from a browser or mobile app once you have a remote route outside your home network. Two cautions: cancelling a print stops it where it stands and leaves a partial part, and pausing keeps the bed warm, so a paused print is not a parked print. Pause to fix something, then resume or cancel deliberately.
How much mobile data does remote 3D printer monitoring use?
It depends entirely on whether you stream video or poll status. A continuous video stream can burn several megabytes per minute, which adds up fast on a long print. A dashboard refreshing every ten to thirty seconds costs very little, and snapshot-on-demand checks cost less still. If you plan to check in occasionally rather than watch, set a longer refresh interval or use snapshot mode, and the difference over a twelve-hour print is dramatic.
What is the safest way to access my 3D printer remotely?
Use an authenticated tunnel or a mesh VPN, never raw port forwarding. A service such as Obico or OctoEverywhere gives you an HTTPS address with a login, with no router changes and no open ports on your network. Tailscale or WireGuard gives you the same protection with your own devices and no third party in the path. In both cases change default credentials, enable two-factor authentication if it is offered, and keep the printer on a separate network segment if your router allows it.
Does remote monitoring show failed prints in real time?
With a camera and AI failure detection, yes, and it is the feature people end up relying on most. The system watches the video for signs of a first-layer error or a spaghetti failure and can pause the print and send an alert within minutes. It is not perfect: poor lighting and framing produce false alarms, which is why so many users disable it before fixing their camera. Set the sensitivity conservatively and test it on a print you do not mind losing.
Conclusion
The most reliable path to monitor a 3D print remotely is boring and it never changes. Start with whatever your printer already offers, add a local interface only if you want more control than the vendor app gives you, reach it from outside through an authenticated tunnel or a mesh VPN rather than an open port, and add a camera purely for visual confirmation.
Then set your alerts and run one full test print before you leave the house. Start today by checking whether your printer’s board answers a serial connection and by writing down how it is wired to your network — that single habit prevents most of the problems described above.