To print with a dual extruder setup, four things have to be right: both tools enabled in the printer and in the slicer, each filament assigned to its own extruder, the two nozzles aligned to the same height, and every tool change checked in the preview before the job starts. Most failed two-material prints are alignment or filament problems, not hardware faults.
The first run takes about an hour of setup plus a short test print. Once that works, two-material printing becomes routine. Everything below is brand-neutral because extruder labels, temperature controls and calibration commands differ between printers and slicers, so check your own manual as you go.
Table of Contents
- 1What You Need
- 2Step-by-Step: How to Print with a Dual Extruder Setup
- 3Step 1: Confirm That the Printer Can Use Both Extruders
- 4Step 2: Assign T0 and T1 in the Slicer
- 5Step 3: Load and Prime Both Filaments
- 6Step 4: Set Temperatures, Bed Preparation, and Flow
- 7Step 5: Calibrate the Nozzle Offset and Tool Alignment
- 8Step 6: Slice, Preview, and Inspect a Dual Extruder Print
- 9Step 7: Print, Monitor, and Swap Materials Safely
- 10Common Mistakes
- 11Frequently Asked Questions
- 12Can I print with two extruders if both hold the same filament?
- 13How do I print a two-color model with a dual extruder?
- 14Do I need a dual extruder for two-material support structures?
- 15Should I switch the active extruder before or after loading filament?
- 16Does using a dual extruder reduce print quality?
- 17Conclusion
What You Need
Before you print anything with two extruders, put these in place. Anything missing here shows up later as a confusing failure.
- A machine with a working second tool. Two independent nozzles, one nozzle with a filament selector, or a multi-material unit all count. Confirm both feed paths extrude before you trust the rest.
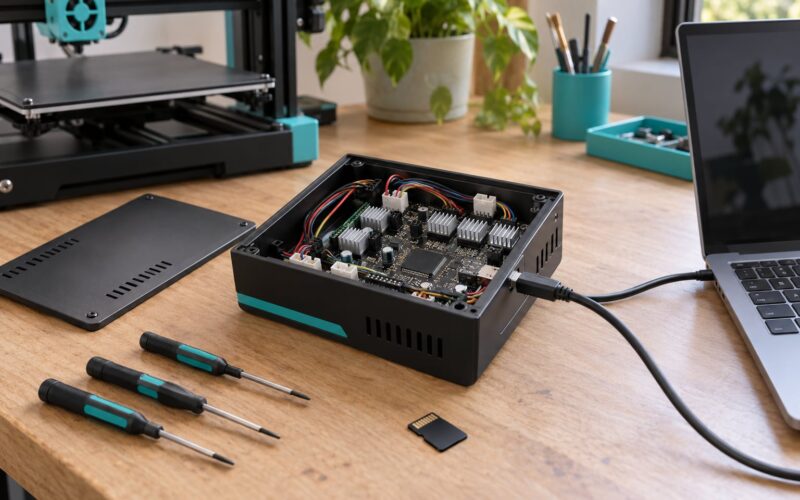
- Firmware that reports the tool. Marlin, Klipper and RepRap firmware each store tool offsets differently, and a wrong value here causes oozing and gouged prints that no slicer setting can fix.
- A slicer that knows you have two tools. PrusaSlicer, UltiMaker Cura and OrcaSlicer all support multi-tool slicing. Menu labels shift between versions, so match the function rather than the exact button name.
- Two filaments you know print cleanly on their own. Print a single-tool calibration piece per material first. A material that is already troublesome alone will be worse in a two-material job.
- Dry filament and a dryer. PVA, nylon and TPU absorb moisture fast. A hissing or popping nozzle during a tool change is nearly always wet filament.
- A thin tool for alignment. A feeler gauge or a sheet of paper works for a first pass. A dial indicator makes fine Z adjustment far quicker once you are close.
- A model prepared for two materials. Split it into parts, paint regions onto the mesh, or mark support as a separate material so the slicer can route it.
- A clean, safe work area. Clear the space around the gantry, keep the printer on a stable surface, and make sure you can reach the power switch without reaching over the machine.
Step-by-Step: How to Print with a Dual Extruder Setup
A dual extrusion print runs through the same seven stages every time. The first question is what the second tool is actually for, because that decides everything downstream.
| Model type | Why you need two extruders | Recommended assignment |
|---|---|---|
| Two-colour object | Two regions that must hold different colours | T0 model, T1 second colour on the same layers |
| Hard overhangs or internal cavities | Support must come out of spaces your tool cannot reach | T0 model, T1 dissolvable support |
| Rigid and flexible section | One part needs stiffness and another needs bend | T0 rigid body, T1 flexible hinge or grip |
| Two identical copies | Throughput doubles on a machine with two tools | T0 copy A, T1 copy B, mirrored where the printer supports it |
Step 1: Confirm That the Printer Can Use Both Extruders
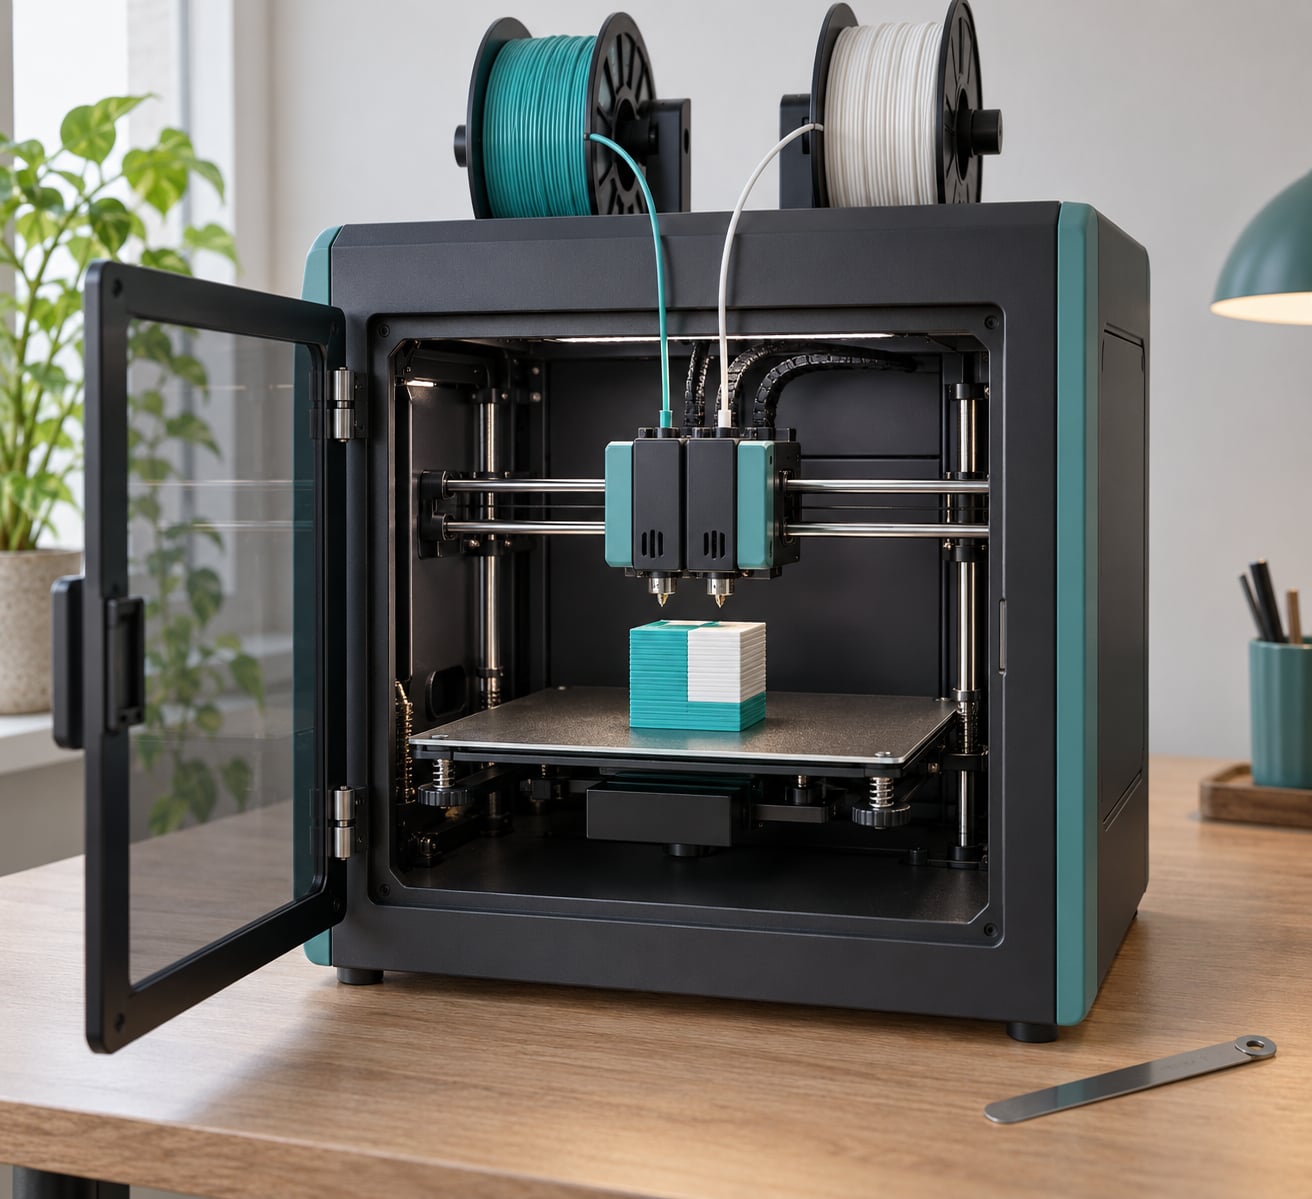
Open your printer settings and check the number of active tools. On a machine with twin independent hotends this is usually a nozzle count or tool count in the printer profile. On a single-nozzle system with a filament changer, the second tool exists but only loads one material at a time, which is why those machines cannot print two materials in the same layer.
Then check the movement range. Two nozzles need room to park without the parked nozzle gouging finished plastic or the wipe tower, and single-nozzle systems may have a smaller usable area because the tower takes up space. Firmware support is the third check: search your firmware documentation for tool offsets and tool change commands before you assume dual extrusion will work.
Step 2: Assign T0 and T1 in the Slicer
The setting people miss most often is extruder count. Until your slicer knows two tools exist, every other setting applies to a single nozzle and nothing multi-material will slice correctly.
- PrusaSlicer: the printer type and tool count sit in the printer configuration screen, and each filament slot gets its own extruder mapping under the filament settings.
- UltiMaker Cura: the recurring answer in community threads is Settings > Printer > Manage Printers > Machine Settings > Extruder Count. Set it to two, then define each extruder.
- OrcaSlicer: extruders are defined under Printer Settings, with the count and per-extruder temperatures set before you assign materials.
Label the tools so they match your printer. If your second hotend is physically on the left and the slicer calls it T1 on the right, you will chase mirrored problems for hours. Assign your filament to each tool next, and give each one its own temperature and retraction values rather than copying one across.
Step 3: Load and Prime Both Filaments
Load each filament, confirm the drive gear has grip, and set tension so it does not slip or back up. Heat the nozzle for the tool you are loading, then extrude slowly until material reaches the tip with no gaps. Repeat for the second tool.
Retract after priming so a cold nozzle is not sitting on a bead of softened plastic. Four checks catch most problems here: a clogged nozzle shows no flow at all and needs a cold pull or a swap; a tangled spool shows reduced or pulsing feed; wet filament hisses, pops and strings; a wrong filament path means the material extrudes outside the nozzle or leaks at a fitting.
Purge each tool into a bin for a second or two before the print. It wastes a short length of filament and saves a failed layer later.
Step 4: Set Temperatures, Bed Preparation, and Flow
Give each material its own profile. Identical temperatures rarely work across two materials because filament formulations differ, and a temperature that is right for PLA can be too low to bond PVA or too hot for TPU.
| Material | Nozzle | Bed | Handling note |
|---|---|---|---|
| PLA | 200-215 C | 50-60 C | Easy to print, low warp, brittle in heat |
| PETG | 230-250 C | 70-85 C | Stringy, needs a little more bed heat |
| ABS / ASA | 240-260 C | 90-110 C | Warps without an enclosure |
| PVA support | 185-215 C | Same as main material | Overheating carbonizes it inside the nozzle |
| TPU | 220-240 C | 40-60 C | Slow feeds, check the drive path |
Level the bed with both nozzles in place, or load a defined mesh if your printer uses one. A nozzle that has never touched the plate can be the reason one tool scars the first layer while the other prints cleanly. Then match the flow or extrusion multiplier to each filament with a single-tool test, rather than applying one number to both tools.
Step 5: Calibrate the Nozzle Offset and Tool Alignment
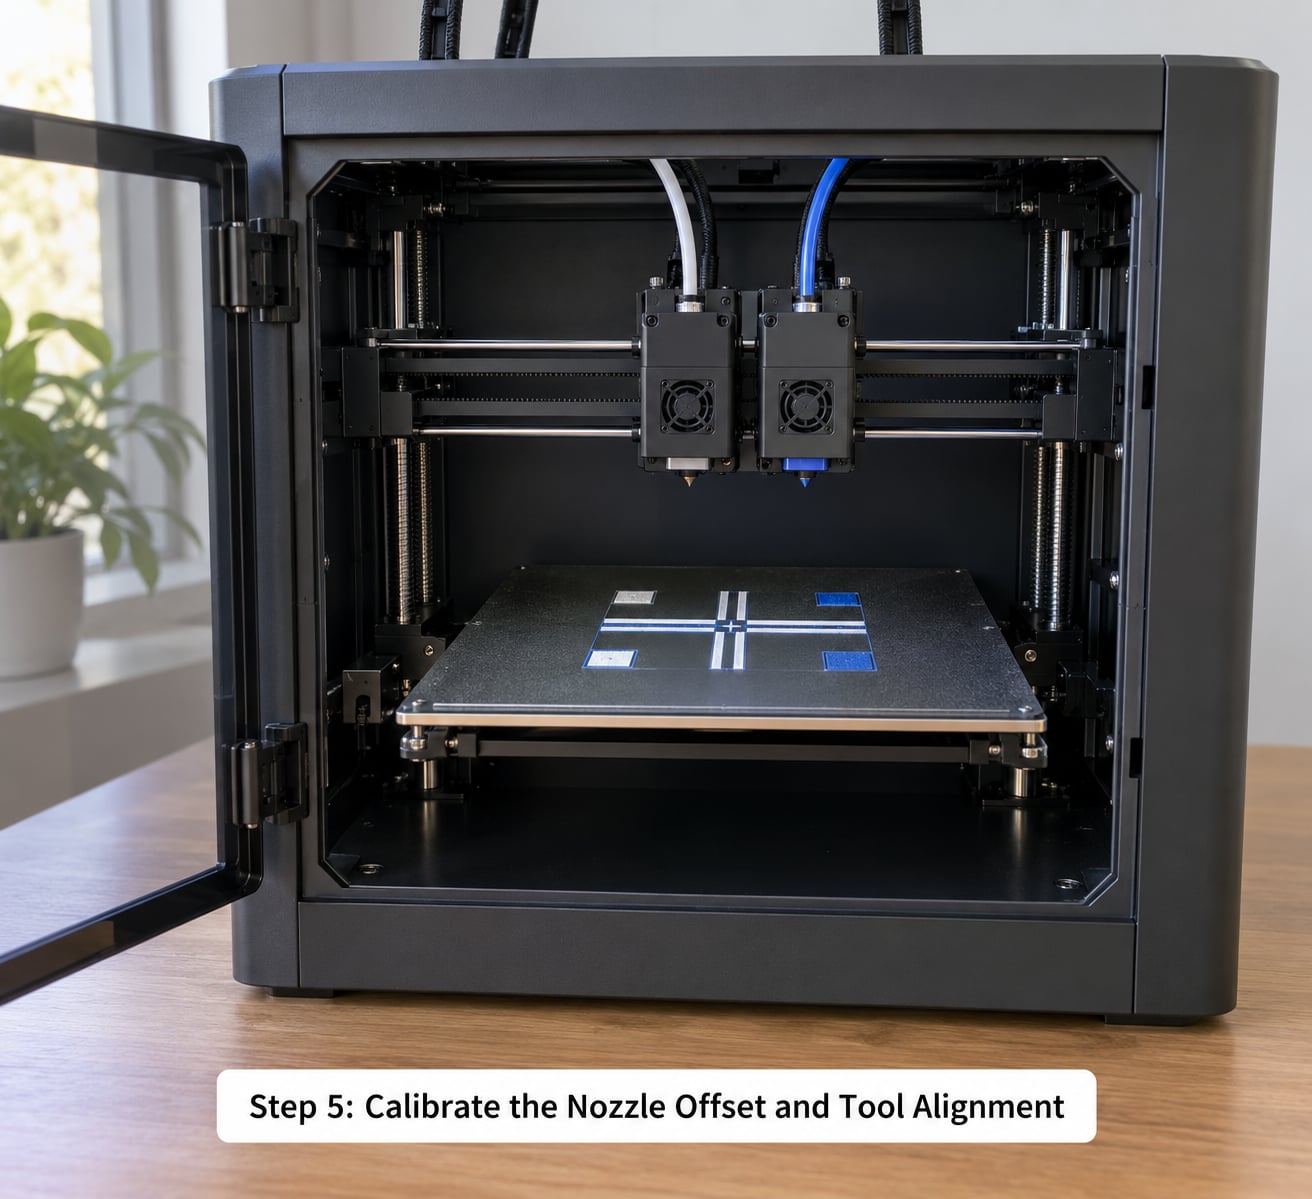
Nozzle offset calibration is the step that separates a clean two-material print from a scrap one. First find out how your printer does it: some printers run a semi-automatic routine that parks and probes both nozzles, some accept values you enter by hand, and DIY machines usually need manual adjustment plus matching firmware offsets.
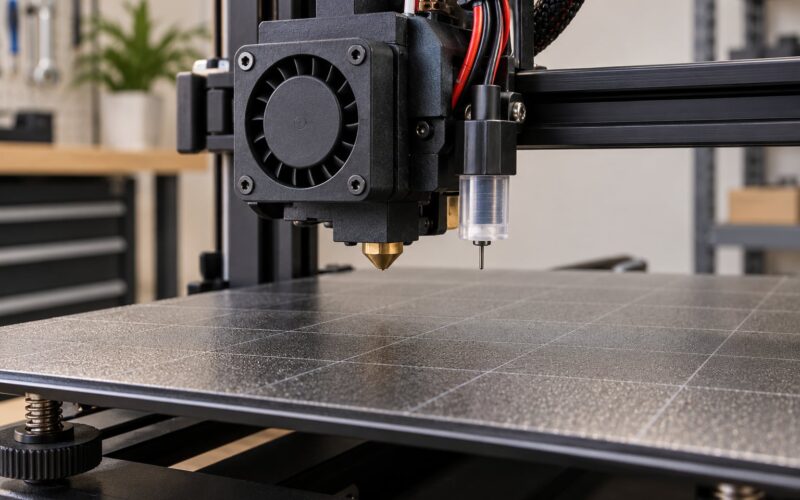
For a manual Z check, place a feeler gauge or sheet of paper under each nozzle one at a time and record the difference. Move to a dial indicator once you are within feeling range, and adjust in small steps until both nozzles draw a consistent line at the same height. Then check X and Y alignment by printing a single layer and measuring whether the lines from each tool overlap or sit beside each other with a gap.
Diagnose what you see. A consistent gap means an X or Y offset error. Ridges or a double-height line on every layer means the Z heights differ. Skew that changes between T0 and T1 means the gantry or tool offsets are being applied in only one place, so check both the slicer and the firmware.
On an IDEX machine the two tools move along different axes, so tool offsets and homing limits matter more than on a simple dual hotend. Keep the calibration moves slow and stay clear of the gantry while it moves.
Step 6: Slice, Preview, and Inspect a Dual Extruder Print
Now that both nozzles are aligned, look at the tool changes before you commit hours to a job. Dual extrusion 3D printing works or fails on the layer change, so this preview is where you catch problems cheaply.
- Wipe or prime tower: the purge structure gives each new material somewhere to go. More purging means cleaner colour separation and more waste.
- Ooze shield: protects the model from a parked nozzle that drips. Turn it on for anything glossy or dark-coloured.
- Retraction and travel: set per tool, since PLA and TPU need very different values. Long travels across an open bed invite stringing.
- Seam and layer change placement: put them where they will not sit on a visible face of the part.
- Tool change collisions: check that the parked nozzle clears the model, the tower and the bed at every layer change.
Work through a short checklist on the preview: colours land on the regions you assigned, the second material goes only where you meant it to, the nozzle clears at every tool change, support will actually be reachable, and the first layer contacts the whole footprint. For multi-material 3D printing, most ruined prints are caught by that last check.
Step 7: Print, Monitor, and Swap Materials Safely
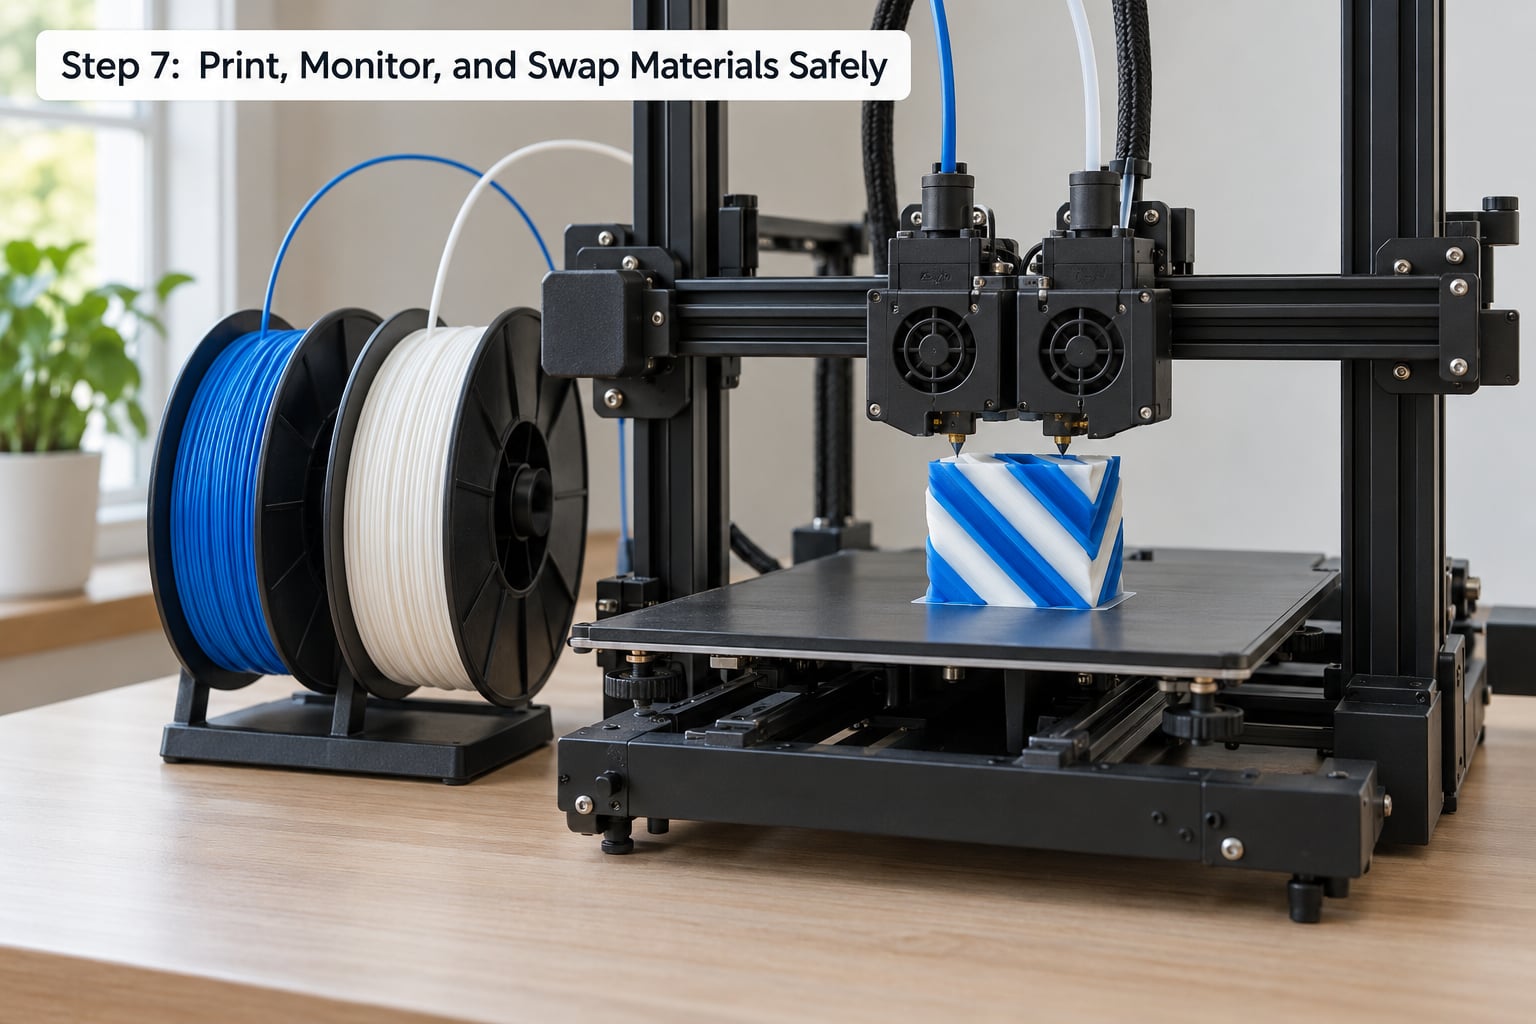
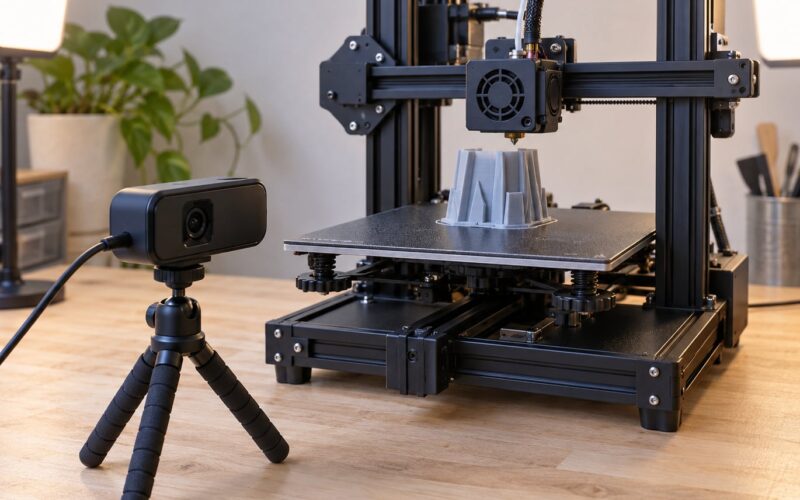
Start with a small test print that includes at least one tool change so you see the changeover early. Watch the first few layers closely: a nozzle that is not landing at the right height shows up immediately as a gap between colours or a line the tool cannot reach.
Keep both nozzles in view for the first tool change. You want to see the new material reach the tip, the tower wipe the old colour away, and the nozzle return to the model. If the change is clean there, the rest of the job is mechanical.
For a filament swap, pause before the spool runs out rather than mid-layer, let the hotend cool enough that you can handle it, then swap and resume. On machines with a selector or multi-material unit the printer prompts you; on independent twin hotends you pause and change by hand.
Stop immediately if a nozzle crashes into the model, leaks plastic, or stops feeding. Clear the fault with the printer cool, confirm the filament path is still correct, and slice again from the same point rather than guessing mid-print.
Common Mistakes
Most dual extrusion problems fall into a small number of repeatable patterns. Find the symptom row first, then work the cause.
| Symptom | Likely cause | Fix |
|---|---|---|
| Doubled or double-height lines | Z heights differ between T0 and T1 | Recalibrate both nozzle offsets together |
| Gap or shadow between two colours | X or Y offset error | Check X and Y alignment, then firmware and slicer offsets both applied |
| One extruder stops feeding | Tangle, low drive grip, or a cooled hotend | Untangle, check tension and filament path, confirm the tool is actually heated |
| Old colour bleeding into the next | Purge volume too low, retraction too short | Raise purge volume and per-tool retraction, add an ooze shield |
| First layer lifts or gaps | Bed not levelled with both nozzles, wipe tower too close | Level with both nozzles loaded, lower the tower, check bed temperature |
| Nozzle blocked during a change | PVA overheated and carbonised, or residue left in the tip | Keep PVA in its rated range, drop temperature, cold pull and clean the tip |
| Strings between regions | Oozing, low retraction, long travels | Raise nozzle temperature slightly for PLA-family, tune retraction, shorten travel |
| Layer shifts mid-print | Tool change collision or a nozzle snagging the tower | Re-preview, move the seam, add clearance around the tower |
| Parts come apart at the interface | Two materials printed fine but never bonded | Interlock the interface geometrically, or choose materials with a matching melt window |
| Unreasonable filament use | Purge volume raised too far, tower oversized | Trim purge volume to the smallest value that still gives a clean change |
Before you start any job, run this quick check: both tools extrude, both offsets are current, filament is dry, each tool has its own temperature and retraction, and the preview has been inspected at the first tool change. That sequence catches most failed prints before the first layer.
Frequently Asked Questions
Can I print with two extruders if both hold the same filament?
Yes, and it is the easiest first test. Load the same material in both tools, run the manufacturer’s multi-tool calibration, and print a small two-tool object. Matching materials share a temperature profile and bond to themselves well, so a failure here points at hardware or offsets rather than chemistry. Once that prints cleanly, move to two different materials.
How do I print a two-color model with a dual extruder?
Split the model into material regions, either in your CAD software or by painting faces onto the mesh, then assign each region to T0 or T1 in the slicer. Set a temperature, retraction and flow rate for each tool, enable a wipe tower, and preview the first tool change before printing. Two-colour printing on twin independent hotends happens within a layer.
Do I need a dual extruder for two-material support structures?
Only if the support material must be different from the model material. Same-material support works on any printer and comes off with tools. A second extruder is what lets you use a dissolvable support such as PVA with a PLA model, or HIPS with ABS, so support inside internal cavities dissolves away instead of being unreachable.
Should I switch the active extruder before or after loading filament?
Load the filament first, then let the printer select the tool. Prime the nozzle while it is already heated to the correct temperature for that material, retract, and confirm flow before starting the print. Switching first means the new tool sits cold with no filament loaded, which is the usual cause of a failed first layer after a tool change.
Does using a dual extruder reduce print quality?
Quality depends more on material pairing and calibration than on the number of extruders. Purge residue on a colour boundary and a slightly rougher surface finish come from the tool change, not from the machine. The real losses are filament wasted purging and longer print times, while nozzle offsets left uncalibrated cause the visible defects.
Conclusion
Working out how to print with a dual extruder setup comes down to doing the boring parts first. Confirm the printer actually supports two tools, give each filament its own extruder with its own temperature and retraction, and calibrate both nozzle offsets before anything else.
After that, load and prime both filaments, level the bed with both nozzles present, and inspect the first tool change in the preview. Start with a small test print that includes one colour change, then move to your real model. Keeping the troubleshooting table next to you while you work through your first few jobs will save more filament than any setting you can tune in advance.