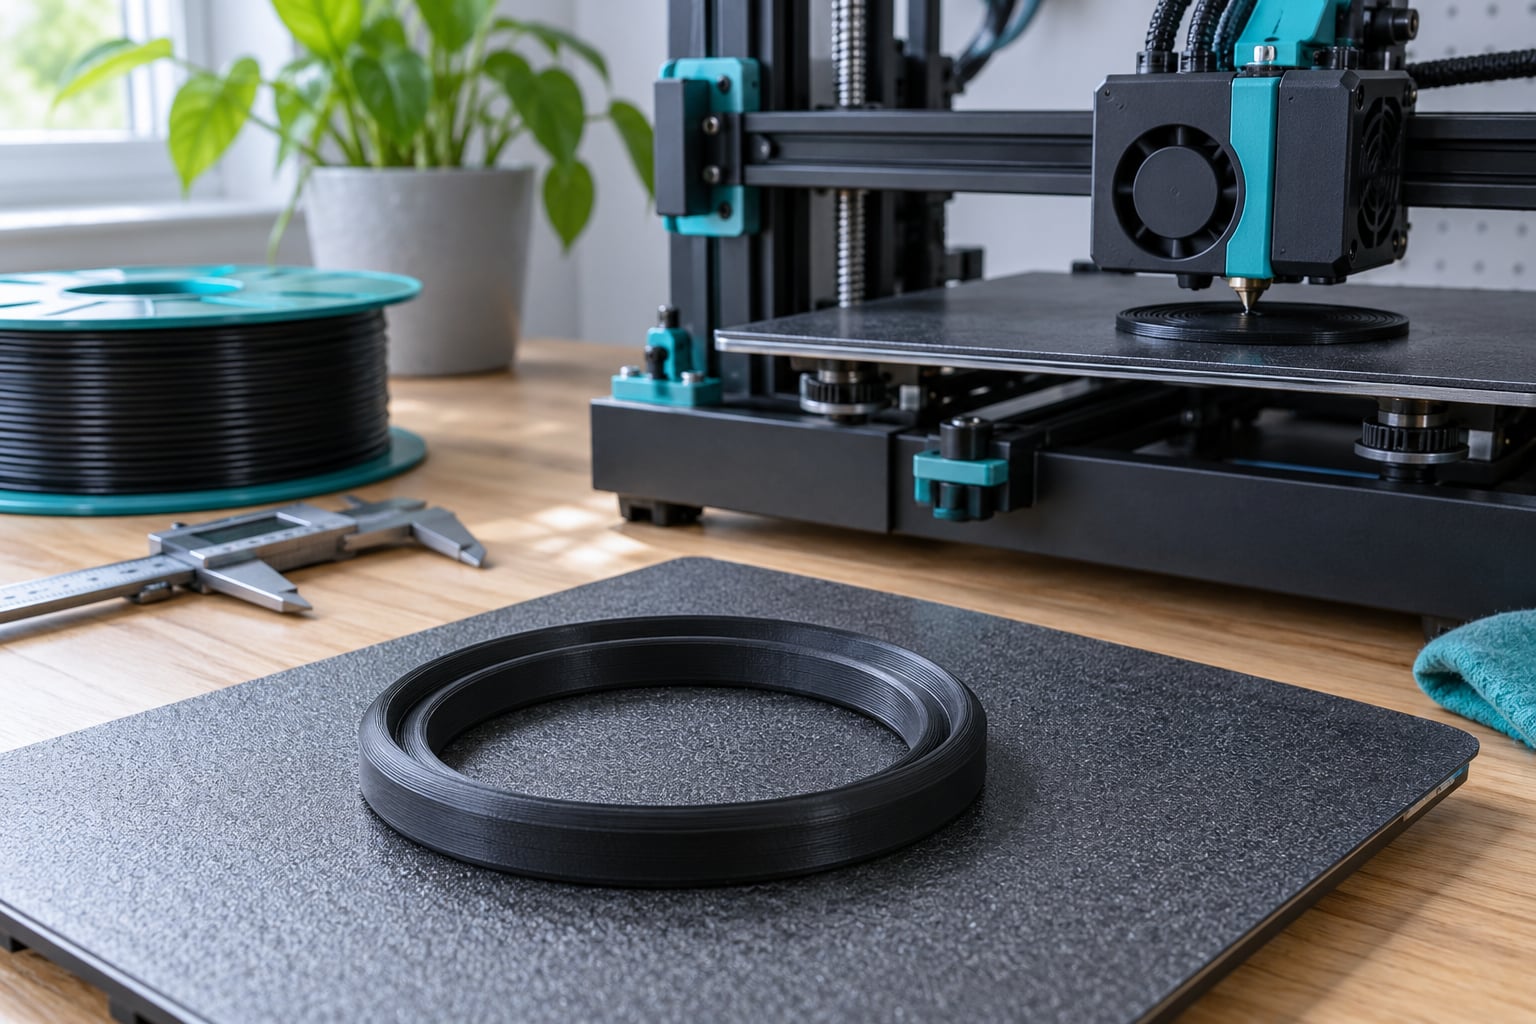
Yes, you can print gaskets and seals with TPU, and for a plumbing flange, an electronics lid or a hydraulic tank filler it often beats trying to source a matching rubber part. The catch is that a seal only works if the layer lines fuse completely and the ring is compressed slightly when bolted down, so print settings matter far more here than for a decorative part.
A basic TPU gasket print takes a couple of hours on a small ring. Difficulty sits in the middle: the design work and the first-layer adhesion are what catch people out, not the printing itself.
The biggest single cause of a failed printed gasket is a thickness that is not an exact multiple of your layer height, which leaves a sliver of a half-finished layer on the sealing face. Get that one number right and the rest is mostly common sense.
Table of Contents
- 1What You Need
- 2Key Settings to Print Gaskets and Seals with TPU
- 3Step-by-Step
- 4How Do You Print Gaskets and Seals with TPU?
- 5How Do You Make TPU Seals Fit Tightly?
- 6Common Mistakes
- 7Why is TPU difficult to print?
- 8Frequently Asked Questions
- 9What TPU hardness should I use for 3D printed gaskets and seals?
- 10Do I need 100% infill when printing a TPU seal?
- 11Can I print TPU gaskets on a Bowden-style printer?
- 12Should I use a heated or textured build plate for TPU?
- 13How much clearance should a 3D printed TPU seal have?
- 14How do I stop TPU seals from stretching or tearing after printing?
What You Need
You can do this on almost any FDM printer that will accept flexible filament, but a few things make it much easier.
- A direct-drive extruder. A short, unbowed filament path is the difference between clean feeding and a spool of shredded plastic. Bowden machines can work, but they need tuning and you have to watch the print.
- A 0.4 mm nozzle. Standard geometry is fine. You do not need a hardened nozzle unless your spool contains fibre or carbon filler.
- A dry box or filament dryer. TPU is hygroscopic. It picks up moisture in minutes and prints like wet pasta when it does.
- A PEI build plate plus an adhesion aid. A thin layer of Dimafix, Magigoo or similar adhesive spray on a textured or smooth PEI sheet gives you a peelable first layer that does not rip the gasket off the bed.
- Drying tools. A filament dryer, or a food dehydrator, a warm box and silica gel if you are on a budget.
- Calipers, a craft knife and a deburring tool. You will trim the seam and knock down the layer ridges on the sealing face.
- A test stack. Print the same gasket at three thicknesses before you machine the mating flange. This is the trick makers on the forums use, and it saves a lot of guessing.
Key Settings to Print Gaskets and Seals with TPU
Start from the table below, then adjust for your spool. Filament labelled 95A from one brand can need 205 C while another needs 225 C, so treat the number on the spool as a starting point rather than a rule.
| Setting | TPU 85A | TPU 95A | TPU 100A |
|---|---|---|---|
| Nozzle temperature | 210-230 C | 220-240 C | 225-245 C |
| Bed temperature | 40-50 C | 45-55 C | 50-60 C |
| Layer height | 0.16-0.20 mm | 0.16-0.20 mm | 0.20-0.24 mm |
| Print speed | 20-30 mm/s | 20-30 mm/s | 25-35 mm/s |
| Extrusion width | 0.42 mm | 0.42 mm | 0.45 mm |
| Flow / extrusion multiplier | 1.03-1.05 | 1.00-1.03 | 1.00-1.02 |
| Retraction | 0.8-1.2 mm at 25 mm/s | 0.5-0.8 mm at 25 mm/s | 0.4-0.6 mm at 25 mm/s |
| Perimeters | 4 or more | 4 or more | 4 or more |
| Fan / part cooling | 30-50% | 30-50% | 40-60% |
Soft grades string more and need a little extra flow, which is why the multiplier climbs as the Shore number drops. An enclosure helps on cold days but is not required; what matters more is that the first layers are not being shocked by a cold nozzle.
Harder grades print flatter because they behave more like rigid plastic, so you can push speed and fan higher. Softer grades need slow, cool, deliberate extrusion.
Step-by-Step
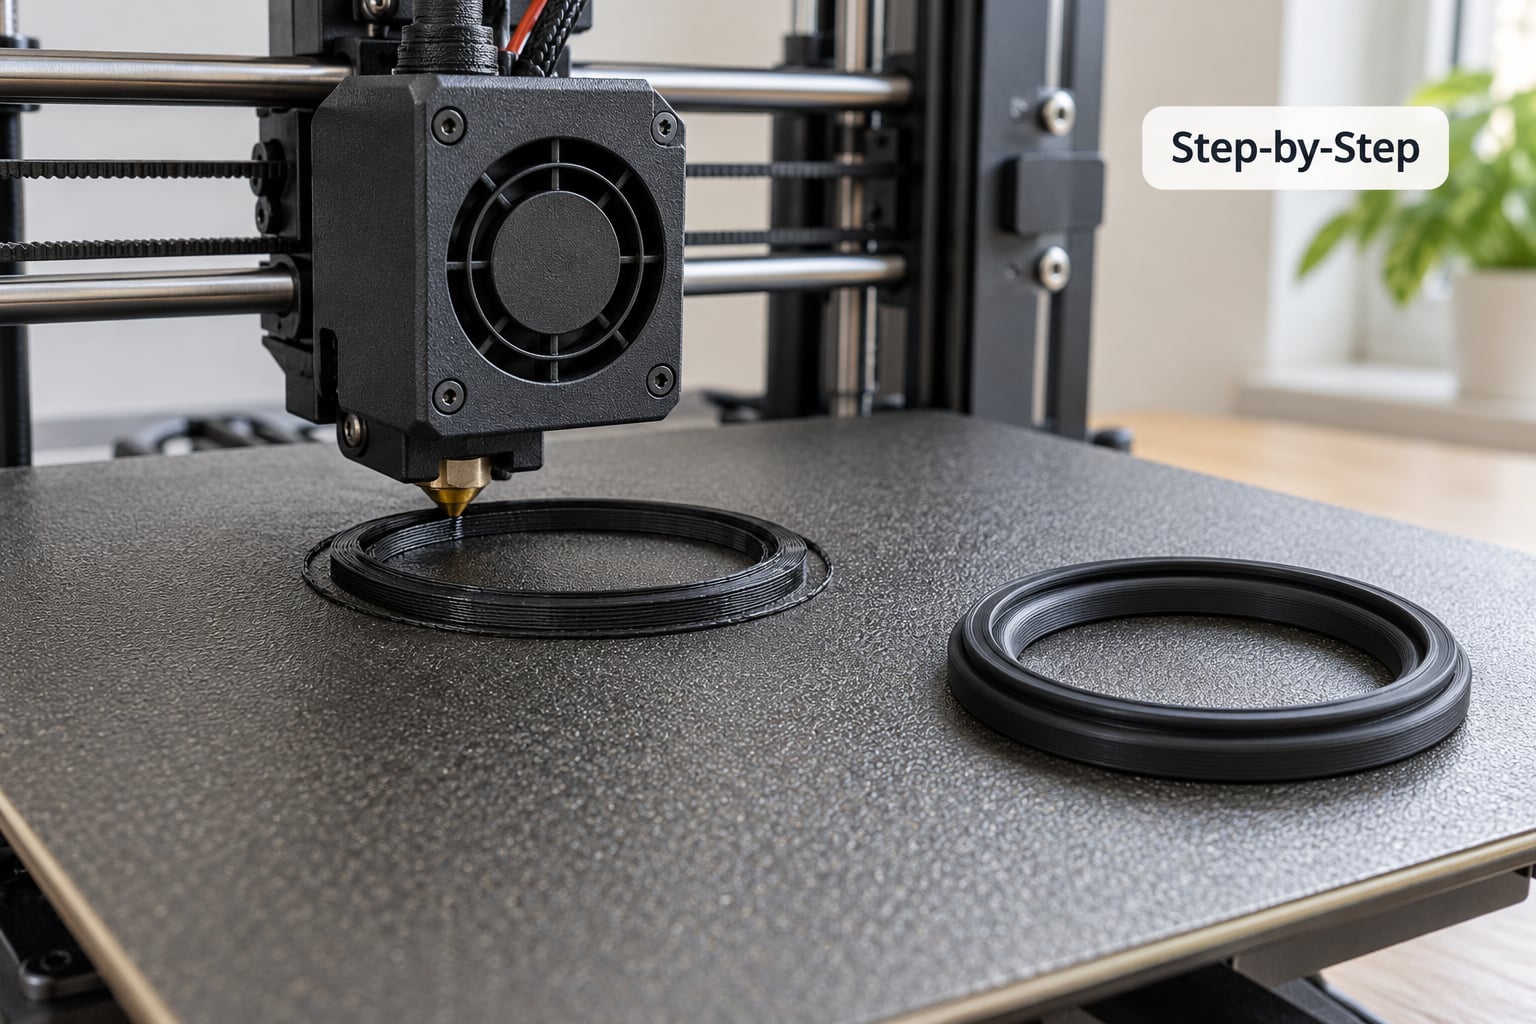
The workflow below runs from a CAD file to a tested seal. Each step has a quick check you can do to confirm it worked before moving on.
How Do You Print Gaskets and Seals with TPU?
You print a TPU seal the same way you print any part, then control the surface quality with slow speeds, high enough temperatures for full layer bonding, and a wall count high enough to make the part solid through its thickness. The differences from normal printing are the feeder setup, the drying, and treating the sealing face as a functional surface rather than a cosmetic one.
- Design the gasket at a known thickness. Pick a target of 3 mm for water, 2 mm for a dust-and-moisture lid, and 5 mm or more for vibration isolation. Then choose a layer height that divides that number exactly. A 3 mm gasket at 0.20 mm layers is 15 layers and finishes square. At 0.24 mm layers it does not divide cleanly, so the slicer thins a partial layer and you get a permanently weak seam right where the seal has to seal.
- Print the ring flat, sealing face up. The first layer becomes the underside. If you print it standing on edge you will need supports, and support scars on a sealing face are leak paths you will never fully remove.
- Dry the filament. Fresh spool sealed in a dry box, or 4 to 6 hours at 55-60 C in a dryer. Wet TPU pops, strings, and creates micro-voids between layers that open up the moment the gasket is squeezed. Connect this to the real failure: a seal that looks perfect on the bench can leak under pressure purely because the layers never bonded.
- Set up the feeder path. On a Bowden, make the PTFE as straight and short as you can and lower pressure on the extruder spring so the gears grip without shredding. On a direct drive, check that the filament does not buckle in the gap between spool and extruder.
- Prepare the bed. Clean the plate with isopropyl alcohol, level it, then apply a thin, even coat of adhesion spray. Users consistently rank Dimafix and Magigoo above glue sticks because they apply evenly and can be reused across several prints. A glue stick works but costs more per print and often leaves an uneven bottom surface.
- Slice for solid walls, not infill. Set 4 perimeters and keep top and bottom layers at 5 or more. Then set the infill to whatever fills the interior cheaply, often 20 to 30 percent, or leave it solid if the part is small. Wall thickness controls stiffness and density in a thin part, not infill, so pouring infill into a 3 mm ring achieves very little.
- Print slow and watch the first layer. Around 20 to 30 mm/s, with a modest flow multiplier. Over-extruded TPU looks glossy and blobby on the first layer; under-extruded TPU shows gaps you can see across the sealing path.
- Remove without tearing. For large flat gaskets, slide a thin spatula underneath and peel away from the corner slowly while the plate is still warm. Spraying a little isopropyl alcohol between the part and the plate helps it release instead of stretching. A cold, tightly adhered 200 mm gasket will warp before it lets go.
- Trim the seam and deburr. Scrape off the seam line and knock down any proud layer ridges on the sealing face with a scraper or fine file. Flat sealing faces squeeze better and are far less likely to cut the mating surface.
- Test the seal before you fit it for good. Hold the gasket against a flat plate, run soapy water around the contact band and watch for bubbles. For pressure work, cap the assembly and hold it, or listen for a hiss. Testing takes five minutes and tells you the print is sound before it is trapped inside a fitting.
How Do You Make TPU Seals Fit Tightly?
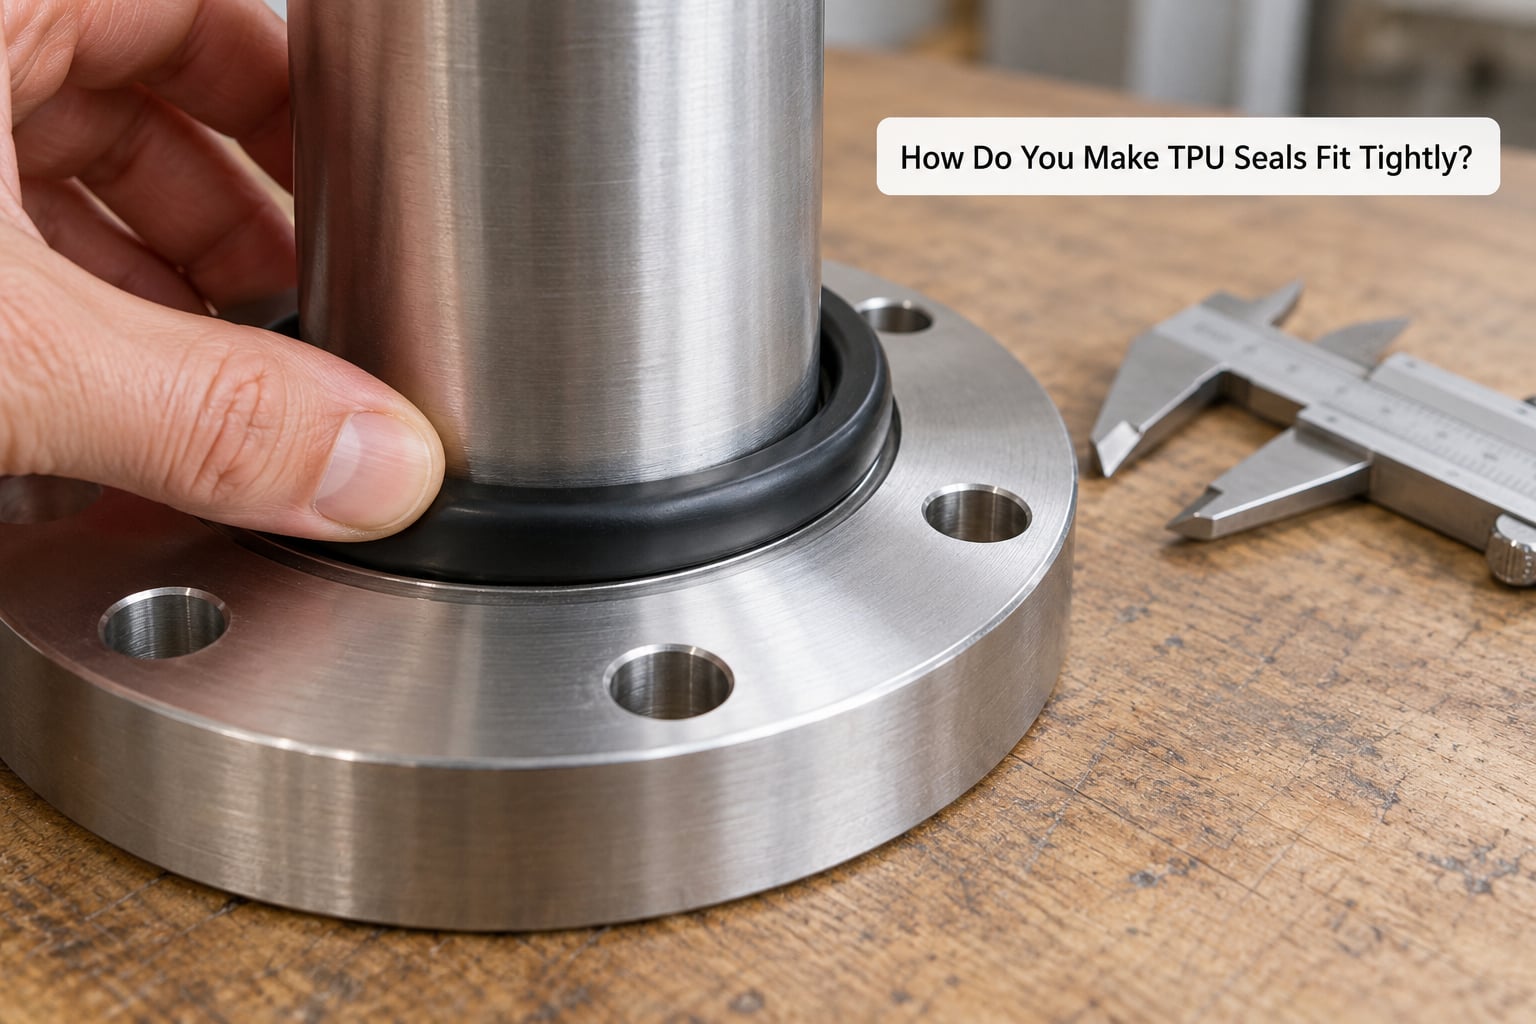
A gasket seals by being squeezed, so you are aiming for a controlled 20 to 30 percent compression of the sealing thickness. Anything less leaves micro-gaps between the printed surface and the flange, and anything more forces the TPU into a permanent set and cracks the layer lines.
Work out the clearance by taking the shaft, pipe or bolt diameter you are sealing against, then subtract the gasket’s hole size. A negative number means interference, which is what you want on a shaft grip. Design the hole roughly 3 to 5 percent under the shaft diameter, and remember that a compressed 95A ring will recover to near its printed dimension when unloaded.
Make bolt holes 5 to 10 percent larger than the bolt itself. TPU squashes sideways under load, and a hole cut to the exact bolt diameter will pinch and distort the ring around it.
If the flange is flat and rigid, a compression of about 20 percent is enough. If the flange is slightly warped or the surfaces are rough, add crush ribs, or small ridges on the sealing face. The ribs concentrate the squeeze into narrow contact lines and let a nominally flat surface seal, while lowering the clamping force needed.
Check dimensional fit with calipers before assembly, and remember the print comes out very close to nominal in XY but can lose a fraction of a millimetre in Z, so set the Z offset slightly low if you want interference.
Common Mistakes
Why is TPU difficult to print?
TPU fights the slicer for five predictable reasons. Fix those five and most people get a clean first print within a couple of attempts.
- It compresses instead of feeding. Soft filament buckles between the drive gear and the idler, so a nozzle-sized or larger drive gear and moderate spring tension matter more than any slicer trick.
- It stretches and string. Because it stretches, a partial blockage shows up as a long thin strand rather than an immediate jam. Retract a shorter distance and slow down.
- It welds to itself. A loop of filament touching the last layer is a permanent bond. Watch tall prints and keep an eye on the spool.
- It is hygroscopic. Moisture causes popping, stringing, rough surfaces and weak layer bonding. Dry it.
- It sticks too well. The same adhesion that stops the print lifting off can tear the part during removal. Use an adhesion spray you can wash off, and peel while warm.
| Symptom | Likely cause | Fix |
|---|---|---|
| Gasket leaks under pressure, looks fine on the bench | Layer lines not fully bonded, or voids from damp filament | Raise nozzle temperature in 5 C steps, raise flow slightly, dry the filament, slow to 20 mm/s |
| Visible gap or channel across the sealing face | Thickness not a multiple of layer height, partial top layer | Change layer height so it divides the thickness exactly |
| Part lifts or curls in the corners | Poor first-layer adhesion, bed too cool, bed too clean | Raise bed temperature, apply adhesion spray, add a brim on large flat parts |
| Stringing and blobs on the surface | Retraction too long for a soft grade, wet filament | Shorten retraction to 0.5 mm, drop temperature 5 C, dry the spool |
| Under-extrusion, thin layers, holes in the wall | Filament feed slippage or too few walls | Check the drive gear, reduce spring tension, raise flow to 1.05, go to 5 perimeters |
| Filament tangles or jams during a long print | TPU loops touching the previous layer, unattended spool | Add a filament dry box with a swivel, check the spool every few hours |
| Seal tears when peeled off the bed | Excessive adhesion, cold plate, part too large | Use a weaker adhesion aid, warm the plate, peel slowly from a corner with a spatula |
| Seal too floppy to hold a bolt | Too few walls, layer height too coarse | Raise perimeters to 4 or 5, drop layer height to 0.16-0.20 mm |
There are also jobs TPU simply should not do. It is not body-safe or certified for drinking water, and it degrades under long UV exposure, so a permanent outdoor seal will get brittle. It cannot hold threads or a tight dimension under load, and it swells badly in fuels and oils, so put the threads in a rigid printed part and keep TPU to the sealing face.
If you need chemical resistance, low compression set over years, or a seal that will live in sunlight, print the geometry in nylon or PETG and fit a moulded rubber or silicone O-ring, or use a flexible resin if you have the equipment for it.
Frequently Asked Questions
What TPU hardness should I use for 3D printed gaskets and seals?
Use 95A for most sealing work: it is firm enough to hold a bolt and soft enough to grip a shaft, and it prints more predictably than 85A. Drop to 85A when you need high compression on a soft or slightly irregular mating surface. Go to 100A only when the gap is very small and you want more stiffness with less give, such as a shim-style seal.
Do I need 100% infill when printing a TPU seal?
Not usually, and this trips up a lot of slicer defaults. In a thin part like a gasket, wall thickness and the number of perimeters control stiffness and density, not infill. Four perimeters with a solid top and bottom is enough; low infill is a perfectly good option for thin rings, while true 100% solid is only worth it for thicker sections.
Can I print TPU gaskets on a Bowden-style printer?
Yes, but expect more tuning. Shorten and straighten the PTFE tube, lower the extruder spring pressure so the gears grip without shredding, and keep filament motion slow. The main risks are filament stretch and feed slippage, and those show up on a Bowden as fine extrusion or a mid-print stall. A direct-drive extruder removes most of that problem entirely.
Should I use a heated or textured build plate for TPU?
Heat the bed and use a PEI sheet, either smooth or textured. A cold or unheated plate gives TPU too little grip on the first layer, and glass gives almost none at all. On smooth PEI an adhesion spray makes the layer easy to remove later; on textured PEI you can often get away with a thin coat of spray or a clean plate and careful leveling.
How much clearance should a 3D printed TPU seal have?
For a shaft grip, design slight interference, roughly 3 to 5 percent smaller than the shaft diameter, so the 95A ring stretches into place and grips. For a flange seal, leave a groove depth of about 20 to 30 percent of the gasket thickness. Make bolt holes 5 to 10 percent larger than the bolt so the squashed material does not pinch the ring.
How do I stop TPU seals from stretching or tearing after printing?
Most tearing happens during removal, not during service. Use an adhesion aid you can wash off, peel while the plate is still warm, and work from one corner with a thin spatula rather than yanking the whole part. A little isopropyl alcohol sprayed between the part and the plate also helps it release instead of stretching. Trim the seam afterwards and deburr the sealing face.
Start with a 3 mm ring in 95A, printed flat at 0.20 mm layers with four walls, dried filament and a coated PEI sheet. Print a small stack at two or three thicknesses, check the fit by hand, then water-test the winner before it goes anywhere near a fitting. Updated for 2026.