TPU prints fine once four things are right: the filament is bone dry, the nozzle sits in the range the manufacturer lists, the print moves at 15-30 mm/s, and retraction stays tiny. A direct-drive extruder makes all four much easier to hit.
Flexible filament is not mysterious, it is just fussier than PLA. TPU is thermoplastic polyurethane, a thermoplastic elastomer that bends like rubber but melts and prints like plastic. Once you know how to print TPU flexible filament successfully, the rest is repetition: same dry spool, same temperature, same speed, one change at a time.
This guide takes about 15 minutes of setup and an hour of calibration prints the first time. After that, most parts come off the bed without drama.
Table of Contents
- 1What You Need
- 2Printer and extrusion hardware
- 3Filament
- 4Drying kit
- 5Bed surface and prep
- 6Step-by-Step: How to Print TPU Flexible Filament Successfully
- 71. Choose a TPU Filament Your Printer Can Feed
- 82. Dry the Filament Before Printing
- 93. Set the Nozzle Temperature for the Manufacturer’s Range
- 104. Add Tension and Improve the Filament Path
- 115. Start With Conservative Slicer Settings
- 126. Print a Small Calibration Shape
- 137. Tune One Variable at a Time
- 14Common Mistakes
- 15Stringing that will not go away
- 16Popping and grinding in the extruder
- 17Filament buckling and jams
- 18Foamy, blobby output
- 19Layers that split apart
- 20Supports that refuse to come off
- 21Tips for repeatable results
- 22Frequently Asked Questions
- 23Can TPU be printed on any FDM 3D printer?
- 24What Shore hardness TPU should beginners use?
- 25Does TPU filament need to be dried before printing?
- 26Is an enclosure required for printing flexible TPU?
- 27What nozzle works best for TPU, and can brass be used?
- 28Why is my TPU print popping, stringing, or stalling?
- 29Conclusion
What You Need
The short version: a printer with a short, well-tensioned filament path, a spool of TPU in a hardness your machine can push, a way to dry the spool, and a bed surface TPU will release from. That is genuinely the whole list.
Printer and extrusion hardware
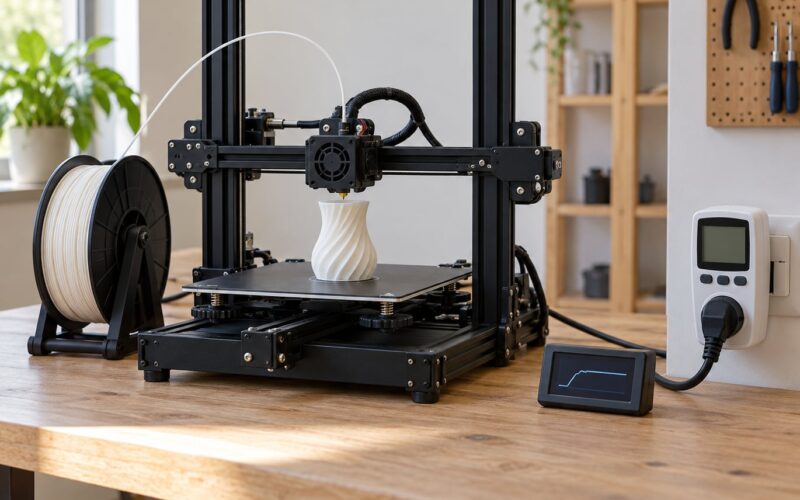
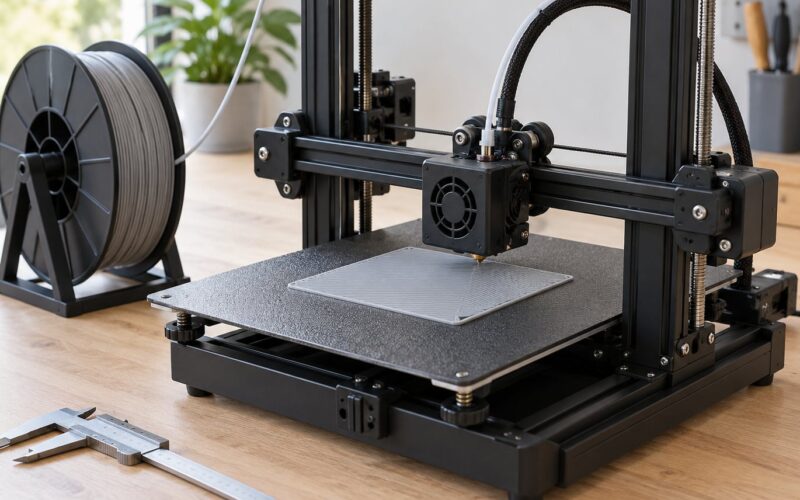
A direct-drive extruder, where the gears sit directly on the print head, is the safest starting configuration. Filament travels a few centimetres instead of a couple of metres, so there is almost nothing to buckle or snag. A constrained filament path inside the extruder helps even more. Bowden tubes work, but you will spend more time fighting feed problems, and you will print slower.
Filament
Shore hardness decides how hard the material is to push. 95A is firm and behaves like slightly flexible PLA, which makes it the easiest place to start. 85A is noticeably springier and harder to feed. Anything at 45D or softer needs a capable direct-drive machine and a slower profile. Diameter should match your extruder, so 1.75 mm for most desktop printers.
Drying kit
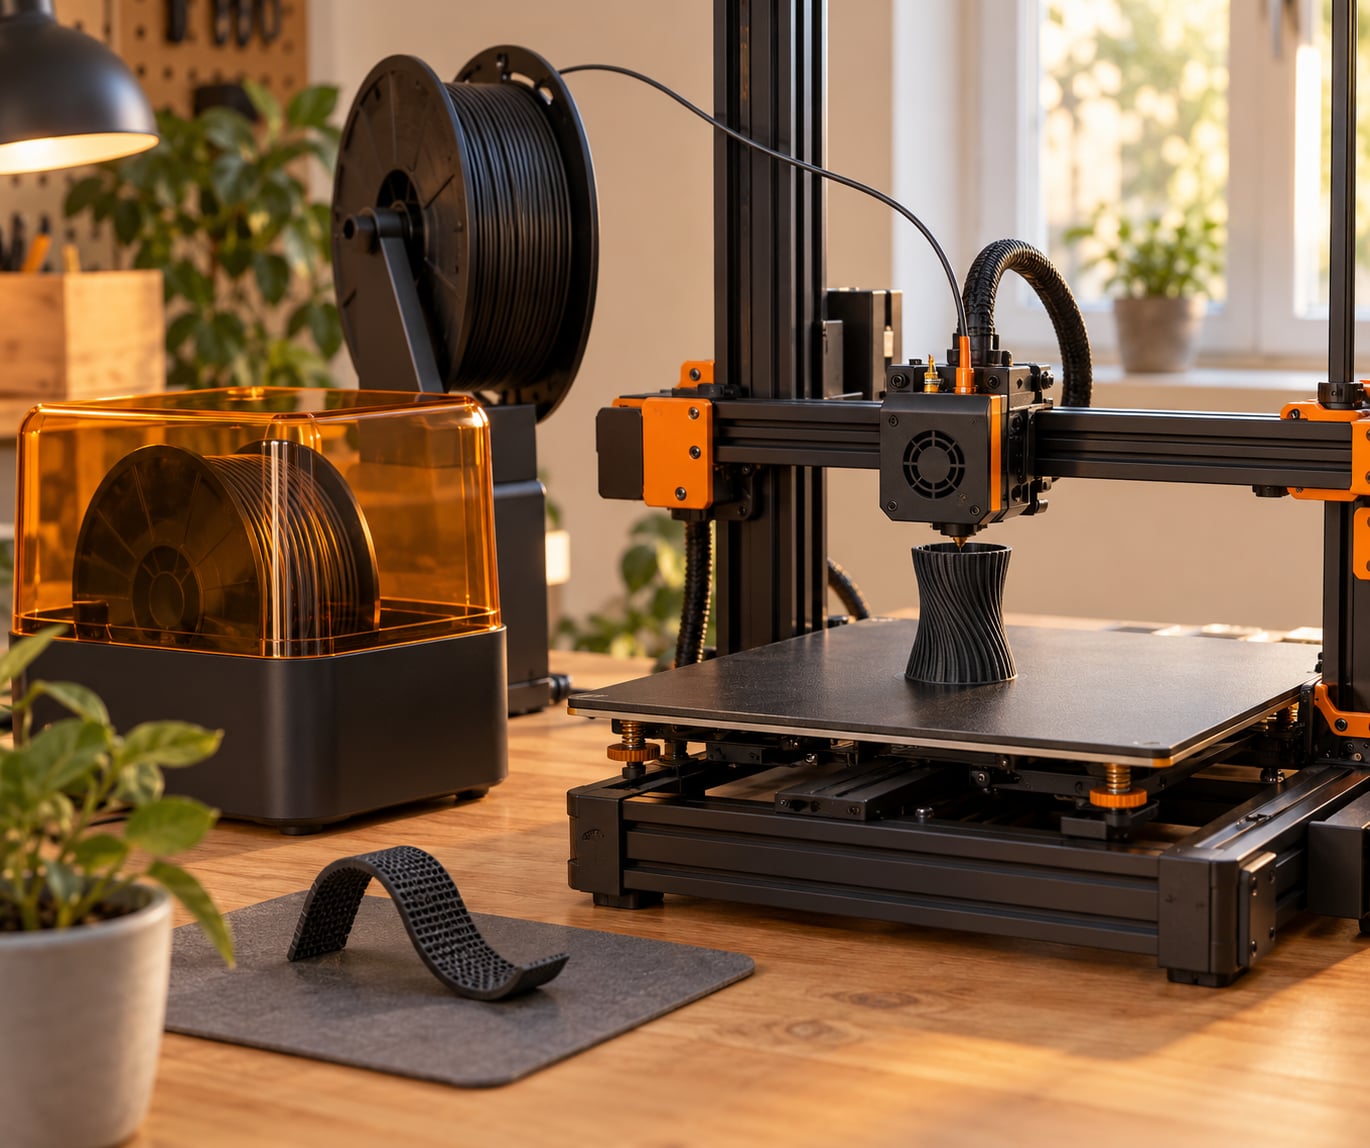
A filament dryer or a food dehydrator set to about 45-50 °C is the single most useful tool on this list. TPU is hygroscopic, so it pulls moisture out of the air, and wet flexible filament prints foamy, blobby and weak. A dry box with fresh silica gel handles the days when you are not printing.
Bed surface and prep
A textured or smooth PEI sheet works well, as does glass with a PVA glue stick. Blue painter’s tape is the forgiving option when you have no idea what your Z-offset is doing. Have all three ideas in your back pocket rather than committing early.
Step-by-Step: How to Print TPU Flexible Filament Successfully
1. Choose a TPU Filament Your Printer Can Feed
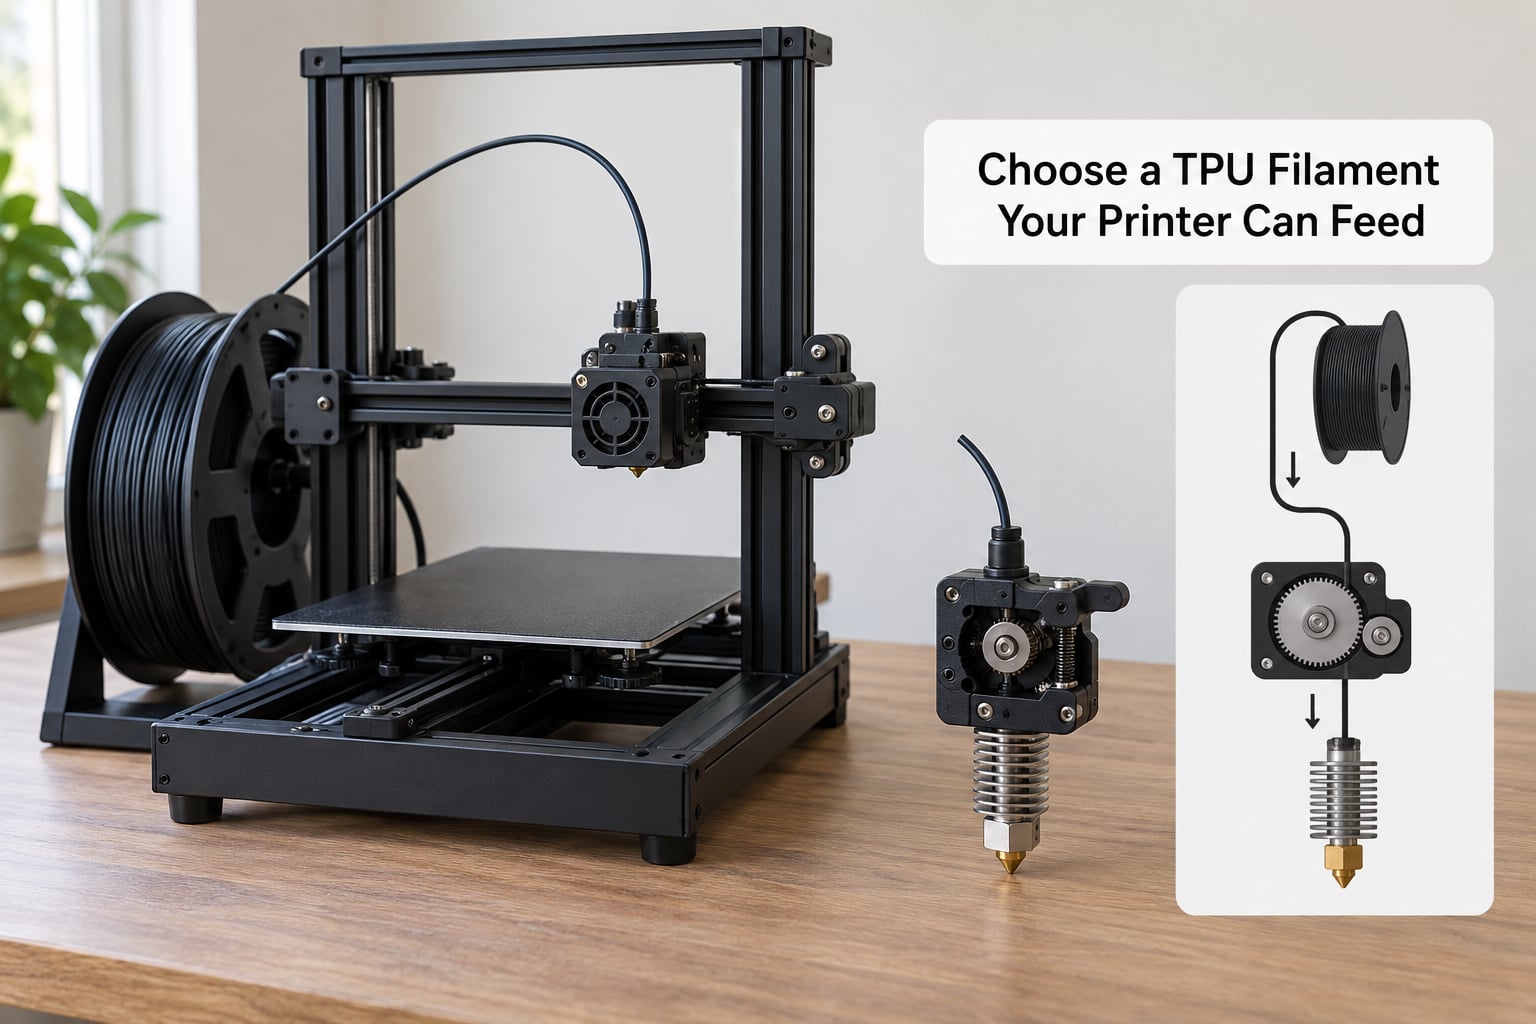
Pick your hardness before you pick a brand. If this is your first flexible print, take 95A and a well-reviewed spools from a maker with predictable diameter. Softer grades such as 85A are more elastic, which means the filament can compress and pop past the drive gear instead of gripping it.
Check the filament runs freely. Pull the loose end and it should slide through your hand with light resistance and no catchiness. Cheap spools with inconsistent diameter cause the under-extrusion that gets blamed on the printer.
2. Dry the Filament Before Printing
Drying is not optional. A spool that has been open for a day can absorb enough moisture to ruin a print, and TPU suffers from this more than most materials because water turns the melt into foam.
Dry at roughly 45-50 °C for 4-6 hours in a dryer or dehydrator. Higher temperatures can bake the surface and make the outer diameter swell slightly, which then causes feed problems, so resist the urge to push to 60 °C. Let the spool cool to room temperature with the door closed before you load it.
After drying, keep it sealed. A dry box with desiccant packets works, and printing straight from a dry box during long jobs prevents the reel from taking on moisture mid-print.
3. Set the Nozzle Temperature for the Manufacturer’s Range
Most TPU spools list a nozzle range somewhere around 210-250 °C. Set your first attempt in the middle of that range rather than at the top. Higher temperatures flow better but string more, and lower temperatures flow worse but keep the deposit tight.
TPU usually needs little or no bed heat. Start the bed at 40-50 °C for a glass bed and closer to room temperature for a textured PEI sheet. The material sticks to itself far better than it sticks to a cold plate, so heat mostly helps when the first layer is uneven.
Run a temperature tower early. Print the same small shape at 5 °C steps across the brand’s range and pick the layer that looks smoothest and grips the plate best. That temperature becomes your baseline for every later change.
4. Add Tension and Improve the Filament Path
Flexible filament buckles under compression, so every centimetre of slack in your path matters. Remove the loops that form after the spool, or at least cut them down. A guide tube or a dry box inlet tube can help hold the path straight near the spool.
Align the spool so the filament pulls off the side of the reel rather than spiralling around it. Then set extruder tension properly: on most printers the spring preload screw goes all the way in and backed out a fixed number of turns, often a quarter to half turn from firm against a known filament. If your printer lets you tighten the extruder arm screws directly, snug them firmly.
Confirm the filament reaches the hot end continuously. Feed a short length by hand with the cold-end clamp off, and watch for kinks at the entry to the extruder. On a Bowden setup, take the feed even more slowly and check the PTFE tube for tight curves where the soft material can fold.
5. Start With Conservative Slicer Settings
These are starting points, not rules. Your printer and filament grade will set the final numbers, but begin here and adjust from the test print.
- Nozzle temperature: 230 °C, adjusted to your brand’s range.
- Bed temperature: 40-50 °C on glass, room temperature on PEI.
- Print speed: 20-25 mm/s outer wall, 30-40 mm/s travel and infill.
- Layer height: 0.2 mm, which suits a 0.4 mm nozzle.
- Line width: 0.42-0.45 mm, giving the soft material room to grip the layer below.
- Retraction: 1-2 mm at 10-20 mm/s on direct drive, and often none at all on Bowden.
- Cooling fan: 20-30 % after the first few layers, so layers bond without the nozzle stalling.
- First layer: slow it to about 15 mm/s and drop fan to 0 %.
- Walls: three or four perimeters for strength, two if you want a softer, lighter part.
Unify your speeds where you can. A printer constantly changing speed gives soft filament no rhythm to flow in, so a first layer at 15 mm/s followed by a 30 mm/s infill is easier on the extruder than a jump straight to 60.
6. Print a Small Calibration Shape
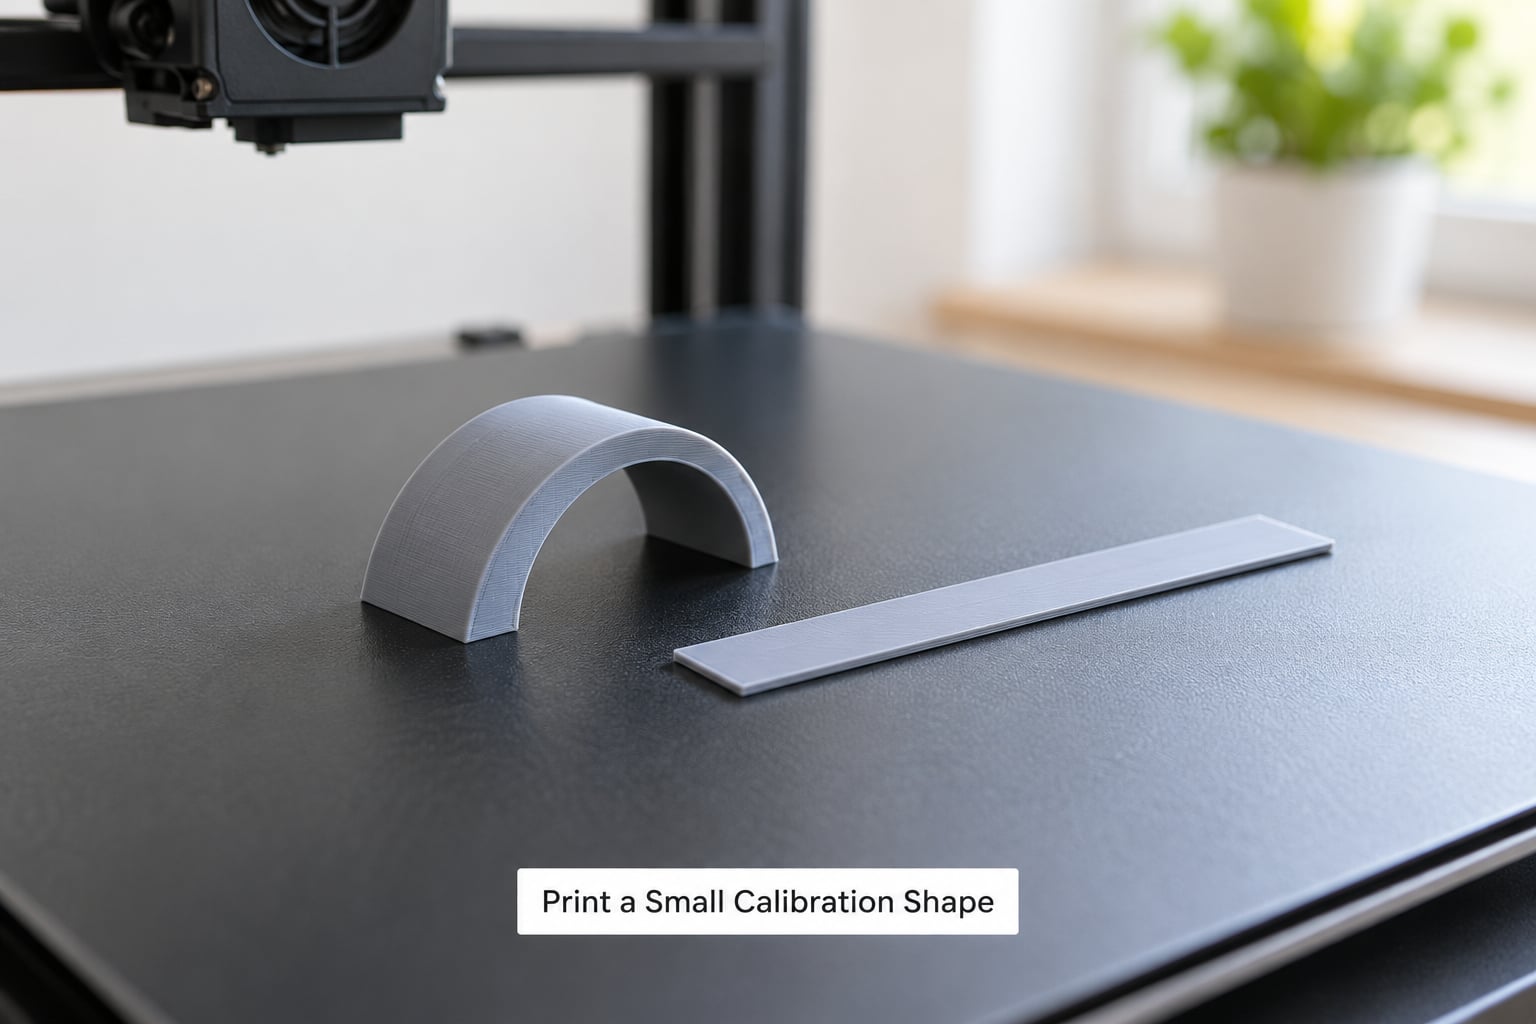
Before a large part, print something small that shows you everything: a curved object with thin walls and a flat test strip in the same print. The curve reveals extrusion consistency and surface quality. The strip shows whether the first layer is squishing or floating.
You know it worked when the surface has no gaps or pinholes, layer edges are visible but fused, the corners have no stringing bridges, and the part peels off the plate at room temperature without flexing. If the flat strip is fine but the curve is rough, your problem is flow, not the bed.
7. Tune One Variable at a Time
Change one setting per test print and note what moved. That discipline is what separates tuning from random fiddling.
Popping and gaps mean underextrusion: raise temperature, lower speed, or check whether the filament is dry. Weak layer splitting means the layers did not fuse: slow down, drop the fan below 30 %, or raise temperature slightly. Stringing means moisture or too much heat: dry first, then lower the nozzle by 5 °C. Elephant foot on the first layer means your Z-offset is too tight, or the bed is too hot. Curling corners point to bed adhesion or draft, so add a brim and check the enclosure.
Feed failures are usually mechanical. Tighten the extruder, clear the path, and if you are on Bowden, move slower before you change anything else.
Common Mistakes
Almost every TPU failure falls into one of these buckets, and each has a specific fix.
Stringing that will not go away
The most reported complaint. Retraction, temperature and speed all get blamed, but wet filament causes most of it. Dry the spool, then run a temperature tower and drop the nozzle until strings stop forming between towers.
Popping and grinding in the extruder
The gear is losing its grip on a soft or wet filament. Raise tension, slow the feed, or move to a firmer hardness. If the filament was loaded dry and printed wet, moisture is the real cause.
Filament buckling and jams
Slack in the path. Cut back the loops after the spool, align the reel, and check for tight corners in a Bowden tube. Many Bowden owners report that disabling retraction removes the jams completely, accepting more strings as the trade.
Foamy, blobby output
Water. Dry the filament again and print from a dry box. If the foam persists after drying, the nozzle temperature is too low for the melt to come out clean.
Layers that split apart
Not enough bonding. Slow the outer wall to 20 mm/s or below, keep the cooling fan at 20-30 %, and add a perimeter or two. Flexible parts also need three walls minimum before they feel solid.
Supports that refuse to come off
TPU bonds to itself, so a same-material support welds into the part. Use a breakaway material or PVA on a dual-extrusion machine and keep the Z-contact distance at 0.2-0.3 mm so the support layer stays thin. Cooling the part in a freezer for 10 minutes before peeling makes a noticeable difference.
Tips for repeatable results
Store every spool with desiccant, print from a dry box on long jobs, and save a profile per filament brand once a print goes well. Brands differ more than most guides admit, so a good 95A profile from one maker may need 10 °C less than another. If you print TPU flexible filament successfully on one machine, the same profile usually transfers to a direct-drive machine of a similar design with minor changes.
Frequently Asked Questions
Can TPU be printed on any FDM 3D printer?
Mostly. A direct-drive extruder with a short filament path prints TPU reliably, and enclosed printers are a plus but not required. Bowden machines can work at slower speeds with retraction disabled or very low. The deciding factor is how firmly your extruder can grip a soft filament without crushing it.
What Shore hardness TPU should beginners use?
Start with 95A. It is firm enough to behave like slightly flexible PLA, which makes first layers and retraction far easier to control. Move to 85A once your machine feeds and dries consistently. 45D and softer grades need a capable direct-drive extruder and a slower profile.
Does TPU filament need to be dried before printing?
Yes, and treat it as a routine step rather than a rescue measure. TPU is hygroscopic, and moisture produces foamy extrusion, rough surfaces and weak layers. Dry at roughly 45-50 °C for 4-6 hours, cool the sealed spool, and keep it in a dry box with desiccant afterwards.
Is an enclosure required for printing flexible TPU?
No. TPU needs little or no bed heat, so a heated chamber is not required. What matters more is that the filament is dry and the first layer is cool and stable. A brim helps with draft in an open frame, and keeping the nozzle only a little above the bed avoids elephant foot.
What nozzle works best for TPU, and can brass be used?
A 0.4 mm brass nozzle is fine for most TPU prints. A larger 0.8 mm or 1 mm nozzle gives the melt a wider path and makes tough flexible materials noticeably more reliable. Hardened or ruby nozzles help only with abrasives, since TPU on its own is not especially hard on a brass nozzle.
Why is my TPU print popping, stringing, or stalling?
Popping and stalling usually mean the extruder is losing grip: check tension, remove slack in the path and slow the feed. Stringing almost always points to moisture or too much heat, so dry the filament and lower the nozzle 5 °C. Never chase several settings at once, because you will not know which change worked.
Conclusion
Start with five things, in this order. Confirm your extruder can actually push the hardness you bought, dry the spool for 4-6 hours at 45-50 °C, set the nozzle in the middle of the manufacturer’s range, load a conservative profile at 20-25 mm/s with 1-2 mm of retraction on direct drive, and print one small test shape.
Judging from the maker forums I have read for this guide, the single change that rescues most failed TPU prints is drying the filament again. Do that first, then tune one variable at a time and you will get there quickly.