FDM 3D printing builds a solid object by melting plastic filament and squeezing it through a heated nozzle, which lays the material down in thin lines one layer at a time until the part is finished. How FDM 3D printing works comes down to three things: where the material comes from, how the machine knows where to put it, and why each new layer sticks to the one beneath it.
That sounds obvious once you have seen it, but most first-time buyers have never watched a nozzle move. They load a file, press print, and hope. Getting the mental model in place is what turns a failed four-hour print into a part that works the first time.
This guide walks the whole process end to end, then breaks down the hardware, the materials, the settings that actually change the outcome, and the symptoms that tell you something is going wrong. It is written for beginners and for anyone who has read a slicer screen without understanding what half the numbers mean.
Table of Contents
- 1What Is FDM 3D Printing?
- 2How FDM 3D Printing Works Explained: The Core Process
- 3How a 3D Model Becomes Printable Layers
- 4How a Slicer Creates the G-Code
- 5How the Printer Heats and Moves the Filament
- 6How FDM Layers Bond Together
- 7The Main Parts of an FDM 3D Printer
- 8What Materials Can FDM Print?
- 9Which FDM Settings Change the Print Most?
- 10How FDM Printing Differs From Resin Printing
- 11What Are the Advantages and Limitations of FDM?
- 12How to Tell Whether an FDM Print Is Working Correctly
- 13Frequently Asked Questions
- 14What does FDM stand for in 3D printing?
- 15Do FDM printers melt plastic or use liquid resin?
- 16What file format does an FDM printer use?
- 17Why are FDM 3D prints stronger in one direction?
- 18What temperature should I use for PLA and PETG?
- 19What to Remember First
What Is FDM 3D Printing?
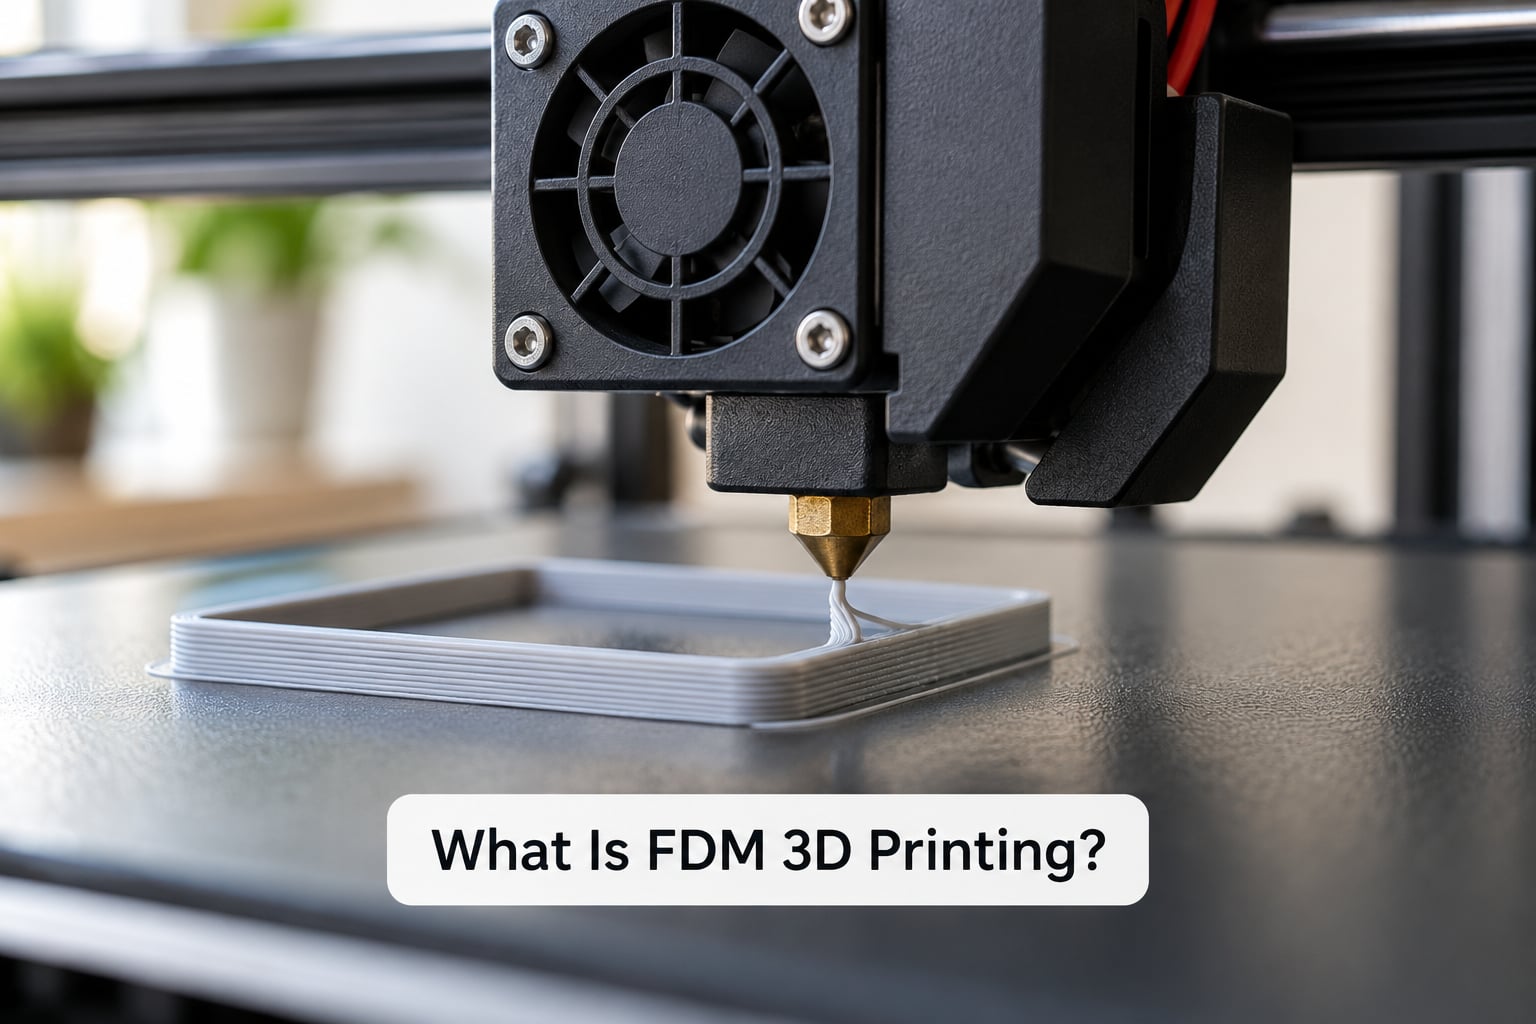
Fused deposition modeling, usually shortened to FDM, is an additive manufacturing process that builds a part layer by layer from a thermoplastic filament. A spool of plastic sits nearby, a heated nozzle melts the material as it is pushed forward, and each thin bead of molten plastic is laid onto the one before it until the shape is complete. The same technology is also called fused filament fabrication, or FFF, which is the more accurate name technically since the machine fuses plastic rather than modelling it.
FDM is the process behind most home and desktop 3D printers, and it is also used industrially for jigs, fixtures, end-of-line tooling and low-volume parts. The material arrives as a 1.75 mm or 2.85 mm diameter string on a spool, it is soft enough to melt at a temperature the hotend can reach, and it is cheap enough that a failed print is an annoyance rather than a crisis.
The idea is old. S. Scott Crump developed it at Stratasys in the late 1980s using a modified glue gun, and it stayed an expensive industrial technique for years. The open-source RepRap project in the late 2000s released the design, the Prusa i3 arrived in 2012, and what followed turned FDM into something a person could put on a desk. Cheap filament, open firmware and hobbyist tinkering did the rest.
How FDM 3D Printing Works Explained: The Core Process
The full workflow runs from a model file on your computer to a finished part in your hand. Seven steps cover it, and every step can be checked before you commit to a long print.
- Design or download a 3D model in CAD software, or grab an existing file from a model library.
- Export the model as an STL or 3MF file in millimetres, then check it for problems such as non-manifold geometry.
- Open the file in a slicer such as Cura, PrusaSlicer, Bambu Studio or OrcaSlicer, choose a material profile, and generate G-code.
- Prepare the machine: level the bed, set the Z-offset, load filament, and set nozzle and bed temperatures.
- Start the print. The printer heats up, lays the first layer, and then extrudes layer after layer.
- Each new layer is pressed onto the partially melted layer below and bonds as it cools.
- Remove the part from the build plate and clean it up, sand it, paint it or fit it straight into a machine.
How a 3D Model Becomes Printable Layers
The printer never sees your design. It sees a mesh: a list of triangles that describe a surface, with no idea whether you intended a solid part or a shell. Slicing software takes that mesh and works out how to get from it to a shape a nozzle can physically trace.
Three things happen before any material moves. The mesh is checked for holes, self-intersections and stray geometry that would confuse the toolpath. The model is oriented, and this matters more than beginners expect: a part printed on its side is faster, uses less support and comes out with different strength. Finally the model is checked against the printer’s limits, especially its build volume, since anything wider than the plate cannot be printed at all.
Printability also shows up in the geometry itself. A horizontal roof wider than a few millimetres is an overhang, and a thin wall with nothing behind it can break off mid-print. If a model has features like those, it can still be printed, but the slicer will need to add support structures underneath them.
How a Slicer Creates the G-Code
The slicer is the translator between your model and your printer. It slices the mesh into horizontal slices, works out where material goes on each one, and writes out a G-code file: a plain-text list of movement, temperature and speed commands that the printer’s firmware executes line by line.
That is the answer to the question beginners ask most often, how do 3D printers know what to print. They do not understand shape. They follow a list of coordinates, and the slicer wrote it.
Within each slice, the slicer decides the layer height, the number of perimeters (solid walls) around the outside, the infill pattern inside them, how many solid layers to put on top and bottom, where supports go, and where the nozzle can travel without extruding. It also adds the boring but important housekeeping: heating, priming, retraction, end-of-print commands and a park position.
A fragment of real G-code with the commands spelled out looks like this:
; the printer is told where to go and when to lay plastic down
M104 S205        ; set hotend temperature to 205 degrees C
M140 S60         ; set build plate temperature to 60 degrees C
G28              ; home all axes, find the origin
G92 E0           ; treat the current extruder position as zero
G1 Z2.40 F1200   ; raise Z by one layer height, at 1200 mm/min
G1 X90 Y110 F3000 ; move to the start of the next wall, no plastic
G1 X90 Y110 E12.4 ; move to the same spot while extruding plastic
The G-word tells the firmware what kind of move to make, the X, Y and Z values give the target position, F sets the feed rate in millimetres per minute, and E values control how much plastic comes out. When E does not change, the nozzle is travelling. When E changes, plastic is being deposited.
How the Printer Heats and Moves the Filament
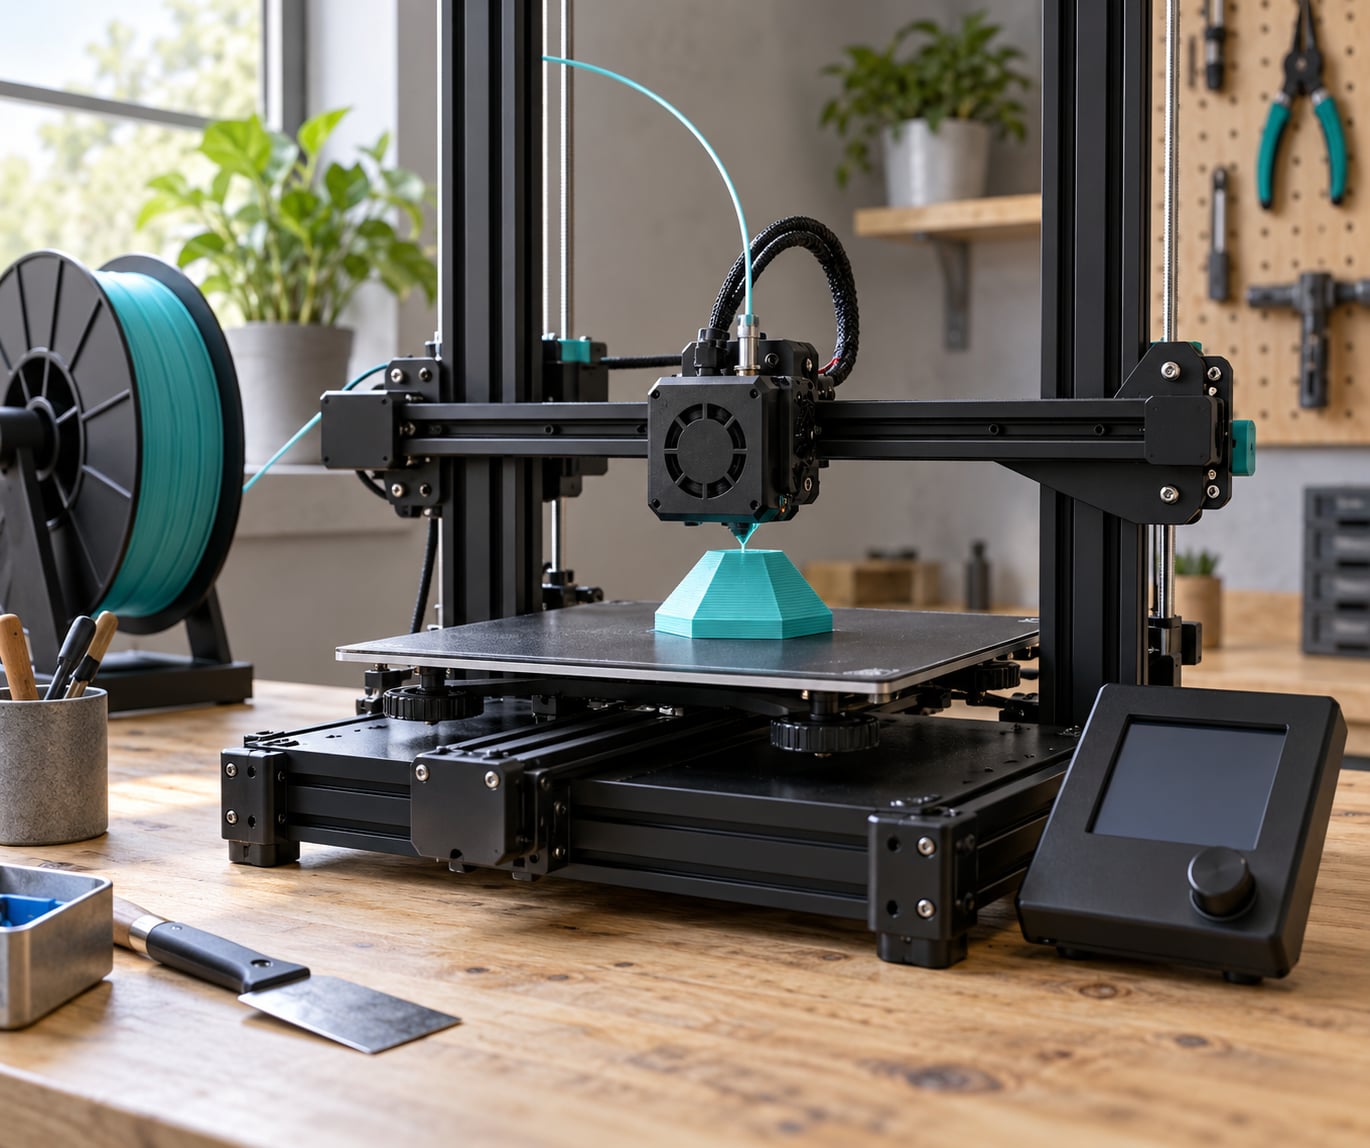
Filament starts on a spool and travels a short path to the extruder, a motor-driven gear that grips the round plastic and pushes it along at a controlled rate. From there it goes either straight into the hotend on a direct-drive machine, or through a PTFE tube in a Bowden setup where the extruder sits on the frame and the hotend moves alone.
The hotend is the part that does the melting. A heater block holds the nozzle, a thermistor next to it reports the temperature, a heatsink and fan cool the parts that must stay solid, and a separate part-cooling fan blows air over the fresh bead so it sets quickly enough to hold its shape.
Movement is handled by stepper motors. The X and Y motors drive belts or lead screws that move the print head and the build plate, and a third motor moves the Z axis vertically. The controller board reads the G-code, converts each move into motor pulses, and the printer has no opinion about what it is making. The firmware underneath, Marlin or Klipper in most cases, just does what the file says.
How FDM Layers Bond Together
Layer bonding is the heart of the process, and it is the part most explanations skip. When the nozzle deposits plastic, it does not stack cold beads side by side. The new bead arrives as a melt pool of molten polymer, and the bead underneath is still warm from a moment ago. Molecules at the surface of the two layers move into each other, and as they cool together they become one piece of plastic.
That diffusion needs heat and time. Printers are designed to keep the previous layer warm, which is why the part cooling fan is aimed at the nozzle itself rather than blowing hard at the whole part. Short travel moves let the nozzle return quickly and start melting the previous layer again. Within the same layer, overlap between adjacent extrusions does something similar.
Several settings change how well this happens. Printing hot and slow generally bonds better, and under-extrusion or heavy cooling weaken it. Layer height matters too: bond strength is roughly inversely proportional to layer thickness, so a tall layer lays down less material per unit of bond area and produces a weaker joint.
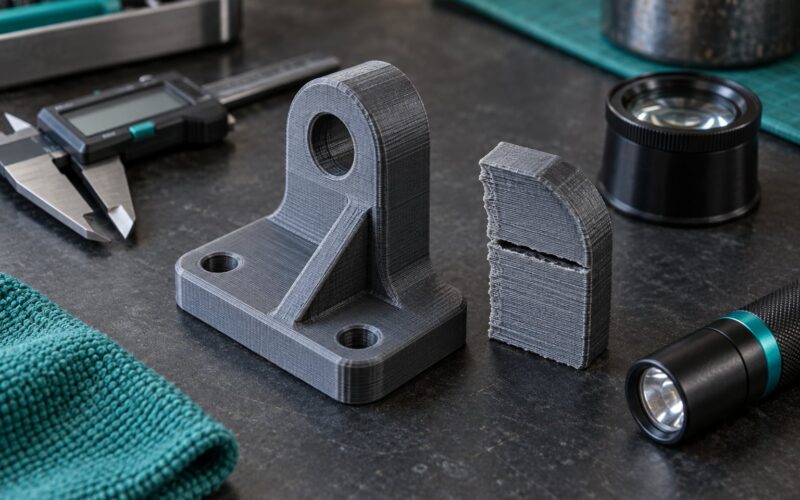
The result is that printed parts are stronger in-plane than out-of-plane. Load a part along the layers and it holds; snap it across the layers and it breaks at the weakest line. That directional weakness is called anisotropy, and it is the single most important mechanical fact about FDM parts.
The Main Parts of an FDM 3D Printer
Most FDM machines are the same core machine with different clothing. A rigid frame, a motion system, a heated bed, a feeder, a hotend and a controller is the whole list.
| Part | What it does | Why it matters |
|---|---|---|
| Frame | Rigid structure holding the gantry and bed | Flex shows up as layer shifts and wavy walls |
| Motion system | Stepper motors, belts, rods and lead screws moving the head and bed | Sets speed, repeatability and how high you can print |
| Build plate | Surface the part is printed on, usually heated and textured or coated | First-layer adhesion depends almost entirely on this surface |
| Extruder | Motor and drive gear that pushes filament | Sets how reliably material feeds and how much you retract |
| Hotend | Heater block, thermistor, heatsink and nozzle assembly | Melts the filament and defines the maximum temperature the machine can run |
| Nozzle | Tip that shapes the extruded bead | Diameter sets line width, detail and print speed |
| Electronics | Mainboard, stepper drivers, power supply, heated bed output | Decides how precisely moves are repeated run after run |
| Cooling | Heatsink fan and part cooling fan | Balance is critical: enough cooling to hold shape, not so much that layers fail to bond |
| Firmware | Software that reads G-code and drives the motors and heaters | Determines motion quality, input handling and what features exist |
Two of these deserve more attention than the rest for a beginner. The bed is where most failures start, because a first layer that does not stick cannot be rescued by any slicer setting. And the nozzle diameter is a bigger decision than it looks: a 0.4 mm nozzle is the common default, a 0.2 mm nozzle buys fine detail at a large time cost, and a 0.8 mm nozzle prints thick, strong parts quickly.
What Materials Can FDM Print?
FDM prints thermoplastics, meaning plastics you can melt and re-melt without them chemically changing. The choice of material changes almost everything: how easy the print is, how strong it ends up, and how much heat it can survive.
| Material | Ease of printing | Heat resistance | Flexibility | Typical uses |
|---|---|---|---|---|
| PLA (polylactic acid) | Easiest; low temperatures, low warping, no enclosure needed | Low, softens around 55 to 60 C | Rigid, slightly brittle | Models, prototypes, decorative parts, vases |
| PETG | Easy, slightly stringy, strong first layer | Moderate, around 70 to 80 C | Slight flex, tough | Containers, brackets, functional parts, phone cases |
| ABS | Harder; warps without an enclosure | Good, around 90 to 100 C | Rigid | Enclosures, automotive test parts, indoor parts needing heat tolerance |
| ASA | Similar to ABS but holds up far better in sunlight | Good, around 90 to 100 C | Rigid | Outdoor parts, vehicle accessories, drones |
| TPU | Demanding on a direct-drive extruder, slow prints | Low to moderate | Very flexible, rubber-like | Gaskets, feet, phone grips, wearables |
| Nylon (PA) | Hardest of the common filaments; absorbs moisture | High, well above 150 C | Tough, slightly flex | Gears, hinges, wear parts, strong functional components |
There is more on the shelf than those six. Fibre-filled filaments, with chopped carbon or glass fibre mixed into PLA, PETG or nylon, print stiffer, lighter and more dimensionally stable than the pure plastic, and the fibres wear the nozzle faster. Soluble support material dissolves in water so complex internal geometry can be printed without scraping supports out by hand. At the industrial end, PEEK and similar polymers need a heated build chamber and a nozzle close to 430 C, which is why those parts come from specialist machines rather than desktops.
Which FDM Settings Change the Print Most?
A slicer shows a hundred numbers, and most of them barely move the result. These eight are the ones worth learning first, because each one changes a different part of the process.
| Setting | What it changes | When to adjust it |
|---|---|---|
| Nozzle temperature | How fluid the melt is; too low causes under-extrusion, too high causes stringing and ooze | When a material prints badly, start here. PLA usually runs 190 to 220 C, PETG 230 to 250 C, ABS and ASA 240 to 260 C, TPU 220 to 240 C, nylon 250 to 280 C |
| Bed temperature | How well the first layer grips the plate | PLA usually 50 to 60 C, PETG 70 to 85 C. Raise it when corners lift |
| Layer height | Vertical resolution, print time and surface finish | Start at about a quarter of the nozzle diameter, such as 0.1 mm on a 0.4 mm nozzle |
| Print speed | How fast the head moves; too fast outruns the melt and cooling | Slow down on perimeters and small features, not on infill |
| Part cooling | Airflow over the new bead; too much weakens bonding | Reduce for small materials and tall thin parts, increase for bridges and overhangs |
| Retraction | How far the filament is pulled back during travel moves to stop stringing | Tune only when strings appear between features. It needs a direct-drive or well-tuned Bowden machine |
| Flow multiplier | Extrusion width relative to the computed value; under 100 % means underextruded | Use it to fix inconsistent wall thickness or visible gaps between lines |
| Infill density | How much material sits inside the perimeters | Low for display models, higher for parts taking real load. Pattern matters more than the number |
One more deserves a mention even though it is not a number: orientation. Printing a part the wrong way up can cost you support material, print time and strength all at once. If a bracket is stronger on the bench than in your hand, rotate it 45 degrees and try again before touching any temperature value.
How FDM Printing Differs From Resin Printing
Resin printing, in its SLA and DLP forms, cures liquid photopolymer with a light source instead of melting plastic with heat. That single difference cascades into almost every other difference you will notice as a user.
| Criterion | FDM | SLA or DLP resin |
|---|---|---|
| Material | Solid filament on a spool | Liquid resin in a vat |
| Surface finish | Visible layer lines, matte or satin | Smooth and glassy, fine detail |
| Small features | Limited by nozzle and layer height | Sharp, even very small text |
| Supports | Cut off with pliers, leaves marks | Also cut off, but much finer and easier to sand |
| Post-processing | Brim removal, sanding, painting, no wash needed | Wash in solvent, cure under UV light, sand and prime |
| Part strength | Good in-plane, weak across layers, layer lines remain | Isotropic, stronger, but brittle with sharp impacts |
| Handling | Clean, low mess, no PPE beyond ventilation | Gloves and eye protection, plus careful disposal |
| Best suited to | Functional parts, prototypes, jigs, large prints, anything mechanical | Miniatures, jewellery, dental models, display pieces |
Resin wins on detail and loses on practicality. If you are making something that has to survive handling, take a knock or fit into a machine, filament is the sensible default. If you are making small, detailed display objects where the surface finish is the whole point, resin earns its extra mess.
Two other processes sit alongside them. Selective laser sintering builds parts from a bed of powder with no supports at all, giving isotropic strength and good resolution at a higher cost. Injection moulding makes thousands of identical plastic parts quickly and cheaply per unit, which is why FDM is usually described as a bridge to it: prototypes on a desktop machine, production tooling once the design is settled.
What Are the Advantages and Limitations of FDM?
The strengths are practical rather than exotic. Filament costs little and is widely available in dozens of colours and blends, the machines are small, quiet and safe to run in a home or classroom, and the process tolerates ordinary mistakes: a failed print is a few grams of plastic and an afternoon. Post-processing is simple, since a part can be sanded, drilled, painted or bolted straight into place without any chemical bath. Build volumes have grown large enough for multi-part plates, and the technology is well understood, so parts can be reproduced years later from the same model.
The limitations follow from the same physics. Layer lines are visible on curved surfaces and never fully disappear without a lot of sanding, and the top surface of a print is usually the worst-looking part of it. Anisotropy means a part snapped across the layer lines is dramatically weaker than the same part loaded within them, which rules out some functional uses entirely. Large flat parts warp, because the plastic shrinks as it cools and the edges lift off the bed. Supports add time, material and a surface that has to be cleaned afterwards. And resolution is capped by the nozzle: a 0.4 mm nozzle cannot print a feature much finer than 0.4 mm, which is why resin wins for miniatures.
How to Tell Whether an FDM Print Is Working Correctly
A healthy print gives you several signals within the first ten minutes. The first layer should be a continuous bead with no gaps between lines and no squashed or smeared sections, which means your Z-offset is right. Later lines should keep a constant width and a slightly rounded profile rather than a flat, pressed ribbon. You should see the nozzle laying material on top of solid plastic, not moving across air. Overall height should match the sliced model, corners should stay square, and the perimeter should be uniform around the whole part with no thin or fat spots.
When something does look wrong, the symptom usually points at a small number of causes:
| Symptom | Likely cause | Fix |
|---|---|---|
| First layer lifts or the part comes loose mid-print | Bed not level, Z-offset too high, or the plate too cold for the material | Re-level the bed, set the Z-offset so the nozzle just scratches the surface, and raise bed temperature |
| Fine strings between features | Ooze from the nozzle or a long filament path that was not retracted | Lower nozzle temperature a few degrees and tune retraction, or add a wipe or combing pass |
| Entire layer shifts sideways | Lost steps from a loose belt, an undersized motor or a print that hit a snag | Check belt tension and the bed screws, then make sure the machine cannot be knocked mid-print |
| Gaps between lines or holes in the surface | Underextrusion, a partially clogged nozzle, or a filament problem | Try a cold pull to clear the nozzle, check the spool is dry, and raise the flow multiplier slightly |
| Corners curl up away from the plate | Warping from cooling too fast or an open, draughty room | Raise bed temperature, add a brim, and keep airflow away from the plate |
| Bubbles, zits or sudden blobs | Wet filament, a failed hotend thermistor, or wet material in the hotend itself | Dry the filament, and check the hotend seal and the heater block for moisture |
| Print stops mid-layer and sounds blocked | Heat creep or a partial clog restricting the filament path | Clear the nozzle, check the heatsink fan actually runs, and confirm the cold side is properly sealed |
One habit helps more than any single setting: watch the first three layers every time. Most failed prints announce themselves in the first minute, and pulling the job at that point costs a minute of filament instead of four hours.
Frequently Asked Questions
What does FDM stand for in 3D printing?
FDM stands for fused deposition modeling, an additive manufacturing process that builds a part layer by layer. The machine melts thermoplastic filament and extrudes it through a heated nozzle in thin lines, adding one layer on top of the previous one until the object is complete. The same technique is also called fused filament fabrication, or FFF, which some prefer because the process fuses plastic rather than modelling it.
Do FDM printers melt plastic or use liquid resin?
FDM printers melt solid plastic. Filament arrives on a spool, the extruder pushes it into a heated hotend, and the nozzle deposits it as molten beads that cool and bond. Resin printers, such as SLA and DLP machines, use liquid photopolymer cured by a light source. FDM is cleaner to handle and better for functional parts, while resin gives smoother surfaces and finer detail.
What file format does an FDM printer use?
The printer uses G-code, a plain-text file of movement, temperature and speed commands that the firmware executes line by line. You do not write it by hand. You export your model as STL or 3MF, open that file in a slicer such as Cura, PrusaSlicer, Bambu Studio or OrcaSlicer, and the slicer generates the G-code for your specific printer and material.
Why are FDM 3D prints stronger in one direction?
Because the layer lines are the weak points. Each new bead is bonded to the layer beneath it by heat and polymer diffusion, and that joint never becomes as strong as material printed continuously. A part loaded within the layer plane is very strong, while the same part snapped across the layers breaks almost immediately. This directional behaviour is called anisotropy, and rotating the part on the build plate is often the easiest fix.
What temperature should I use for PLA and PETG?
For a 0.4 mm nozzle, PLA usually prints between 190 and 220 C on the hotend with a bed around 50 to 60 C. PETG runs hotter, typically 230 to 250 C, with a bed of 70 to 85 C. Always follow the temperature range printed on the filament spool or its packaging, since brands vary, and adjust in 5-degree steps rather than changing everything at once.
What to Remember First
How FDM 3D printing works explained comes down to a short chain. A model becomes a mesh, the mesh becomes G-code, the G-code becomes a nozzle depositing melted filament, and heat plus a warm layer underneath turn separate beads into a single part. Everything else is detail built on that chain.
If you are starting out, do four things in this order. Pick a filament that matches your machine and your part, usually PLA or PETG. Load a known-good profile for that filament rather than building one from scratch. Watch the first three layers every print until the bead is consistent and the first layer is gripping properly. And when something goes wrong, change one setting at a time, because two changes at once tell you nothing about which one worked.