Learning how to bend and heat form PLA sheets opens up shapes you simply cannot print directly: curved panels, rounded corners, shallow shells, domed lids. PLA is a thermoplastic, so once you heat it past roughly 70 °C (158 °F) it goes limp, holds whatever shape it is in while it cools, and stays there. A first bend takes about 15 minutes of heating and holding, and the only genuinely hard part is keeping the heat even.
Table of Contents
- 1What You Need
- 2PLA temperature reference
- 3Step-by-Step: How to Bend and Heat Form PLA Sheets
- 4Plan the Bend and Choose a Fixture
- 5Heat the PLA Sheet Evenly
- 6Bend and Shape the Softened Sheet
- 7Cool, Unmold, and Finish the Part
- 8How to Make a Consistent Curved Panel
- 9Common Mistakes on Larger Panels
- 10Common Mistakes
- 11Frequently Asked Questions
- 12Can I heat form PLA with a heat gun?
- 13What temperature should PLA be when bending?
- 14What is the easiest way to keep a PLA bend from cracking?
- 15Can I bend PLA over a 3D-printed jig?
- 16Why does my PLA sheet turn white or cloudy when heated?
- 17How long should a bent PLA part cool before removing it from the form?
- 18Conclusion
What You Need
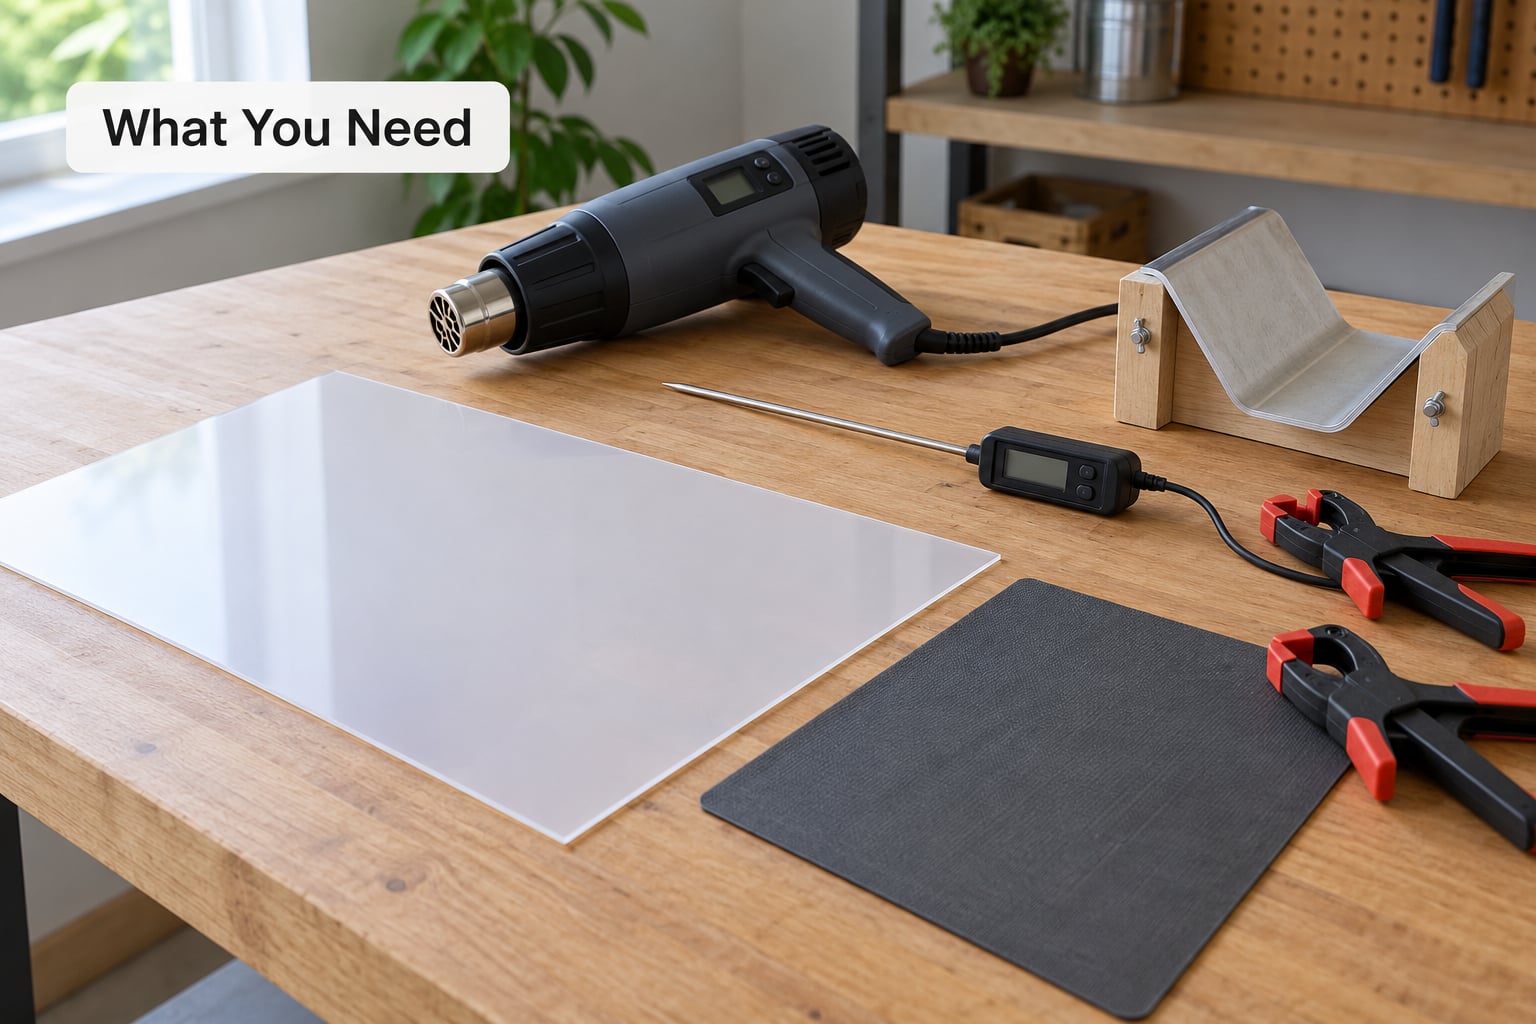
You need a heat source with temperature control, a fixture to bend around, and something to hold the sheet steady while it cools. Everything else is a convenience. That said, do not skip the fixture: bending freehand over a jig you can actually measure is the single biggest reason first attempts come out lumpy.
- PLA sheet or a flat printed part. Extruded sheet in 1 mm to 3 mm is the easiest to work with. Thin printed walls behave the same way, as long as you print enough of them (more on that below).
- A heat source you can control. A heat gun with an adjustable dial, a toaster oven, a convection oven, or a pan of near-boiling water all work. A hair dryer is a last resort: most run too cool and too erratically.
- A heat-resistant work surface. A tile, a metal sheet, or a silicone mat. Do not work on bare wood or MDF.
- A fixture or former. A 3D-printed jig, a piece of PVC pipe, a mandrel, a machined bar, or the edge of a clamped board. The tightest radius you can form is the radius of this object.
- A thermometer. An infrared thermometer or a probe thermometer. This is the item people skip and then miss most.
- Clamps or a weighted block. For cooling under constraint. Tape and rubber bands work fine too.
- Safety gear. Heat-resistant gloves, a pair of pliers, and somewhere to vent the fumes. Never an open flame.
On temperature control specifically: a heat gun dial set to “6” is not a temperature. Airflow, nozzle distance and the gun’s own design all shift the actual temperature at the sheet, which is why the same setting behaves differently on a sunny windowsill than in a cold garage. Measure, and re-measure as you learn your gun’s habits.
PLA temperature reference
This is the table most guides leave out. Temperatures vary a little by brand and colour, so treat these as working ranges and follow your filament supplier’s own guidance when they give it.
| Stage | Temperature (°C) | Temperature (°F) | What PLA looks like |
|---|---|---|---|
| Starts to soften (glass transition) | 55–60 | 131–140 | Flexible, springs back easily. Not yet formable. |
| Workable forming window | 70–90 | 158–194 | Limp and pliable. This is your target. |
| Fully soft, gloss appears | 90–110 | 194–230 | Surface starts to glaze. You have overshot. |
| Bubbling or scorching | 110–150 | 230–302 | Damaged. Let it cool and scrap the piece. |
| Melting point | 150–180 | 302–356 | Runs. This is the nozzle range, not a forming range. |
Note where 230 °C and 250 °C land. Those are well past melting, so a chamber or air temperature at that level will not bend PLA, it will destroy it and fill the room with fumes.
Step-by-Step: How to Bend and Heat Form PLA Sheets
Plan the Bend and Choose a Fixture
Mark the bend line before you heat anything. A light pencil or scribed line gives you a target, and it also lets you measure spring-back later against a known reference. Next, decide the radius. For a simple single-radius bend, that is just the diameter of a rod or pipe you clamp to the bench. For a curved panel or a shallow shell, you want a former with a wider sweep, ideally 3D-printed from a model of the shape you want.
Check the bend line against the grain of your part. If the sheet came off a printer, the layer direction decides whether you are bending with or against the strongest planes, and bending against them is where cracks start.
Heat the PLA Sheet Evenly
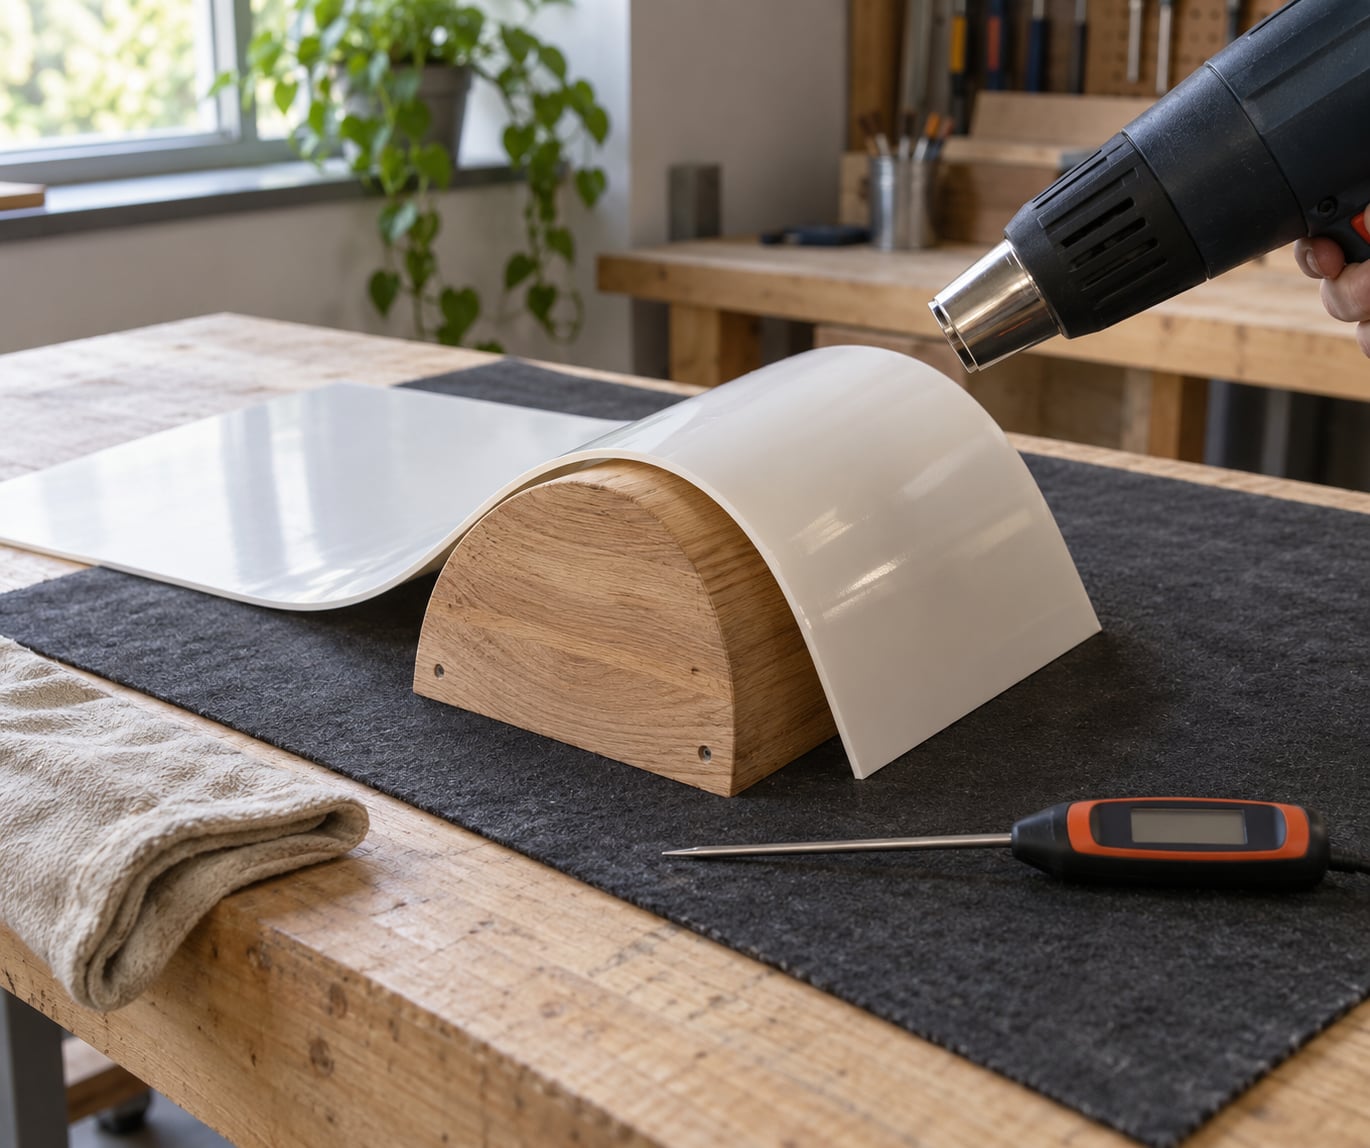
Bring the sheet up gradually rather than blasting it. Most of the bad bends I have seen come from the first thirty seconds of heating, when people get impatient and park the nozzle in one spot. With a heat gun, hold it 15–20 cm away and keep it moving, sweeping across the whole bend zone in overlapping passes. Standing still on one spot for ten seconds is how you get a glossy patch and a still-rigid sheet beside it.
Aim for limp, not glossy. If the surface has turned shiny and the sheet has thinned visibly, you are past the window and the piece will be brittle once it cools. Keep a thermometer on the sheet; 70–90 °C (158–194 °F) is where you want it. If you are using an oven or water, the sheet should flex under light finger pressure without resistance.
Work in a ventilated space. Heated PLA gives off an irritating smell and fine particles, and a closed room is genuinely unpleasant to work in.
Bend and Shape the Softened Sheet
This is the core of how to bend and heat form PLA sheets, and the technique is less about force than about restraint. Support the sheet across the whole width so it cannot sag, then bring the bend line onto the former and apply steady, even pressure along the length. Work from one end to the other rather than starting in the middle, which traps air and leaves a flat spot.
Keep your hands moving along the bend and never pull or twist. PLA wants to slide into the curve; stretching it is what makes it snap. For a tighter radius than your fixture gives you, press a second strip over the outside of the bend to act as a strap and spread the force.
If you want a hard 90-degree corner rather than a curve, clamp the sheet against two flat boards instead. Corners crack more often than radii because the material has to deform more in one place, so slow the heating down and go a few degrees cooler.
Cool, Unmold, and Finish the Part
Leave the part clamped to its former until it is completely cool to the touch. This is the step people rush, and rushing it is the main reason formed parts drift back to flat. Cooling under constraint lets the polymer chains settle in the new arrangement; cooling free lets gravity and the sheet’s own memory undo your work.
For thicker parts, ten to fifteen minutes on the fixture is worth the wait. Once cool, release the clamps slowly and check the angle against your pencil line. If the bend came out a couple of degrees shy, you can reheat the bend zone briefly and repeat.
Trim the excess with a scoring knife and a straightedge, then deburr the edge. Small surface marks go away with light sanding. If the part is scorched, bubbled, or snapped through, scrap it: reheating a browned section only deepens the damage, and the piece will stay weak there permanently.
How to Make a Consistent Curved Panel
Large panels need more care than a single bend because thin edges cook before a wide centre softens. Brace the panel’s free edge with a second frame or a strip of the same material so the span does not droop under its own weight, and heat in a slow grid pattern instead of one pass, working from the middle outward.
Two or three heating-and-forming passes usually beats one long heat. Between passes, let the part cool completely, then flatten it out gently and check it against a flat surface. Dimensional change after meaningful heat exposure is real: CNC Kitchen measured up to 10% contraction in x and y with slight expansion in z after long oven soaks, so plan a little oversize in your model if tight dimensions matter.
For a curved panel that resists the bend, a plug and cavity printed from the same model works well. Sit the cavity on the bench, lay the softened sheet across the mouth, then press the printed plug in and hold it until cool. Vacuum forming equipment does the same job harder; at home, hand pressure over a good cavity gets you most of the way.
Common Mistakes on Larger Panels
- Edges soften first. Thin sections have less mass to heat, so move the heat slower at the borders or cover them temporarily with foil while you work the centre.
- The panel sags. It is above the forming window but not yet at it. Either brace it or let it cool flat and reheat with support in place.
- Spring-back. The part warmed too briefly, or the bend zone was never fully limp. Hold the heat slightly longer and lengthen the cooling-under-constraint time.
- The bend twists. Pressure was applied from one side only. Reheat and work with both ends supported, moving symmetrically outward from the centre.
Common Mistakes
Almost every failed PLA bend comes down to heat distribution or premature release. This table maps the symptoms you will actually see to the cause and the fix.
| Symptom | Likely cause | Fix |
|---|---|---|
| Snapped clean through the bend | Bent cold, or the radius was tighter than the material allows | Heat properly first, and use a fixture with a larger radius |
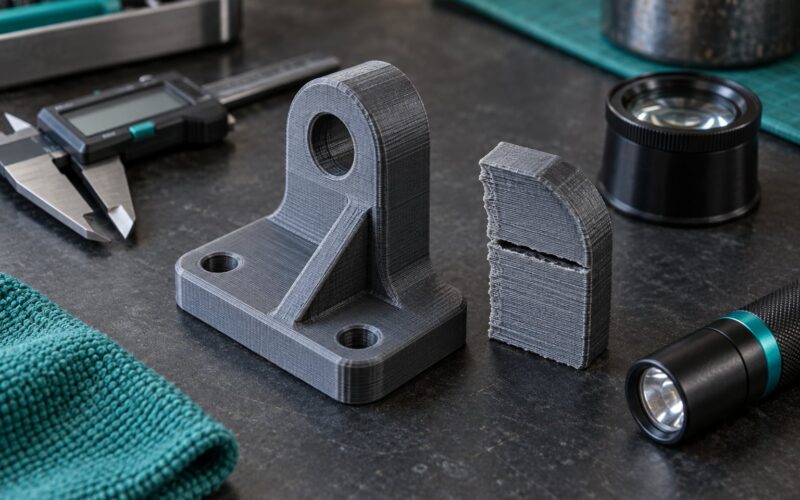
| Cracks along the outer face only | Bending against the layer direction, or stretched rather than pressed | Reprint with the bend line across the layers; stop pulling, just press |
| Glossy, glazed, slightly thinner surface | Overshot the forming window | Cool it down, accept the finish, and heat more evenly next time |
| Springs back to flat when released | Released before fully cool, or only the surface was warm | Hold on the fixture until it is cool to the touch throughout |
| Bubbling or brown streaks | Localized overheating, usually from a stationary heat gun | Keep moving, increase distance, lower the setting |
| Stuck to the jig | Melted against the former | Print the jig with a textured surface and cool slightly before demoulding |
| Part warped overall, not just bent | Long or uneven heat exposure across the whole sheet | Use a hair dryer or a warm oven for gentler, more even heating |
A couple of rules of thumb help more than people expect. The tightest curve PLA holds reliably is roughly three times the material thickness, so 3 mm sheet wants about a 9 mm inside radius and 1.5 mm sheet wants about 4.5 mm. And once you have a bend set correctly, reinforce it with a printed rib on the inside if the part will see load.
Where PLA genuinely loses is long-term heat. Heating does not fuse layer lines together; measured work on annealed PLA parts showed tensile strength up about 7.5% and bending strength up about 16%, with layer adhesion unchanged. If a part needs to live in a hot car, form it in PLA if you like, then switch material entirely to PETG, ABS or polycarbonate for the final build.
Frequently Asked Questions
Can I heat form PLA with a heat gun?
Yes, and it is the most common way to do it. Keep the gun moving 15-20 cm from the sheet, sweep across the whole bend zone in overlapping passes, and stop as soon as the sheet is limp at 70-90 C (158-194 F). Aim for limp, not glossy, and hold the part on its fixture until it is cool to the touch.
What temperature should PLA be when bending?
PLA becomes genuinely pliable for bending at roughly 70-90 C (158-194 F). It starts to soften near its glass transition at 55-60 C (131-140 F), but that is too firm to form reliably. Above about 100 C (194 F) the surface glosses and thins, and past roughly 150 C (302 F) it melts instead of bending.
What is the easiest way to keep a PLA bend from cracking?
Use a radius at least three times the sheet thickness, heat the bend zone evenly until the whole section is limp, and press rather than pull. Cracks almost always come from bending cold, from a radius tighter than the material tolerates, or from stretching the sheet instead of letting it slide into the curve.
Can I bend PLA over a 3D-printed jig?
Yes. A printed jig with several inner radii and a plug-and-cavity pair is the most flexible setup for sheet forming. Print the jig in PLA or PETG, orient the layers along the bend so the jig stays strong, and give the forming surface a slight texture so the cooled part does not stick.
Why does my PLA sheet turn white or cloudy when heated?
PLA is normally clear, so a milky white haze means the material has absorbed moisture and boiled off inside it. Dry the sheet thoroughly before forming, keep it in a sealed bag with desiccant between sessions, and lower the heat slightly. Clouding that stays after drying also happens on heavily stressed bends.
How long should a bent PLA part cool before removing it from the form?
Until it is completely cool to the touch everywhere, not just the surface, which usually takes 10 to 15 minutes for a thin sheet or printed wall. Larger parts need longer. Removing a part early is the number one cause of spring-back, and because PLA is fully reversible you can always reheat and try again.
Conclusion
Start with the lowest effective, evenly distributed heat, bend against a fixture sized to the radius you want, and leave the part on that fixture until it is completely cool. Never use an open flame, and never pick up a warm sheet without gloves. If a bend fails, reheat it rather than forcing it, since heating and reforming PLA is fully repeatable and costs nothing but a few minutes.
Updated for October 2026.