3D printing in medical devices and implants means building a physical part layer by layer from a digital 3D model, usually one designed around a single patient’s own anatomy taken from a CT or MRI scan. It is already routine for surgical guides, dental restorations, hearing aid shells and external prosthetics, and it is expanding into load-bearing implants and tissue scaffolds. What it changes most is design freedom: shapes that cannot be milled, cast or molded can be produced in hours instead of weeks, with no tooling cost and almost no inventory.
What it does not change is the rules. A printed part still has to be designed under controls, made from a qualified material, inspected, cleaned, sterilized, packaged and released with records, and the requirements follow the risk class and the jurisdiction. This guide is for the engineers, designers, clinicians and quality teams who have to make that call, and it separates what the technology reliably does from what is still being investigated.
Table of Contents
- 1How 3D Printing in Medical Devices and Implants Is Used in Practice
- 2What 3D Printing Changes in Medical Product Development
- 3How Patient-Specific Models Support 3D Printing in Medical Devices and Implants
- 4Which Medical Devices and Implants Can Be 3D Printed?
- 5Which 3D Printing Technologies Are Used?
- 6What Materials Are Used for Medical Devices and Implants?
- 7What Are the Benefits and Limitations?
- 8How Are 3D-Printed Medical Products Quality-Checked?
- 9What Regulatory and Safety Requirements Apply?
- 10When Does 3D Printing Make Sense Instead of Conventional Manufacturing?
- 11What Is the Practical Workflow for a Medical Additive-Manufacturing Project?
- 12Frequently Asked Questions
- 13Is every 3D-printed medical device or implant FDA-approved?
- 14Are 3D-printed implants safe?
- 15What materials are commonly used for 3D-printed medical implants?
- 16Is 3D printing better than injection molding or CNC machining for medical devices?
- 17Can a medical implant be 3D printed from patient imaging?
- 18How are patient-specific 3D-printed medical devices regulated?
- 19Conclusion
How 3D Printing in Medical Devices and Implants Is Used in Practice
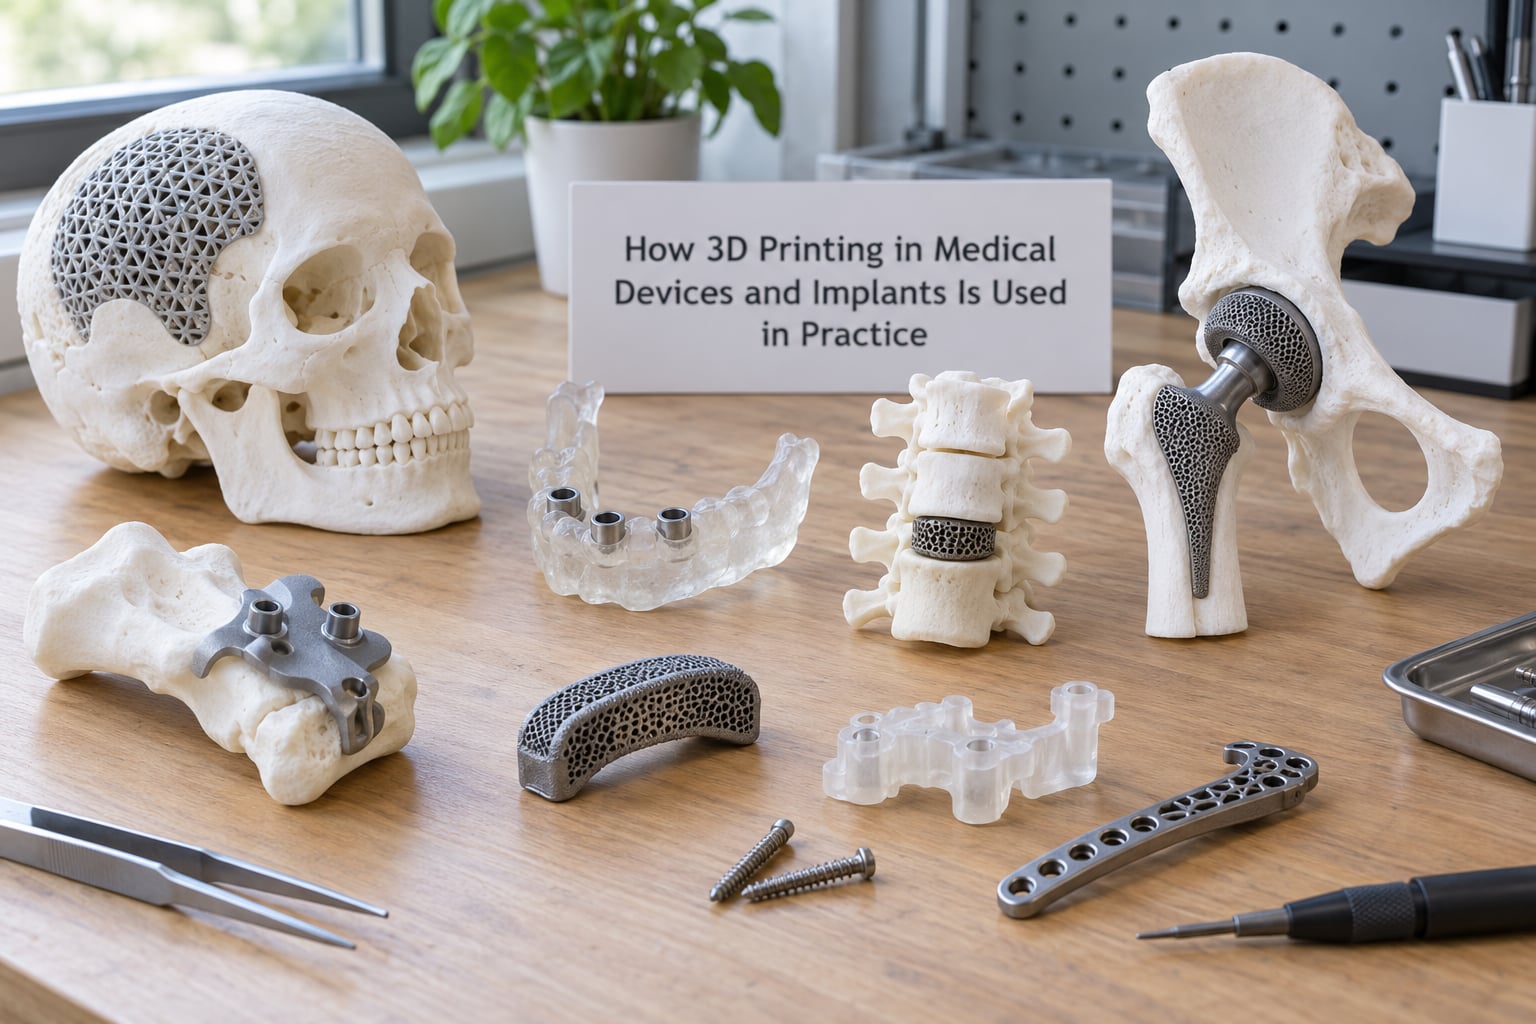
Additive manufacturing in healthcare falls into a few recognizable buckets, and knowing which one you are in changes the entire workflow.
Anatomical models and surgical planning. Segmented CT or MRI data becomes a physical model a surgeon can hold, mark up and rehearse on. These models are usually not implanted and often sit outside the regulated-device boundary, though the boundary depends on how they are labelled and used.
Surgical guides and patient-specific instruments. A cutting or drilling guide is fitted to tooth or bone surfaces so the surgeon works from pre-planned coordinates. Low patient contact and short exposure periods make these an easy place to start.
External assistive devices. Prosthetic sockets, orthoses, splints and cosmetic covers. Custom-fit external devices are among the most mature uses because fit can be adjusted and refitted repeatedly without surgery.
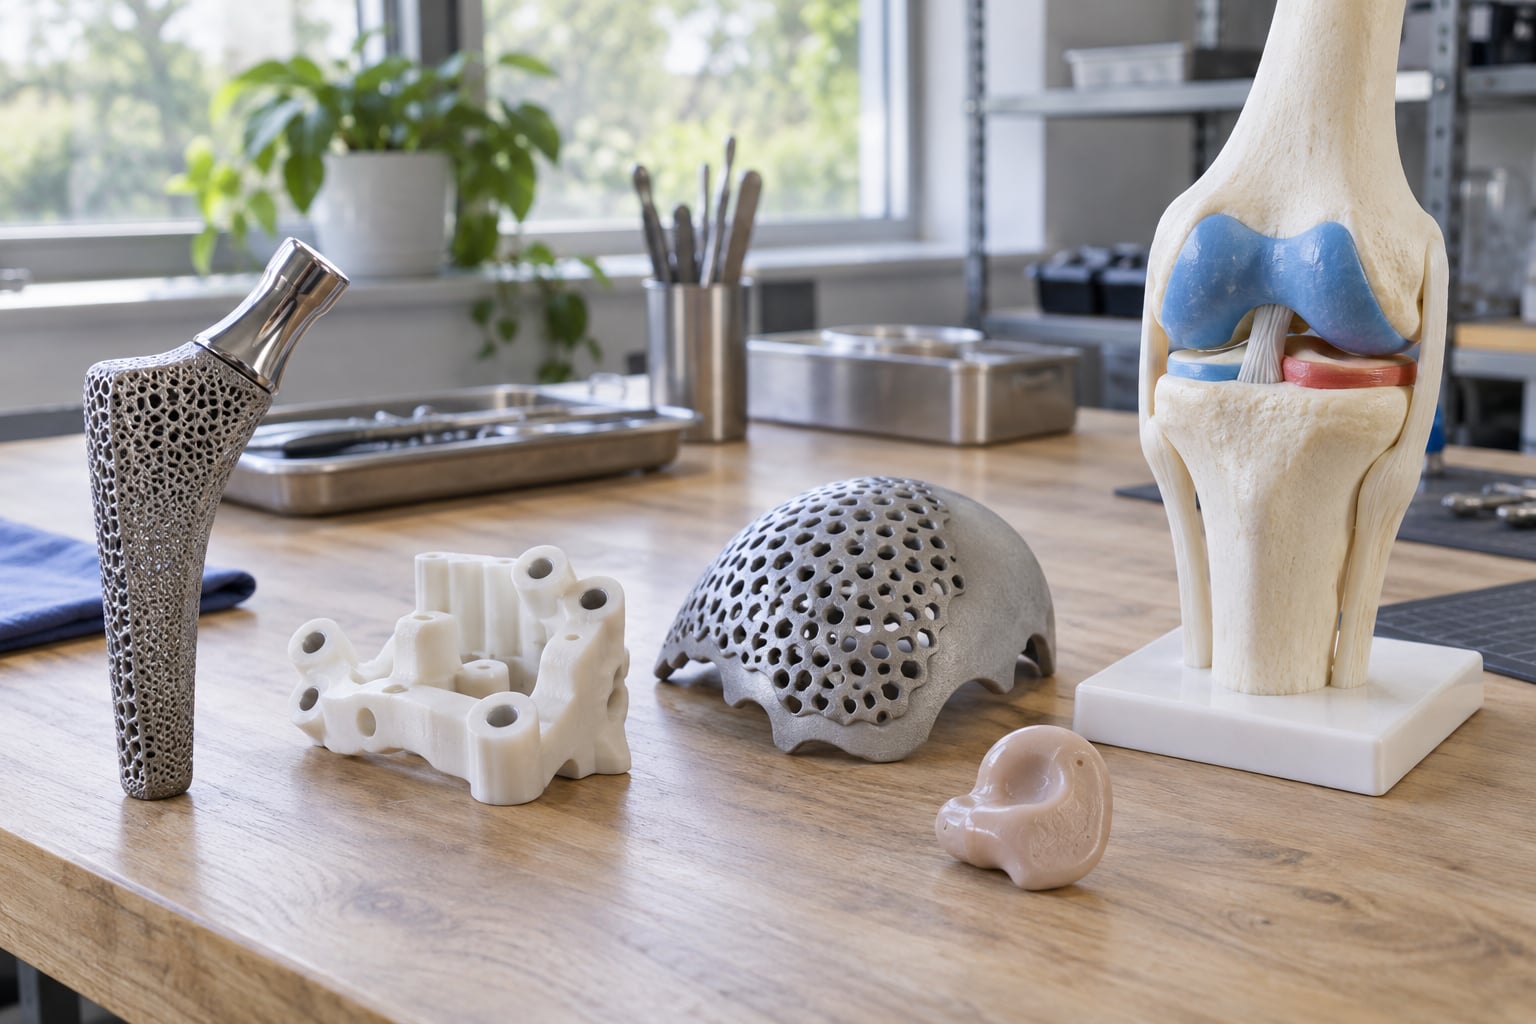
Implants and implantable components. Cranio-maxillofacial plates, dental substructures, spinal and orthopedic hardware, and surgical meshes. Here the part goes inside the body, so material, process and evidence requirements jump.
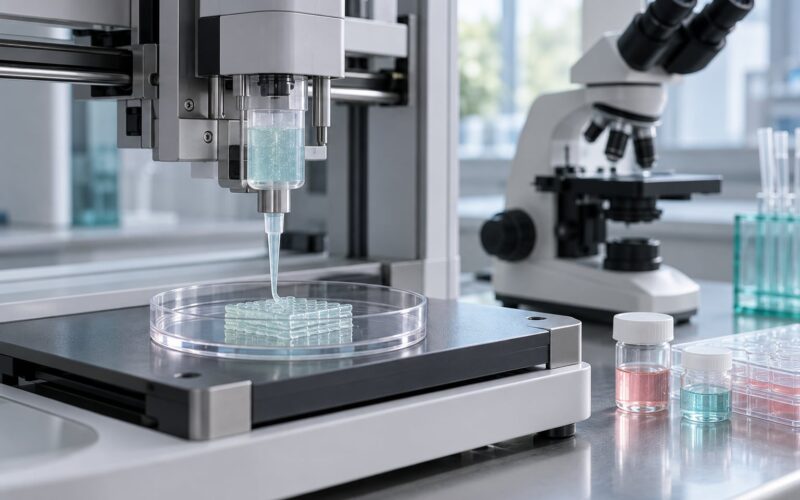
Tissue engineering and drug delivery. Printing scaffolds, cell-laden hydrogels and solid dosage forms. Most of this work sits in research or early clinical studies rather than routine care.
Two things get confused constantly. Patient-matched means a device made from a size chart or the patient’s category, identical to others in that group. Patient-specific means the geometry comes from that individual’s scan, so no two parts are alike. The second one triggers far more regulatory and quality work.
What 3D Printing Changes in Medical Product Development
The structural shift is not the printer. It is that geometry stops being a manufacturing constraint and becomes a design input. Engineers can add internal channels, lattice structures, undercuts and consolidated assemblies that a mill or an injection tool simply cannot make, and patient geometry can drive the design automatically instead of a technician adjusting a template by hand.
| Factor | Conventional manufacturing | Additive manufacturing |
|---|---|---|
| Prototyping | Machine or mold the part, wait for tooling or setup | Slice a file and print the same day |
| Tooling cost | High and upfront, amortized over volume | None for most polymer and metal routes |
| Geometry | Limited by tool access, draft angles, undercuts | Internal channels, lattices, free-form surfaces |
| Customization | Costly above a few variants | Free in the digital file |
| Batch size | Efficient from hundreds upward | Efficient from one to a few hundred |
| Inventory | Holding standard sizes on a shelf | Digital library, print on demand |
| Design changes late in the program | Often means new tooling | Edit the file and reprint |
| Traceability per part | Batch and lot records | Per-part digital record available |
How Patient-Specific Models Support 3D Printing in Medical Devices and Implants
The patient-specific workflow runs from imaging to release, and every step hands something to the next team.
1. Imaging and segmentation. CT or MRI data arrives as DICOM files. Segmentation software turns slices into a 3D surface, which is exported as STL or a similar mesh. Thresholding mistakes at this stage propagate all the way to the implant.
2. Model preparation. The mesh is cleaned, hole-filled and simplified, then thickened or offset where a printing process requires it. Designers check that the surface will survive the process minimum wall thickness.
3. Print preparation. Orientation is chosen because it drives both strength and surface quality. Supports are added, slicing parameters are set, and the build file is locked under version control.
4. Printing and monitoring. The build runs under a qualified parameter set. Cameras or sensors watch the powder bed or melt pool so a layer anomaly is caught during the build rather than at inspection.
5. Post-processing. Removal from the platform, support removal, heat treatment, machining of critical fits, surface treatment, cleaning and sterilization. This is where a lot of the real cost and labor sits.
6. Inspection and review. Dimensional checks against the digital model, mechanical testing on coupons, then a clinician review of the printed model or fit-check device before anything is used.
Two guardrails matter here. Patient imaging data is sensitive health information, so it moves through controlled, encrypted systems with defined access and retention rules. And a printed anatomical model is not automatically a medical device; whether it becomes one depends on its intended use, its labelling and the claims made for it.
Which Medical Devices and Implants Can Be 3D Printed?
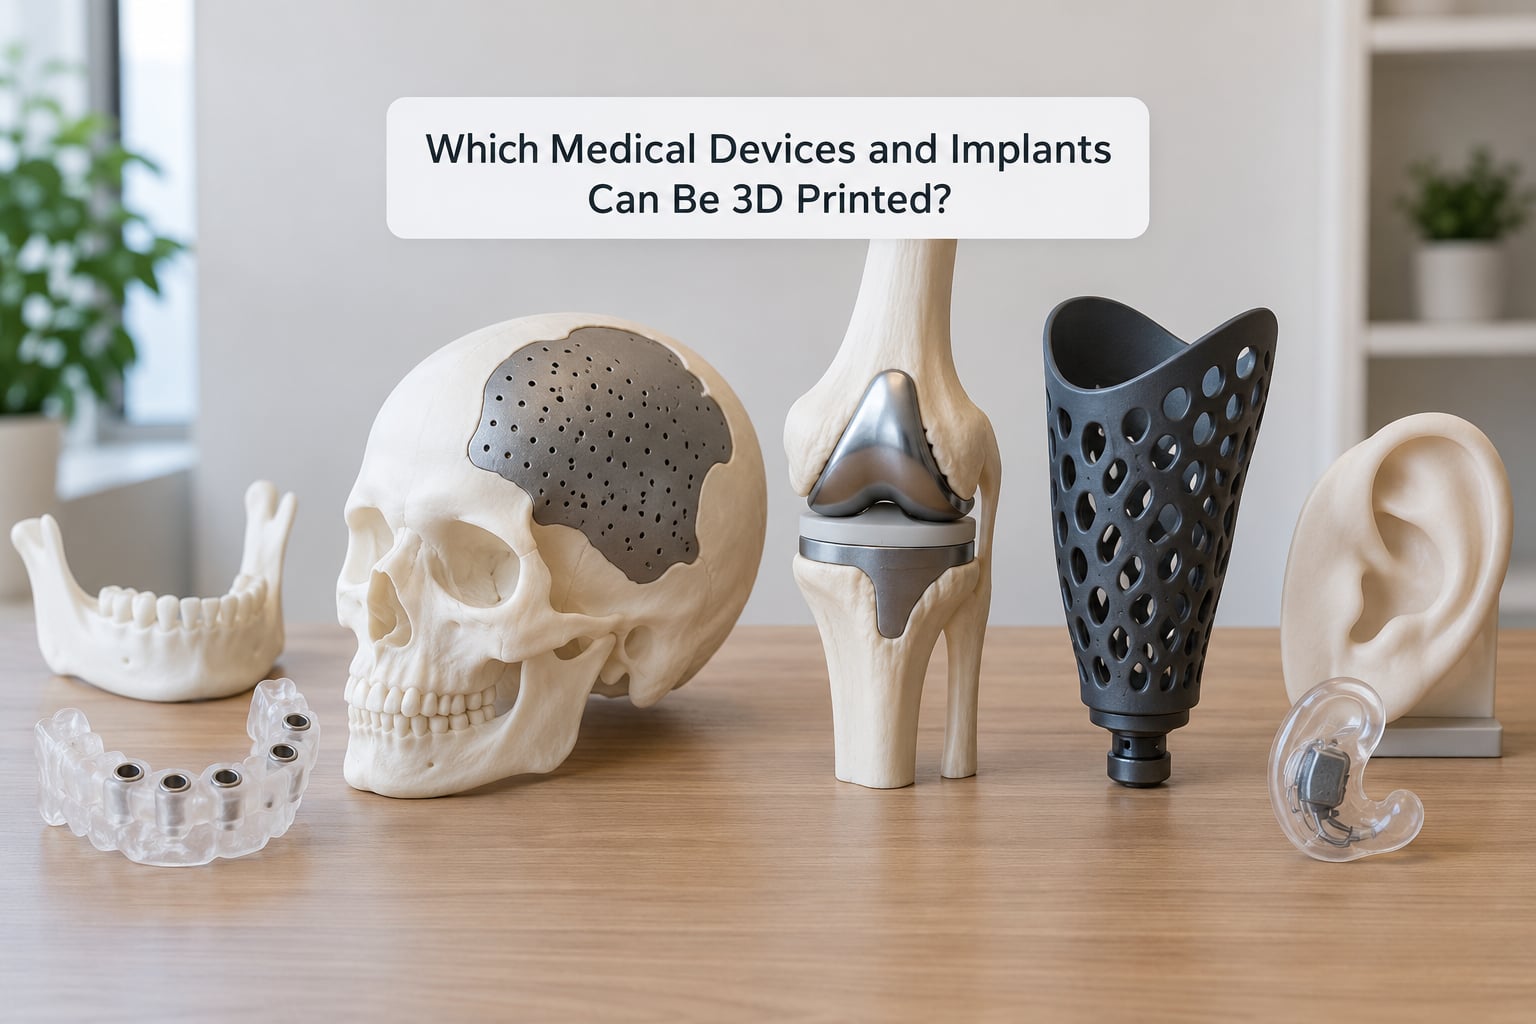
Some of these are ordinary production work today, and some are still research. Grouping them that way is more useful than a flat list.
Routine in production: surgical cutting and drilling guides, dental crowns, bridges and surgical guides, clear aligner molds, hearing aid shells, custom ear molds, prosthetic sockets and cosmetic covers, surgical models and patient-communication models, orthoses, splints and immobilization devices, and low-volume instrument holders or jigs.
Established but tightly regulated: patient-specific cranial and maxillofacial implants, titanium spinal and orthopedic components, surgical meshes, custom dental abutments, and implantable conformal cochlear or nerve repair devices. These go through full device pathways with design controls and clinical evidence.
Still emerging: bioprinted skin and cartilage grafts, vascularized tissue scaffolds, organoids used as test models, and load-bearing structures printed in bioresorbable polymers. Clinical trials are running, but most of this is not routine care.
Frequently asked about and still speculative: fully printed replacement organs and bioprinted breast implants. Both appear in research programs, and neither is something a patient can currently be offered as standard treatment. If you have seen a company advertise a timeline, check the regulatory status of the specific product rather than the press coverage.
The clearest dividing line is patient contact time. A guide that touches bone for fifteen minutes and comes off is a very different regulatory problem from an implant that stays in the body for the rest of someone’s life.
Which 3D Printing Technologies Are Used?
Five families cover almost all medical additive work. Each trades resolution against strength, throughput and how much finishing the part needs afterward.
| Technology | Materials | Resolution and finish | Typical medical fit |
|---|---|---|---|
| Material extrusion (FDM) | PA, PLA, TPU, PC, PEEK | Coarse layers, visible ridges | Anatomical models, splints, guides, fit-check devices |
| Vat photopolymerization (SLA, DLP) | Photoresins, biocompatible resins | Fine detail, smooth surfaces | Dental models, surgical guides, hearing aid shells, anatomy models |
| Polymer powder bed fusion (SLS, MJF) | PA 12, nylon, TPU | Good detail, grainy surface, no support | Orthotics, splints, porous structures, low-volume parts |
| Metal powder bed fusion (SLM, DMLS, EBM) | Ti-6Al-4V, stainless steel, CoCr | Fine features, rough surface needing machining | Orthopedic, spinal, cranio-maxillofacial implants |
| Binder jetting | Metal and sand casting materials | Course detail, sintered and infiltrated | Low-volume metal parts, casting patterns |
| Material jetting | Multi-resin photopolymers | Excellent detail, smooth finish | Anatomical models, multi-material planning models |
| Directed energy deposition | Wire and powder metals | Coarse, near-net deposition | Coatings, surface repair, adding material to existing parts |
Two more sit closer to tissue work. Extrusion-based bioprinting deposits cell-laden hydrogels layer by layer, and it is the approach most research groups use for scaffolds. Vat-based approaches are being adapted for cell work too, but the light exposure that cures the resin is the hard part to solve around living cells.
Choosing between them is usually a three-way argument: does the part need strength, does it need surface detail, and can your team do the post-processing? Metal powder bed fusion wins on strength and loses on finishing, because critical fits still get machined after printing.
What Materials Are Used for Medical Devices and Implants?
Material choice is where a project most often stalls, because the vocabulary gets slippery. Biocompatible means a material does not produce unacceptable harm in contact with tissue for the intended duration. Sterilizable means it survives a validated cleaning and sterilization process. Approved or cleared means a regulator has reviewed a specific product, not a material.
| Family | Common choices | Typical use | Main consideration |
|---|---|---|---|
| Engineering polymers | PA 12, PA 11, PC, ABS, PP | Models, guides, housings, surgical instruments | Moisture uptake and heat tolerance during sterilization |
| High-performance polymers | PEEK, PEI, PPSU | Orthopedic and spinal components, tools | Very high print temperatures, expensive machines |
| Elastomers | TPU, silicone | Sockets, seals, soft interfaces, liners | Surface finish and long-term wear |
| Photoresins | Dental resins, biocompatible resins | Dental restorations, guides, aligners, models | Residual monomer, brittleness, limited heat resistance |
| Metals | Ti-6Al-4V (ASTM F136), 316L stainless steel, CoCr | Load-bearing implants, plates, fixation hardware | Cost, machining of fits, surface roughness |
| Ceramics | Zirconia, alumina, hydroxyapatite | Dental crowns, bone replacement, coatings | Brittleness, sintering shrinkage, slow build cycles |
| Biological and composite | Decellularized matrices, collagen, hydrogels, PLA and PCL | Scaffolds, resorbable implants, tissue models | Handling, cell viability, degradation control |
On cost, the honest picture is mixed. In material terms a printed prosthetic hand or a fit-check device can cost a small fraction of the finished conventional product, and volunteer networks print hands and give them away. Add regulatory clearance, post-processing, inspection, clinical evidence and distribution, and the gap narrows fast for anything implantable. Cheap to print is not the same as cheap to use.
What Are the Benefits and Limitations?
Every benefit below has a matching limitation attached to it. Teams that plan for both are the ones that ship.
| Benefit | The limitation that comes with it |
|---|---|
| Patient-specific geometry from scan data | Every part is different, so serial validation by sampling does not work the same way |
| No tooling, changes are free | The digital design file becomes the single point of control, so version management is critical |
| Fast lead times for one-off parts | Long-term delivered lead time depends on post-processing, inspection and sterilization capacity |
| Low material waste in many processes | Support material, powder reuse and failed builds still create waste, and metal powder needs controlled disposal |
| Small batches become economical | Per-part cost is high compared with injection molding at thousands of units |
| Lattices and internal channels for bone ingrowth | Internal features are hard to inspect, so defects can hide where nobody looks |
| Lightweighting and topology optimization | Layer direction leaves parts anisotropic, so strength depends on orientation, not just material |
| Point-of-care production near the patient | Consistency across machines and operators is harder to control, and regulatory burden rises |
| Digital design libraries, easy revision | Digital files are also an attack surface, so access control and file integrity matter |
| Mass customization without a shelf | Quality evidence has to be generated per patient, which moves work upstream rather than removing it |
The hardest limitation is not technical. For an implantable part, the open questions are long-term: how does a printed surface behave after years of cyclic loading, how do revision and removal surgeries work when bone has grown into a lattice, and what failure data exists at five years and beyond. Fit can be near-perfect on day one and still leave those questions open.
How Are 3D-Printed Medical Products Quality-Checked?
Quality control for printed medical products is a chain, and a weak link anywhere in it invalidates the part. The chain runs in this order.
Design and file control. The design is checked against the intended use and risk file, then locked as a released revision. Approved modelling templates, material libraries and parameter sets mean operators do not get to invent settings.
Material traceability. Material arrives with a certificate of analysis and a lot number, gets a storage record, and has a shelf life. Reused powder is tracked through build cycles with defined limits on reuse count.
Parameter locking. Every build runs against a qualified recipe: layer height, laser or light energy, hatch spacing, scan strategy, orientation. Deviations stop the build rather than getting flagged later.
In-process monitoring. Cameras on the bed, melt-pool sensors or thermal logging catch layer defects during the build. This is the one real advantage additive has over subtractive: you can reject a bad layer instead of a bad part.
Dimensional and mechanical verification. CMM or optical measurement on critical features, coupon testing for tensile and fatigue performance, and comparison against the released digital model.
Surface and finishing. Ra measurements where surface matters, machining of mating surfaces, passivation or coating on metals, and a check that finishing did not introduce residues.
Cleaning, sterilization and packaging. Validated processes with cycle parameters recorded per batch, plus packaging integrity and a shelf-life justification.
Documented release. A released record per part tying the design revision, material lot, build parameters, inspection results and operator sign-off together. For patient-specific parts that record is often the only permanent copy of what happened to that device.
What Regulatory and Safety Requirements Apply?
In the United States the FDA is the reference point, and the pathway depends on risk. A Class II device typically uses the 510(k) route with a demonstration of substantial equivalence to a predicate. Higher-risk devices go through premarket approval with clinical evidence. Some 3D-printed devices have also been reviewed through a device-specific guidance route for additive manufacturing, and hospital-based point-of-care manufacturing operates under its own model, where the hospital becomes a manufacturer for specified low-risk devices and is not required to submit a premarket notification for every item.
Across borders the same logic applies with different paperwork. Europe works under the Medical Device Regulation, which tightened evidence and post-market surveillance requirements considerably. Other major markets run their own national systems.
The standards that show up in almost every file:
ISO 13485 for the quality management system itself. ISO 14971 for risk management, and for patient-specific implants it is the standard that shapes how you argue residual risk. ISO 10993 series for biological evaluation, including the duration of contact and the route of contact. ASTM F136 for titanium implant alloy. ASTM also publishes additive-specific standards covering terminology, metal process characteristics, powder handling, design guidance and post-processing methods, and there are more being added every year.
Two things keep teams honest. Clinical evidence has to match the specific device, and a good fit does not substitute for outcome data. And requirements vary by risk and jurisdiction, so a question about one product’s pathway belongs with that product’s regulatory team and the relevant regulator, not with a general article.
When Does 3D Printing Make Sense Instead of Conventional Manufacturing?
The case for additive is strongest where the value is uniqueness or complexity and weakest where the value is repeatability at volume.
| Situation | Better route |
|---|---|
| Thousands of identical parts per year | Injection molding; tooling pays back fast |
| Simple prismatic parts, tight tolerance, high volume | CNC machining |
| Large complex castings in moderate volume | Casting or forged stock with CNC finishing |
| One-off or small batch, complex internal geometry | Additive manufacturing |
| Geometry derived from one patient’s scan | Additive manufacturing; conventional tooling is uneconomic |
| Design likely to change during development | Additive for prototypes, then re-evaluate for production |
| Rough prototype for shape and fit | Material extrusion; fastest and cheapest path |
| Load-bearing implantable component in volume | Usually conventional, with additive for fit-critical or revision cases |
Almost every successful program is hybrid. Print the fit-critical, complexity-heavy, low-volume element and machine or cast the rest. A guide or a revision plate printed in titanium with a machined bearing surface is a normal architecture, not a compromise.
Four questions settle it fast. How many units per year? How complex is the geometry? Does it need to match a specific person? And can your team do the post-processing and the inspection? If the answers are one, yes, yes, and no, the technology is not ready yet.
What Is the Practical Workflow for a Medical Additive-Manufacturing Project?
1. Define the intended use first. Write the intended-use statement before touching CAD. It determines the regulatory class, the contact duration and the evidence burden, and it constrains everything downstream.
2. Establish user and patient needs. Pull in clinicians early, with realistic anatomy and typical cases, not the idealized model from a marketing render.
3. Review the design. Run a cross-functional design review covering design for additive manufacturing, tolerance stack-up against process capability, and support strategy.
4. Select the material and process together. The process dictates what the material can tolerate, and the material dictates the finishing options. Decide these as a pair.
5. Prototype in stages. Print a rough model for shape, then a fit-check device for the clinician, then a representative part for mechanical testing. Each stage answers a different question.
6. Test to the real conditions. Fatigue and wear testing under expected loading, sterilization compatibility, and a biocompatibility evaluation matched to the contact type and duration.
7. Validate the process. Establish process validation for the machine and recipe combination, with defined limits for deviation handling and what happens when a build fails.
8. Build the documentation set. Risk file, design history record, process validation records, inspection plans, labeling and post-market plan. This is usually the longest lead item in the schedule.
9. Scale with intent. Move from one machine to a qualified fleet or a supplier before volume grows, not after.
The handoffs are where projects get stuck. Design, manufacturing, quality and regulatory each own a piece, and a missing decision in one usually surfaces as a rework cycle in another.
Frequently Asked Questions
Is every 3D-printed medical device or implant FDA-approved?
No. Approval applies to a specific product, not to the printing method. Some patient-specific devices are made under a pathway that does not require premarket submission, such as certain low-risk hospital-manufactured guides, and some are cleared through the 510(k) route by demonstrating equivalence to an existing predicate device. The only reliable check is the regulatory status of that exact product.
Are 3D-printed implants safe?
Many are, and the ones in clinical use carry the same evidence requirements as conventionally made implants: material qualification, biocompatibility testing, mechanical and fatigue testing, sterilization validation and clinical data. The honest caveat is that long-term survivorship data for printed implants is thinner than for machined components. Ask your surgeon what evidence supports the specific device proposed for you.
What materials are commonly used for 3D-printed medical implants?
Titanium alloys such as Ti-6Al-4V are the most common for load-bearing implants, with stainless steel and cobalt-chromium used in specific applications. Engineering polymers such as PA 12 and PC cover guides and instruments, high-performance polymers like PEEK appear in orthopedic and spinal components, and photopolymers and ceramics are common in dental work. Material choice follows contact duration and load.
Is 3D printing better than injection molding or CNC machining for medical devices?
Neither is better in general. Additive wins for one-off parts, patient-specific geometry and complex internal features, and loses on repeatability and per-part cost at high volume. CNC wins on tight tolerances, surface finish and mature supply chains. Injection molding wins from hundreds of identical units upward. Most real programs combine both, printing the complex element and machining the rest.
Can a medical implant be 3D printed from patient imaging?
Yes, for implants designed around an individual’s anatomy. CT or MRI data is segmented into a 3D model, converted to a printable file, printed, then finished, inspected and reviewed before use. The implant must still be produced under the same controls as any other device, with patient data handled securely. Most printed models used this way are planning aids; the implant itself needs its own clearance and release record.
How are patient-specific 3D-printed medical devices regulated?
They follow the same quality system as any device, but each unique part needs a defined release record tying its design revision, material lot and inspection results to that patient. Regulatory staff use ISO 14971 to argue the residual risk, and many programs operate under a hospital manufacturing model for specified low-risk devices. Requirements differ by jurisdiction, so confirm the pathway with your regulator or regulatory affairs team.
Conclusion
3D printing in medical devices and implants has moved past the question of whether it works and into the question of where it belongs in your process. Its strongest cases are patient-specific geometry, low-volume complex parts, and fast design iteration, and its weakest cases are high-volume repeatability and cost.
Before you choose a printing process, settle four things in order. Define the intended medical use, because that sets the risk class and the evidence burden. Decide what contact the part has with the body and for how long, which narrows the material list. Identify the real production volume, because that decides additive against molding and machining. Then ask whether you can fund the post-processing, inspection and documentation. Get those right and the printer choice is usually easy.