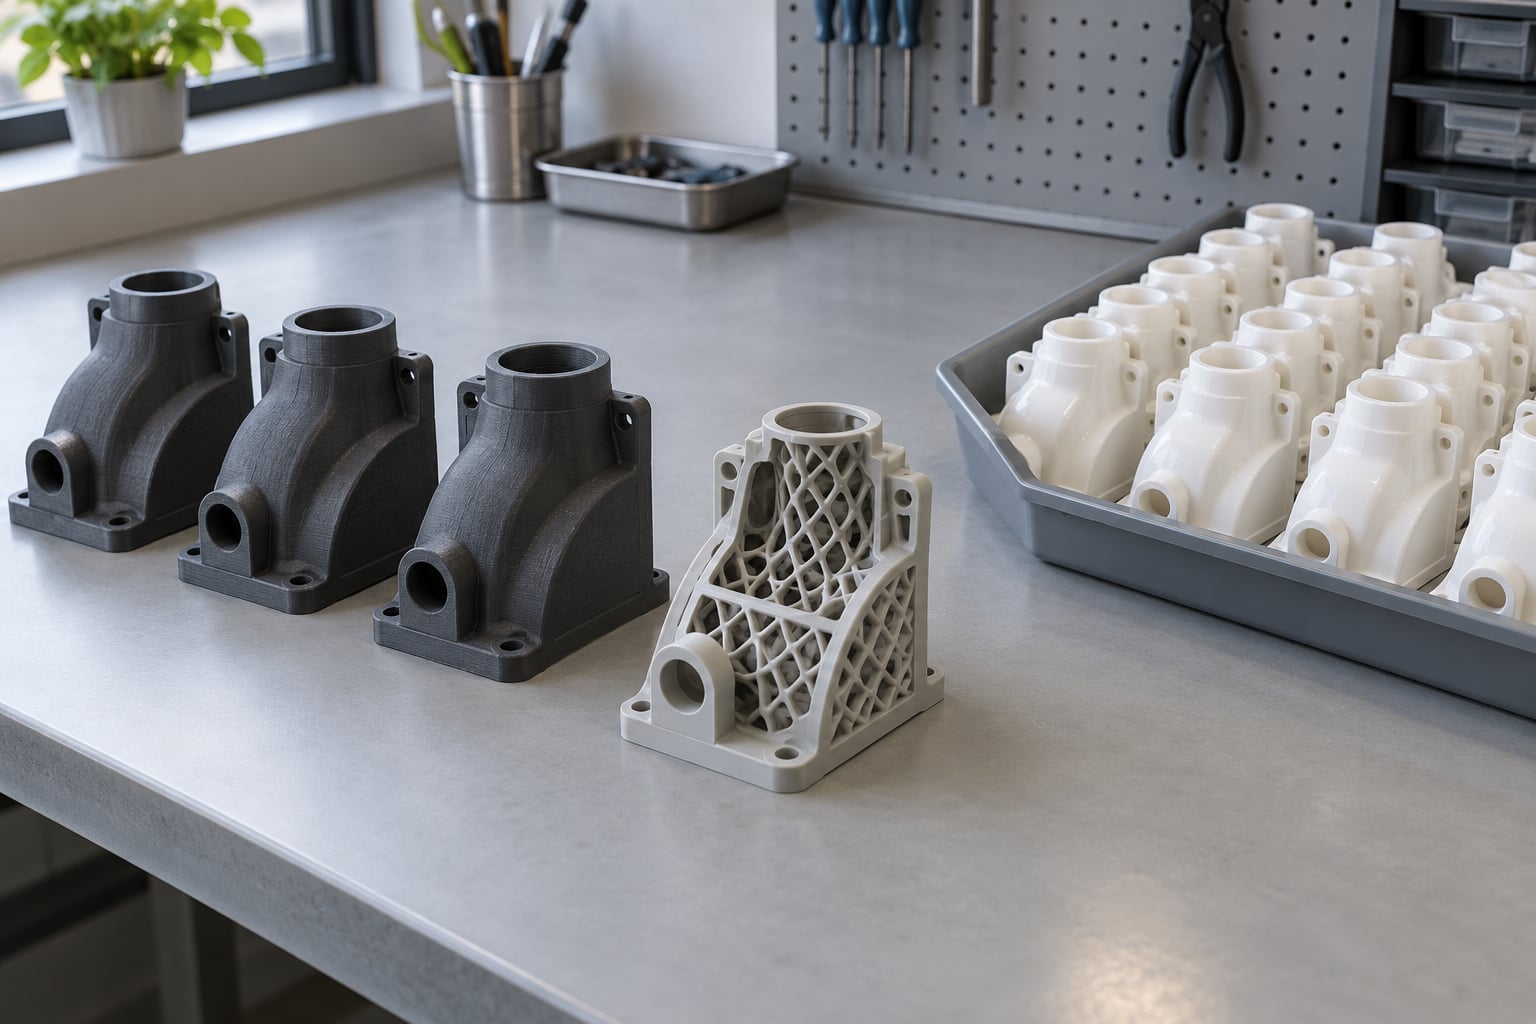
Use 3D printing instead of injection molding when the quantity is low, the design is still changing, the geometry is hard to tool, or every unit is slightly different. Injection molding wins once you have a proven design and a steady order for thousands of identical parts. Most decisions come down to those two things: demand and geometry.
That sounds obvious, but the tooling decision usually gets made too early, before the design is proven. One commenter on r/InjectionMolding described doing large-batch printed production that stayed competitive with molding well past the few-hundred-unit mark people assume. So the volume rule is a starting point, not a law.
Here is the short version of when each process earns its place:
- You need a prototype, proof of concept, or form-fit-and-function sample.
- Your total demand is one-offs, tens, or a few hundred units.
- The part has internal channels, undercuts, lattices, or organic curves.
- Every part is customized, serialized, or fitted to a specific person.
- You need jigs, fixtures, or assembly aids before production exists.
- You want to test the market before committing to hard tooling.
- You need metal or biocompatible materials that only additive can supply in small batches.
Table of Contents
- 1When to Use 3D Printing Instead of Injection Molding at a Glance
- 2Production Volume and Quantity
- 3Upfront Cost and Unit Economics
- 4Design Complexity and Part Geometry
- 5When to Use 3D Printing Instead of Injection Molding for Complex Parts
- 6Lead Time and Production Speed
- 7Materials, Surface Finish, and Mechanical Performance
- 8Repeatability, Scale, and Quality Control
- 9Which Should You Choose?
- 10Frequently Asked Questions
- 11Is 3D printing cheaper than injection molding?
- 12How many parts are usually enough to justify injection molding?
- 13Can injection molding make complex internal geometries?
- 14What surface finish should I expect from 3D printed parts?
- 15When is a 3D printed part suitable for functional testing?
- 16How do I choose between them for a custom product?
- 17Conclusion: Choose the Process from Demand and Geometry
When to Use 3D Printing Instead of Injection Molding at a Glance
Print for low volume, complexity, and customization. Mold for repeatability, surface finish, and unit cost at scale.
| Criterion | 3D printing | Injection molding |
|---|---|---|
| Typical use | Prototypes, jigs, low-volume end-use parts, custom runs | Production of validated parts, tens of thousands upward |
| Quantity sweet spot | 1 to a few hundred; sometimes thousands | Several hundred upward, strongest past 1,000 |
| Upfront cost | Almost none, machines and material | Steel or aluminum tooling plus setup |
| Unit cost curve | Flat or slowly falling | Steeply falling with every part in the run |
| Time to first article | Hours to days | Weeks of tooling, then setup and validation |
| Internal geometry | Channels, lattices, undercuts, trapped volumes | Possible with cores and side pulls, costly and slower |
| Surface finish | Layer lines or grain; needs finishing for cosmetics | Gloss, texture, or matte directly from the tool |
| Tolerances | Roughly plus or minus 0.005 in on FDM, tighter on SLS | Roughly plus or minus 0.001 in typical for molded parts |
| Repeatability | Varies with machine, material, and settings | Extremely consistent across long runs |
| Part size ceiling | Build volume of the machine | Limited by machine and press size, large parts possible |
Production Volume and Quantity
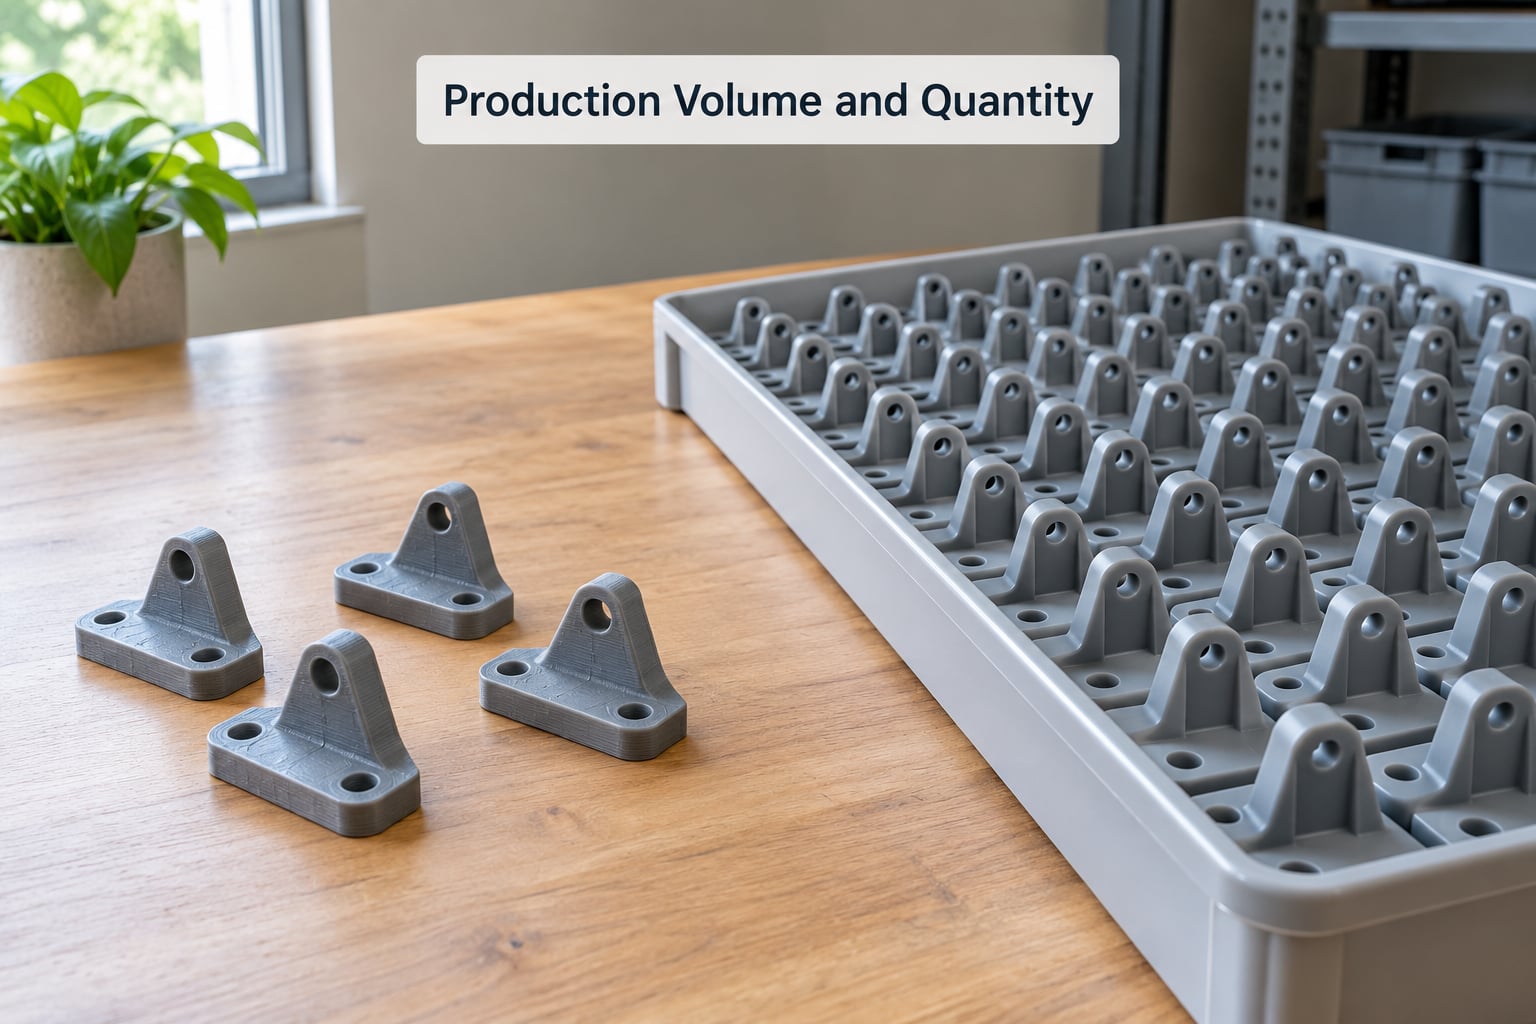
Volume is the first filter, and for a simple plastic part the crossover usually lands somewhere between a few hundred and a few thousand units. Simple means a flat-ish shell with uniform walls, no texture, nothing difficult to eject. The more complex the part, the earlier printing can stay competitive, because a complex mold costs more and takes longer to build.
Break the demand into stages. Prototypes and one-offs are never economical to mold. Tens of units are almost always printed. A few hundred is genuinely contested territory, and the answer depends on geometry more than on the number itself. Thousands of identical simple parts is where the economics stop arguing.
Quantity also changes when parts are not identical. A run of 500 brackets where every bracket is a slightly different length is really a run of 500 one-off tools, and per-part tooling economics never arrive. On r/hwstartups the common split is simpler: mold the large structural parts, print the small ones.
| Part complexity | Range where printing often stays competitive |
|---|---|
| Simple flat part, uniform walls | A few hundred units |
| Cosmetic part needing texture and gloss | Lower, because printing adds finishing labor |
| Complex geometry, internal channels, inserts | Higher, sometimes well into the thousands |
| Customized or serialized parts | No crossover, every unit carries its own setup |
Upfront Cost and Unit Economics
Injection molding front-loads the expense. You pay for the tool, the machine time to cut and polish it, and the setup trials before the first good part comes out. After that, each additional part in the same run is close to material plus cycle time, which is why the per-part curve flattens so hard.
3D printing spreads cost differently. There is no tool, so the entry cost is a machine and material, and the per-part cost barely moves whether you print one or five hundred. What does scale badly is machine time and human post-processing, because every part still needs removal, cleanup, and often support removal.
| Cost driver | 3D printing | Injection molding |
|---|---|---|
| Tooling | None | Dominant one-time cost, scaled by complexity |
| Machine time | Per part, rises with layer height and volume | Very low per part inside a run |
| Material | All of it is the part, plus support | Material plus sprues and runners that get scrapped |
| Labor | High per part: removal, cleanup, finishing | Low per part once the run is stable |
| Finishing | Sanding, vapor polish, paint, coating | Often none for cosmetic parts |
| Scrap risk | One failed layer can ruin a part | Cavity wear and flash over very long runs |
A simple way to reason about it: treat the tooling quote as a fixed cost you must recover across the whole run, then add the printed per-part cost. The longer the run, the smaller that printed per-part cost becomes relative to the recovered tooling. If your demand is uncertain, the fixed cost is the risk, and printing lets you avoid it entirely.
Design Complexity and Part Geometry
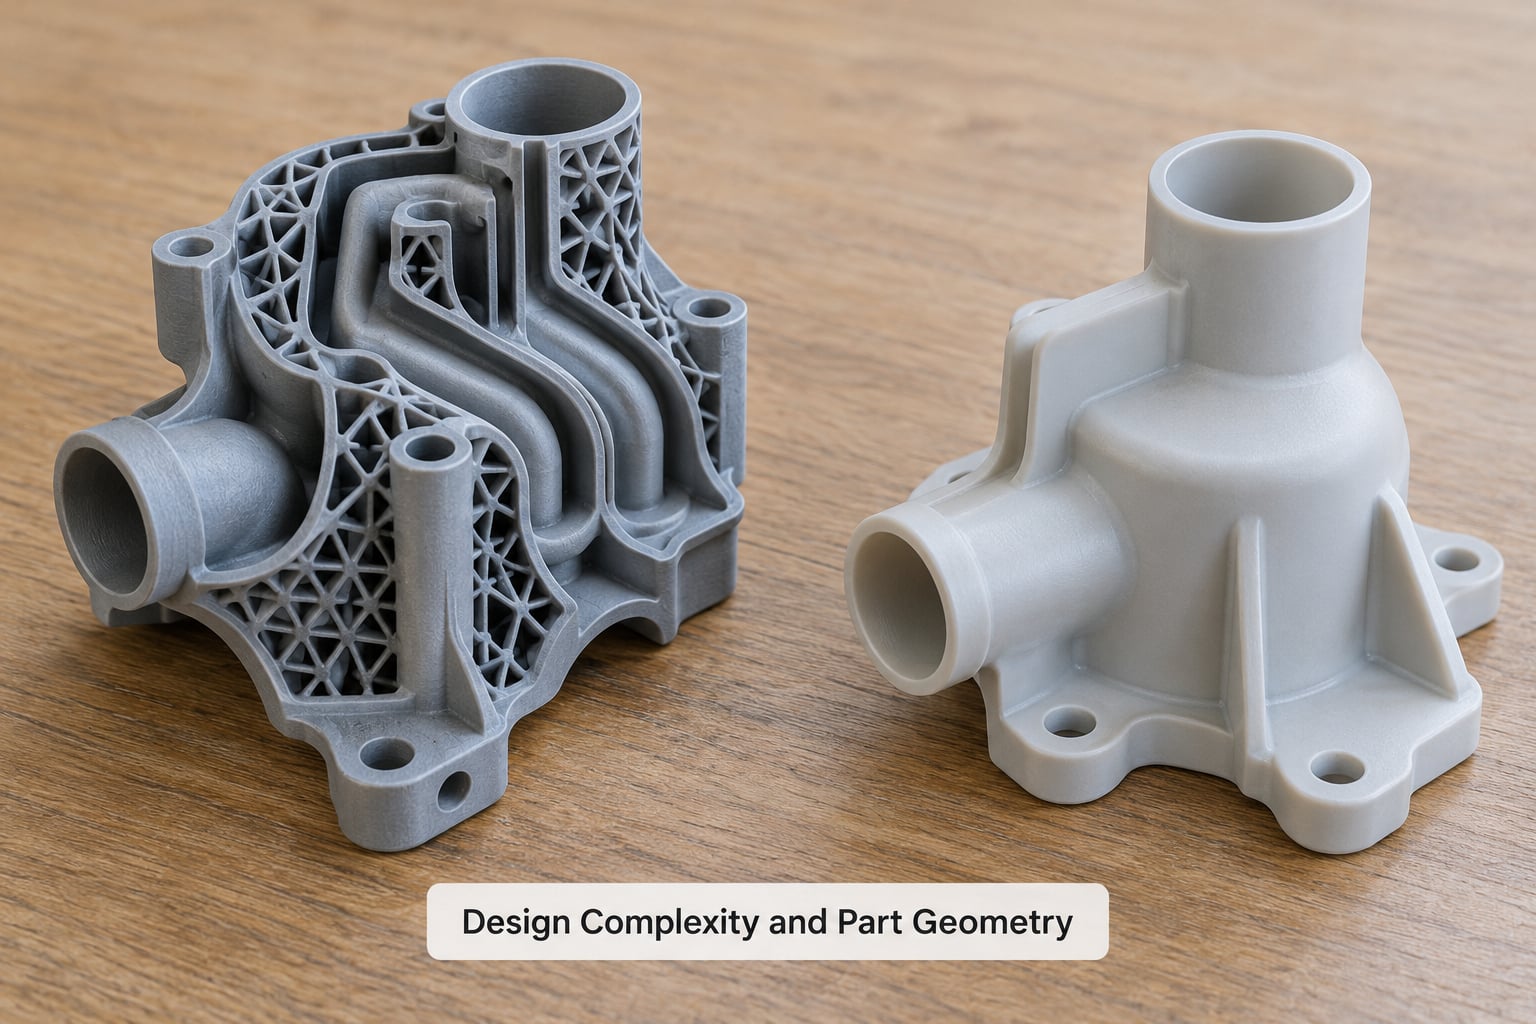
This is where 3D printing quietly wins arguments that people assume it loses. Molding has real physical limits: the tool must open, the part must release, and every feature needs a draft angle. A part that prints beautifully can be unmanufacturable in a steel tool.
Additive manufacturing has no such constraint. Internal cooling channels that curve through a mold, lattice infill for stiffness at low weight, undercuts, threads, living hinges, and organic shapes are all routine. Consolidation is the big one: six parts welded together in a prototype can become one printed part, removing fasteners and assembly labor permanently.
When to Use 3D Printing Instead of Injection Molding for Complex Parts
Choose additive when the geometry demands features a tool would fight. That means trapped or curving internal volumes, undercuts on multiple axes, lattice or topology-optimized structures, and one-piece consolidation that removes an entire assembly. It also applies when the tool would need side pulls, slide cores, or multi-part tooling, because each of those adds cost and lead time.
There is a well-known trap here: just because a part prints does not mean it will mold. Printed models are full of supports, sharp corners, and thick solid sections that are a moldmaker’s headache. Before committing to tooling, redesign for manufacturability with uniform wall thickness, roughly one degree of draft per inch of depth, ribs at 40 to 60 percent of adjacent wall thickness, generous radii instead of sharp internal corners, and no undercuts on draw direction. If you cannot get the printed version moldable without changing the function, that is a signal to keep printing.
Lead Time and Production Speed
Time to first article is the clearest advantage printing has. A model can be on the build plate the same afternoon, and a functional sample often arrives within days. Molded parts do not move until the tool exists, the press is set, and the process has stabilized through trial shots.
Then throughput flips completely. One printer produces parts one after another with no batch cycle. A molding cell produces parts in seconds each, unattended, around the clock. So the honest comparison is not print-versus-mold speed, it is iteration speed against steady-state output. Printing wins the first and loses the second, badly.
Materials, Surface Finish, and Mechanical Performance
Molding works with the full range of production thermoplastics: ABS and ASA, polypropylene, polycarbonate, and the filled and flame-rated grades that exist specifically because industry needs them. Polypropylene in particular is hard to print well and trivial to mold, which quietly settles some projects before cost is discussed.
Additive manufacturing has its own strong set: PETG and ASA for durable shells, TPU for flexible parts, nylon through SLS and Multi Jet Fusion for functional end-use components, filled resins for stiffness, and DMLS for metal where no small-batch casting route exists. Process choice matters more than brand here. FDM leaves visible layer lines, resin printing gives a far better finish, and powder processes trade surface quality for mechanical strength and consistency.
Material and finish requirements sometimes override volume entirely. A patient-specific medical model, a duct running through a frame, a hot-tool jig, or anything that must hold a rated load and resist heat will follow the material first and the quantity second. Reviewers on r/3Dprinting repeatedly flag visible layer lines and slightly brittle surfaces as the reason customers reject printed enclosures, which is a finish problem, not a price problem.
Repeatability, Scale, and Quality Control
Molding is built for consistency. The same cavity produces the same part thousands of times, tolerances hold within a fixed band, and established inspection procedures exist. That is what makes it acceptable in medical, automotive, and consumer electronics supply chains, and it is also why certifications such as UL or FDA compliance often push teams toward tooling earlier than economics alone would.
Printed production is not consistent by default. It can be made consistent: process monitoring, calibrated machines, controlled material humidity, and fixed build parameters all tighten variation. Post-processing adds another variable, since a part that gets hand-sanded is no longer identical to one that skips the bench.
My read is that printing holds up well for prototypes, jigs, fixtures, and controlled runs of a few hundred, and gets progressively weaker as volume climbs and cosmetic expectations rise. If a customer will hold the part in their hand and look at it closely, molded finish wins.
Which Should You Choose?
Start from the use case rather than the process. Prototypes and design validation: print. Custom or personalized products: print, because tooling cannot absorb variation cheaply. Replacement and obsolete parts: print, since you can match an old part from a scan without a tool. Jigs, fixtures, and assembly aids: print. Complex internal geometry in low quantity: print. Repeatable simple parts in the thousands: mold.
Before selecting a process, write down five things: required quantity, geometry, material, tolerances, and the date you need parts. Those five answers usually make the decision on their own. Add two more questions that catch expensive mistakes: does the design still change, and can your team tolerate the cosmetic finish.
If the answers point to tooling, prototype in additive first. Print the geometry, test the fit and function, hand it to a moldmaker in a moldable state, and quote the tool from a settled design. That hybrid route is where most successful hardware products land, and it is the cheapest risk reduction available.
Frequently Asked Questions
Is 3D printing cheaper than injection molding?
It depends entirely on quantity. For a prototype or a run under a few hundred units, printing is almost always cheaper because there is no tooling cost. Injection molding becomes cheaper once the fixed tooling cost is spread across enough parts to bring the per-part figure below the printed cost. Complex geometry pushes that crossover later, customization pushes it away entirely.
How many parts are usually enough to justify injection molding?
For a simple, uniform-walled plastic part, a few hundred to a few thousand units is the usual range where tooling pays back. More complex parts, parts needing cosmetic texture, and parts with tight repeatability requirements justify tooling sooner. Practitioners report printed production staying price competitive far beyond that band, so treat the number as a starting point rather than a rule.
Can injection molding make complex internal geometries?
Yes, but the tool gets more complicated. Curving internal channels require slide cores or collapsible cores, and undercuts on multiple axes require side pulls or extra tooling, all of which add cost and lead time. That complexity is exactly why designers with demanding internal geometry and low volume stay with additive manufacturing instead of paying for a multi-part tool.
What surface finish should I expect from 3D printed parts?
Expect visible layer lines on FDM parts, a fine grain on powder-based processes, and smooth but sometimes slightly soft surfaces from resin printing. For customer-facing parts, plan on sanding, vapor polishing, or painting, and budget the labor. This is the most common reason buyers reject printed enclosures, and it is why cosmetic parts usually move to molding earlier than cost analysis suggests.
When is a 3D printed part suitable for functional testing?
For fit, form, function, and load-path validation, printed parts are usually good enough, especially from SLS nylon, Multi Jet Fusion, filled resins, or DMLS metal. Print at a reasonable orientation and scale to avoid anisotropic weakness, and keep the real material in mind, since printed samples often look stiffer than molded parts. Avoid single-layer FDM walls for anything load bearing.
How do I choose between them for a custom product?
Custom products almost always favor 3D printing, because customization removes the repeatability that makes tooling pay off. A molded tool produces identical parts, so every variation becomes a setup cost. If your customers need different sizes, fits, or personal data baked in, printing lets you handle that variation directly. Split the design: mold the large standard parts, print the customized ones.
Conclusion: Choose the Process from Demand and Geometry
Use 3D printing when demand is low, the design is unsettled, the geometry is tool-hostile, or every unit differs. Use injection molding when the design is proven, the geometry is moldable, and thousands of identical parts are real. Everything else is a detail those two tests resolve.
Start by writing down the required quantity, part complexity, material, tolerances, and the date you need parts. Then get both numbers: a printed estimate for the quantity you actually need, and a molding quote for the quantity you hope to reach. Comparing those two is the whole decision.