SLA resin printing turns a digital model into a solid plastic part by hardening liquid photopolymer resin with UV light, one thin layer at a time. A screen or a scanning laser traces the cross-section of your model, the resin under that light cures solid, and the build platform rises by exactly one layer height. Repeat that a few hundred times and you have a part with fine detail and almost no visible layer lines.
This guide walks through how SLA resin printing works step by step, from the bench you set up on day one to the support scars you sand off at the end. Most beginners can get a decent first print in a single afternoon, but the two stages people underestimate are washing and curing, which together take longer than the print itself. If you are coming from PLA and FDM, read the whole thing once; the logic behind the steps is different enough that skipping ahead tends to cost you a few failed prints.
Table of Contents
- 1What You Need
- 2How SLA Resin Printing Works Step by Step
- 31. Choose and Prepare the Resin Printer
- 42. Select, Orient, and Slice the 3D Model
- 53. Upload the File and Start the Print
- 64. Understand the Layer-by-Layer Printing Process
- 75. Remove the Print and Check the Result
- 86. Wash and Cure the Print
- 97. Remove Supports and Finish the Surface
- 10Common Mistakes and How to Fix Them
- 11Frequently Asked Questions
- 12How long does an SLA resin print take?
- 13How do I find the right exposure time for my resin?
- 14Is resin 3D printing safe in a home?
- 15Do resin prints need supports, and how should I orient the model?
- 16What is the difference between washing and curing a resin print?
- 17Is SLA resin better than FDM and PLA?
What You Need
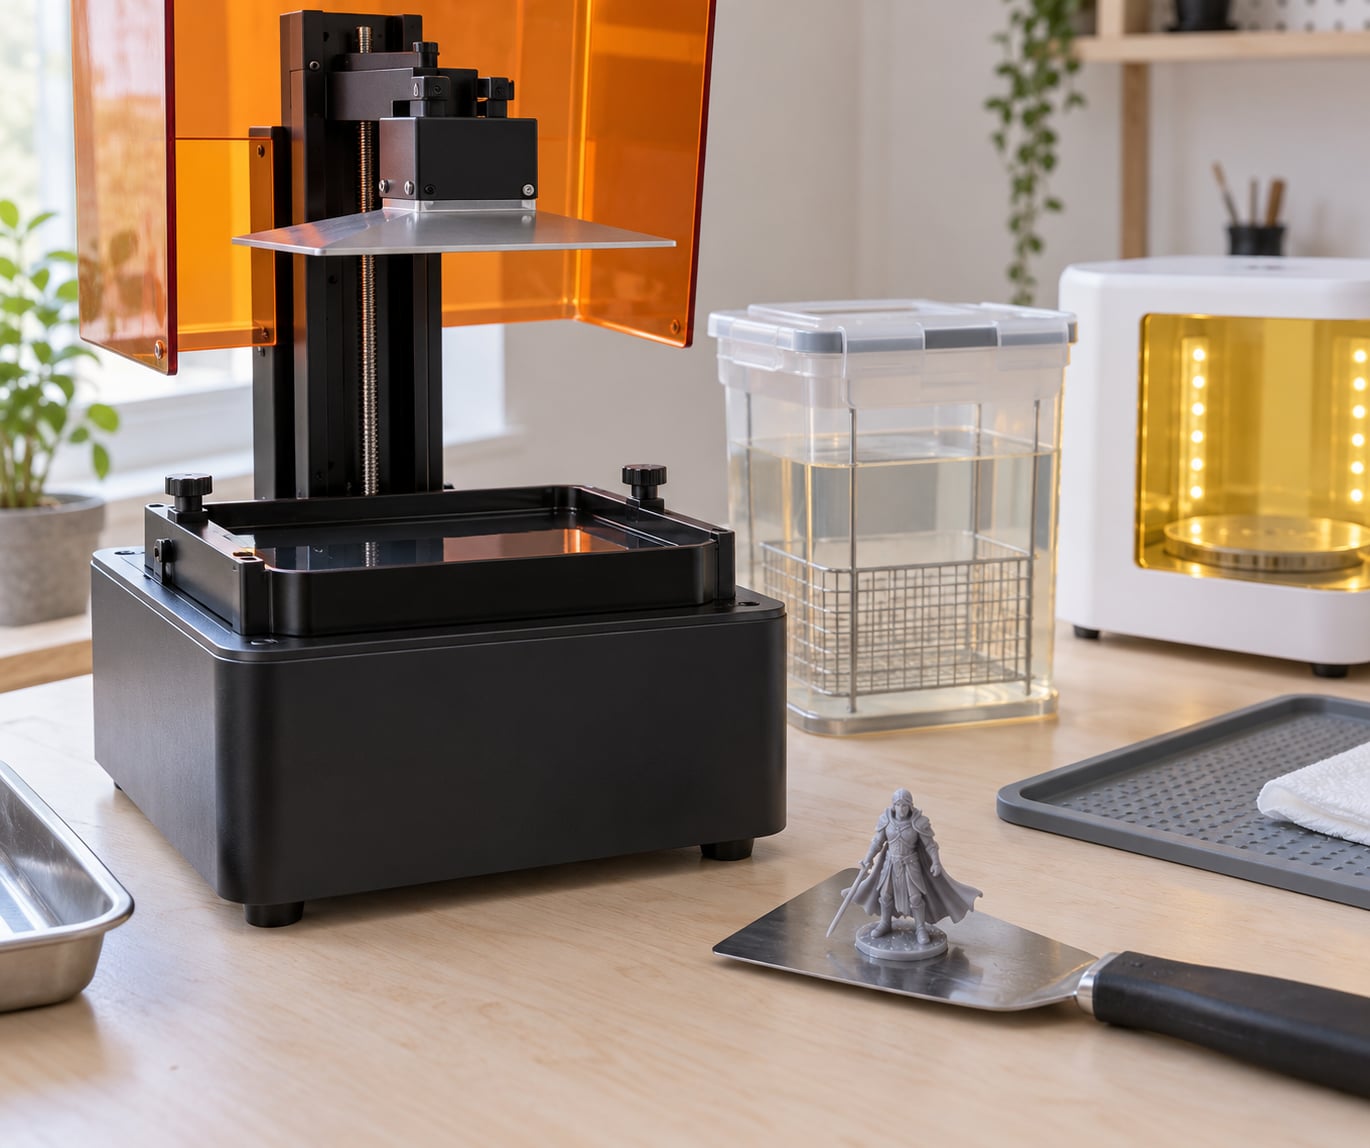
Here is the short version: an MSLA printer, a bottle of UV resin, a slicer, a wash station, a cure station, and somewhere with ventilation. That is genuinely all, but the details of each matter.
The printer. Almost every consumer machine you can buy today is MSLA, meaning the light source is an array of UV LEDs behind a masked LCD screen rather than a scanning laser. A monochrome screen with roughly 3,000 to 4,000 pixels across the long edge gives you pixel sizes around 35 to 50 microns, which is fine for miniatures, jewelry and most prototypes.
Resin. Standard rigid resin is the one to learn on. Tough and castable resins behave differently, and castable resins in particular punish rushed exposure settings, so buy a small bottle first and get comfortable before switching. Resin goes off slowly in a cool cupboard, but it will thicken or partially cure in heat, so store it sealed and dark.
A slicer. Chitubox and Lychee are the two free options most people use. Both take an STL or 3MF file and turn it into the stack of layer images the printer displays.
Personal protective equipment and ventilation. Nitrile gloves that you actually wear, safety glasses, and either a dedicated enclosure with an exhaust fan or a room you can ventilate properly. Uncured resin is an irritant, not a pleasant thing to smell, and a bedroom printer running with the window cracked is a compromise, not a solution. If you cannot ventilate, use the printer’s own enclosure with a carbon filter as a stopgap.
Wash and cure stations. A wash station is a tank of isopropyl alcohol with a slow agitator; a small ultrasonic cleaner works well for very small parts but will rattle larger ones to pieces. A UV cure station is a box with a rotating turntable and a UV lamp, and it is not the same thing as a nail lamp, which is far too weak and too small.
Bench tools. Flush cutters, a craft knife, nitrile gloves, plastic trays for parts, and an apron you do not mind ruining. Give the printer its own table height, plus 10 to 15 cm of clearance above the build platform for the Z lead screw on most machines, and check that the vat and bottle of resin fit without shoving the printer around.
How SLA Resin Printing Works Step by Step
Before the seven steps, it helps to know where the time goes. A typical 7 cm figurine on a 6-inch screen takes two to three hours of exposure, and the post-processing around it is not far off that again.
| Stage | Typical time | What is happening |
|---|---|---|
| Model prep and slicing | 10 to 25 minutes | Orientation, supports, exposure and layer settings |
| Print exposure | 1 to 6 hours | Screen masks each layer, resin cures, platform retracts |
| Removal and inspection | 5 to 10 minutes | Detach, check adhesion, spot obvious failures |
| Wash | 10 to 20 minutes | Isopropyl alcohol strips uncured resin from surfaces and hollows |
| Cure | 10 to 20 minutes | UV light finishes off the polymerisation the print could not reach |
| Support removal and finishing | 20 to 60 minutes | Snip, sand, prime, paint |
1. Choose and Prepare the Resin Printer
Check the printer before you fill anything. Look at the LCD screen under a bright lamp for dead or stuck pixels, because a dead pixel prints as a hole in your part forever, and check that the build platform and vat are clean and free of cured chunks from earlier prints.
Level the build platform. Most machines have a leveling procedure in their menu, and for machines without one, drop the platform into the vat, lower the z-axis onto a flat spot, and tighten the two knobs at the rear evenly. The gap between the film and the screen should be about the width of a business card at the edges and just barely touching in the middle. Too tight and the film can crack; too loose and the part floats and fails to stick.
Pour in the resin. Stir the bottle first, because pigment and resin settle during storage, then fill the vat to roughly one third. Look at the surface under the light: if you see swirls of colour, keep stirring until it goes uniform. If you see shiny lumps on the surface, the resin has cured in the bottle and you need a new one.
Position the printer on a level, vibration-free surface, close to your ventilated workspace. Then you are ready to expose something.
2. Select, Orient, and Slice the 3D Model
Orientation is the single decision that separates a good print from a failed one, and it is the one beginners rush. The rule of thumb is simple: the bottom of the model goes on the build platform, tilted slightly, and any surface you care about should face either straight up or straight down but never sideways.
A tilt of around 30 degrees helps because a sloped surface is easier to pull away from the film after each layer, which reduces suction. If you print straight up, each layer is a full-size disc sticking to the film, and that peeling force is what rips your overhangs off.
Set layer height based on what you are making. Miniatures usually print best at 0.02 to 0.03 mm, jewellery and fine detail at 0.01 to 0.02 mm, and larger props or prototypes do fine at 0.05 to 0.06 mm. Halving layer height roughly halves the Z resolution, but the XY resolution does not change at all, because that is set by the screen’s pixel size.
Exposure time is the other setting you will fiddle with. Bottom exposure, which controls how strongly the first few layers bond to the film, usually runs longer than the regular exposure that cures every layer above it. Every resin and printer combination has its own sweet spot, and the printer’s test or exposure matrix is the fastest way to find yours: run a small grid at different times and keep the shortest one that still gives a clean, solid raft.
Add supports where the model has overhangs steeper than about 45 degrees, and add a raft for anything small or fiddly. Generate supports, check that the raft touches the build plate, and export the print file. In the same step, choose your resin type: rigid for miniatures and prototypes, tough for functional parts, flexible for phone grips and gaskets, castable for jewellery that will be cast in metal, and high-temperature for anything that will sit in an oven or a car.
3. Upload the File and Start the Print
Import the sliced file into the printer’s software over USB, or send it across the network if your machine supports Wi-Fi printing. The file arrives as a stack of images, one per layer, and the printer needs to know how thick each layer is and how many of them there are.
Double-check three things before you commit: that the layer height and total Z height in the printer software match the slicer, that the exposure times match your resin, and that the build volume is big enough. Miss the Z height and the platform travels further than the model and slams into the vat. Confirm, and start.
You will hear a short calibration exposure of the screen, and that is your last chance to walk away if anything looks wrong.
4. Understand the Layer-by-Layer Printing Process
This is the part that makes the technology click. It is also the part that explains almost every print failure you will ever have, because once you can picture how SLA resin printing works step by step at the layer level, each defect has an obvious cause.
Resin is a liquid polymer with photoinitiators dissolved in it. When UV light at 405 nanometres hits it, those photoinitiators split, start a chain reaction, and link the monomers into long crosslinked chains. That reaction, photopolymerisation, turns liquid into solid plastic, and it stops the moment the light stops. The whole process is driven by light, which is why resin printing is so sensitive to exposure time.
In true laser SLA, a galvo-mounted laser scans the layer pattern line by line, with no screen in the way. In MSLA, the same pattern is displayed on an LCD mask and illuminated all at once by the UV LED array behind it, which is far faster and far cheaper. DLP uses a projector to flash each layer as a single projected image. FDM has no UV step at all; it melts a solid filament and lays down plastic.
| Technology | Light source | Surface finish | Best for |
|---|---|---|---|
| SLA (laser) | Scanning galvanometer laser | Excellent | Industrial production, dental, large formats |
| MSLA | UV LED array through an LCD mask | Very good | Hobby and desktop production runs |
| DLP | DLP projector | Very good, consistent across the vat | Small parts where uniformity matters |
| FDM | None, hot end melts filament | Layer lines visible | Cheap, large, functional parts |
So the cycle repeats. The screen masks the layer, the UV array floods the vat, the exposed resin cures to the thickness of one layer, the platform lifts away with light-off time to let the two films separate, and the pattern shifts to the next slice. Two effects fight you the entire time. Over-exposure pushes the part slightly outward from the mask image, so fine detail rounds off and dimensions swell. Under-exposure leaves layers only partly bonded, and a week later the part snaps along the seam. That is why exposure calibration is not optional.
5. Remove the Print and Check the Result
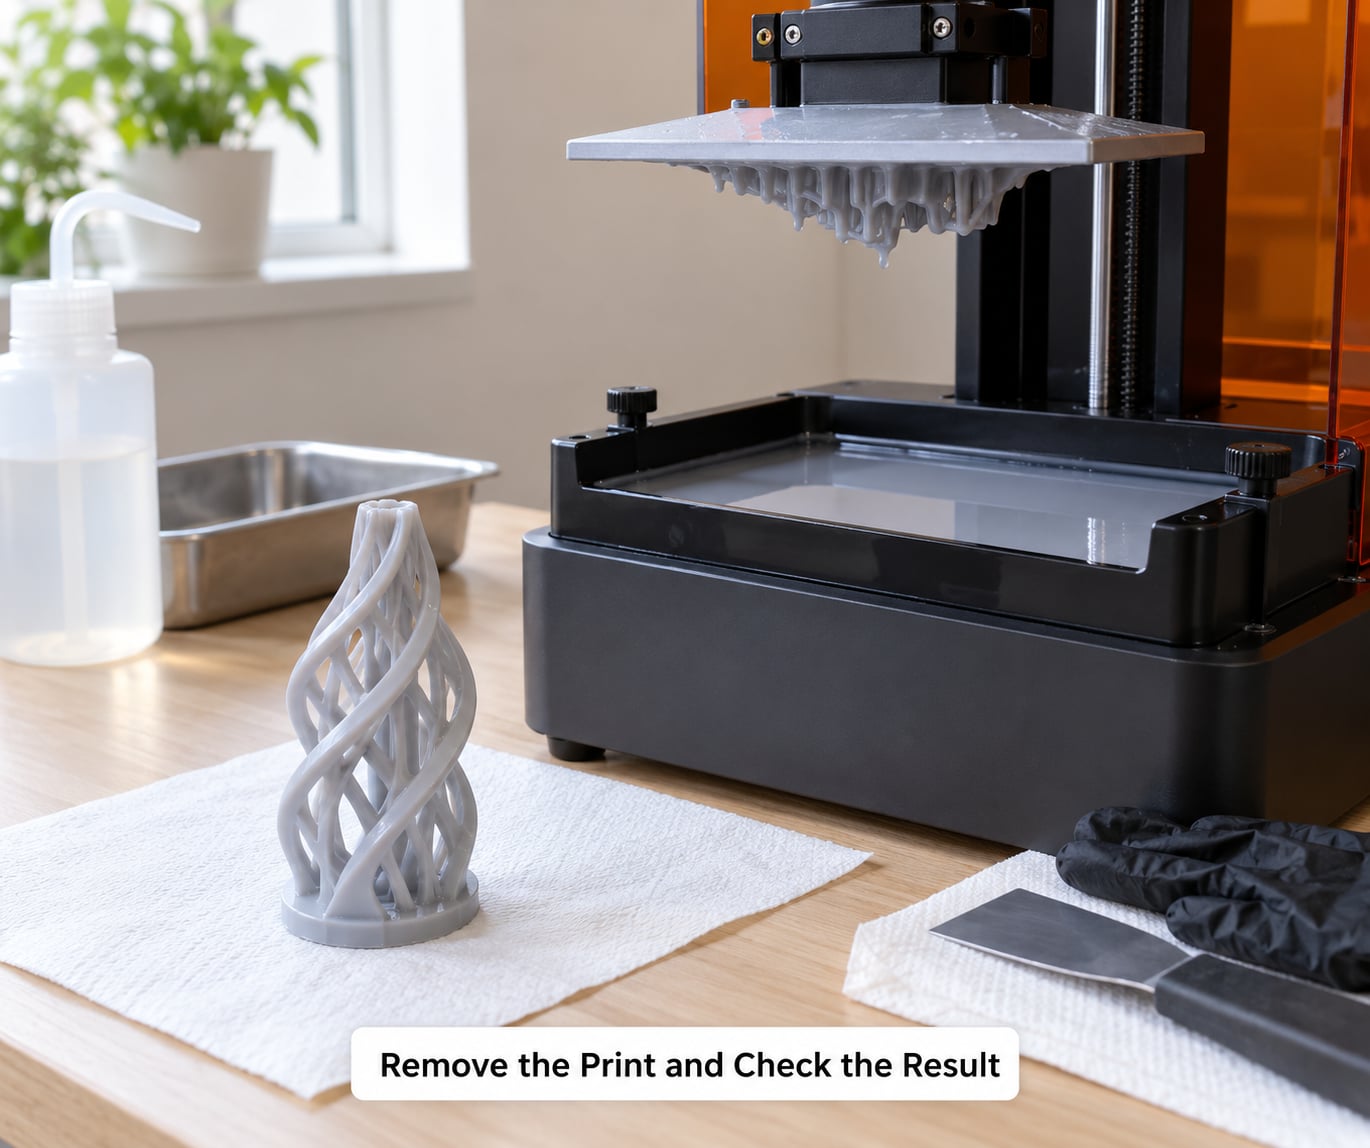
Let the platform rise a few millimetres out of the vat first, then slide the vat away and a metal spatula under the part. Push the spatula in and let the print slide onto it rather than levering it off, which is what bends the platform and snaps thin features. If the print is genuinely welded to the film, most machines will let go if you drop the platform back down onto the screen and lift it again, and an anti-scratch film over the screen stops it happening to the next print.
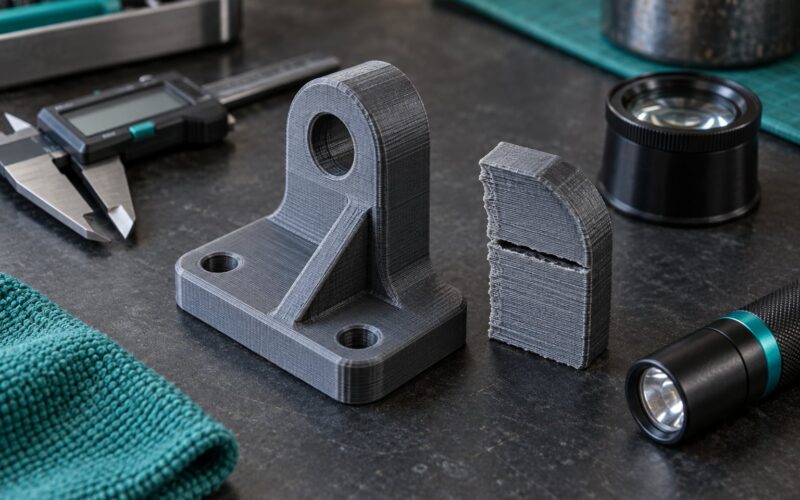
Look at it in daylight. Solid raft attached with no gaps means adhesion is good. Holes in the model mean a dead LCD pixel. A waxy, tacky surface means under-cured, and you should wash it immediately. Delamination, where the part has separated into layers with a visible crack, is under-exposure and the part is scrap.
6. Wash and Cure the Print
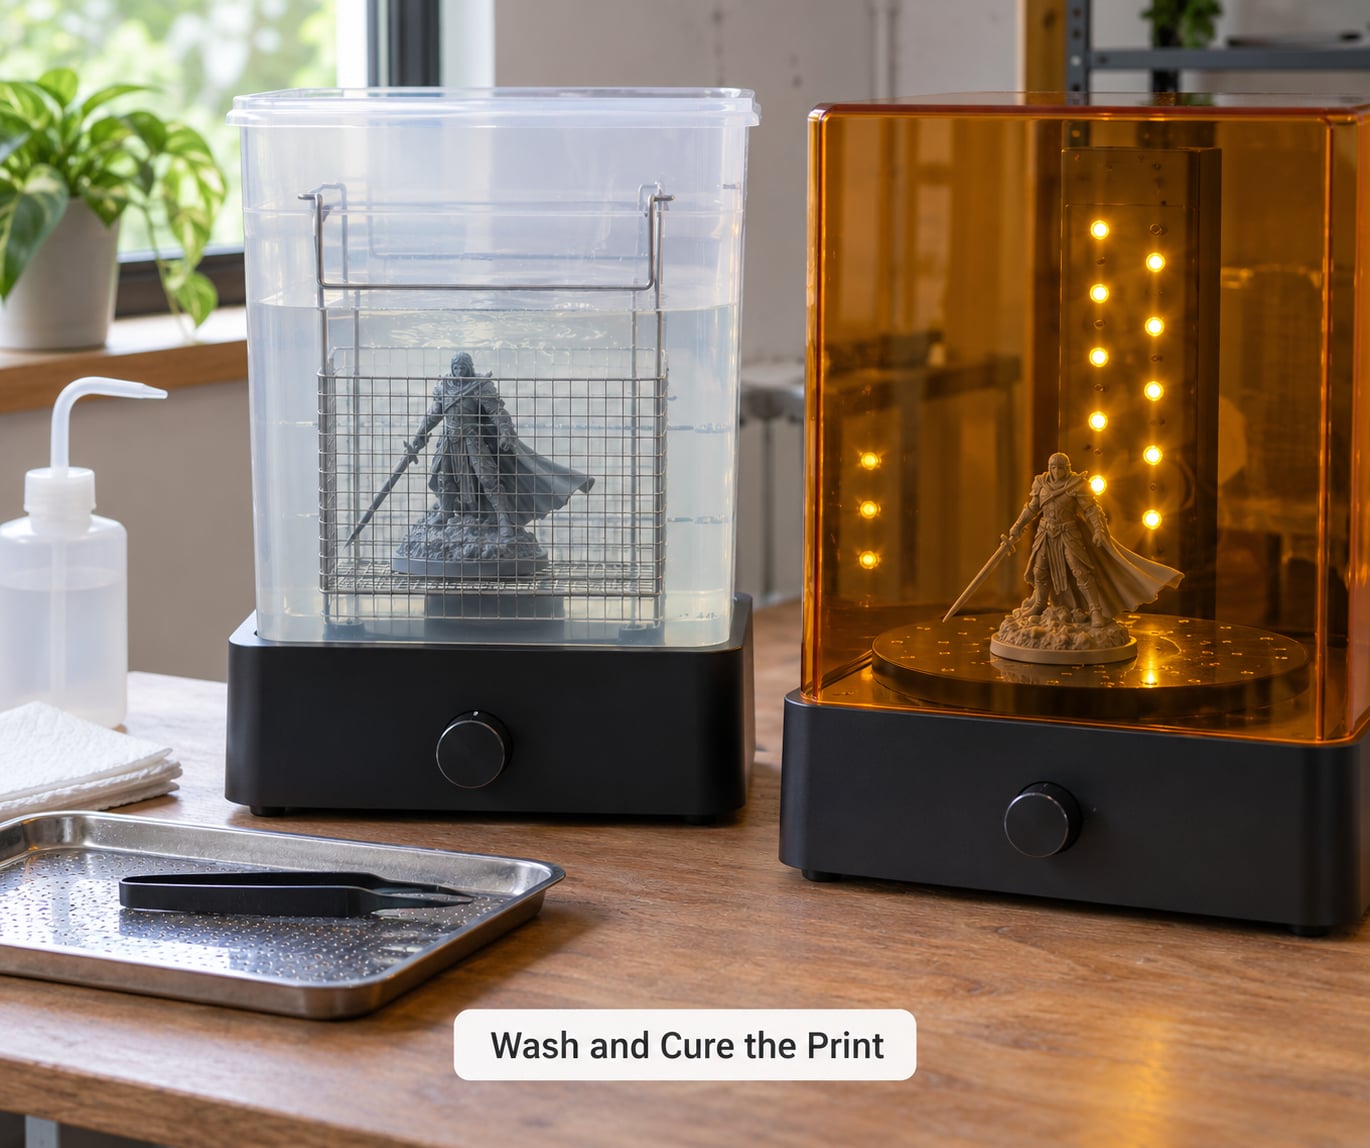
Wash the print in isopropyl alcohol, with gloves on. Let it sit in the alcohol for five to ten minutes so the solvent reaches inside hollows and cavities, then agitate it or move it with a brush so air bubbles leave. The community over at r/Resin3DPrinting is fairly insistent that ultrasonic cleaners beat manual washing, and for small parts they are right, because the solvent gets into creases your brush never reaches.
Rinse, then cure. A print is never fully polymerised inside, because the light could only reach the outside. The cure station is a box of UV light and a turntable that rotates the part so every side gets an equal dose, and ten to twenty minutes finishes the job. Over-curing makes resin brittle and prone to crack, so set a timer rather than guessing.
Cure your supports and failed test prints too, then scrape the solid bits into the alcohol waste container. Never rinse resin down a drain, and keep it out of reach of children and pets.
7. Remove Supports and Finish the Surface
Snip supports off with flush cutters, working from the far side toward yourself in small bites rather than trying to cut the whole branch in one go. Grinding a support nub into the platform or skinning a knuckle is the normal way people hurt themselves here.
For sanding, work through a grit progression: 180 to smooth the obvious nubs, 400 to level, 800 to take out the scratches, and up to 2000 or 3000 for a finish that will take paint. If the part is hollow, fill it first, otherwise the dust goes straight inside. Wipe it down, prime it, and paint. Uncured resin under primer will stay tacky and the paint will peel, so make sure the wash and cure were thorough.
Common Mistakes and How to Fix Them
Nearly every resin print problem shows up as one of five symptoms.
| Symptom | Likely cause | Fix |
|---|---|---|
| Print sticks to only one small corner | Under-exposure, or the vat was not level | Run a bottom exposure matrix, re-level, add a raft |
| Part peels off the film mid-print | Excessive peel force from a flat orientation, or bottom exposure too low | Tilt the model, raise bottom exposure, clean the film, add a screen protector |
| Details are rounded off, part is swollen | Over-exposure | Drop exposure by a second or two and re-run the matrix |
| Layer seams crack when handled | Under-exposure during the print, or not fully cured | Raise regular exposure, extend cure time |
| Screen is tacky, will not wash clean | Exposed film perishes or is left flooded with uncured resin | Clean promptly with alcohol, replace the film every few prints |
A pre-print checklist worth keeping visible: vat filtered and free of cured chunks, film clean, platform level, resin stirred and filled to the right line, model water-tight, supports touching the build plate, exposure times matching the resin bottle, and the room ventilated. Every one of those takes under a minute once you get into the habit.
One last thing beginners rarely hear. Cleaning the vat and screen immediately after every print matters more than any other habit in this hobby, because a single speck of cured resin under the film will keep finding your prints and killing them.
Frequently Asked Questions
How long does an SLA resin print take?
A small figurine on a 6-inch screen usually takes two to three hours, while a full plate of miniatures can run six to twelve. Layer height drives most of this: dropping from 0.05 mm to 0.02 mm roughly multiplies exposure time by two and a half. Add another 30 to 40 minutes for washing, curing and support removal, so post-processing is rarely the quick part people assume it is.
How do I find the right exposure time for my resin?
Start with the manufacturer’s recommended range printed on the bottle, then run an exposure matrix: a small test model printed at several times across that range. Keep the shortest exposure that gives a clean raft, solid corners and dry, matte surfaces. Write the number down for that exact resin, printer and layer height, because it will not transfer to a different setup unchanged.
Is resin 3D printing safe in a home?
It is safe if you treat uncured resin as a chemical. Wear nitrile gloves and safety glasses, keep the printer and the wash station in a room you can ventilate, and never pour resin or alcohol down a drain. Uncured resin is a skin and eye irritant, and the wash station gives off isopropyl alcohol vapour. If your space cannot be ventilated properly, an enclosed printer with a carbon filter reduces exposure but does not replace gloves and a dedicated room.
Do resin prints need supports, and how should I orient the model?
You need supports wherever the surface you are printing angles away from the build platform at more than about 45 degrees. Orientation matters more than any slicer setting, so tilt the model around 30 degrees off the platform, put detail-heavy faces upward or flat against the platform, and hollow large models to save resin and reduce suction during peeling.
What is the difference between washing and curing a resin print?
Washing removes the liquid resin still sitting on and inside the part, using isopropyl alcohol to dissolve it. Curing finishes the chemical reaction that light could not complete in the print’s interior, using a UV lamp and a rotating turntable for even exposure. Skipping the wash leaves a tacky surface that ruins paint and primer; skipping the cure leaves a part that is softer than it should be and can crack later.
Is SLA resin better than FDM and PLA?
SLA and MSLA win on surface finish, detail and speed, producing near-isotropic parts with fine detail and no visible layer lines on curved surfaces. FDM wins on cost, material variety and safety, and the filament is far less of a handling problem. If your work is miniatures, jewellery, dental models or precise prototypes, resin is the better tool. For large functional prototypes, drafts, or anything where you only need PLA or ABS, FDM is still the sensible choice.
Start with a small, simple test model on a raft, get the exposure matrix done on your own resin, and write down what worked. How SLA resin printing works step by step is, at that point, a workflow rather than a mystery. Once it feels boring, the printer is doing exactly what you told it to do.