Weigh the spool with filament still on it, subtract the weight of the empty spool, and what remains is the filament you have left. Log that number before and after every print and the difference between the two is what the job consumed. That is the whole method, and it takes about fifteen seconds per spool.
It matters more than it sounds. The most repeated fear in the print forums is not quality, it is running out of filament three hours into a twelve-hour job. Several partly used spools sitting in a rack all look equally full is the other one, and grabbing the wrong black spool mid-batch is a genuinely miserable way to learn a lesson.
What you get back from tracking is a spool you can trust and a cost figure per print you can actually check. This guide walks through the setup, the five steps of the loop, the numbers worth memorising, and the places where the measurement quietly lies to you.
Table of Contents
- 1What You Need to Weigh and Track Filament Usage
- 2Step-by-Step
- 31. Establish a Zero-Usage Baseline
- 42. Weigh the Filament Before the Print
- 53. Run the Print and Capture Slicer Estimates
- 64. Weigh the Remaining Filament
- 75. Record Usage and Compare Results
- 8Common Mistakes
- 9Frequently Asked Questions
- 10How do I calculate how much filament a 3D print uses?
- 11Is the slicer filament estimate accurate enough for tracking usage?
- 12Should I weigh the filament spool or the finished 3D print?
- 13How should I record filament cost per print?
- 14How do I account for filament purged before or during a print?
- 15What is the best way to track filament across multiple printers?
- 16Conclusion
What You Need to Weigh and Track Filament Usage
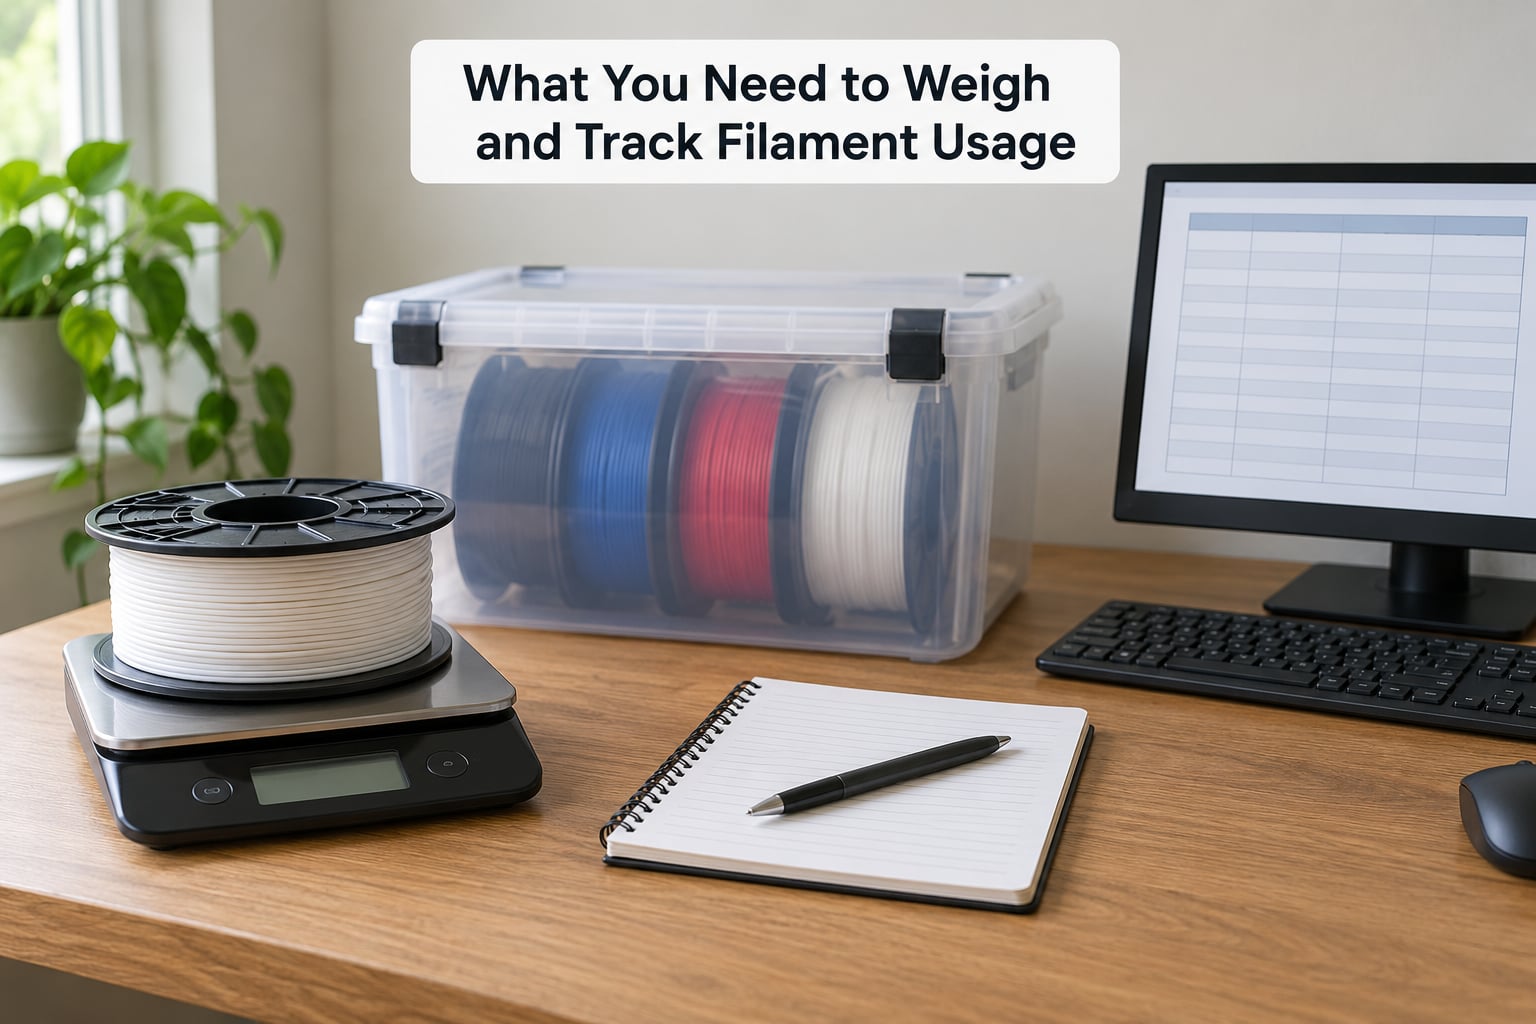
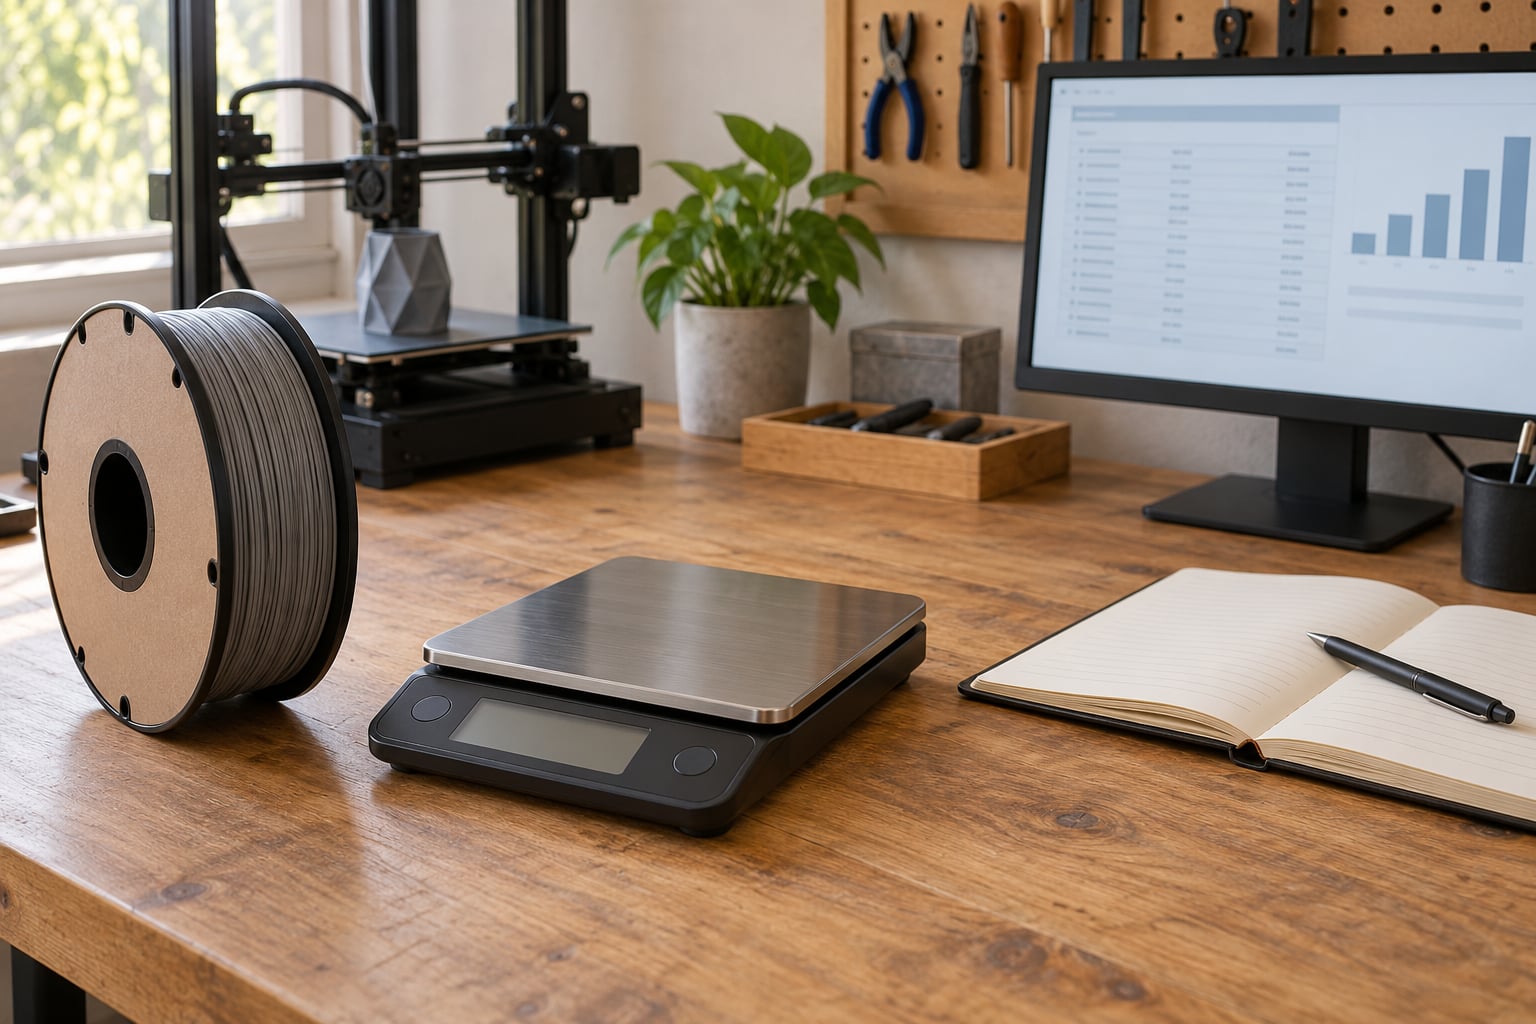
A scale is the only real piece of hardware. Resolution matters more than capacity, so buy for at least 0.1 g if you can, and 2 kg of capacity covers a full 1 kg spool plus its tare. The kitchen scale you already own is fine if it reads in single grams; a cheap parcel scale with 5 g steps is not, because your error swamps a small print.
Then you need somewhere for opened spools to live. A dry box for hygroscopic materials like PETG, nylon and TPU is worth having, and a simple shelf works for PLA if the room stays dry. I keep opened spools in labelled boxes so nothing goes back into a bag damp.
For records, start with something you will actually maintain. A shared spreadsheet is the honest answer for one or two printers, with columns for the numbers below. If you run several machines or buy in bulk, Spoolman is the tool the Prusa forum keeps coming back to: self-hosted, it stores remaining weight as a field, it has an API, and it plugs into Home Assistant for a wall panel of what you have left.
Labels matter more than they look. The moment you open a spool, write the remaining grams on it. Nobody remembers last Thursday’s number, and the label is what makes the system survive a week of forgetting.
Step-by-Step
1. Establish a Zero-Usage Baseline
Start with the tare, which is simply the weight of the empty spool or container. Empty your spool, or weigh a fresh identical one from the same brand, and record the number. Put it in a note on your phone and on the spool itself.
If you have already opened the filament and have no empty spool to hand, there are three ways out. The first is the label: the printed net weight is the filament alone, so tare equals the spool plus filament weight minus that net figure. The second is the manufacturer’s published tare, which Prusa does publish for its own spools and several other brands list in their store pages. The third is to weigh a core from a spool you have finished and subtract it from a plastic spool weight.
Typical empty weights, so you know whether your number is sane: a 1 kg cardboard-cored spool usually lands around 200 to 250 g empty, a 250 g cardboard spool in the same region because the core dominates, and reusable plastic spools run much heavier, often 350 to 500 g. Treat these as a sanity check rather than a source, and weigh your own.
2. Weigh the Filament Before the Print
Zero the scale with the container you are using on it, then place the spool on top and read the weight. Subtract your recorded tare and you have remaining filament in grams. If the scale cannot tare a 200 g spool, subtract the empty-container weight by hand instead.
Write the remaining figure on the spool and in your log before you hit start. This is the number that makes the rest of the method work, and it takes one second at the moment you are loading the spool anyway.
If you also want length rather than weight, divide by grams per metre for your material. At 1.75 mm, PLA works out at about 2.98 g per metre, PETG about 3.05 g, ABS about 2.50 g, ASA about 2.57 g and TPU about 2.91 g. So 300 g of remaining PLA is roughly 100 m, which is a more useful number when you are sizing a big print.
3. Run the Print and Capture Slicer Estimates
Every major slicer reports filament used for the job: PrusaSlicer, Cura and OrcaSlicer all show it in the print summary or progress panel. Save that figure in the same row as your scale reading before the print starts.
It is an estimate, and it is systematically low. It generally covers the model itself but not everything the nozzle extrudes: the purge line, the skirt or brim, a wipe tower, purge blobs when you break the seal on a new spool, and the ooze and retraction waste that never becomes part of the part. For a short print the gap is a couple of grams. For a big print with a heavy brim it can be twenty.
Treat the slicer number as the number to argue against, not the number to trust. Once you have a handful of matched pairs you will see whether your slicer runs high or low on your own machine, and by how much.
4. Weigh the Remaining Filament
When the print finishes, weigh the spool again with the same container and the same process. Subtract the tare again. The difference between your starting and ending remaining figures is measured usage.
Worked example, on a 1 kg spool with a 220 g tare. Spool plus filament weighs 1,210 g before the first print, so 990 g remains. A print takes 86 g, and the spool plus filament now reads 914 g, leaving 694 g. A larger job takes 240 g, leaving 454 g. A small 15 g part leaves 439 g. The slicer estimated 224 g for that second print against 240 g measured, a sixteen gram gap that is mostly brim and purge.
If a print fails partway, the filament already extruded is gone. Log it as waste rather than quietly folding it into the next job, otherwise your per-print numbers drift and you lose the reason the failure happened.
5. Record Usage and Compare Results
Keep one row per print with these columns: date, material, spool ID, printer, print duration, slicer estimate, measured usage, waste, and cost. Cost per print is measured grams divided by 1000 multiplied by your cost per gram, and cost per gram is what you paid for the spool divided by its net weight. Spreadsheets do this arithmetic for you once the grams are in.
The payoff is comparison. After a dozen prints on one machine you can sort by material and see that your 240 g job really costs 240 g of PLA, that a particular profile wastes fifteen percent more than another, and that your spool of that particular orange PETG came in at a different cost per gram than the black one.
Then close the loop: write the new remaining weight on the spool label so the next print starts from a known number. That single habit is what turns a measurement into a system.
Common Mistakes
Using a scale that cannot resolve a small print. A 5 g resolution scale makes a 15 g job meaningless. Match the resolution to the smallest print you run; if you mostly print small parts, 0.1 g is the requirement, not a nicety.
Forgetting to tare the container. A filament box can weigh more than the filament left inside it, and forgetting this produces numbers that make no sense. Zero the scale with the container on it every time, or subtract the empty container weight each time.
Counting the spool twice. A common slip is taking the spool plus filament reading and subtracting the tare twice, or subtracting a tare that was measured on a different spool model. Record the tare per spool type, not per spool, and write which type the log assumes.
Trusting the slicer instead of measuring. The estimate omits purge and brim, so it drifts low on heavy prints and looks accurate on light ones. Compare a few measured prints against their estimates and calibrate your own offset rather than adopting a general figure.
Mixing filament types in one spool. Reusing a spool for a second material changes the grams per metre and makes length estimates wrong, and reusing it across colours muddies cost per colour. Dedicate spools to one material, and mark the colour clearly on the label.
Leaving purge and failures out of the log. The purge blob when you break a new spool, the skirt on every single print, and any failed job are all real material. Record them in a waste column so your true cost per good part stays honest.
Two habits help with accuracy. Weigh at the same point in the process every time, right after loading or right after unloading, because filament tension and how it sits on the hub can shift a reading by a gram or two. And keep hygroscopic stock separate: damp filament wastes itself in ooze and failed first layers, so track the first spool of a freshly opened bag on its own rather than blending it into the average.
Frequently Asked Questions
How do I calculate how much filament a 3D print uses?
Weigh the spool with filament before the print, subtract the empty spool weight to get remaining grams, then weigh again after and subtract the tare again. The difference between the two remaining figures is what the print used. Compare that against the slicer estimate in the same row so you can see how much purge and brim your settings waste.
Is the slicer filament estimate accurate enough for tracking usage?
It is accurate enough to plan with but not to bill with. Slicers report what the model consumes and generally exclude the purge line, skirt or brim, wipe towers and the purge blob at the start of a new spool. On a small print the gap is a couple of grams; on a large print with a heavy brim it can be twenty or more.
Should I weigh the filament spool or the finished 3D print?
Weigh the spool, not the part. A spool reading before and after gives you total material moved, including infill, walls, skirt, brim and every failed attempt, and it needs no separate container. Weighing the finished part only tells you what stuck to the build plate, so support material and waste vanish from your numbers entirely.
How should I record filament cost per print?
Store cost per gram once per spool, worked out as what you paid for the spool divided by its net weight, then multiply that by the measured grams used on each print. Because per-gram cost varies between colours, materials and pack sizes, keeping it on the spool row and letting the print row reference the spool avoids average numbers that are quietly wrong.
How do I account for filament purged before or during a print?
Record purge in its own waste column rather than folding it into the print figure. The purge line and skirt run on nearly every job, the blob you print when you break a spool seal is a one-off, and a failed print consumes everything extruded up to the failure. Keeping waste visible shows which profile or material is actually costing you the most.
What is the best way to track filament across multiple printers?
Use a shared database rather than separate notes. Spoolman is the option the Prusa forum recommends most: it is self-hosted, stores remaining weight as a field, offers an API and connects to Home Assistant for a dashboard. Weigh each spool into it once at opening, then update remaining weight after prints from whichever machine used it.
Conclusion
Do one thing this week: pick a spool, weigh it before a print, weigh it after, and write both numbers down with the slicer estimate beside them. Repeat it on ten prints and you will have your own offset, your own cost per part, and enough confidence to know whether the next twelve-hour job will finish.