The most reliable way to estimate filament needed for a project is to slice the model in the slicer you actually print with, read the filament weight in the slice preview, then add 10 to 15 percent for waste. The whole thing takes about five minutes. Before slicing, a bounding box estimate gets you close enough to plan.
That sounds obvious, but the interesting part is what happens after the slicer hands you a number. It is usually grams, sometimes metres, sometimes cubic centimetres, and rarely all three in the same place. This guide walks through the whole chain: rough estimate, exact estimate, buffer, unit conversion, and finally whether the job fits on the filament sitting next to your printer.
I have wasted more material to bad planning than to failed prints, so the method below is the one I actually use before anything large goes on the plate.
Table of Contents
- 1What You Need
- 2Step-by-Step
- 3How to Estimate Filament Needed for a Project Using Dimensions
- 4Use the Slicer for the Most Accurate Estimate
- 5Add Support, Brim, and Waste
- 6Convert the Estimate into a Purchase Decision
- 7Common Mistakes in the Pre-Slice Estimate
- 8Common Filament Estimate Mistakes and How to Fix Them
- 9Frequently Asked Questions
- 10How many grams of filament does a typical 3D print use?
- 11How do I convert filament grams to metres?
- 12Why does my slicer filament estimate differ from the actual weight?
- 13Can I use 1.75 mm filament with a 0.4 mm nozzle?
- 14How much extra filament should I allow for supports, brim and failures?
- 15How do I calculate the filament cost of a 3D print?
- 16Conclusion
What You Need
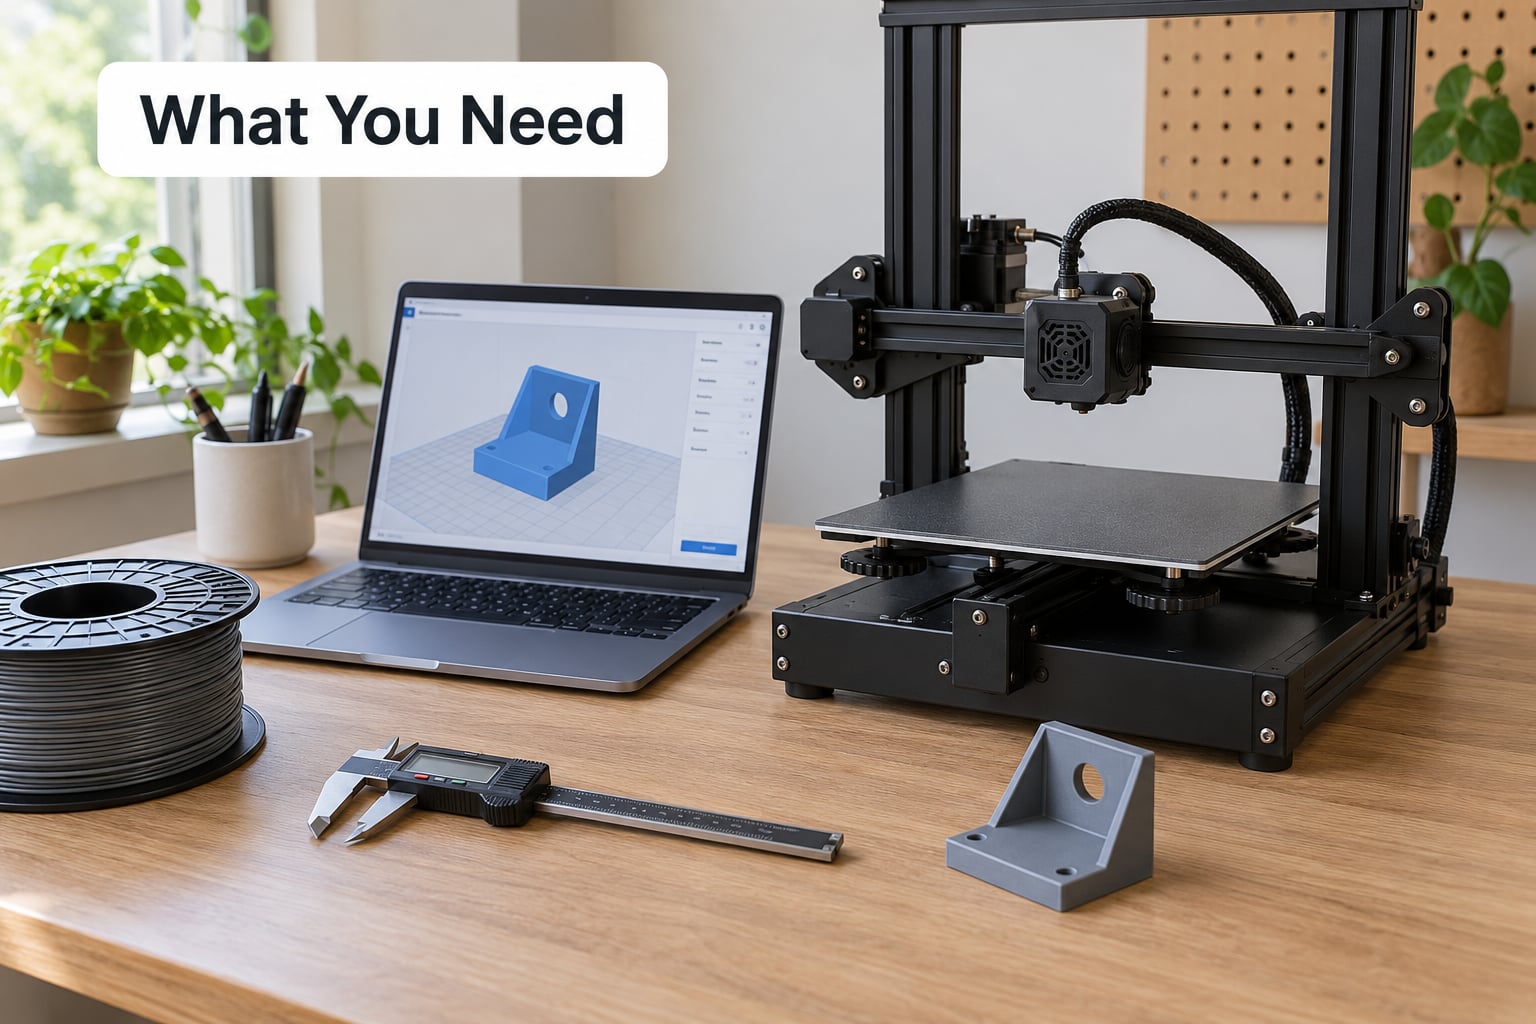
Five things feed the calculation. None of them are exotic, and all of them have to be right or the number downstream is wrong.
- The model file — an STL, STEP or 3MF. A 3MF keeps the model’s own settings, which saves re-checking them later.
- Your printer’s filament diameter — usually 1.75 mm, sometimes 2.85 or 3.00 mm. Get this wrong and every estimate shifts.
- The slicer profile you will really print with — layer height, nozzle diameter, extrusion width, wall loops, infill percentage, support settings.
- The material — PLA, PETG, ABS, ASA, TPU, nylon. Density changes the grams you get per metre.
- A way to check what remains on a spool — a kitchen scale and a note of the empty spool weight, or a spool tracker, or the diameter measurement described below.
Two optional tools make it less tedious: a cheap digital scale for weighing finished prints and partly used spools, and a moisture-free box or a dryer for keeping filament in a state where it does not waste material through purging.
Step-by-Step
How to Estimate Filament Needed for a Project Using Dimensions
Start with the model’s outer dimensions. Multiply length by width by height and you get the bounding box volume, which is the ceiling of what the part could possibly use — the actual printed material is always far below it because most of that box is air.
The trick is a fill ratio. Multiply the box volume by an efficiency figure that matches the shape of the thing, and you land in the right neighbourhood:
| What the model looks like | Typical fill ratio |
|---|---|
| Small dense part, mostly solid, minimal supports | 0.30 – 0.45 |
| Functional part with walls and moderate infill | 0.15 – 0.25 |
| Shelled part, low infill, tight bounding box | 0.08 – 0.15 |
| Tall shape with lots of support and overhangs | 0.05 – 0.12 |
So a 120 by 80 by 100 mm enclosure gives a box volume of 960 cm³. At a fill ratio of 0.20 that is roughly 192 cm³ of printed material, and at PLA density of 1.24 g/cm³ that is around 238 g. The slicer will tell you whether that is close, and it usually lands within a factor of two either way — good enough to decide whether a 1 kg spool is even in the running.
You can also scale the model to fit. Every dimension of the part scales by the cube of the scale factor for volume, so scaling to 90 percent of the original size cuts material by roughly 27 percent. Halving the scale cuts material by 87 percent. This is the escape hatch when a part will not fit on the filament you have.
Use the Slicer for the Most Accurate Estimate
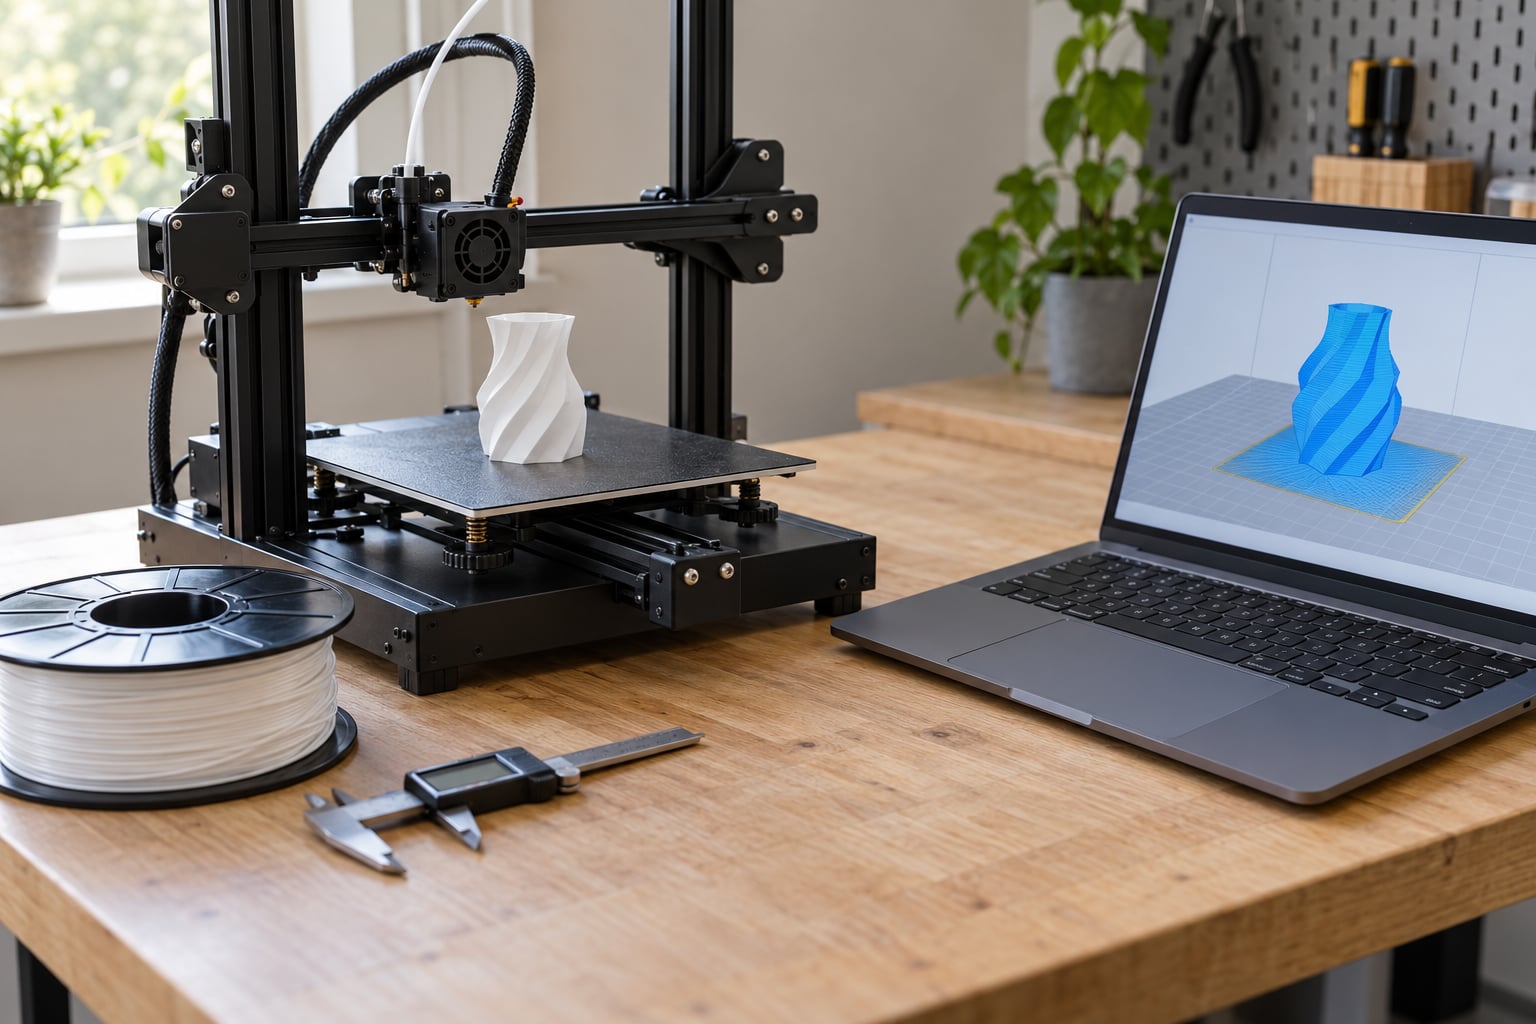
The slice preview is the source of truth, and it is more accurate than most people expect. A PrusaSlicer user on the Prusa forum reported an estimate of 107 g that came out at almost exactly 100 g on the scale, which is close enough to plan a print around.
Where the number lives depends on your slicer:
| Slicer | Where to find it | Units shown |
|---|---|---|
| Cura | Preview mode, right panel or the top toolbar summary | Grams, metres, cm³, time and layer count |
| PrusaSlicer | Preview tab, Print Estimation panel | Filament used in grams and metres |
| Bambu Studio | Preview, filament panel in the settings column | Grams plus filament length in metres |
| OrcaSlicer | Preview, Statistics panel toggled on in the preview menu | Grams, metres and cost estimate |
If you want the raw figure rather than the preview, save the G-code as a plain text file and open it in a text editor. The header comments contain the total filament length in millimetres and the volume in cubic millimetres, which is the same number the preview is showing you.
Understanding where that number comes from explains why the density table matters. The slicer measures the total length of every extruding move in the G-code, multiplies by the cross-sectional area of 1.75 mm filament, and then multiplies that volume by the material density to produce grams. Change the density in the filament profile and the gram figure changes with it.
Add Support, Brim, and Waste
The slicer estimate already contains supports, brim, raft, skirts and the purge line if you sliced the whole print. What it does not contain is material that never makes it out of the nozzle. A failed first layer, a clogged nozzle, a mid-print spaghetti event and the filament purged while a wet spool heats up all come out of your budget instead.
| Print situation | Buffer to add |
|---|---|
| Short print, well-tuned machine, dried filament | 5 – 10% |
| Medium print, normal wall thickness | 10 – 15% |
| Multi-day print or support-heavy geometry | 15 – 25% |
| Difficult material, new filament, unfamiliar machine | 20 – 30% |
Moisture deserves its own line in the budget. Wet PLA and PETG pop and bubble through the nozzle, and the cure is either purging several metres on the first layer or abandoning the print and drying the spool properly. Either way you lose material, so dried filament is part of a sound estimate rather than an optional extra.
Convert the Estimate into a Purchase Decision
Grams become metres through the filament’s cross-section and density. One metre of 1.75 mm filament is 2.405 cm³, so the gram figure per metre is 2.405 multiplied by the density:
| Material | Density (g/cm³) | Grams per metre | Metres per 1 kg spool |
|---|---|---|---|
| PLA / PLA+ | 1.24 | 2.98 | about 335 m |
| PETG | 1.27 | 3.05 | about 327 m |
| ABS | 1.04 | 2.50 | about 400 m |
| ASA | 1.05 | 2.53 | about 395 m |
| TPU | 1.21 | 2.91 | about 344 m |
| Nylon | 1.14 | 2.74 | about 365 m |
Density is why a kilogram of PLA does not cover as much of your spool as a kilogram of ABS. If your slicer shows 250 g of ABS instead of 250 g of PLA, that is roughly 100 m of filament versus about 84 m.
Two different numbers get confused here: net filament weight and gross spool weight. A filament roll is commonly sold as 1 kg net, while the empty spool itself weighs 200 to 250 g, so a fresh spool on your scale may read 1.2 kg. Record the empty spool weight once and subtract it forever after.
To check a partly used spool, measure the outer diameter with calipers and work inward, or read the remaining length from the spool holder if your printer has one. Bambu Lab printers with an AMS report the residual filament weight per spool, which is the same estimate with fewer steps. If you would rather avoid formulas entirely, weigh the spool and subtract the empty spool weight.
Finally, divide by what a spool actually holds. A 300 g estimate plus a 15% buffer is 345 g, so one 1 kg spool covers it with room to spare. A 1.4 kg estimate plus buffer needs two spools unless you have a scale to break the job into pieces that each fit.
Common Mistakes in the Pre-Slice Estimate
- Treating the bounding box as the material. A tall model may occupy only a tenth of its box. Multiply by a fill ratio instead.
- Ignoring wall loops. Infill gets all the attention, but on most parts the perimeters and the top and bottom layers take more material than the infill does.
- Forgetting that supports are inside the slice but variable. Tree supports and paintable support interfaces change the total noticeably between orientations. Rotate the part and slice it twice.
- Assuming the default profile is the profile you will use. The estimate is only valid for the settings that are actually loaded when you print.
- Forgetting the buffer. The slicer number is the happy path. Ten to fifteen percent covers everything that happens at the nozzle.
- Comparing grams from one material against a spool of another. Convert to metres before deciding whether a job fits.
Common Filament Estimate Mistakes and How to Fix Them
These show up after you have already started printing, and each one has a simple cause.
| Symptom | Likely cause | Fix |
|---|---|---|
| Print ends early with the estimate far from exceeded | Filament ran out before the slicer’s figure was reached | Reconcile the estimate against actual spool weight; your estimate assumed a lower material density or a thinner layer than you printed |
| Machine uses noticeably more than the slicer estimate | Over-extrusion, or wet filament being purged repeatedly | Run a flow or extrusion calibration test, dry the filament, then re-slice |
| Estimate seems far too high for a small part | Overhanging geometry generating dense support, or a brim on a whole build plate | Re-orient the part and re-slice to compare support volume |
| Estimated grams differ from weighed print by a wide margin | Uncalibrated flow rate on the machine | Calibrate extrusion, print a 20 mm test cube, weigh it against the slicer figure |
| Noisy surface, constant popping, wasted material | Moisture absorbed by hygroscopic material | Dry the spool, then add 5 to 10% to the buffer for the next run |
| Grams look plausible but the job still will not fit | Comparing grams to metres on the wrong material | Convert grams to metres with the density table above |
One forum pattern is worth repeating: Bambu Lab owners commonly report the machine consuming five to ten percent more than Bambu Studio estimates, while PrusaSlicer users with a well-calibrated flow rate report figures within about seven percent. Treat slicer numbers as a strong starting figure rather than a guarantee, and add buffer accordingly.
Frequently Asked Questions
How many grams of filament does a typical 3D print use?
A small part such as a phone stand or a bracket usually runs 15 to 40 g. A mid-size functional part or a detailed figurine commonly lands between 80 and 200 g. Cosplay helmets, armour pieces and full articulated figures can reach 300 g to 600 g each, and batch jobs add up fast. Treat 250 g as roughly a quarter of a 1 kg spool, which is usually one substantial part rather than a whole project.
How do I convert filament grams to metres?
One metre of 1.75 mm filament holds 2.405 cm3, so multiply 2.405 by the material density. At PLA density of 1.24 g/cm3 that is 2.98 g per metre, so 250 g is about 84 m. Use 3.05 g per metre for PETG and 2.50 g per metre for ABS. A 2.85 mm or 3.00 mm filament has a larger cross-section, so check your printer’s nominal diameter before applying the 1.75 mm figure.
Why does my slicer filament estimate differ from the actual weight?
The slicer computes a perfect extrusion with your nominal filament diameter and density, while the machine has real flow variation, wipe and purge moves, and a pressure profile that is not perfectly steady. Calibration matters most: an over-extruding machine produces a heavier part than the estimate. Layer height, nozzle temperature and material shrinkage move it a little too. Weigh a 20 mm test cube to measure your own machine’s real offset.
Can I use 1.75 mm filament with a 0.4 mm nozzle?
Yes, that is the standard pairing and almost every consumer filament is 1.75 mm. The nozzle size sets extrusion width and layer detail, not the filament width. What matters is that the slicer filament profile lists 1.75 mm, because the estimate converts extruded length into grams using that diameter. Setting 2.85 mm on a machine that takes 1.75 mm inflates the estimated grams and throws the whole calculation off.
How much extra filament should I allow for supports, brim and failures?
Supports, brim, raft and skirts are already inside the slicer’s estimate because the slicer generates the toolpaths for them. Extra material comes from failures and purging, so add 5 to 10% for a short print on a well-tuned machine, 10 to 15% for a typical print, and 15 to 25% for a multi-day or support-heavy job. Wet filament that you purge repeatedly deserves its own allowance on top.
How do I calculate the filament cost of a 3D print?
Divide the price you paid for the spool by the net filament weight in grams, then multiply that cost per gram by the estimated grams plus your buffer. If you sell prints or run many machines, add electricity, failed print rate, machine wear and your time, because material is usually the smallest line in a real quote. Tracking those extras for a whole project is where a simple per-print estimate stops being enough.
Conclusion
Estimating filament for a project comes down to four moves: slice with the profile you will really use, read the gram figure from the preview, add 10 to 15 percent for what goes wrong at the nozzle, and convert to metres with the right density before you compare it to your spool. Skip the slicer and you are guessing from a bounding box; skip the buffer and a long print can still leave you short.
Start by slicing one of your own models with the intended material profile and noting the estimate against the finished part’s weight on a scale. That single comparison calibrates your machine, and after that every future estimate you make will be about as accurate as the slicer itself allows.