You can use up filament scraps and short rolls without wasting a single gram. Sort each remnant by material, diameter and condition, dry it if it has been sitting open, run a small test print, then pick a project sized to the length you actually have left.
A strand that feels too short is usually not too short. One metre of 1.75 mm PLA weighs roughly 3 g, so even a 40 g remnant gives you about 13 metres — enough for clips, adapters, hooks, calibration towers or a small batch of desk organizers.
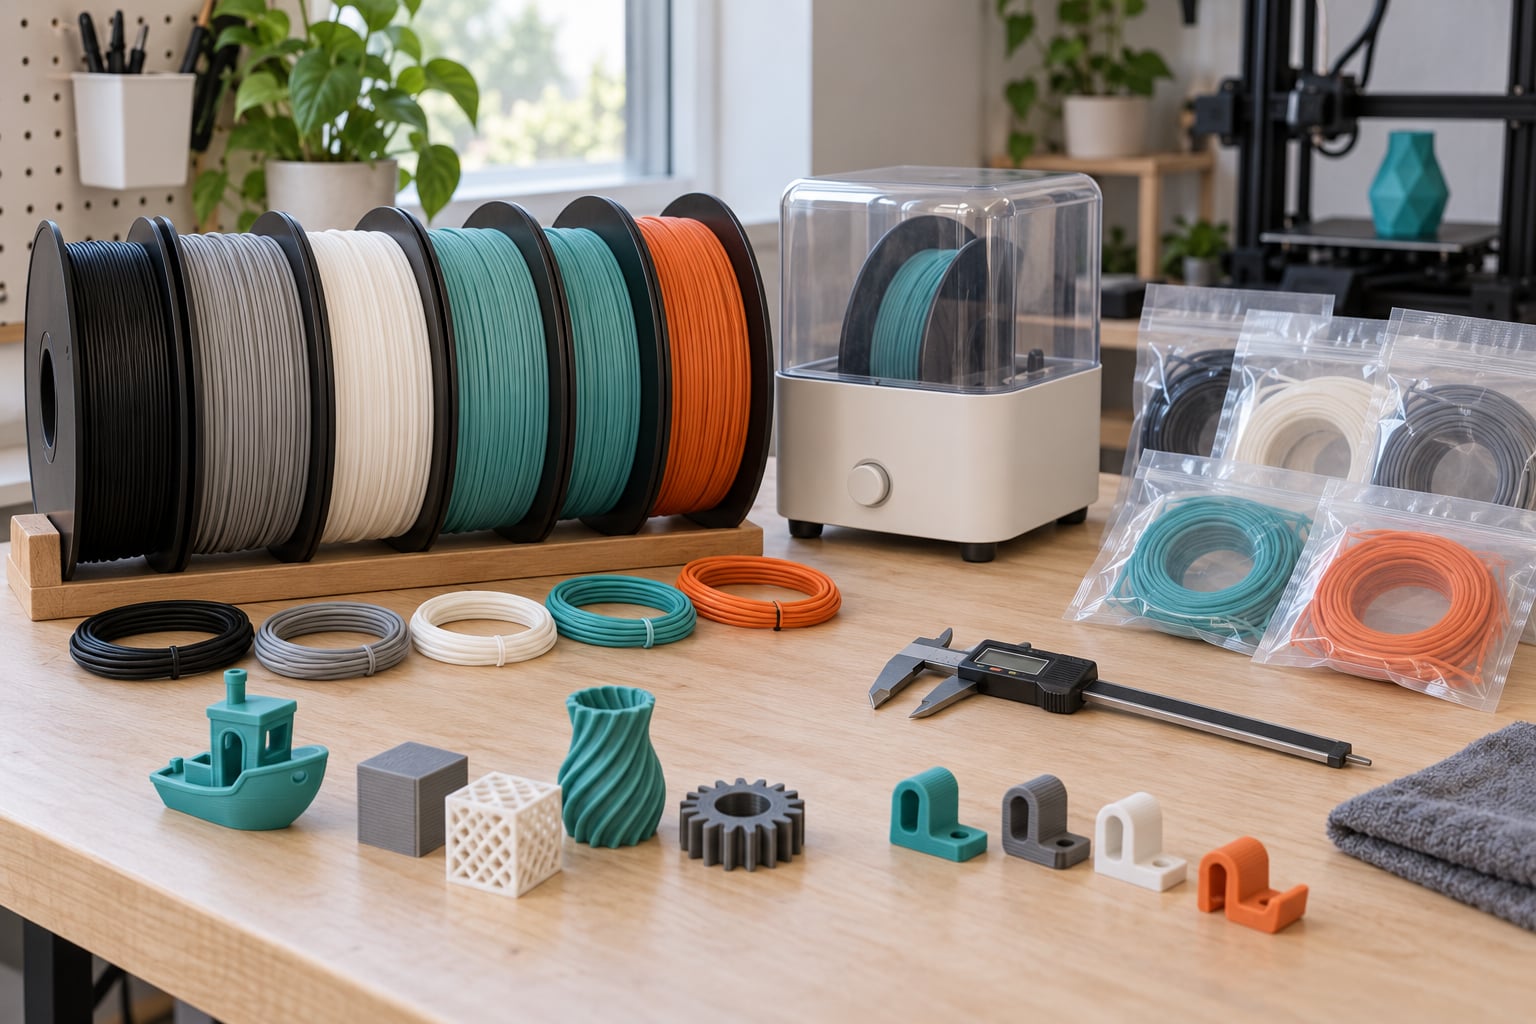
The drawer full of coils is the real problem. In r/3Dprinting, the fix people keep landing on is feeding sub-metre coils through the extruder one at a time, pausing to swap the next one in, with a filament dryer acting as both the drying station and the storage for all those coils. That works. So do the other methods below, and they cost almost nothing.
This guide walks through what to check before you print, six steps from sorting to finishing a roll, the mistakes that waste material, and where the leftover goes when no project will absorb it.
Table of Contents
- 1What You Need
- 2Step-by-Step: How to Use Up Filament Scraps and Short Rolls
- 31. Sort scraps by material, diameter and condition
- 42. Dry and condition the filament before printing
- 53. Print small parts, prototypes and calibration models
- 64. Use scraps for functional and decorative projects
- 75. Combine colours and change filament strategically
- 86. Finish small rolls with a responsible final project
- 9Common Mistakes and How to Fix Them
- 10Frequently Asked Questions
- 11Can you print with a short roll of less than 1 metre of filament?
- 12Can you combine two pieces of leftover filament into one spool?
- 13How should I store partially used filament and scraps?
- 14Which materials are easiest to use up as scraps?
- 15Can filament scraps be recycled at home or through a programme?
- 16Conclusion
What You Need
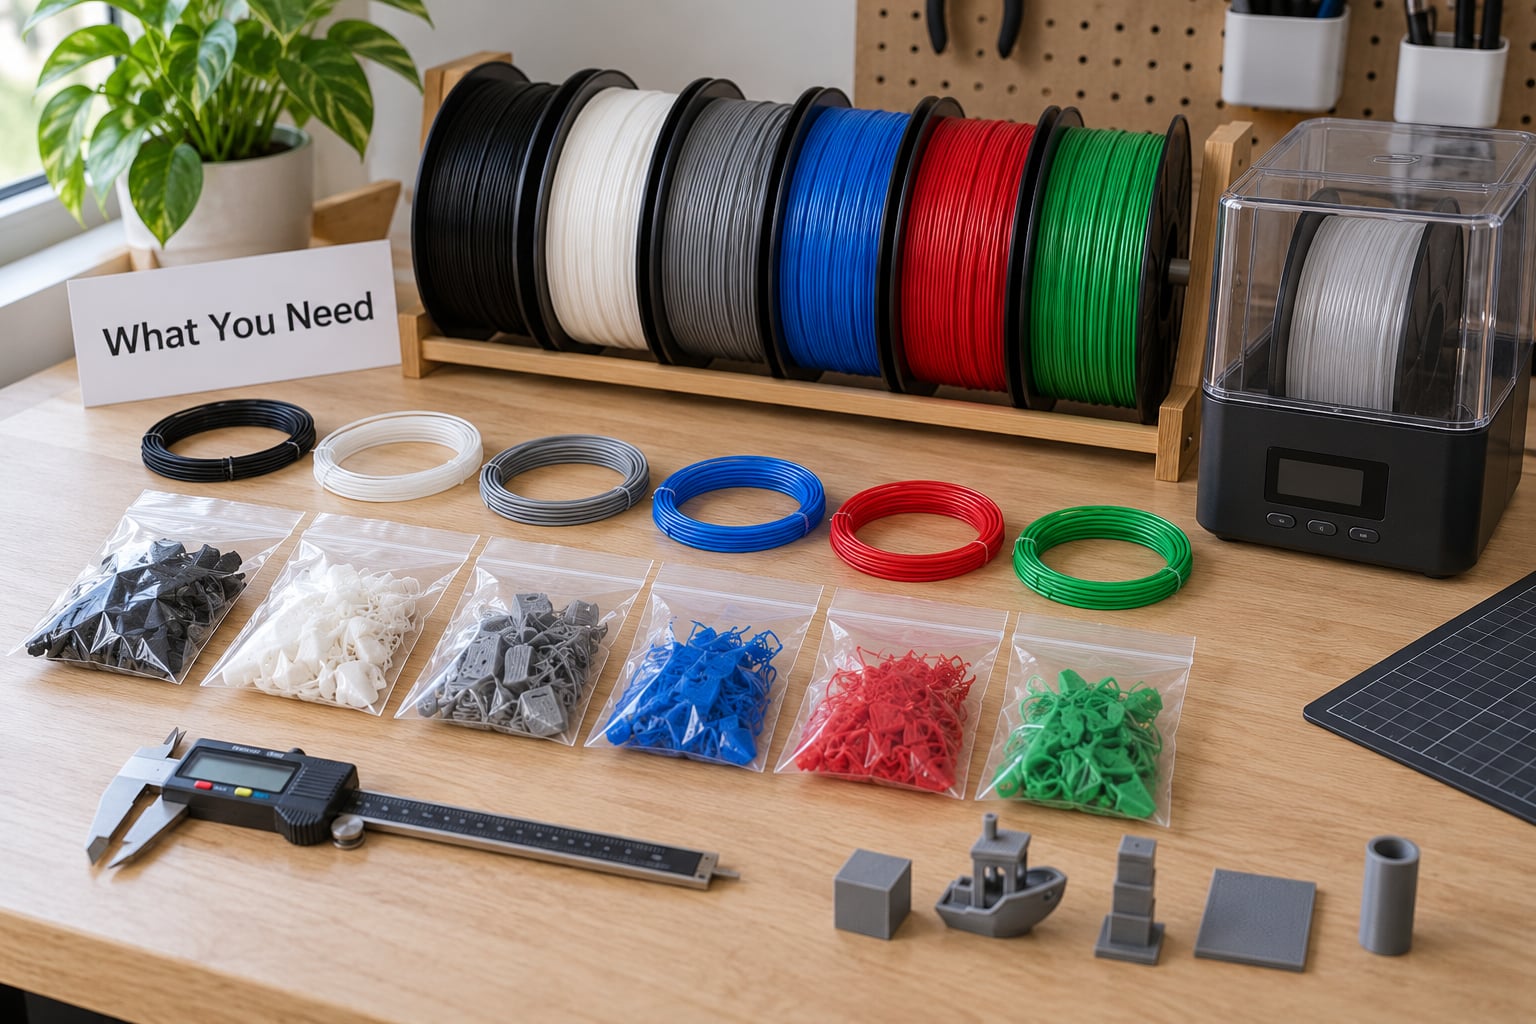
Start with an inventory, not a print job. Most scrap problems turn out to be a mislabelled coil of wet PETG or a 2.85 mm strand that will never fit a 1.75 mm extruder.
For every remnant, note five things: the material (PLA, PETG, ABS, ASA, TPU, nylon), the colour, the diameter, an estimated length, and its condition. Check the diameter with a caliper if you are not certain — nominal filament is 1.75 mm, and multi-material units such as AMS and MMU systems only accept 1.75 mm spools.
Condition matters as much as material. Brittle, snapped, dusty, kinked or tangly strands should be quarantined rather than printed. Filament with visible cracks or a rough, chalky surface has been through too much moisture and will keep failing no matter how carefully you print it.
The tools that earn their keep are unglamorous: a caliper, a filament dryer, scissors or a spool side cutter, a small parts bin for offcuts, and a spool adapter if you plan to re-spool. A cheap welder or heated-block fuser is optional and comes later.
Add one consumable that is easy to forget — desiccant and a sealed bag with a slit for the filament to poke through. A roll that has been loaded straight from the box onto the printer and left there for months is the single most common cause of stringing in scrap filament.
Step-by-Step: How to Use Up Filament Scraps and Short Rolls
The sequence below takes one roll at a time, from the drawer to the bin. Each stage has a check you can actually observe, so you know whether to move on.
1. Sort scraps by material, diameter and condition
Give every strand a polymer label before anything else. PLA, PETG, ABS, ASA, TPU and nylon behave very differently when reheated, and mixing them in a single print is the fastest route to a clogged nozzle and a failed layer.
Group them into bins by polymer, then by colour, then by condition. Shared workshops solve this with labelled bins per material; a shoebox and a marker pen work just as well at home. You will thank yourself in a month.
Check spool fit next: spool width, hub diameter and whether the coil is wound badly enough that it will tangle in the extruder on the second pass. Success looks like a bin where every strand has one material, one known length and a verdict — print it, fuse it, or bin it.
Quarantine anything brittle, contaminated, tangled or rodent-chewed rather than trying to print with it. That is not wasting material; it is preventing a mid-print failure that costs you the whole job.
2. Dry and condition the filament before printing
Dry to the manufacturer’s guidance for that polymer, not to a number you found on a forum. PLA and PETG are usually handled in the range of 45 to 65 C for a few hours; nylon and most other hygroscopic materials sit higher. Follow the spool or filament bag first.
Protect it straight after. Seal the filament in a bag with fresh desiccant, leaving just enough of the strand out to feed your printer’s extruder without opening the seal every time.
Run a small extrusion or flow test before committing real material — a thin wall box or a single-layer test at the intended temperature. Signs that drying helped are easy to spot: steady extrusion without popping, clean layer bonding, fewer bubbles at the spool, and less stringing between features.
If a strand still pops, hisses or bubbles after a full dry, the chain length has degraded. That material has one remaining use, and it is not printing.
3. Print small parts, prototypes and calibration models
Match the project to the length, not the other way around. A 20 g remnant suits clips, hooks and cable organizers; a 50 g remnant suits a set of knobs, adapters, jigs or a small batch of model test pieces.
Compact, low-waste projects that consume material predictably include replacement knobs for your own printer, panel and bracket adapters, drill-depth gauges, glue-up blocks, prototype shells for a bigger part, shop jigs, replacement fan ducts, and small figures you designed yourself.
Calibration models are underrated here because they are sized to nothing. A temperature tower, a flow-rate test or a small retraction test takes a few grams and gives you exactly the settings the rest of the roll needs.
Success check: the first layer sticks without glue stick, corners stay square, and the spool gauge drops by roughly what you estimated. If it does not, fix adhesion before printing a second part.
4. Use scraps for functional and decorative projects
Small quantities suit a specific set of jobs. Colour-code your workshop with planter markers, tool labels and bin dividers in whatever colour happens to be on hand — the shade stops mattering once the part has a purpose.
Then go decorative, where mixed colours are an advantage rather than a problem: desk organizers, phone stands, drawer labels, game pieces, custom stamps, cosplay accessories, miniature scenery and holiday ornaments. One r/BambuLab user reported printing ornaments on a nearly-finished roll through a standard 0.4 mm nozzle without trouble.
Material and layer height decide how small you can go. 0.2 mm layer height on a 0.4 mm nozzle keeps tiny details and text legible; thicker layers are fine for chunky desk items but will blur small labels.
Support-free geometry helps too. Designing flat pieces with 45 degree overhangs means no tree supports and no support material in the bin.
5. Combine colours and change filament strategically
Colour changes get expensive in purge waste, so use them deliberately on short rolls rather than accidentally. Print-by-object features on multi-material printers assign colours per object and cut the purge line down, which is exactly the case where a scrap coil can be the whole filament source for one colour.
Fusing is the other route. Two strands of the same polymer and diameter can be joined into one continuous length using a splicer, heat-shrink tubing with a heat gun, or a heated-block fuser. Same material in different colours works well — mixed polymers do not fuse into anything trustworthy.
Community fuser builds use a PID-controlled heated block, which holds temperature steady while the strands are pressed together. Lighter versions are a welding iron and a flat plate. Test the joint by pulling it hard before loading it; a weak weld snarls in the extruder.
Watch the limits. Transparent, glossy and especially sticky materials such as some TPU grades purge slowly, so multi-colour work with them wastes material faster than it saves it.
6. Finish small rolls with a responsible final project
Estimate what remains before you start. A 100 g mini spool of 1.75 mm PLA is roughly 34 metres of filament, so it will start something substantial and stop short of finishing it — pick a project that ends small and optional.
Set a conservative layer height and modest infill for the last part, and keep the geometry simple so a failure at 90 percent does not ruin the roll. If your printer is a small-format machine, check whether the piece can be removed without crashing the gantry; if not, print something sized to your bed instead.
When part of the roll survives, put it back in a sealed bag with desiccant and write the length and date on it with a marker. Labelled remnant on the spool saves you re-measuring next month.
Then print a multi-object model designed for several short lengths, or hand the remainder to the next project that can absorb it. The goal is a series of useful small prints, not one heroic big print.
Common Mistakes and How to Fix Them
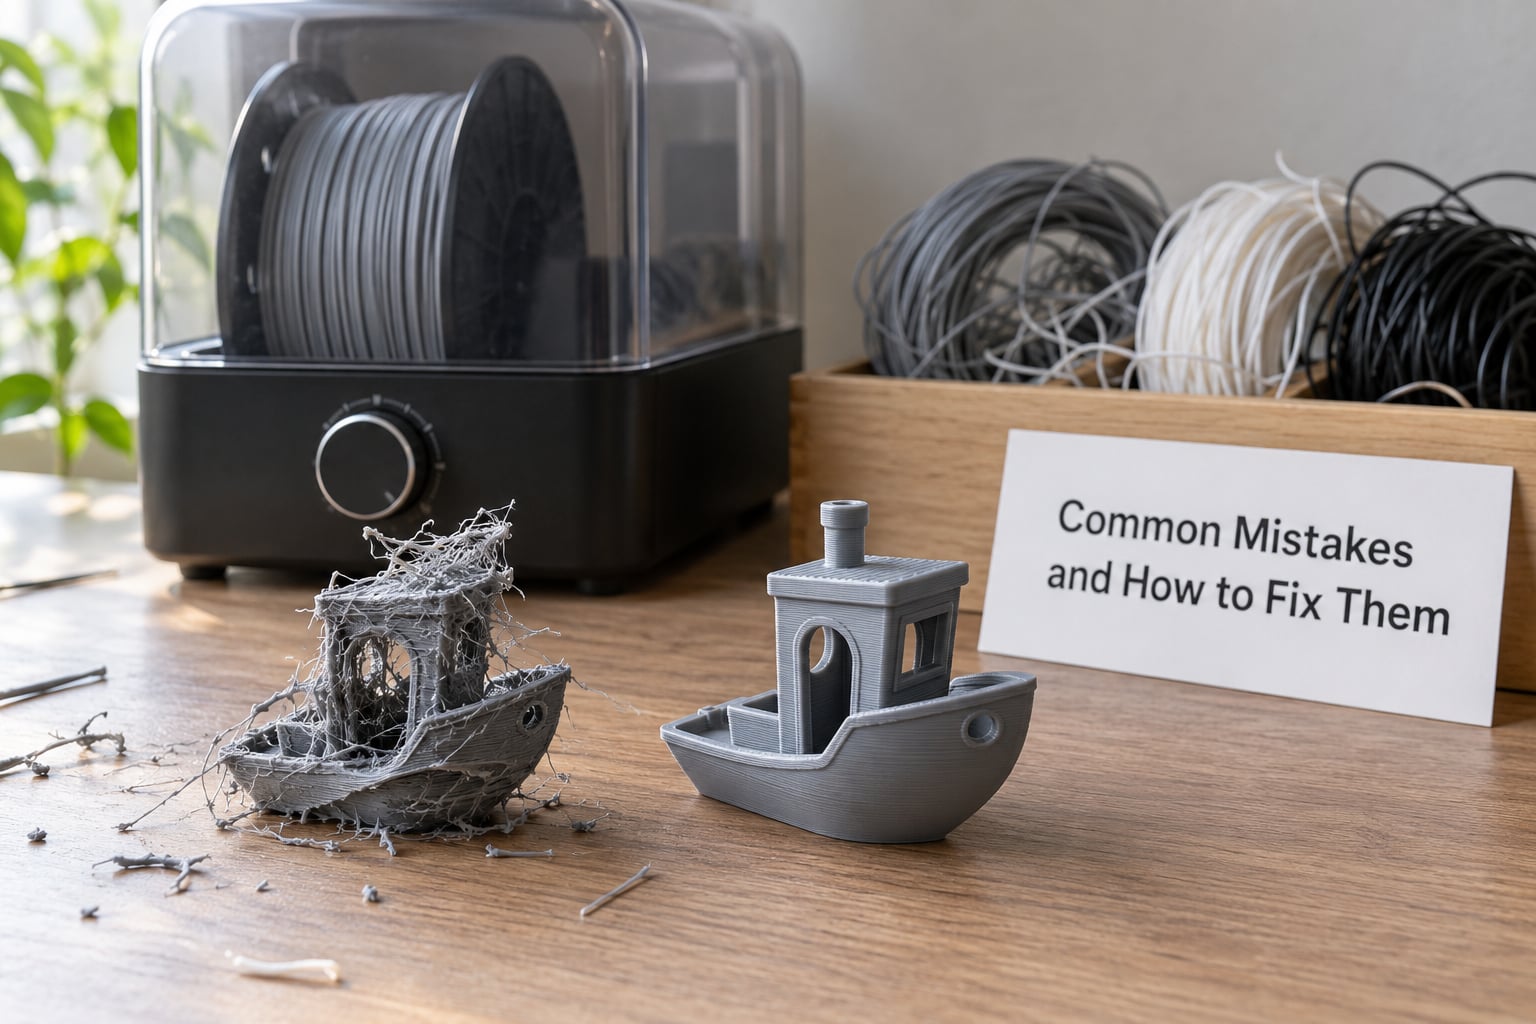
Tangled or brittle strands. Curls and kinks happen when the filament is wound too loosely or has been coiled for a long time. Rewind onto a fresh spool by hand at low tension, or cut into 20 cm lengths and feed them individually. Brittle, cracked filament is moisture-damaged past recovery; compost or bin it rather than printing with it.
Stringing and popping on the first layer of a fresh coil. Dry the filament, keep it sealed between prints, and slow the first layer down while you work out the temperature. Persistent popping after a full dry points to degraded material rather than a temperature problem.
Poor first-layer adhesion. Clean the bed, level it, and check that the plate is still textured. More than half of failed prints trace back to bed adhesion, which makes this the highest-leverage fix in the whole guide — a bad layer costs you the spool, not just the print.
Inconsistent colour within one part. Usually a wet filament, but it can also be a strand that has been spliced mid-layer. Print a thin single-layer colour test and check it in good light before committing to a larger item.
Nozzle clogs after switching materials. Do not print a mixed-material purge. Soak the nozzle at temperature, purge with the new filament alone, and run a flow test. Colourful stringing from a previous colour bleeding into a new print means the previous material was not hot enough at purge.
Starting a project bigger than the remaining filament. Measure the roll against your slicer’s estimate first. If the estimate exceeds what you have, either scale the model down, raise the layer height, or pick a different job — printing 90 percent of a part and losing it to runout wastes the entire roll.
Purging an AMS or MMU into the bin. Colour changes generate a lot of purge waste, and the only fix is to model for it: print-by-object, manual colour swaps on a single-material printer, or a purge tower printed as something useful rather than as scrap.
Reduce scrap at the source next time. Run a proper first-layer calibration and flow test when you open a roll, avoid support material where geometry allows, print support-free angles, size layers for the filament you have, and retire colours through small jobs rather than hoarding them.
Some waste cannot be printed: heavily mixed-colour purge blobs, contaminated strands and failed prints full of support. Shredded PLA is accepted by some community programmes and specialist mail-in recyclers, while ABS and ASA need proper sorting — check your local rules before putting anything in curbside recycling.
Frequently Asked Questions
Can you print with a short roll of less than 1 metre of filament?
Yes, and you will do it more often than you expect. Pause the print, swap in the next coil and resume; the only thing to watch is that the new strand is the same material and diameter. Loading a small batch of coils into a filament dryer keeps them dry and in one place until you need them.
Can you combine two pieces of leftover filament into one spool?
Yes, as long as both pieces are the same polymer and diameter. Join them with a splicer, heat-shrink tubing and a heat gun, or a heated-block fuser, then test the joint by pulling it hard before loading. Same material in different colours fuses fine; mixed polymers will not bond properly and can block the extruder.
How should I store partially used filament and scraps?
Sealed bags with fresh desiccant, kept away from sunlight and heat, work for almost everything. A filament dryer is better still because it stores and dries at the same time, which is why people use one to hold dozens of short coils. Label each bag with the material, colour and approximate length so you know what you have.
Which materials are easiest to use up as scraps?
PLA is the easiest: low temperatures, low warp, and forgiving of a slightly imperfect first layer. PETG works well once dried and gives tougher parts. ABS and ASA need an enclosure and ventilation because of the fumes. TPU is flexible and sticky, so it clogs faster and is best kept to single-material prints.
Can filament scraps be recycled at home or through a programme?
At home, small amounts can be melted in a dedicated toaster oven and cast into silicone molds — never a kitchen oven, and never anything you intend to eat or drink from. Larger quantities can be shredded, dried and re-extruded, which is a real project rather than a shortcut. Otherwise, look for mail-in filament recycling and makerspace or school drop-off points.
Conclusion
Start with one roll: identify the material and condition, measure the length, dry it if it has been open, and run a small test print to confirm the temperature and flow.
Then choose a project sized to what you actually have rather than to what you wish you had. Learning how to use up filament scraps and short rolls is less about clever tricks than about making a series of small, useful prints instead of saving material for one big print you never start.