Glow in the dark filament printing tips that people actually use come down to four things: dry the spool, print hotter than the label says, print slower, and give the part solid walls. Get those four right and even a first-time print comes off the bed bright and clean.
Miss them and you get the usual symptoms — a dim part that fades in two minutes, grit in the nozzle, stringing everywhere, and a print that separates halfway up. Most of that comes down to the pigment, which behaves differently from plain PLA on nearly every setting.
This guide walks through the whole workflow, from preparing the filament to charging the finished part under the right light. Settings given here are starting points, because every spool and every printer drifts a little; the verification step after each one tells you when to adjust.
Table of Contents
- 1What You Need
- 2Key Settings At A Glance
- 3Step-by-Step
- 41. Dry the Filament Before Printing
- 52. Set the Correct Nozzle Temperature
- 63. Tune the Bed Temperature and Adhesion
- 74. Use Sensible Speed and Cooling Settings
- 85. Load and Configure the Slicer
- 96. Inspect the First Layers
- 107. Cure, Cool, and Reveal the Glow
- 11Common Glow Filament Printing Mistakes and How to Fix Them
- 12Frequently Asked Questions
- 13What are the glow in the dark filament printing tips that matter most?
- 14What temperature do I print glow in the dark PLA at?
- 15How long should I dry glow filament, and does it matter?
- 16How long does a glow in the dark print glow for?
- 17Can I use glow filament with an AMS or AMS Lite?
- 18Conclusion
What You Need
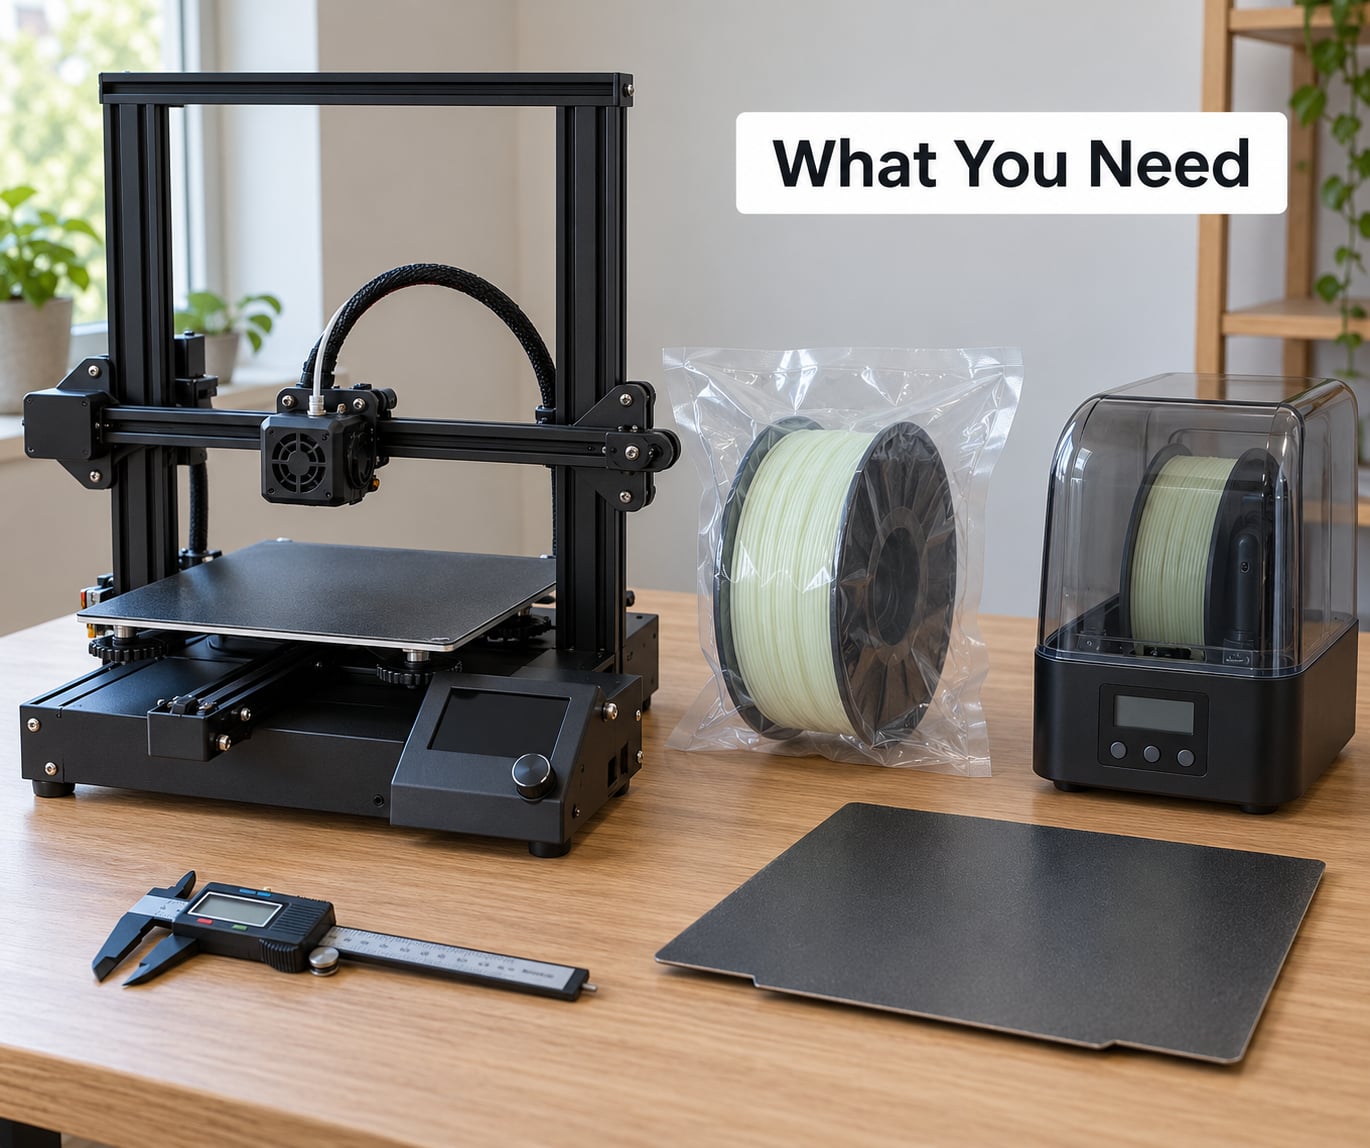
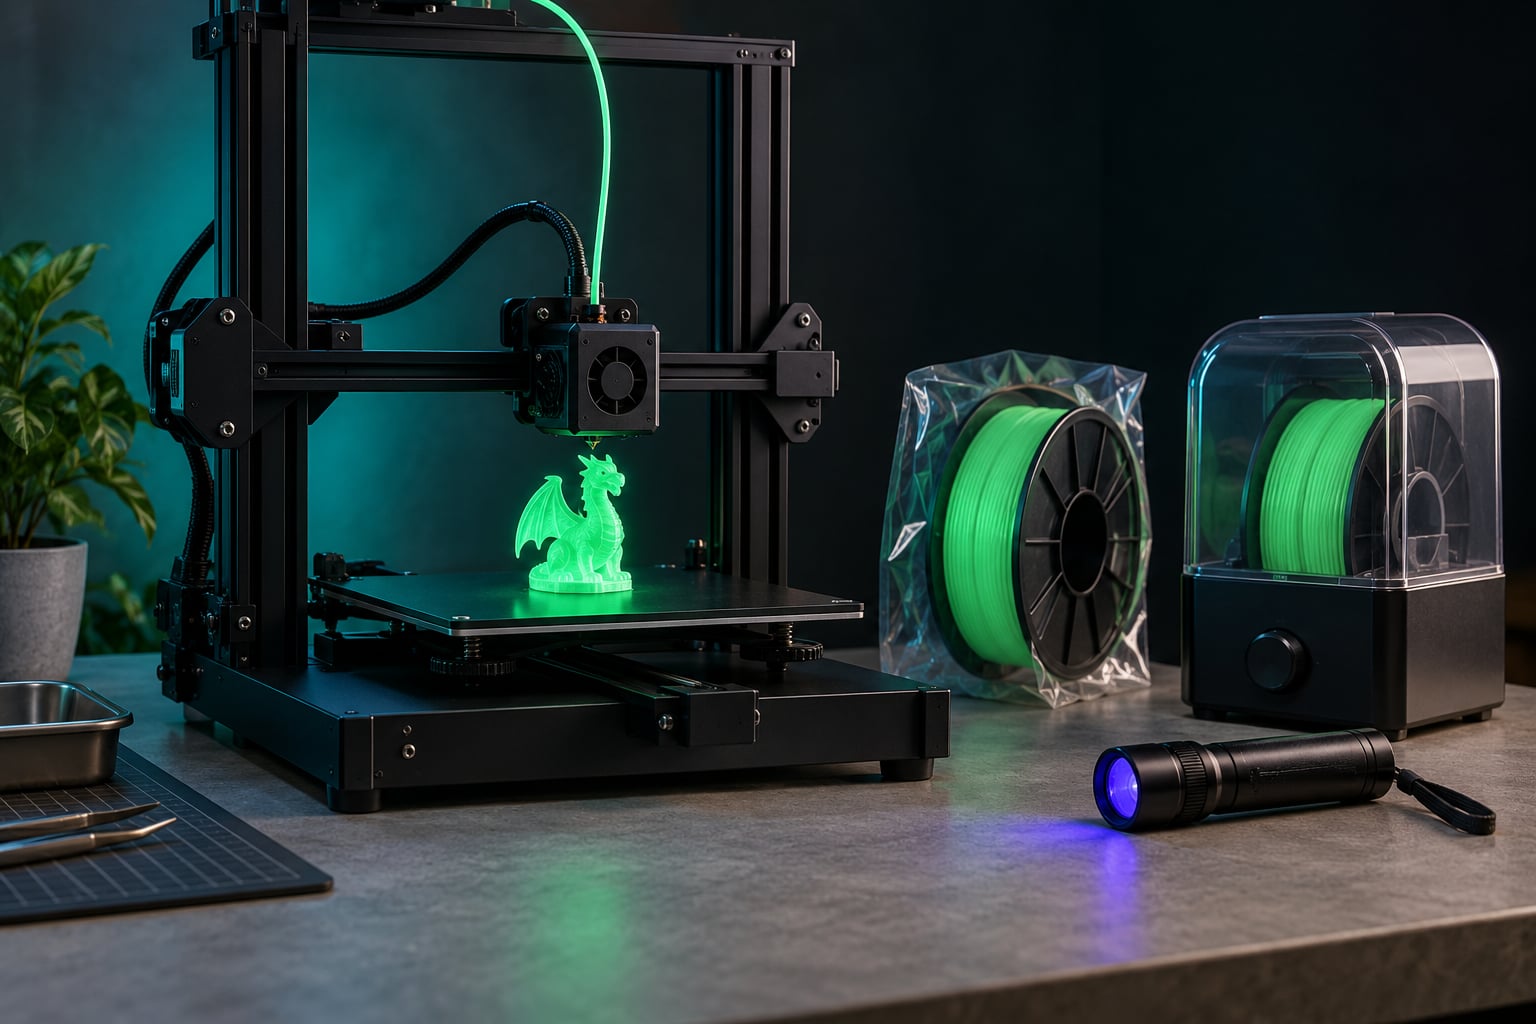
You need very little beyond a working desktop printer. A spool of glow filament, a way to dry it, and a nozzle that can survive the abrasive filler do most of the work.
- Glow-in-the-dark filament. PLA is the easiest to print; PETG versions are tougher but need higher temperatures. Check the spool for a stated temperature range and treat it as the floor, not the target.
- A hardened nozzle. Brass wears quickly under this material. Hardened steel, bimetallic or ruby nozzles all handle it.
- A filament dryer or oven. Moisture is the most common cause of popping and rough surfaces.
- A digital caliper or a measure tool. You are confirming the filament is genuinely 1.75 mm, which is a cheap check that prevents a lot of wasted prints.
- Cleaning supplies. Isopropyl alcohol, a brass brush, a soft nozzle needle and a clean glass or PEI plate.
- A charging light. A 395 nm UV flashlight is the cheapest option, or a bright lamp you can bring close to the part.
Before anything else, confirm the filament diameter with the caliper. Filament that measures 1.78 mm feeds unevenly, under-extrudes and pushes your retract settings off, and the problem looks like a temperature issue when it is not.
Key Settings At A Glance
These are the numbers most makers land on. Adjust from here rather than starting blind.
| Setting | Starting value | Why |
|---|---|---|
| Nozzle temperature | 210-220 °C, then raise in 5 °C steps | The pigment needs heat to flow smoothly around the particles |
| Bed temperature | 55-65 °C | PLA with filler likes a warmer bed for first-layer grip |
| Print speed | 30-50 mm/s outer, 20-30 mm/s inner | Slower protects the nozzle and bonds layers |
| Layer height | 0.2 mm at a 0.4 mm nozzle | Finer layers hold detail around the grit |
| Walls | 3-4 wall loops | More solid plastic means more phosphor and a brighter read |
| Infill | 20-40 % | Thick parts glow unevenly if the core is hollow |
| Retraction | Reduce by 1-2 mm from your PLA value | Retracting harder grinds the extruder gear |
| Drying | 45-55 °C for 4-6 hours | Dry filament extrudes clean and layers bond better |
| Nozzle type | Hardened steel or bimetallic | Brass wears visibly within a spool or two |
Step-by-Step
1. Dry the Filament Before Printing
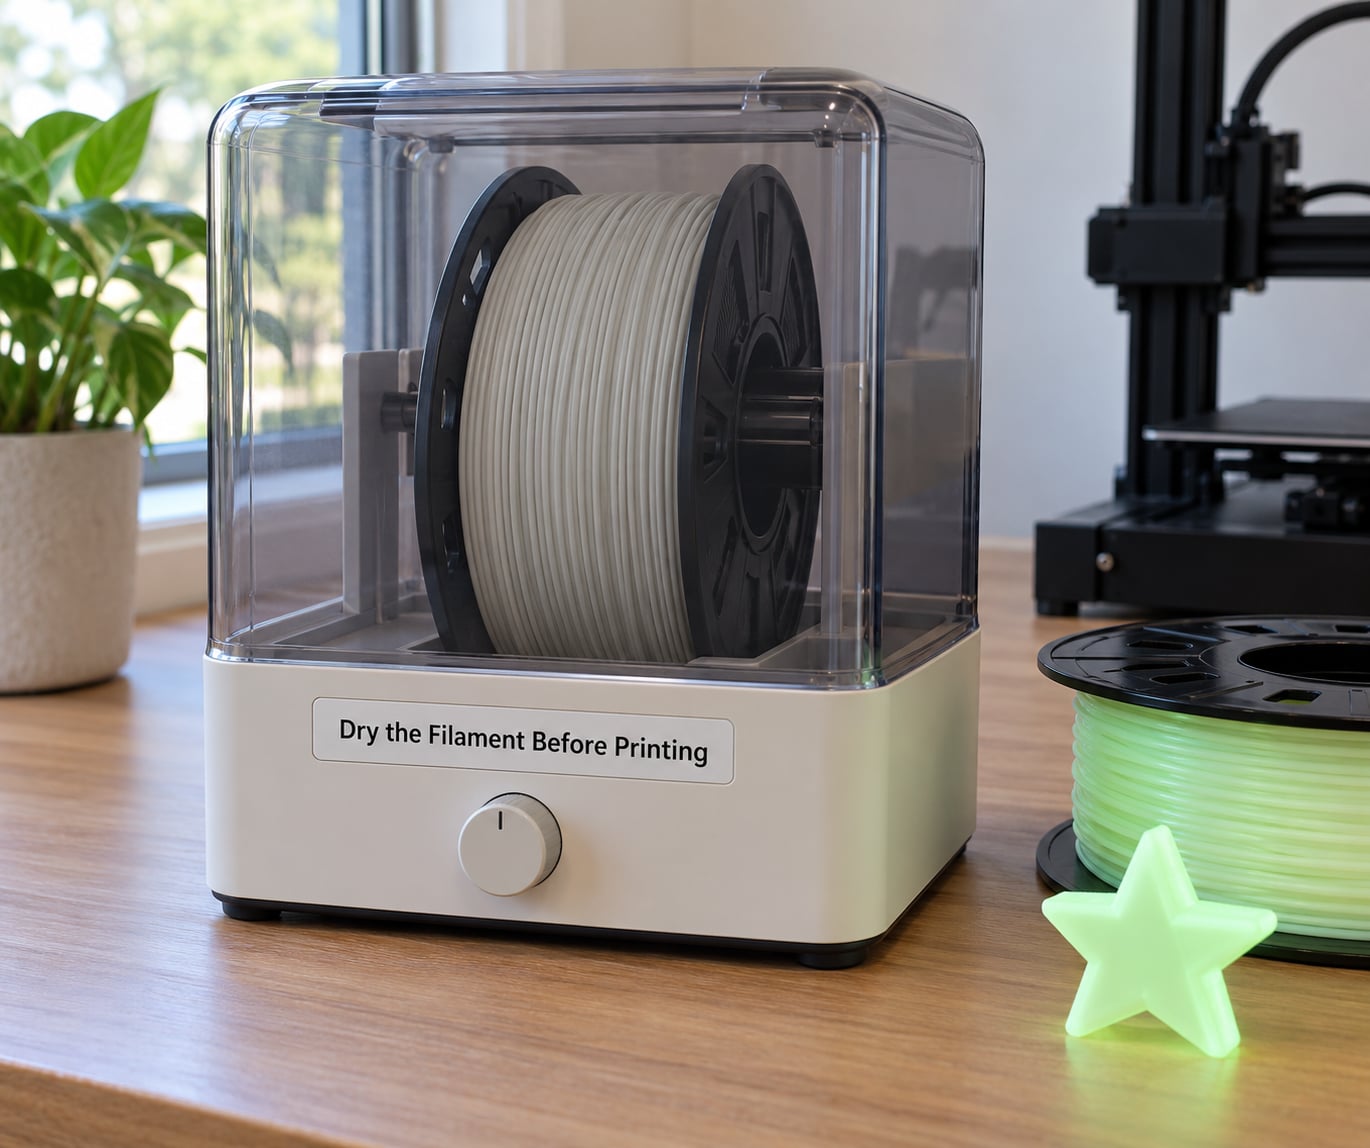
Moisture wrecks glow filament more than plain PLA because the particles absorb water into the gaps between them. Wet filament pops, bubbles, roughens the surface and separates layers, and all four symptoms get blamed on temperature.
Dry at 45-55 °C for 4-6 hours in a filament dryer, following the manufacturer’s guidance for your specific spool. Then seal it: a dry box with fresh desiccant or a vacuum bag keeps it usable between prints. Run the dry time only when the filament has actually been open, since repeated heating embrittles some PLA bases.
How you know it worked: the first metres should lay down flat with a faint popping noise, not crackle loudly and spit. If it crackles, dry it longer.
2. Set the Correct Nozzle Temperature
Start at the manufacturer’s PLA recommendation, usually 200-210 °C, and treat it as a starting point. Glow filament with 15-30 % pigment by weight typically wants 10-20 °C more than plain PLA, landing in the 210-230 °C range.
Go up in 5 °C steps rather than jumping to the maximum. Too low and the extruded line looks rough, under-extrudes and clogs as particles pack at the tip. Too high and you get heavy stringing, softened detail and a hotter nozzle that wears faster.
Verification: print a single-wall line at three temperatures on the same plate. Whichever line comes out smoothest with no gaps is your number, even if it is above what the spool says.
3. Tune the Bed Temperature and Adhesion
Glow PLA sticks worse than standard PLA, and corners lifting off the plate is the most common failure people report. Begin at 55-65 °C, which is higher than you would use for plain PLA, and keep the first layer slow.
Clean the plate with isopropyl alcohol before every print and pick your surface deliberately. Smooth PEI gives the easiest release, textured PEI grips better for tall parts, and glass gives the prettiest finish but the weakest grip. When adhesion still fails, a thin layer of glue stick or a purpose-made adhesion spray usually solves it.
Verification: if you cannot shift the part with your fingernail after the first three layers, contact is good. Add a brim if the footprint is small or the corners overhang.
4. Use Sensible Speed and Cooling Settings
Drop outer wall speed to 30-50 mm/s and keep inner and perimeters between 20 and 40 mm/s. Slow printing buys two things: the layer has longer to bond to the one below, and the abrasive particles move past the nozzle tip gently instead of grinding it.
Part cooling usually works best at full fan once a few layers are down, so the part solidifies quickly and holds its shape. If you see layer separation, the previous layer was still warm and soft when the next one landed. Slow the print or reduce cooling slightly on short layers.
Verification: a finished part should not flex at the seam or show a visible crack when you flex it gently by hand.
5. Load and Configure the Slicer
Set the filament type to PLA, set the diameter to match your caliper reading, and leave the flow or extrusion multiplier at 100 % until the first layers tell you otherwise. Then raise wall loops to 3 or 4, set infill to 20-40 %, and set layer height to about half your nozzle diameter.
Lower retraction by 1-2 mm from your normal PLA value and keep the retraction speed moderate. This abrasive filler grinds extruder gears fast, and over-retrying jams is the main way people wear them out.
On feeding systems, treat enclosed multi-gear feeders with caution. Many AMS and AMS Lite units skip or grind on this material because the strands are stiffer than normal filament. Mount the spool externally on a printed holder and feed it directly to the extruder if you notice skipping.
Verification: slice a small test object first — a simple ring or a 20 mm cube — before committing to a large model.
6. Inspect the First Layers
Watch the first two millimetres rather than walking away. Gaps between lines mean under-extrusion, so raise temperature 5 °C or check that the filament is dry. Blobs and heavy stringing mean the temperature is too high, so drop 5 °C.
Lines that look rough and gritty, or a nozzle tip that has picked up a visible crust, point to particle build-up rather than a setting problem. Stop, clean the tip and continue.
A first layer that peels at the corners means the bed is too cool or the surface is dirty. Bumping the bed 5 °C and cleaning the plate fixes most of these within one reprint.
7. Cure, Cool, and Reveal the Glow
Let the part cool on the bed for a few minutes before removing it. Pulling a warm glow print off can bend it, because the phosphor-filled plastic is softer while hot.
Most glow filament needs no curing or washing. If you want a tougher surface you can run a light post-process, but skip anything hot enough to distort the part.
Charge it by holding a 395 nm UV light close to the surface for 30-60 seconds, or leave it in direct sunlight for several minutes. Cool white LEDs work but take far longer to charge, and warm household bulbs barely charge a part at all because their light sits at the long-wavelength end where the phosphor absorbs very little.
Verification: take the part into a dark room right after charging. Brightness is at its peak immediately and decays from there, so judge it in the first minute, not after five.
Common Glow Filament Printing Mistakes and How to Fix Them
Almost every failure with this material maps to a small number of causes. Find the symptom, work across the row, change one thing, and reprint.
| Symptom | Likely cause | Fix |
|---|---|---|
| Stringing and oozing | Too hot, or retraction too short | Drop 5 °C, then raise retraction in 0.2 mm steps |
| Layer separation | Cooling too high or print too fast | Reduce part cooling on short layers, slow to 30-40 mm/s |
| Cracking or popping | Wet filament | Dry at 45-55 °C for 4-6 hours and store sealed |
| Dull or uneven glow | Too few walls, thin infill, undercharged | Raise walls to 4, infill to 30 %, recharge under UV |
| Nozzle build-up and clogs | Phosphor particles packing at the tip | Clean with a brass brush and needle before each print |
| Weak bed adhesion | Cold bed, dirty plate, high bed temp warping | Clean the plate, drop bed 5 °C, add glue stick |
| Gritty or rough surface | Under-extrusion or particle build-up | Raise temperature 5 °C, clean the nozzle |
| Extruder skipping or grinding | Retraction too aggressive, stiff strands | Cut retraction by 1-2 mm, use an external spool holder |
| Nozzle wearing flat quickly | Brass nozzle plus abrasive filler | Fit a hardened steel, bimetallic or ruby nozzle |
On nozzle maintenance, phosphor particles pack around the tip and heat set into a crust. A brass brush and a needle filament cleaner take about a minute, and doing it before every print keeps flow consistent.
If your brass nozzle already has a widened or flat tip, no temperature change will fix it. Replace it with a hardened one; it is a one-off cost and removes the single most common cause of failed glow prints.
For the brightest glow, remember the pigment only shows where there is solid plastic. Thick walls, moderate infill and a white or light base layer all make a visible difference. A thin, hollow shell glows on the surface and goes dark in the middle.
Safety point worth repeating: modern glow filament uses phosphorescent mineral compounds, and the pigment is non-toxic and non-radioactive. Ventilate normally and print with the enclosure closed as you would any plastic.
Frequently Asked Questions
What are the glow in the dark filament printing tips that matter most?
Dry the filament, run the nozzle 10-20 degrees hotter than the spool label, slow the print to 30-50 mm/s, and use 3-4 wall loops. Those four cover most of what separates a bright, clean part from a dim, stringy one. Everything else is refinement.
What temperature do I print glow in the dark PLA at?
Most spools are labelled in the 200-210 degree range and under-extrude there. Start at the label value, then raise it 5 degrees at a time until you land in the 210-230 degree range. A short temperature tower across three or four values tells you the right number for your specific spool and nozzle.
How long should I dry glow filament, and does it matter?
Four to six hours at 45-55 degrees in a filament dryer is the common range, and some brands allow higher. Dry filament lays down flat and layers bond properly; wet filament pops, bubbles, splits layers and gives the surface a gritty texture. Store it sealed with desiccant between prints.
How long does a glow in the dark print glow for?
A fully charged part is brightest in the first few minutes, then fades over hours, with a faint residual glow lasting longer depending on the pigment and the wall thickness. Charging under a 395 nm UV light for 30-60 seconds gives the strongest peak. In a dark room, expect minutes of bright glow rather than all night.
Can I use glow filament with an AMS or AMS Lite?
Often not without trouble. The strands are stiffer than normal filament and many enclosed multi-gear feeders skip, grind or jam on them. Mounting the spool externally on a printed holder and feeding it straight to the extruder avoids the feeder gears entirely. Test with a short print before trusting it with a long job.
Conclusion
Start with the four things that change the most: dry the filament, print 10-20 °C above the label, slow to 30-50 mm/s, and set 3-4 wall loops with around 30 % infill. Confirm the filament diameter is a true 1.75 mm and fit a hardened nozzle before you start.
Then validate with a small test print rather than a long job, and clean the nozzle tip before each run. Those steps are what turn glow in the dark filament printing tips from guesswork into repeatable results.