To print with wood filled filament you need three things right: a hardened steel nozzle at 0.6 mm or larger, a nozzle temperature in the 200-230 °C range, and slower speeds than plain PLA. Once those are set, the rest is ordinary PLA practice with a few extra precautions around drying and cooling.
Wood-filled filament is a composite. The PLA base melts at the nozzle, but the wood dust or fibre inside it does not. Those particles stay solid and act like fine sandpaper on the inside of your nozzle, which is the single reason so many first attempts end in a clog.
It is also why wood prints are not for load-bearing parts. The surface sands and stains like timber, but the material flexes where plain PLA would snap.
Table of Contents
- 1What You Need
- 2Which nozzle you actually need
- 3Step-by-Step: How to Print With Wood-Filled Filament
- 4Step 1: Check your printer and nozzle
- 5Step 2: Dry the wood-filled filament
- 6Step 3: Set the printer temperature
- 7Step 4: Choose a starting layer height and speed
- 8Step 5: Slice the model for wood texture
- 9Step 6: Start the print and inspect the result
- 10Step 7: Common mistakes and quick fixes
- 11Beginner tips that save filament
- 12Frequently Asked Questions
- 13What temperature should I use to print with wood-filled filament?
- 14Do I need a special nozzle to print with wood-filled filament?
- 15Can I print wood-filled filament on any PLA 3D printer?
- 16How should I dry wood-filled filament before printing?
- 17Is wood-filled filament stronger or weaker than ordinary PLA?
- 18Can I sand and paint wood-filled 3D prints?
- 19Conclusion
What You Need
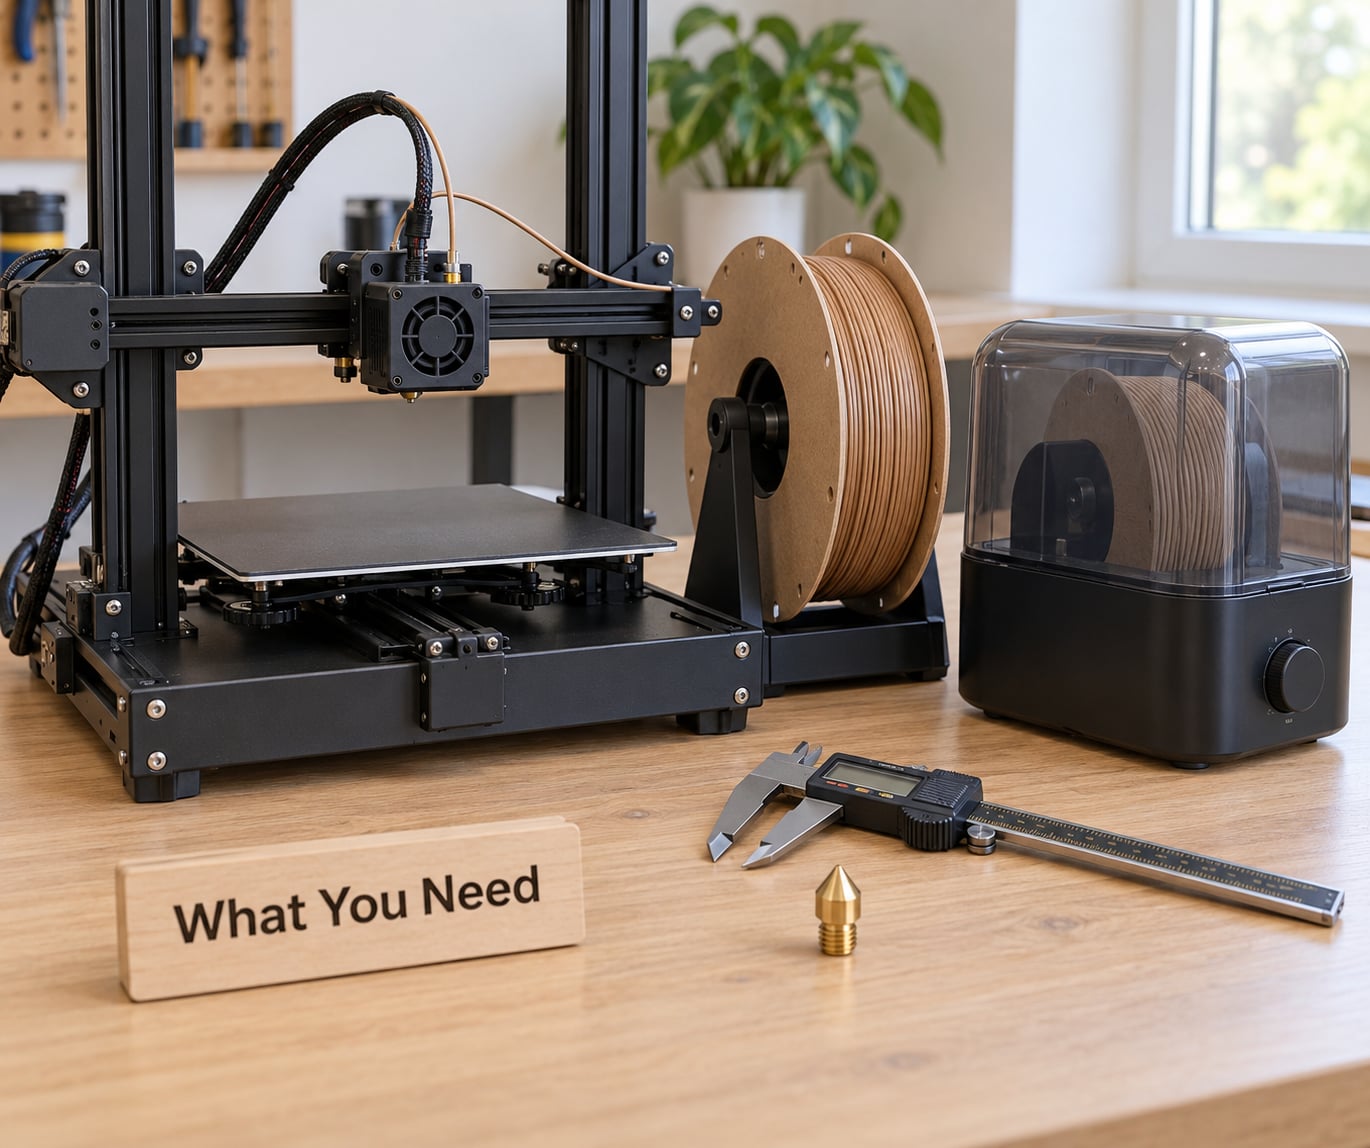
You do not need a new printer. You need a printer that accepts 1.75 mm filament, takes a replaceable nozzle of 0.6 mm or larger, and can hold a steady bed temperature of 55 to 60 °C.
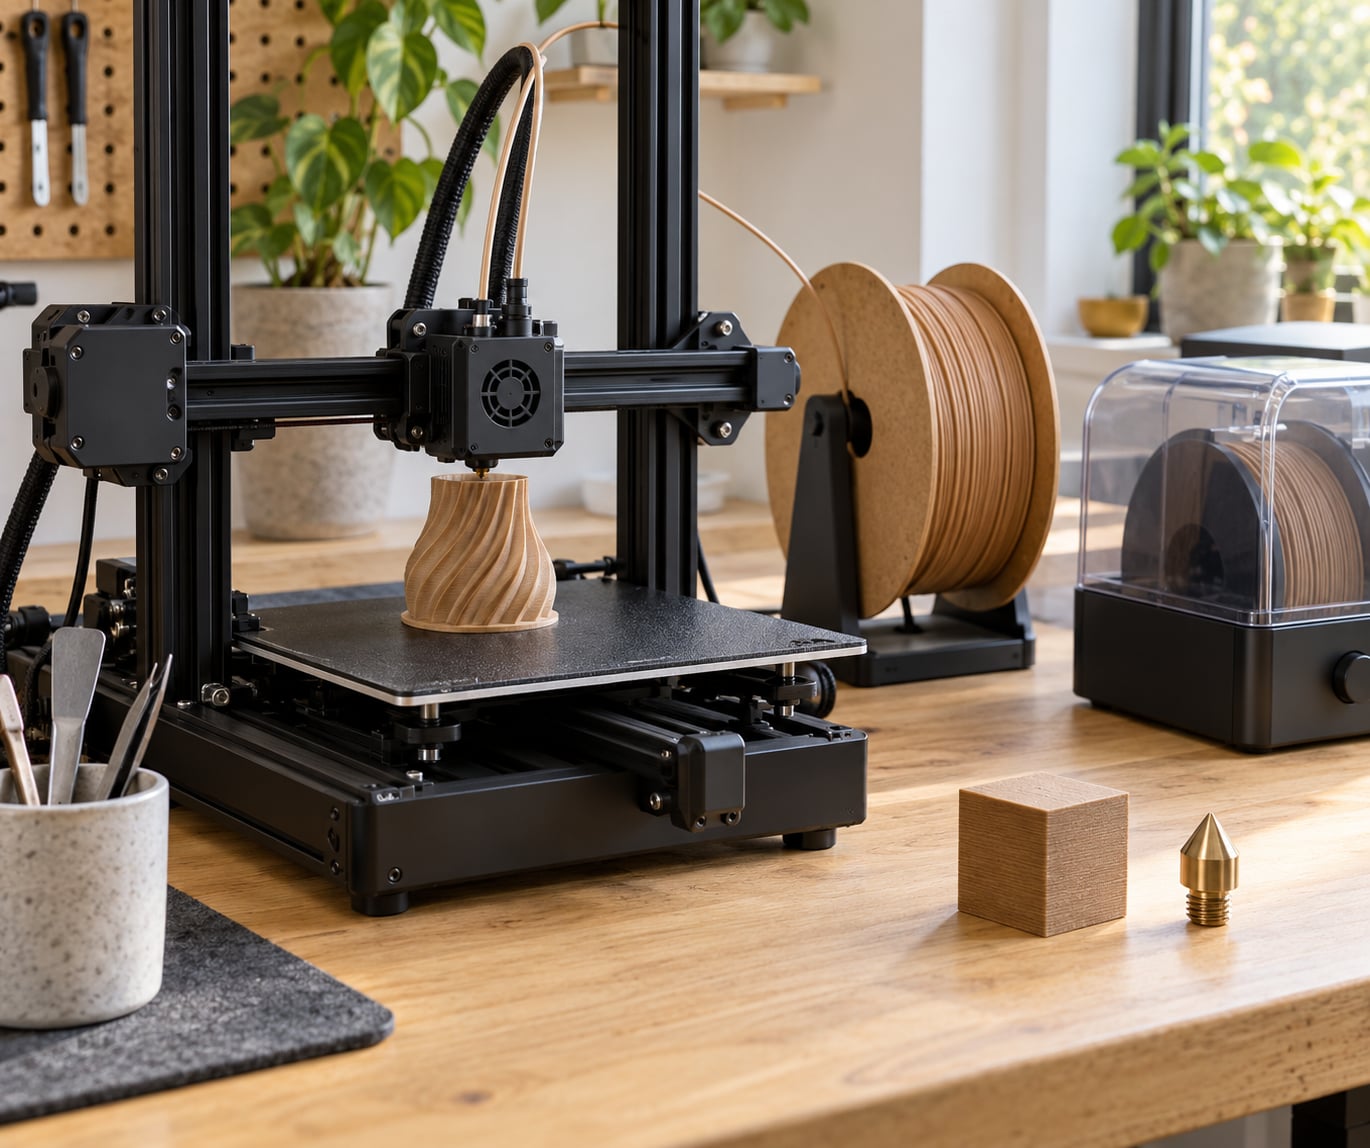
- A hardened steel, ruby or tungsten carbide nozzle at 0.6 mm. A 0.8 mm is better still if your printer accepts one.
- A filament dryer, or an oven with a thermometer for controlled low-temperature drying.
- Digital calipers for checking filament diameter and measuring layer height.
- A brighter nozzle so you can see the tip during a clog hunt.
- Sandpaper, wood stain and a clear matte sealer if you want the wood-grain finish.
- Your slicer with the printer profile already calibrated for flow and retraction.
Check the filament manufacturer’s own temperature range before you start, and follow it over anything written here. Brands vary more than people expect.
Which nozzle you actually need
| Nozzle | Clog risk with wood fill | Wear life | Verdict |
|---|---|---|---|
| Brass 0.4 mm | Very high | Hours | Avoid |
| Brass 0.6 mm | Moderate | Short | Short term only |
| Hardened steel 0.4 mm | High | Short | Workable but frustrating |
| Hardened steel 0.6 mm | Low | Good | The standard choice |
| Hardened steel 0.8 mm | Very low | Very good | Best for large parts |
If you are stuck with a 0.4 mm brass nozzle, you can get away with a short print by raising the nozzle temperature slightly and slowing down. Expect to clear clogs, and plan on replacing the nozzle soon after.
Step-by-Step: How to Print With Wood-Filled Filament
Step 1: Check your printer and nozzle
Remove the old nozzle and inspect the tip under good light. Look at the opening from the side and from directly below: if the hole is oval, ragged, or larger on one side, the tip is worn and it will clog.
Fit the hardened nozzle while the hotend is cool, tighten it evenly, and re-run any first-layer or flow calibration your printer requires. Then print a single straight extrusion line and inspect it for gaps, waviness or under-extrusion. That line tells you more than any test cube.
Step 2: Dry the wood-filled filament
Wood fill absorbs moisture faster than plain PLA because the fibre is porous. Wet filament pops at the nozzle, strings badly, prints rough, and eventually jams.
Dry spools at 40 to 45 °C for 4 to 6 hours. Cool the spool fully before opening the chamber, then store it sealed in a bag with a desiccant pack. If the filament has gone stiff and cracks when you bend it, drying often brings it back; if it crumbles into flakes, that spool is done.
Step 3: Set the printer temperature
Start in the middle of the manufacturer’s range, around 215 °C for the nozzle, with the bed at 55 to 60 °C. Higher temperatures smear the wood particles together and darken the surface, which is sometimes the look you want.
Lower the temperature if you see popping, stringing or a rough surface. Raise it if layers split apart under light finger pressure. Part-cooling at 100% from layer two onward helps every layer bond.
Step 4: Choose a starting layer height and speed
Begin at 0.2 mm layer height and 40 to 50 mm/s for outer walls. Slower printing gives the wood fibres time to fuse and keeps the matte surface consistent.
Good first layers are flat, slightly darker than the top surface, and hold to the bed when you push the part. A visible ridge between lines or a corner lifting off means the bed is too cool or the first-layer flow is too low.
Step 5: Slice the model for wood texture
Wood-filled filament is abrasive, so keep the filament path short and clean. Reduce retraction roughly by half compared with plain PLA, around 0.4 to 0.6 mm on a direct drive extruder. Set infill to 15 to 20% for decorative parts, and use tree supports where the model allows it so support scars are small and easy to sand.
Use 2 to 3 perimeters and disable ironing. The visible line pattern is the wood grain, and it disappears at thin layer heights, so a 0.16 mm layer makes the part look smoother and less grainy.
If you have never worked out how to print with wood filled filament before, start from a PLA profile you already trust and change only the material temperatures first. That way, when a layer shifts, you know the cause is the filament and not your slicer.
Step 6: Start the print and inspect the result
Watch the first layer and the first three millimetres of the second. The nozzle should push material, not skip, and there should be no clicking or grinding from the extruder gear.
If you need to stop, pause the print rather than killing power mid-layer. A clean stop leaves the hotend full of wood residue, so purge with plain PLA at 200 °C immediately afterwards.
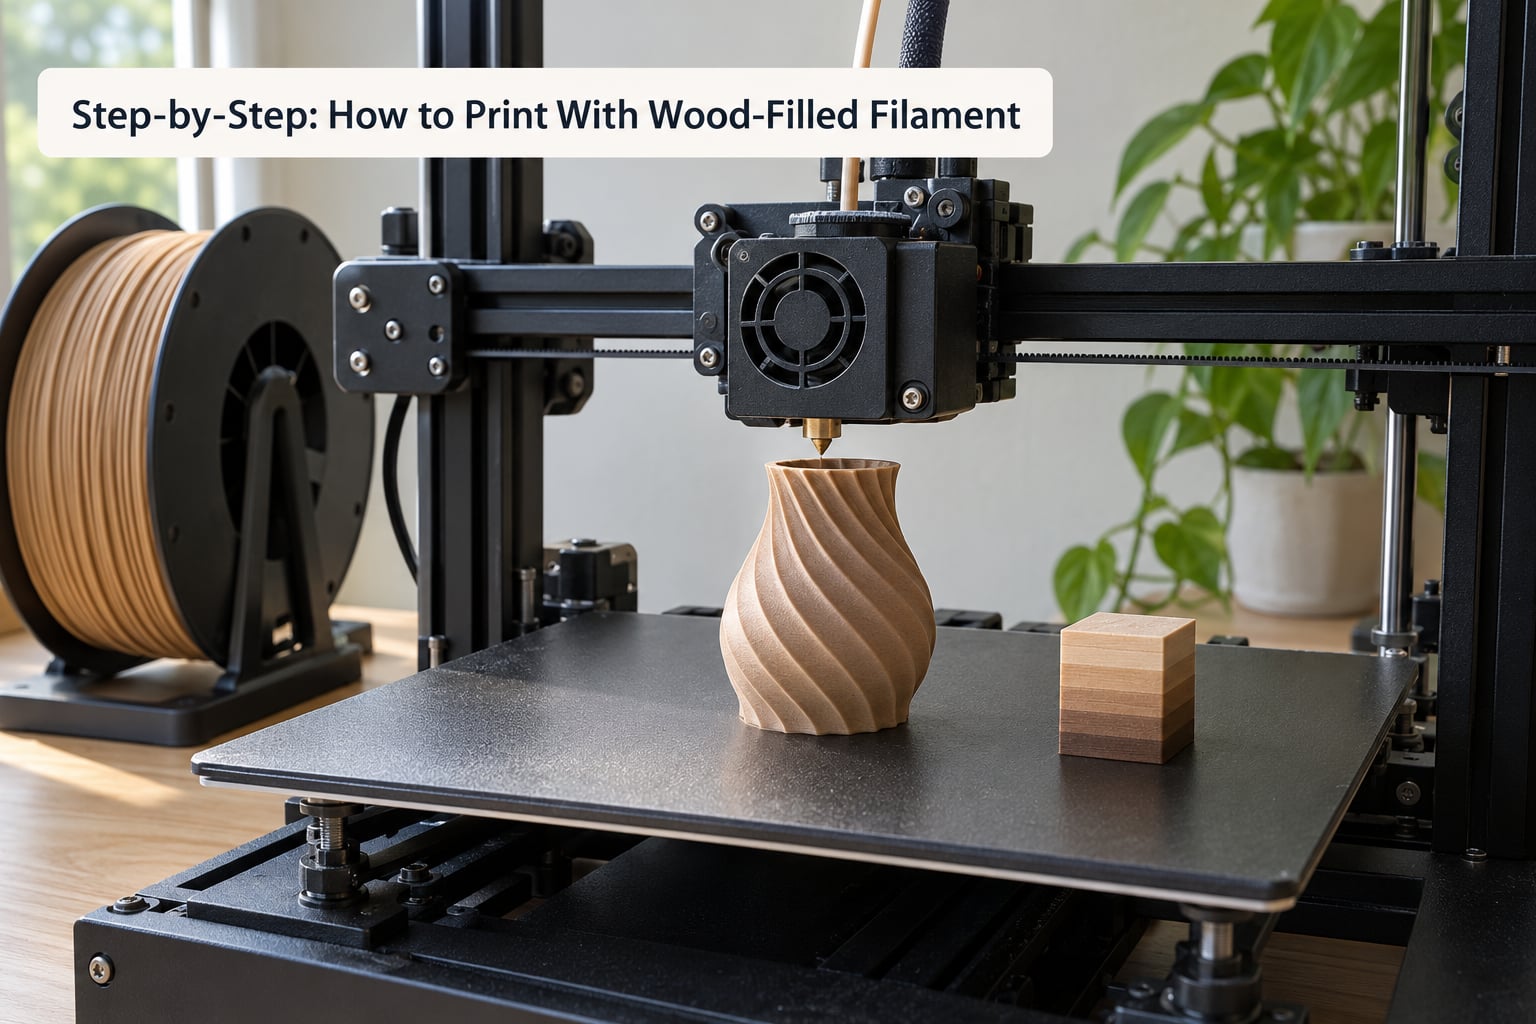
A finished part looks matte with a faint fibrous texture, feels slightly rough before sanding, and has clean edges that can be worked with sandpaper or a file.
Step 7: Common mistakes and quick fixes
- Repeated clogs. The nozzle is too small, too worn, or the filament is damp. Upgrade the nozzle first, dry second.
- Popping and bubbles at the nozzle. Moisture. Dry longer and seal the spool between prints.
- Stringy threads everywhere. Reduce retraction, drop the nozzle temperature by 5 °C, and raise the fan to 100%.
- The part lifts off the bed. Raise the bed temperature, clean the sheet with isopropyl alcohol, and level the bed.
- Layers split apart. Print slower, raise the nozzle temperature, and confirm the part-cooling fan is actually running.
- Rough, pitted surface. Lower layer height and make sure the extrusion width is not wider than the nozzle allows.
- Surface cracking over time. Wood PLA becomes more brittle with age and humidity. Keep spools sealed and dry.
Beginner tips that save filament
Print a small test cube or a single-layer name plate before committing to a big model. Purge with plain PLA after every wood print, keep the hotend fan working properly, and consider a 4 mm inner diameter Bowden tube if your feeder struggles with 3.0 to 3.1 mm filament that has swollen with moisture.
For a deliberate wood-grain look, vary the nozzle temperature across the model. Hotter regions darken and scorch slightly, cooler regions stay pale, and the contrast reads as grain. Editing the temperature tool in your slicer is enough.
Frequently Asked Questions
What temperature should I use to print with wood-filled filament?
Most wood-filled PLA is printed between 200 and 230 degrees Celsius, and starting near 215 degrees gives you room to adjust. Higher temperatures darken the surface and bond layers more tightly, while lower temperatures keep the grain lighter but risk rough extrusion and layer splitting. Always follow the range printed by the filament manufacturer, since each brand blends its own wood fibre.
Do I need a special nozzle to print with wood-filled filament?
Yes. Anyone learning how to print with wood filled filament should fit a hardened steel, ruby or tungsten carbide nozzle of 0.6 mm or larger, because the wood particles abrade brass quickly. A brass 0.4 mm nozzle usually clogs within a few hours and wears out fast. A 0.6 mm hardened nozzle prints reliably, and 0.8 mm is even safer for large parts.
Can I print wood-filled filament on any PLA 3D printer?
Most FDM printers that accept standard 1.75 mm filament will run it, provided the hotend reaches the required temperature and the bed holds 55 to 60 degrees Celsius. The real limits are the nozzle diameter and the extruder path. Wood filament is wider than plain PLA and pushes a harder load through the feeder, so direct drive printers with a well-tuned extruder feed it more reliably.
How should I dry wood-filled filament before printing?
Dry the spool at 40 to 45 degrees Celsius for four to six hours in a filament dryer, then let it cool fully inside the chamber before opening it. Store it sealed in a bag with desiccant. Wet wood filament pops, strings and jams the hotend, and the porous fibre absorbs moisture faster than plain PLA does.
Is wood-filled filament stronger or weaker than ordinary PLA?
It is weaker. The wood fibre replaces part of the PLA matrix, so flexural strength drops noticeably and the part bends slightly where plain PLA would snap. Wood-filled filament also becomes more brittle as it ages and absorbs humidity. It suits decorative models, cosplay props and miniatures, but it is a poor choice for load-bearing parts or tool handles.
Can I sand and paint wood-filled 3D prints?
Yes, and this is where the material really earns its place. The surface is slightly porous and matte, so it sands smoothly through 120, 220 and 400 grit with a sanding block or rotary tool. Water-based wood stain absorbs unevenly for an authentic grain look, then a clear matte sealer from a spray can or brush protects the finish.
Conclusion
To print with wood filled filament well, fit a clean hardened steel nozzle at 0.6 mm or larger, dry the spool at 40 to 45 °C for several hours, and print a small test object at 215 °C, 40 to 50 mm/s and half your usual retraction. When something goes wrong, change one setting at a time and keep a second plain PLA spool on hand for purging the hotend.