Teaching 3D modeling to beginners comes down to one repeatable lesson pattern: demonstrate a small editable object, have learners rebuild it without clicking along, then let them change one thing and inspect the result. Most beginners are not defeated by the software. They get stuck on concept order and on the habit of copying tutorials instead of making decisions.
Is 3D modeling hard to learn? Not at the start. The early part of 3D modeling is geometry everyone already knows, boxes, cylinders, and holes, plus one habit that trips people up, which is putting a number on every measurement instead of eyeballing it. Give beginners a single 60 to 90 minute lesson and one printable outcome, and you will get finished work out of them the same day.
This plan is written for anyone responsible for teaching the skill to people who have never done it: K-12 teachers, homeschoolers, library and makerspace leaders, corporate trainers, and parents. It works for one student at a kitchen table and for a class of thirty sharing a single printer.
Across r/3Dmodeling and r/blender, the most repeated beginner complaint is not confusion about tools. It is tutorial hell, the ability to follow a video for an hour and still not be able to model your own idea. A lesson built around rebuilding one object defeats that in a single session, which is why the sequence below matters more than the software you pick.
Table of Contents
- 1What You Need
- 2One software, chosen by goal
- 3Reference objects and measuring tools
- 4A computer, and optional printer access
- 5Step-by-Step: How to Teach 3D Modeling to Beginners
- 61. Set a Clear Beginner Goal
- 72. Teach Core Shapes, Sketches, and Dimensions
- 83. Demonstrate a Small Editable Model
- 94. Let Beginners Rebuild the Exercise
- 105. Add a Small Design Challenge
- 116. Check, Export, and Prepare for Printing
- 12Common Mistakes
- 13Frequently Asked Questions
- 14What is the best way to teach 3D modeling to beginners?
- 15What software should beginners use to learn 3D modeling?
- 16How long does a beginner 3D modeling lesson take?
- 17Do beginners need a 3D printer to learn 3D modeling?
- 18Should I teach CAD or sculpting to beginners?
- 19Conclusion
What You Need
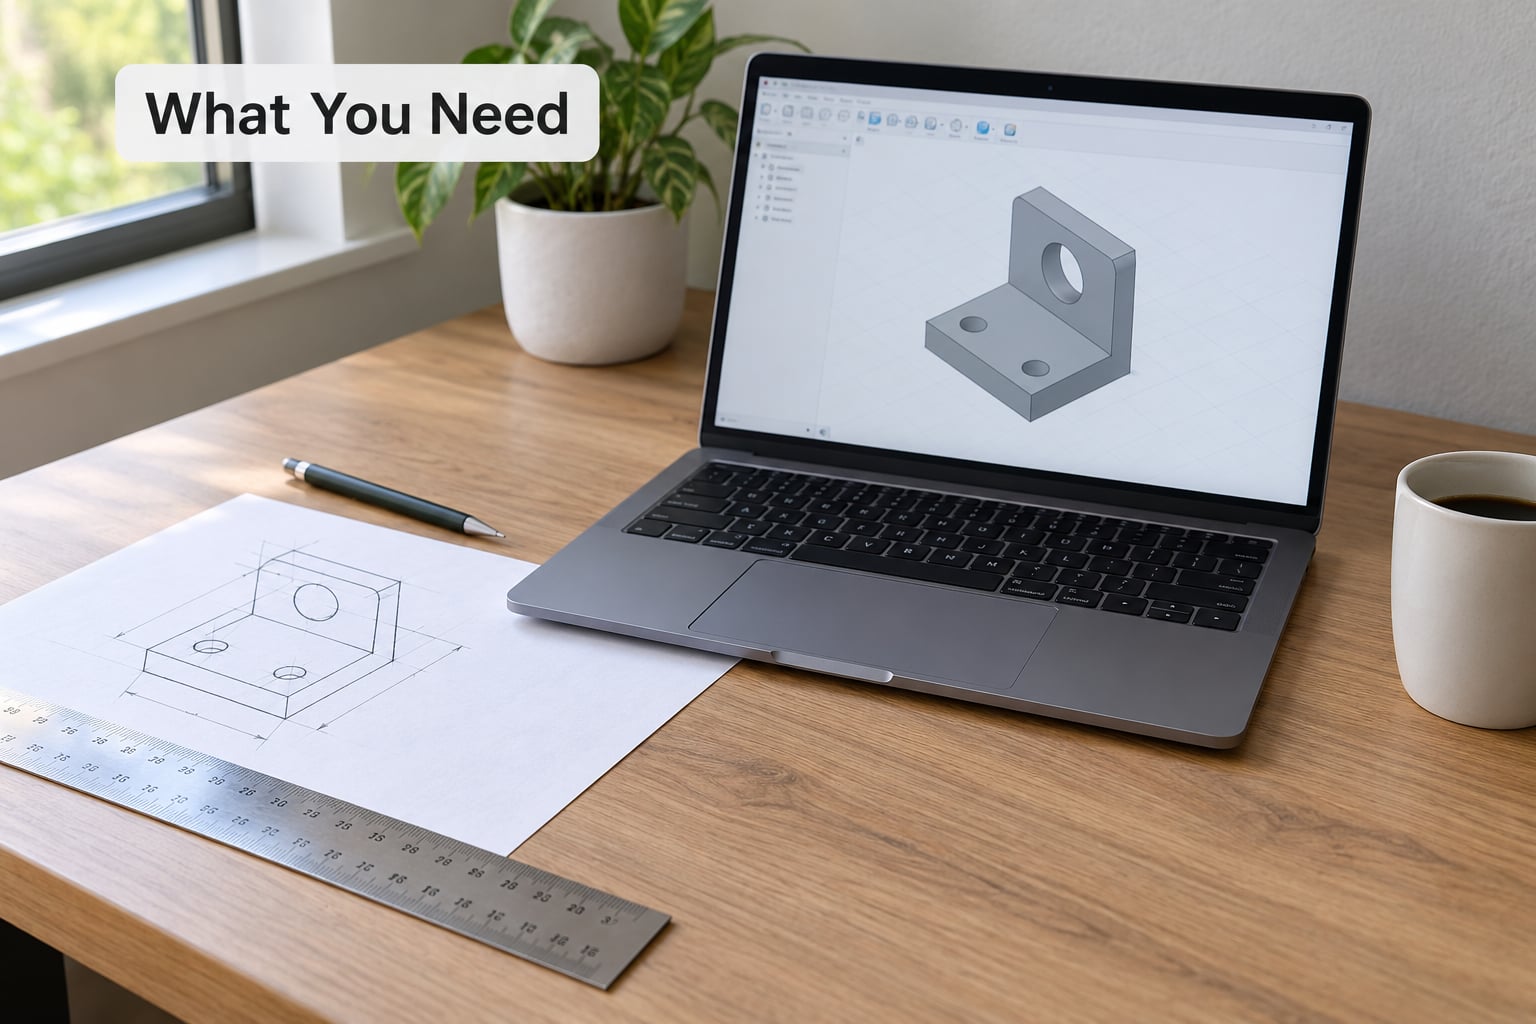
You need very little: one piece of software, a way to measure things, a handful of real objects to copy, and either a printer or a slicer preview. Beginners do not benefit from a long tool list. Every extra program on the desktop is another reason a student can blame the lesson on setup instead of on geometry.
One software, chosen by goal
Use a single tool for the first three lessons. Tinkercad runs in the browser with no install and no license management, which is why educators on r/tinkercad treat it as a legitimate K-12 and introductory college option rather than a toy. It also removes the need to understand meshes and topology up front, since a model is just solid shapes joined together.
Fusion 360 fits older beginners and any student heading toward product design or engineering, since it teaches parametric modeling where features are edited by changing numbers rather than dragging. Blender is the right choice when the goal is sculpting, animation, or game assets, and it is free and open source. The trade-off is real: commenters describe it as a Swiss army knife with a steep ramp, and plenty of beginners open it, watch hours of tutorials, and conclude they are bad at modeling. OpenSCAD suits learners who already think in code, because the model is a written program rather than something you click together.
| Software | Cost | Learning curve | Best fit |
|---|---|---|---|
| Tinkercad | Free, browser-based | Low | Ages 8 and up, first lessons, mixed ability |
| Fusion 360 | Free for students and educators | Medium | High school and adult learners, product design, engineering |
| Blender | Free, open source | Steep | Sculpting, animation, game assets, older teens and adults |
| OpenSCAD | Free, open source | Medium, text-based | Programming-minded learners, math and geometry focus |
Reference objects and measuring tools
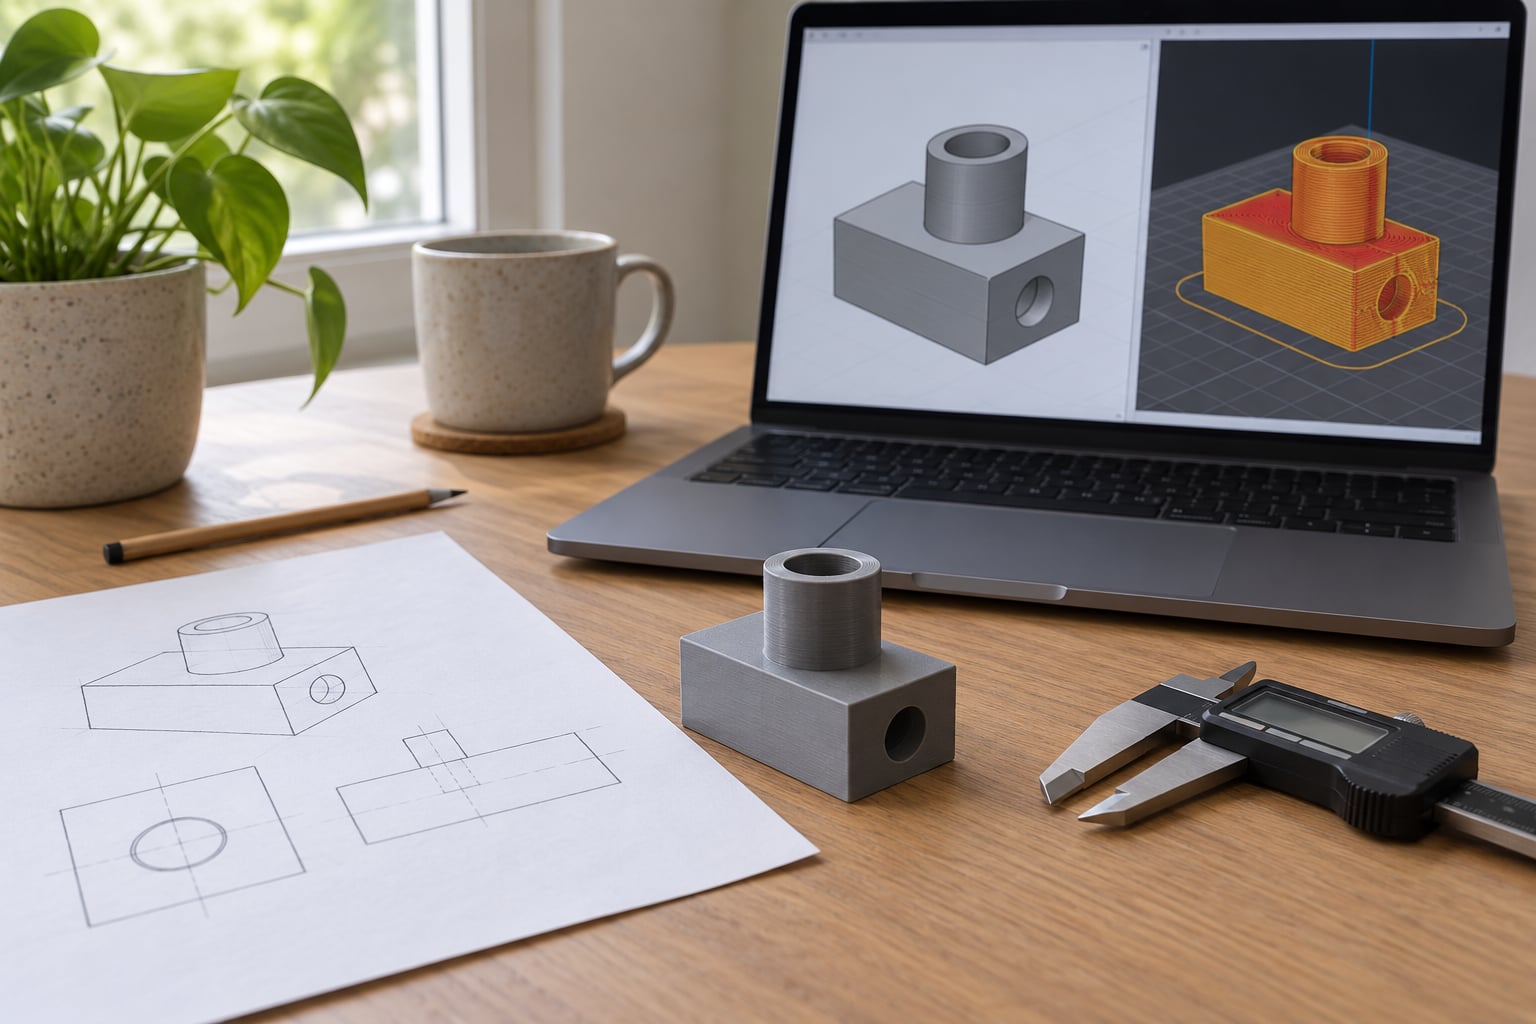
Pick five objects that are pure geometry: a mug, a phone stand, a box lid, a hinge plate, a name tag. Print or find their real measurements with a ruler or calipers and write them down. Every one of these teaches a concept beginners need anyway, such as wall thickness, tolerances, and why a hole that fits a bolt on screen may not fit on the printer.
A computer, and optional printer access
Any modern laptop or Chromebook that runs a current browser will handle Tinkercad or Fusion 360. A dedicated graphics card is not required for CAD work, which matters when you are buying for a school lab.
A printer is optional. Without one, learners still export an STL file and open it in a slicer such as Cura or PrusaSlicer to inspect the preview, layer lines included. That preview is a real feedback loop, and it teaches orientation and wall thickness without tying up printing time. If your room does have a printer, ration it: one print per student at the end of the lesson, no debugging during class.
Two small logistics habits save an entire period. Set a file naming convention on day one, something like name_project_v1, and keep a shared folder so nobody loses work. Reopening last week’s broken file is a fast way to lose a beginner who was finally making progress.
Step-by-Step: How to Teach 3D Modeling to Beginners
The sequence runs in this order: set one goal, teach the core geometry operations, demonstrate a small editable model, let learners rebuild it independently, add one design change, then check and export. Each stage feeds the next, and none of them can be skipped without the later stages breaking down.
You will know the lesson worked when a beginner can rebuild the model from a sketch they drew themselves, explain why the feature order matters, and change one dimension without breaking the geometry. That is a higher bar than producing a file that looks right, and it is the bar that separates students who clicked through a tutorial from students who learned modeling.
1. Set a Clear Beginner Goal
Give the class one achievable outcome: model a small object and export it as a printable file. Do not promise to cover CAD features, or a full Blender session, or a finished character. The goal belongs on the board in one sentence and it should be finished within the lesson.
Spend about ten minutes on terminology. A beginner needs only a handful of words to start: object, body or group, sketch, dimension, feature. Ten minutes of shared vocabulary prevents the twenty minutes of confusion that follows when an instructor uses ten different words for a box.
2. Teach Core Shapes, Sketches, and Dimensions
Teach in a fixed order and explain the reason for that order: primitives first, then sketches, then constraints, then dimensions, then alignment. Each operation answers a problem the previous one created. A primitive gives you a starting volume, a sketch gives you a shape, a constraint stops the shape from drifting, and a dimension fixes its size.
Define extrusion the first time it appears, as pulling a face outward to give a flat sketch depth. Define a boolean operation as combining two shapes or subtracting one from another. Those two ideas, plus a number on every measurement, cover most of what a first printable object needs.
Then make them watch the dimension. Eyeballing a length is the habit that produces models that look right on screen and come out of the printer wrong. Beginners consistently report that switching from dragging to typing exact values is the change that makes modeling feel like engineering instead of drawing.
3. Demonstrate a Small Editable Model
Model one simple object yourself, on the projector, with the class talking you through it. Name your software and its current interface out loud, since the menus a student sees on their screen must match the ones you are clicking. In Autodesk Fusion 360 the current sequence runs through Create, Bodies, Extrude, and Fillet. In Tinkercad the equivalent ideas are Shape, Hole, Group, and the align tools. In Blender they are add a cube, enter Edit Mode, inset or extrude a face, then bevel an edge.
Say the equivalents as you go. Students will move software later, and knowing that Fillet in one program is Bevel in another is the difference between a confident move and a dead end.
Keep the demonstration to ten or fifteen minutes and think out loud while you work, especially the parts that feel obvious. Narrating why you picked a particular feature order is the most valuable ten minutes of the lesson, because that reasoning is exactly what a beginner cannot see in a finished file.
4. Let Beginners Rebuild the Exercise
Close the file. Hand out the reference dimensions, not the step-by-step clicks. This is the moment the lesson either works or dissolves back into tutorial hell, and having a beginner rebuild the model from a sketch and a list of numbers, rather than by following your mouse, is the intervention.
Allow twenty to thirty minutes. Walk the room and answer geometry questions, not click questions. When a student asks where a button is, ask them what they are trying to make true about the object.
At the end, compare the results. Look at the feature order first, then the dimensions, then the overall shape. Two models that look identical but were built in a different order teach a different lesson, and that difference is usually where the misunderstanding is hiding.
5. Add a Small Design Challenge
Now change one variable. Give a short brief, such as resize it to fit a specific object, or add a feature that makes it do a job, like a lip on the mug or a hole in the phone stand. One brief, one variable, fifteen to twenty minutes.
Require clean geometry to survive the change: named features, no stray floating shapes, and no lost dimensions. A beginner who breaks the model while changing it has learned something more valuable than one whose first attempt worked perfectly, as long as they can find and repair the feature that broke.
If nobody breaks anything, you taught too little. Make the brief harder next time.
6. Check, Export, and Prepare for Printing
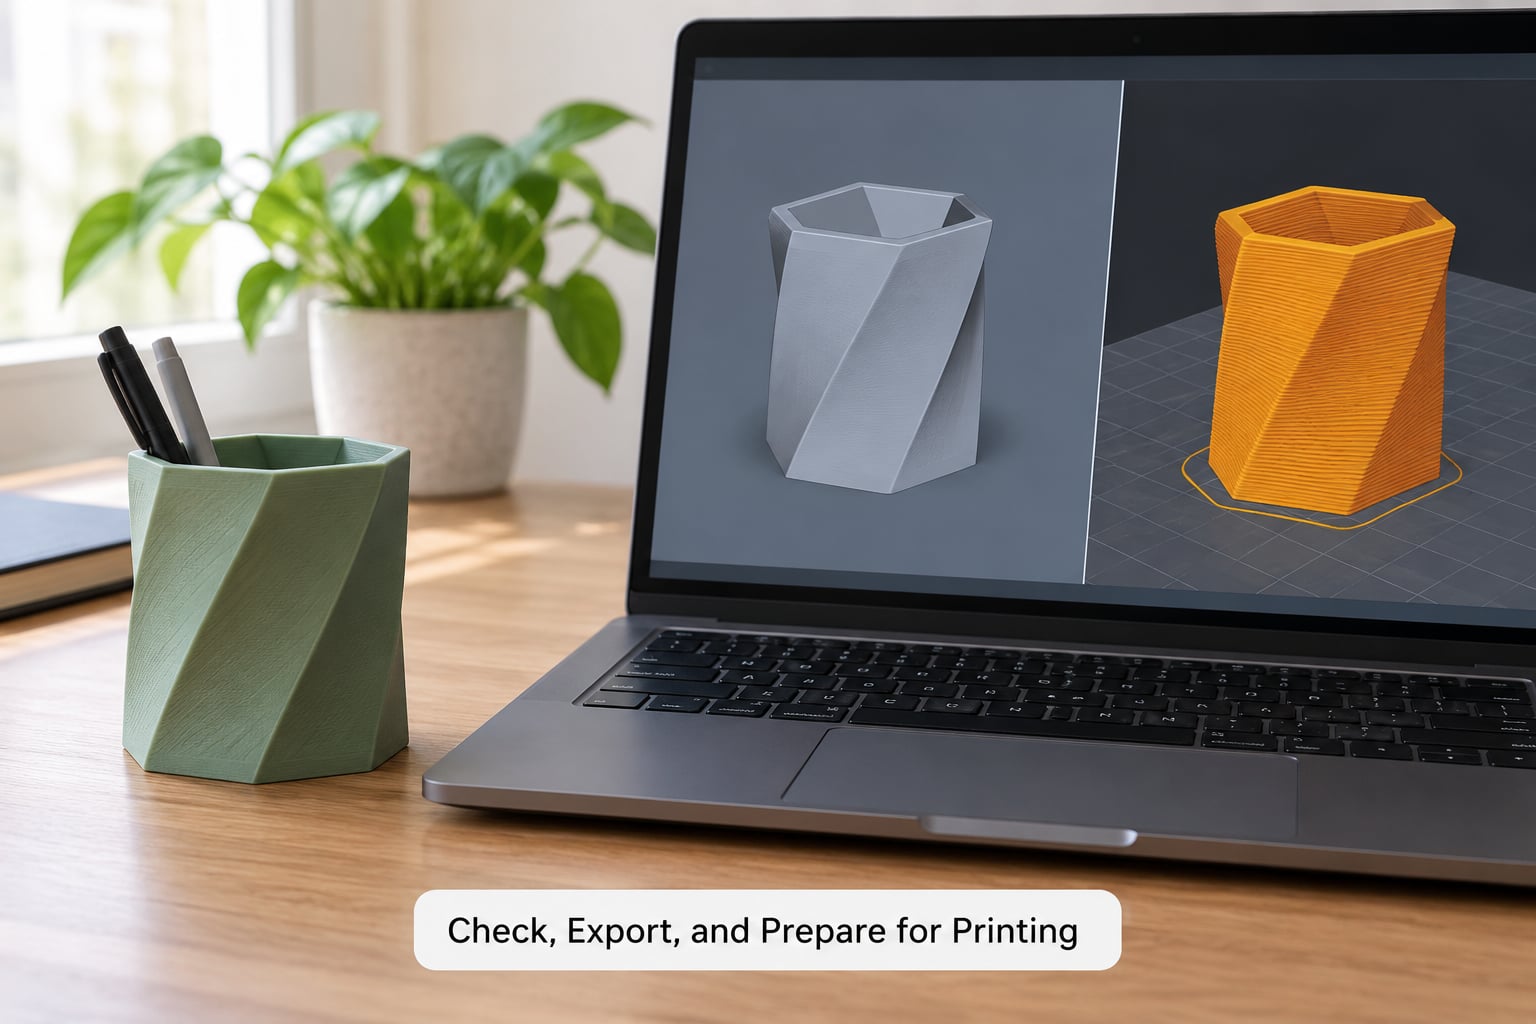
Teach three checks before export: look at it, measure it, and confirm the units. Visual inspection catches a floating shape or a leftover primitive. A measurement confirms the model matches the real object. Checking units, millimeters versus inches, catches the mistake that scales everything by twenty-five and produces a part that misses the printer bed.
Then export an STL file and open it in the slicer. Teach slicing as its own separate step, because beginners otherwise treat every slicer warning as a modeling failure. Slicing is where print settings live: layer height, infill, supports, orientation. Wall thickness is the one modeling decision the slicer will complain about, so check that number in the model, and leave the rest to the slicer.
End the lesson with a physical result when you can, since holding a part that came from an idea you had ninety minutes earlier is the best motivation available for the next session. A sliced preview on screen is a decent substitute when printers are scarce, and it keeps the workflow honest.
Common Mistakes
These seven failures account for most beginner frustration. Each one has a fix you can build into the lesson rather than rescue afterward.
- Starting with a complex sketch. The fix is to model from primitives first and let the sketch come later. A sketch built from scratch on an empty plane is the hardest thing in a first month.
- Skipping dimensions. The fix is a rule for the whole class: nothing gets a number until every measurement has one. Accepting one approximate value teaches the habit you are trying to remove.
- Mixing units. The fix is to declare the unit once, at the start, and check it before export. New CAD users changing between millimeters and inches mid-project is a common and costly error.
- Non-manifold or overlapping geometry. Bodies that intersect without being joined produce holes and walls the printer cannot resolve. Teach one join operation in lesson two and check it on screen before export.
- Poor feature order. A fillet applied before a hole cuts into the fillet, and the student has to rebuild. Show that order matters by deliberately doing it wrong once during the demonstration.
- Treating slicer warnings as modeling errors. Separate the two vocabularies out loud. Most slicer warnings are about print settings, not about the model, and beginners lose confidence when they cannot tell which problem they have.
- Asking for too many features at once. The fix is scaffolding: one new operation per lesson. A session that adds fillets and booleans and alignment produces files nobody can debug.
Two habits help more than any of the fixes above. When a student gets stuck in the room, sit with them for two minutes and ask them to describe what they expect the shape to do, which turns a dead end into a geometry conversation. And plan for the transition point, because the moment a student outgrows the entry tool is exactly when a cohort loses momentum. Tell them in advance what comes next and what the next tool adds, rather than letting them discover the ceiling on their own.
Keep one resource list that you have checked yourself. Named, maintained material matters here: CG Cookie and Ultimaker publish free classroom curricula, Blender Guru and Grant Abbitt produce maintained Blender tutorials, and Sketchfab holds models students can open and study. Send learners to exactly two extra places, not twelve, or they will do what most self-teachers do and collect tutorials without finishing anything.
Frequently Asked Questions
What is the best way to teach 3D modeling to beginners?
Start with a small, editable object that uses only basic shapes, sketches, and dimensions. Demonstrate each operation briefly, then have learners rebuild the model from a printed list of measurements rather than by following your clicks. Once the rebuild works, ask for one design change, such as resizing it or adding a hole. That sequence teaches geometry, transferable skills, and independent decision-making in a single 90 minute session.
What software should beginners use to learn 3D modeling?
Tinkercad is approachable for browser-based first lessons because it needs no install and no license management. Autodesk Fusion 360 suits older beginners and engineering students because it teaches parametric editing, and it is free for students and educators. Blender fits sculpting, animation, and game asset work, and it is free and open source, but its steeper ramp puts it better as a second tool than a first one.
How long does a beginner 3D modeling lesson take?
A useful introductory lesson runs about 60 to 90 minutes. Allow roughly 10 minutes for goals and terminology, 15 minutes for demonstration, 25 to 30 minutes for a guided rebuild, and 20 minutes for a small design change plus export. Beginners who finish a real model in one session usually come back for a second session on their own, which is the outcome you are after.
Do beginners need a 3D printer to learn 3D modeling?
No. Modeling, dimensioning, feature editing, and export are the core skills, and none of them need hardware. If a printer is available, export the model, inspect the sliced preview, and print one part per student at the end. If not, the sliced preview still teaches orientation, wall thickness, and scale checking, which is enough to run a complete lesson.
Should I teach CAD or sculpting to beginners?
Teach CAD first if the goal is 3D printing, engineering, or product design, because solid modeling with primitives and dimensions matches how parts are actually made. Sculpting is a better second stage, once students are comfortable editing geometry. Mixing both from the start splits attention, and the usual result is students who can neither hold a clean dimension nor keep a surface clean.
Conclusion
The progression that works is simple: one goal, the core geometry operations in a fixed order, a demonstration you narrate, a rebuild nobody clicks through, one design change, and an export you check together. Every beginner frustration on the list above comes from skipping one of those stages.
Start with one shape-based model and one printable outcome. Choose a single piece of software based on the age group and the goal, put the real measurements of a mug or a phone stand on a sheet of paper, and give the class ninety minutes. The proof that you taught 3D modeling to beginners is not that they produced a file. It is that they can change a dimension and explain what happens next.