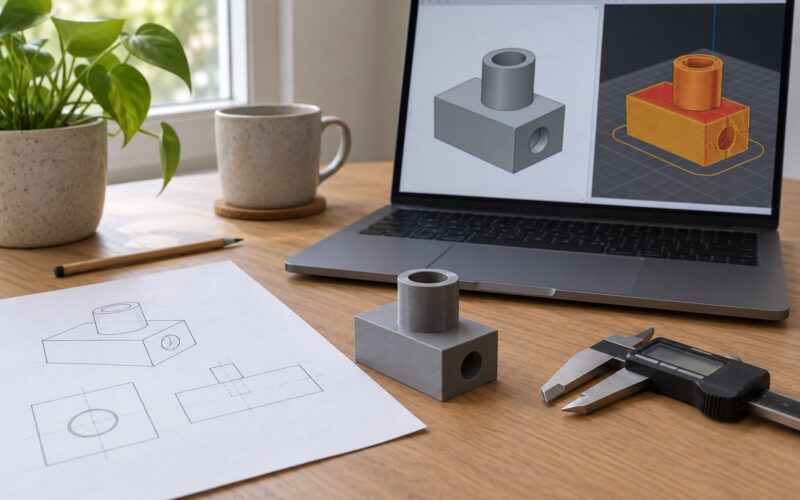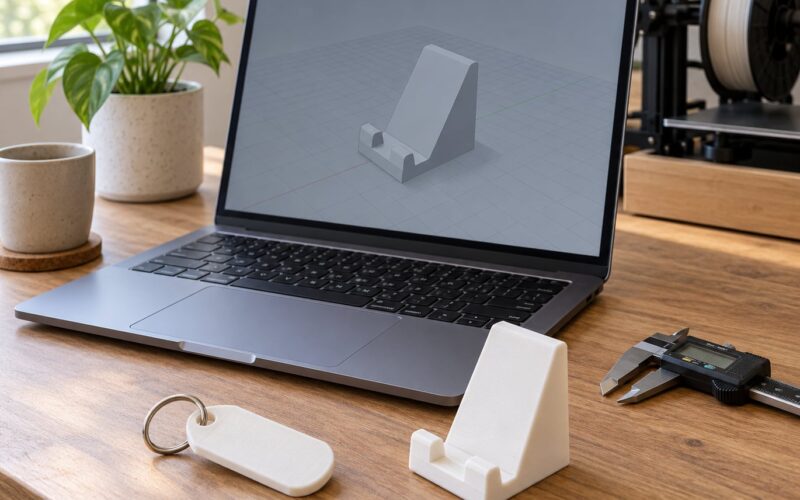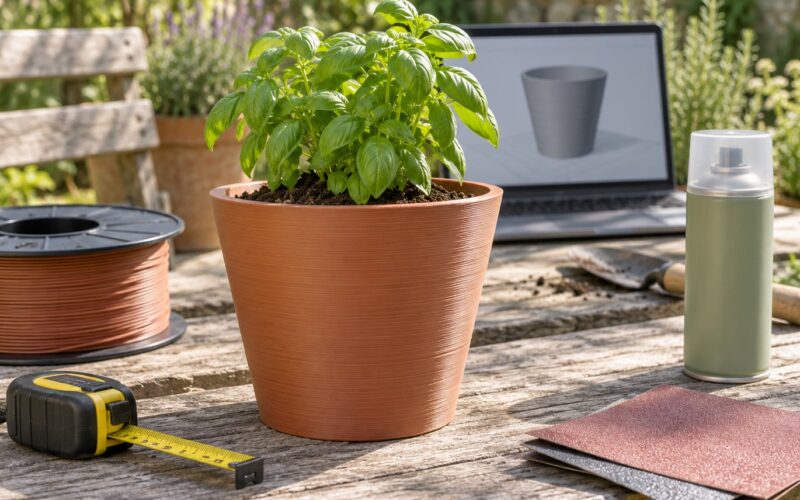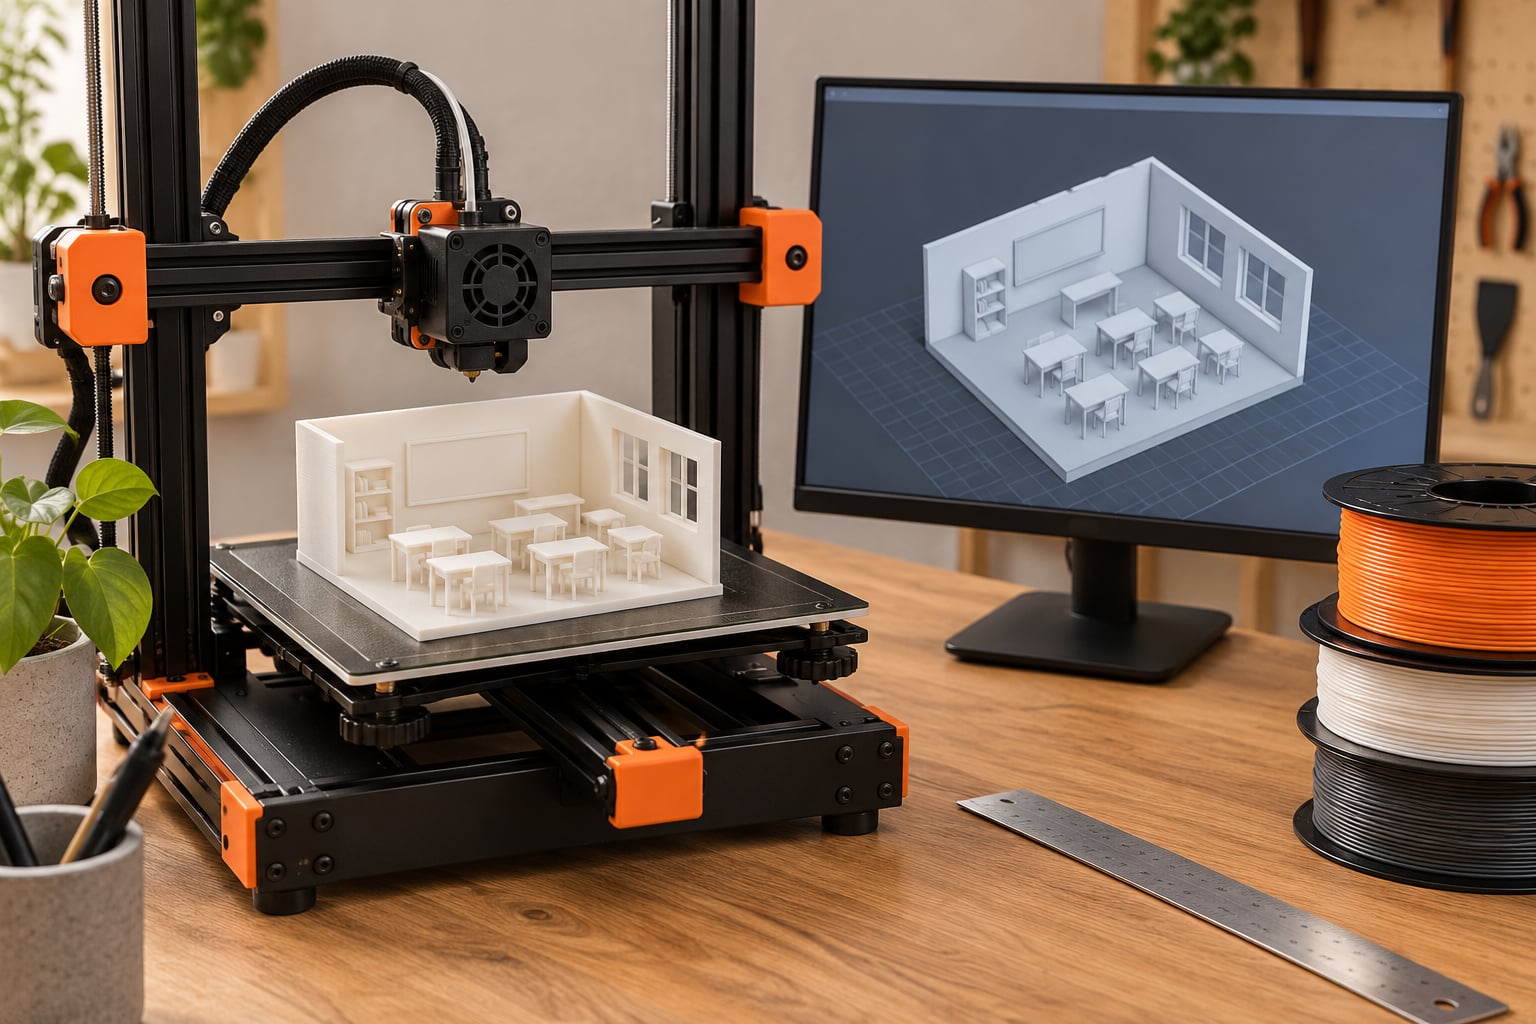
3D printing in the classroom for teachers works best when a printer is treated as part of the lesson, not as a prize at the end of it. Students design a model, slice it, watch it build, hold it, change it and print again. That loop is the whole point. A single reliable machine, one safe filament, and a two-week project you have already taught twice will take you further than a full lab of equipment and nothing ready to run.
Updated for 2026.
Table of Contents
- 1What Is 3D Printing in the Classroom?
- 2How can 3D printing be used in teaching?
- 3Why Use 3D Printing in the Classroom?
- 4How to Choose a 3D Printer for School
- 5Which 3D Printing Projects Work Best for Students?
- 6Math projects
- 7Science projects
- 8Engineering and technology projects
- 9Geography and history projects
- 10Art, design and practical prints
- 11Language arts and special education projects
- 12Projects by grade band
- 13How to Choose the Right Printing Material
- 14How to Build 3D Printing Into a Lesson Plan
- 151. Set one learning target
- 162. Teach the design skill the project needs
- 173. Constrain the brief
- 184. Model, then slice early
- 195. Print, hold it, break it
- 206. Revise and print again
- 217. Document the process
- 22How to Organize Files, Classes and Printing Time
- 23One naming convention
- 24A shared folder structure
- 25A print request form
- 26Realistic scheduling
- 27Storage and pickup
- 28Use failures on purpose
- 29Classroom Safety and Practical Setup
- 30Do 3D printers give off fumes?
- 31Enclosure, placement and air
- 32Physical hazards
- 33Materials and policy
- 34How to Make Student 3D Printing Projects Inclusive
- 35How to Assess Student Learning in 3D Printing Projects
- 36Frequently Asked Questions
- 37What age can students start using a 3D printer in the classroom?
- 38Do 3D printers need ventilation in a classroom?
- 39How long does it take to print a simple classroom project?
- 40What software do teachers use for 3D printing?
- 41What do I do when a student’s print fails?
- 42Is it illegal to sell 3D printed items at school?
- 43Where to Start: Your First Four Weeks
What Is 3D Printing in the Classroom?
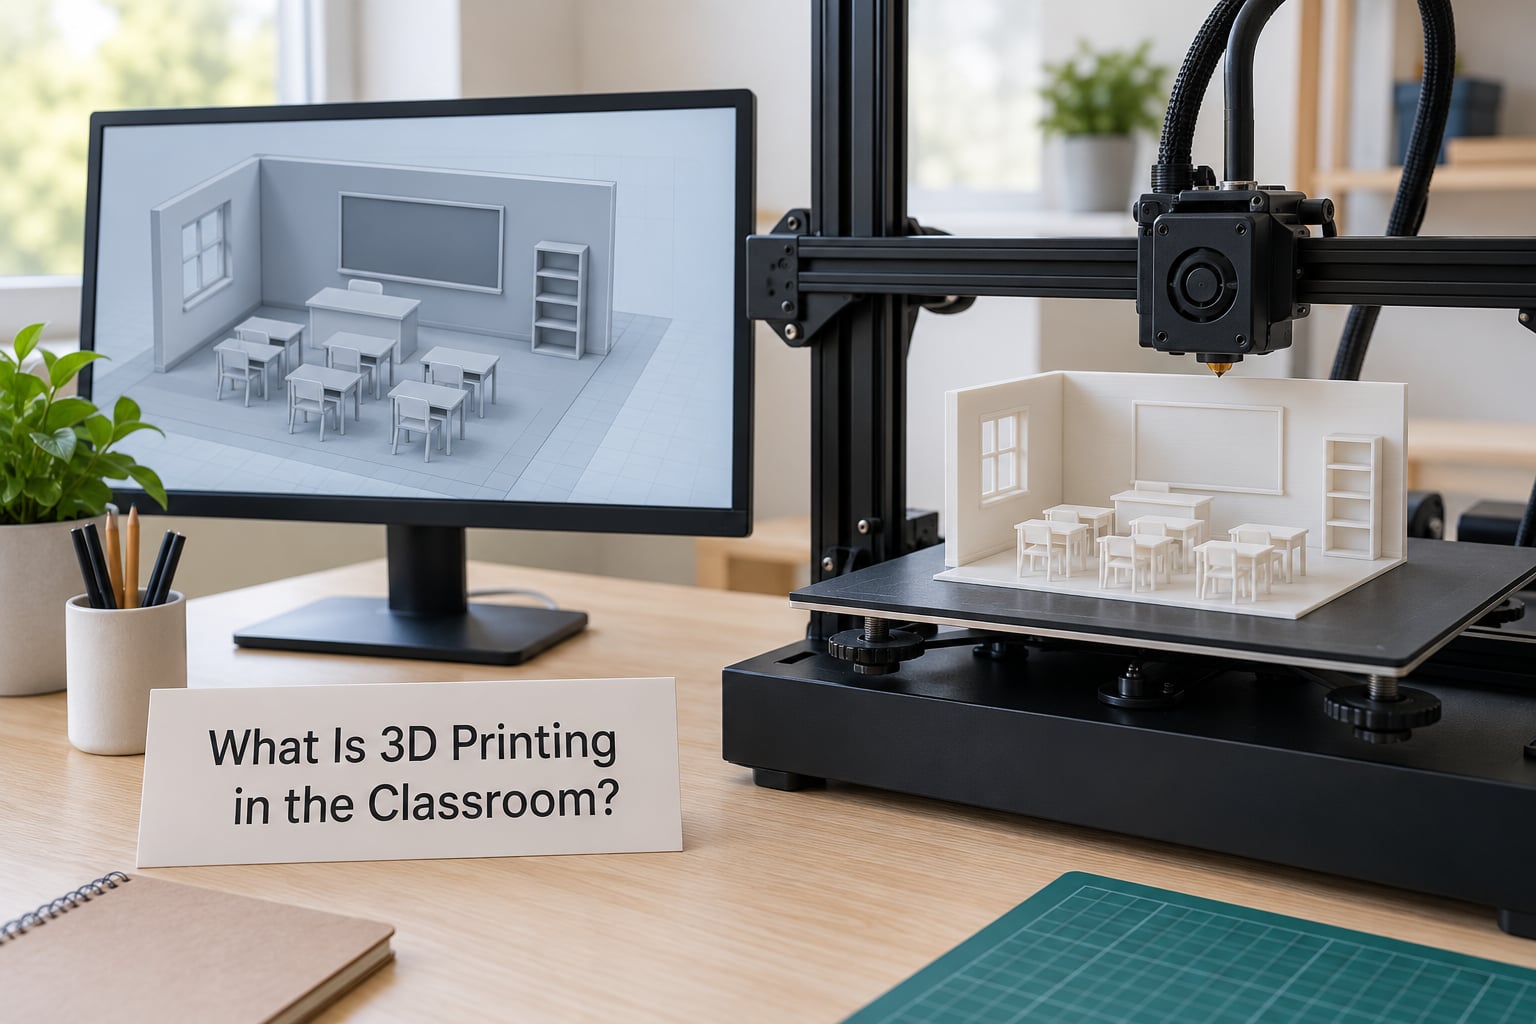
3D printing in the classroom is the use of additive manufacturing, usually filament-based desktop printers, to turn student-made digital models into physical objects during the learning process. Students design in CAD software, a slicer turns the model into printer instructions, and the machine builds the object layer by layer, so abstract ideas become something students can hold, test and improve.
The reason this belongs in a classroom rather than a club room is the revision loop. A sketch becomes a model, the model becomes a print, and the print usually reveals a problem the sketch could not: a part is too thin, the handle is in the wrong place, the surface area calculation was off by a few square centimetres. That moment of physical evidence is where the learning lands.
How can 3D printing be used in teaching?
Use it wherever a concept is easier to understand as an object than as a diagram. Students build geometric solids to reason about volume and surface area, model a cell or a watershed to make a system visible, prototype a bridge and then test it until it holds more mass. It also works as a design and engineering tool for any subject: students learn dimensioning, tolerance, material choice and constraint, then iterate. The most reliable uses are ones tied to a learning target you already have to teach, not novelty prints.
Why Use 3D Printing in the Classroom?
Most classrooms already use worksheets and slides, and students can hold all of those without learning much about how the thing actually works. Printed objects change the dynamic.
- Abstract ideas become concrete. A net of a cube that prints flat and folds into a solid gives a student a way to check their own arithmetic.
- Spatial reasoning gets real practice. Designing for a printer teaches proportions, clearances and how much space a part needs in three dimensions.
- Iteration becomes normal. Students learn that a first attempt failing is data, not a bad grade, as long as they document what they changed.
- Subjects connect. The same bridge design touches maths, physics, art and technical drawing. Nothing else in a school toolkit crosses subjects that cheaply.
- Digital literacy transfers. File management, versioning and CAD conventions are the same habits used in industry.
- Motivation shows up in the output. A finished object is a portfolio piece, and it is the sort of thing students talk about with family.
I would be honest about the limit, too. A printer does not teach itself, and it will not rescue a unit with no clear objective. If the print is the whole assignment, you are running a craft exercise with a STEM label on it. The magic is in the second print.
How to Choose a 3D Printer for School
Choose the least complicated machine that will run your projects reliably. School use is long idle periods, occasional rush jobs and a teacher who is not going to become a full-time technician, so reliability beats every other specification.
| Consideration | What to look for | Why it matters in a classroom |
|---|---|---|
| Technology | Fused filament fabrication (FDM/FFF) | Low maintenance, safe materials, forgiving with student files. Resin printing is faster and finer but needs gloves, washing and curing, which is a different safety conversation. |
| Enclosure | Enclosed build chamber, or an add-on enclosure | An enclosure traps ultrafine particles and fumes instead of pushing them into the room. It also reduces warping from drafts and door movement. |
| Build volume | Roughly 200 x 200 x 200 mm is enough for most classroom projects | Bigger machines cost more, take more bench space and are harder to clear. Full-size objects are rare in lessons. |
| Filament handling | Direct filament loading, easy-spool holders, dry box or dryer compatibility | Bridging filament over an hour of downtime is a common first failure. Fewer steps means fewer beginners giving up. |
| Software | Slicer supplied with the printer, plus a class file-naming and folder convention | The slicer matters less than the workflow you standardise around it. Write it down. |
| Noise and heat | Fan noise rating, bed and nozzle temperature, room ventilation | A loud printer across the room is a classroom management problem before it is a technical one. |
| Serviceability | Replacement nozzles and extruders available locally, spare parts list | Keep one spare nozzle and one spare extruder on the shelf. That alone prevents most lost class time. |
| Total cost | Machine, filament, filters, spare parts, and staff time | The printer is usually the smallest line in the budget. Recurring consumables and teacher hours decide the real figure. |
Talk to your facilities team and your district before ordering. Some districts have approved equipment lists and require network or electrical standards that a consumer machine will not meet. Finding that out after a purchase order is a bad week.
Which 3D Printing Projects Work Best for Students?
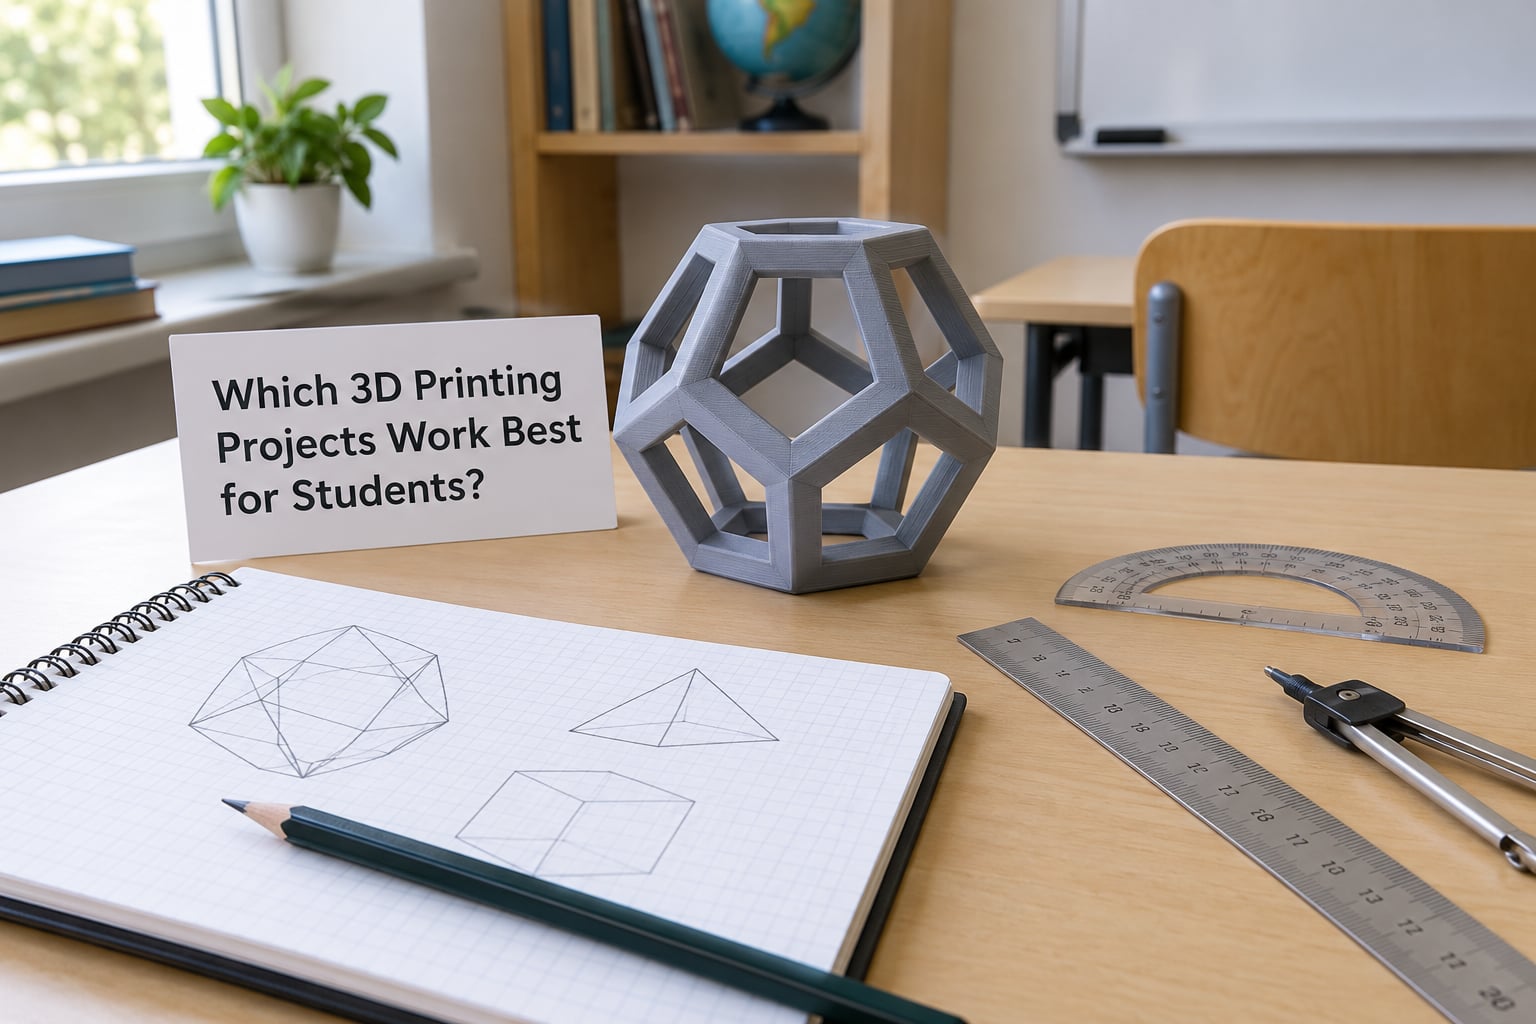
Good classroom projects are small enough to print in one session, forgiving of first-attempt failure, and connected to something you already teach. Big detailed models look impressive on screen and disappoint in practice, because a failed four-hour print teaches a nine-year-old very little.
Math projects
Geometric solids, polyhedra that fold flat, surface-area nets, and number-balance games. These print quickly, fit a unit on volume, and give students a physical check on their own calculations.
Science projects
Cell models, watershed and soil profiles, bone structures, molecular kits with ball-and-stick geometry, dissectible heart models. Layered prints teach cross-sections, which diagrams hide.
Engineering and technology projects
Bridge and tower load tests, robotics brackets and chassis parts, gears, simple mechanisms, and adapters for classroom equipment that has broken. The load test is the stand-out: a cheap phone and a cup of coins turns a design lesson into a real engineering loop.
Geography and history projects
Topographic terrain tiles from elevation data, layered landform models, scale architectural models, and replicas of local monuments for a museum-style display case.
Art, design and practical prints
Sculpture studies, relief panels, classroom organisation: name cards, desk labels, headphone hooks, drawer dividers, book stands, dry-erase holders. Practical prints are the ones teachers request most, because the printer earns its keep during downtime.
Language arts and special education projects
Tactile letters and letter tiles for students who benefit from handling language physically, story-sequencing tiles, story character models, and adapted grips or handles for classroom tools. Adaptive design projects are often the most meaningful printing a school does.
Projects by grade band
| Grade band | Skill focus | Typical projects | Realistic class time |
|---|---|---|---|
| K to grade 2 | Shape recognition, naming, motor control | Teacher-supplied templates adapted by colour, letter and name; simple animals from block-based tools | One 30 to 40 minute session plus one pickup session |
| Grades 3 to 5 | Dimensioning, first CAD skills, cause and effect | Name plates, geoboard shapes, simple polyhedra, story character models | Two sessions of 45 minutes |
| Grades 6 to 8 | CAD fundamentals, measurement, iteration | Bridge load test, cell models, terrain tiles, classroom organisers | Three to four sessions across a week |
| Grades 9 to 12 | Tolerance, material choice, testing and documentation | Multi-part assemblies, robotics components, prosthetic concepts, architectural model sets | Two to four weeks with a print queue |
How to Choose the Right Printing Material
Start with PLA and stay there for months. It prints at lower temperatures, smells faintly sweet rather than sharply chemical, and does not need an enclosure to behave. Every other material is a deliberate upgrade for a specific reason, and choosing it on day one only creates problems.
| Material | Strength and heat | Printing ease | Classroom fit |
|---|---|---|---|
| PLA | Stiff, brittle when cold, low heat tolerance | Easy, low temperatures, minimal odour | Default choice for models, manipulatives and all student projects |
| PETG | Tougher and more heat resistant than PLA, slightly flexible | Moderate; needs dry filament and a good bed | Functional parts, hooks, holders, anything that gets handled hard |
| TPU | Flexible, rubber-like, very tough | Harder; slow and sensitive to retraction settings | Grips, bumpers, phone stands, adaptive handles |
| ABS and ASA | Tough, heat resistant, paintable | Warps without an enclosure; higher temperatures and noticeable odour | Only with a sealed enclosure and a decision about air quality, and only if older students handle the machine |
| Resin (SLA/DLP) | Very detailed, smooth, brittle in thin sections | Separate wash and cure steps, liquid waste, gloves required | A specialist corner of a makerspace, not a general classroom default |
Follow the manufacturer’s safety data sheet for any material you use and your district’s chemical handling policy, which for a classroom will be stricter than a hobbyist’s habit. Keep filament sealed, cool and dry, and store spare rolls somewhere students cannot reach them.
How to Build 3D Printing Into a Lesson Plan
Plan the lesson backwards from the print, and the rest falls into place. A repeatable seven-step workflow means you stop redesigning it every term.
1. Set one learning target
Write it as a measurable statement tied to your standards: calculate surface area and check the calculation against a physical model, or explain two design changes and their measured effect on bridge load. One target per project.
2. Teach the design skill the project needs
Do not teach CAD as a tutorial. Teach the handful of moves the project uses: move, rotate, align, hole, group, export. Students learn faster inside a real task than through a features tour.
3. Constrain the brief
Give a size limit, a material choice and a deadline. First-lesson guardrails matter most here, because students who wander into advanced features come back with a model nobody can print in the time available.
4. Model, then slice early
Have students export and open the file in the slicer before they design for ten more minutes. Catching a non-manifold mesh or a part floating off the bed at minute twelve is far kinder than at print time.
5. Print, hold it, break it
The physical test is the lesson. Ask students to measure the finished object against their prediction and note every deviation.
6. Revise and print again
The second print is the assessment moment. Most projects improve for one specific, nameable reason once students can see the problem.
7. Document the process
A design brief, screenshots, the failed attempt, the change and the reflection. This is what makes the work assessable later.
How to Organize Files, Classes and Printing Time
The bottleneck in a one-printer classroom is rarely print speed. It is queue handling, and it is fixable with paperwork.
One naming convention
Class or period, student initials or ID, project, version, date. For example 7B_MR_bridge_v03_0412. Version numbers matter more than anything else here, because the second print is where the learning happens and nobody can tell two files apart without them.
A shared folder structure
Period folders, each with Templates, Student Files, Slicer Files, Printed, and Rejected. Students submit into one folder; you move and rename. Anyone picking up your class six months later can still find things.
A print request form
Student name, file name, material, why it supports the learning target, and their own troubleshooting attempt. Teacher approval, then queue. The reflection question in that last box quietly fixes the over-designing problem, because students who must predict the failure usually catch it themselves.
Realistic scheduling
Batch by length rather than starting each file as it arrives. Overnight or long prints run outside the students’ session; short prints happen while you teach, with the printer in the supervised area and away from the student breathing zone.
Storage and pickup
Label printed parts with the same naming scheme and file them by period. Students collect at the door. Anything unclaimed after two weeks goes to the practical-print shelf, where it usually becomes a hook or a book stand.
Use failures on purpose
Keep two or three good failures in a labelled box: a warped layer, a stringy first draft, a lifted corner. When a project fails in front of the class, hand out the specimen and ask what the slicer preview would have shown. It is the cheapest troubleshooting lesson available.
Classroom Safety and Practical Setup
Safety is where most district conversations stall, and most of that stall is avoidable with sensible setup rather than argument.
Do 3D printers give off fumes?
All FDM printers release ultrafine particles, and many release small amounts of volatile organic compounds, with the level depending on material, temperature and ventilation. PLA emits the least. ABS and ASA emit noticeably more. Resin printing adds its own skin-contact and waste-handling requirements. Standards schools reference for safe emission testing include UL 2994 and UL 2681, and asking for tested equipment is a normal procurement question.
Enclosure, placement and air
- Prefer an enclosed printer, or fit an enclosure to an open machine.
- Place it away from student desks, ideally in a separate room or a fenced area, with the exhaust pointing away from faces.
- Add activated-carbon and HEPA filtration or a fume extraction unit for schools running ABS or ASA, and change filters on schedule.
- Keep normal classroom ventilation running rather than assuming a sealed room is enough.
Physical hazards
The hot end and heated bed cause burns, the gantry moves fast enough to pinch, and a failed print needs pliers and a scraper. Supervise the machine directly. Set a firm rule about who may approach it, load filament, and remove finished parts, and teach that rule in the first session rather than enforcing it later.
Materials and policy
Keep the safety data sheet for each filament in the room, seal and label every spool, store materials out of reach, and check your district’s policy on approved devices and materials before the first print. Some schools will want a documented plan on file, which is easier to write once, at the start.
How to Make Student 3D Printing Projects Inclusive
Not every student will become fluent in CAD, and a project that only counts modelling excludes whoever struggles with it. Build the project with several roles, and let students pick the one that fits.
- Designers work in CAD or in a block-based browser tool with a simpler interface and pre-made components.
- Template adapters take a teacher-supplied model and modify proportions, labels or colour layouts.
- Print and finish roles load filament, monitor the queue, and handle removal and post-processing.
- Measurement and testing roles check the finished object against the specification with calipers and a scale.
- Documentation roles capture the design brief, photographs and revision notes.
Projects that work on assistive design help here. A handle that is easier to grip, a mount that holds a tablet at the right angle, or a visual schedule board designed for a specific student gives everyone a reason to care about the constraints, and gives students with fine-motor needs a design problem they can own.
Check what your district provides for accessible digital tools before assigning software, and never make 3D printing the only route to the learning target. A tactile model can be designed and evaluated on paper or screen.
How to Assess Student Learning in 3D Printing Projects
A finished object is weak evidence. A student who downloaded a model can produce an impressive print without designing anything. Assess the process, then use the object as evidence.
A workable rubric has four criteria:
- Design intent and accuracy — does the model match measurements and the brief, and can the student explain each choice?
- Iteration — is there evidence of a failed attempt, a diagnosis and a specific change? Weight this heavily; it is the target behaviour.
- Print quality and process care — layer consistency, support removal, surface finish, and whether the student followed the material and safety rules.
- Documentation and reflection — design brief, file history, photographs, and a written account of what they would change next time.
Add subject criteria on top. In maths, the surface-area calculation. In science, the labelled structure. In engineering, the load-test results against a predicted figure. Build the rubric with students before the project starts; they defend the process standards better when they helped write them.
Frequently Asked Questions
What age can students start using a 3D printer in the classroom?
Students can start designing in primary school, usually from around age seven or eight, using teacher-supplied templates or block-based browser tools rather than full CAD. Handling the machine itself should come later, and only with direct supervision. Younger students can still take real roles: measuring the finished print, choosing the colour layout, or writing the design brief. The skill that matters at the start is not modelling, it is recognising that a shape has to fit inside a set of limits.
Do 3D printers need ventilation in a classroom?
Yes, treat ventilation as part of the setup rather than an optional extra. FDM printers release ultrafine particles and small amounts of volatile organic compounds, and PLA produces the least while ABS and ASA produce more. An enclosed printer, a position away from student desks, normal room ventilation and activated-carbon plus HEPA filtration or a fume extraction unit will cover most school situations. Run the exhaust away from the student breathing zone and change filters on a schedule.
How long does it take to print a simple classroom project?
A small name plate or desk label takes roughly fifteen to thirty minutes. A math manipulative or story character usually runs one to three hours, and anything larger takes overnight or a weekend. Plan projects backwards from that: a fifty-minute lesson can start a short print and review a long one. If a project cannot be printed between two class periods, build the queue around it from the start rather than hoping it fits.
What software do teachers use for 3D printing?
Tinkercad is the usual free starting point in most classrooms, because it runs in a browser, needs no install and has a free classroom educator option. Older or more advanced programmes such as Fusion 360 or SolidWorks are available for high school and specialist settings. Every classroom also needs a slicer to turn a model into printer instructions, and the printer manufacturer usually supplies one. Keep the software list short: one design tool and one slicer, taught properly, beats five half-used ones.
What do I do when a student’s print fails?
Treat the failure as the lesson rather than a restart. Ask the student to compare the result with the slicer preview and name the difference, then adjust one setting only. Most early failures trace back to bed adhesion, warping from a cold room or drafts, or a model with an unsupported overhang. Keep a labelled box of two or three failed prints so the class can handle them and diagnose them. Students remember the fix they found themselves far longer than the ones you told them.
Is it illegal to sell 3D printed items at school?
It is generally not illegal, but it is rarely as simple as it sounds. Licensing terms on a downloaded model may forbid commercial use or redistribution, so check before selling anything a student did not design from scratch. District policy usually governs student work and any revenue from it, and a sale at school can trigger health, food-safety or tax rules depending on what is being sold. Ask your administration and the original file’s licence before anyone sells a single item.
Where to Start: Your First Four Weeks
Pick one project that prints in under two hours and ties to a unit you are already teaching. Teach the file naming convention before you teach anything else, run the project twice with a small group so you know where it breaks, and only then bring in the rest of the class.
Get your safety setup documented and your facilities team involved early. That conversation is the difference between a printer in a cupboard and a programme that survives the year.