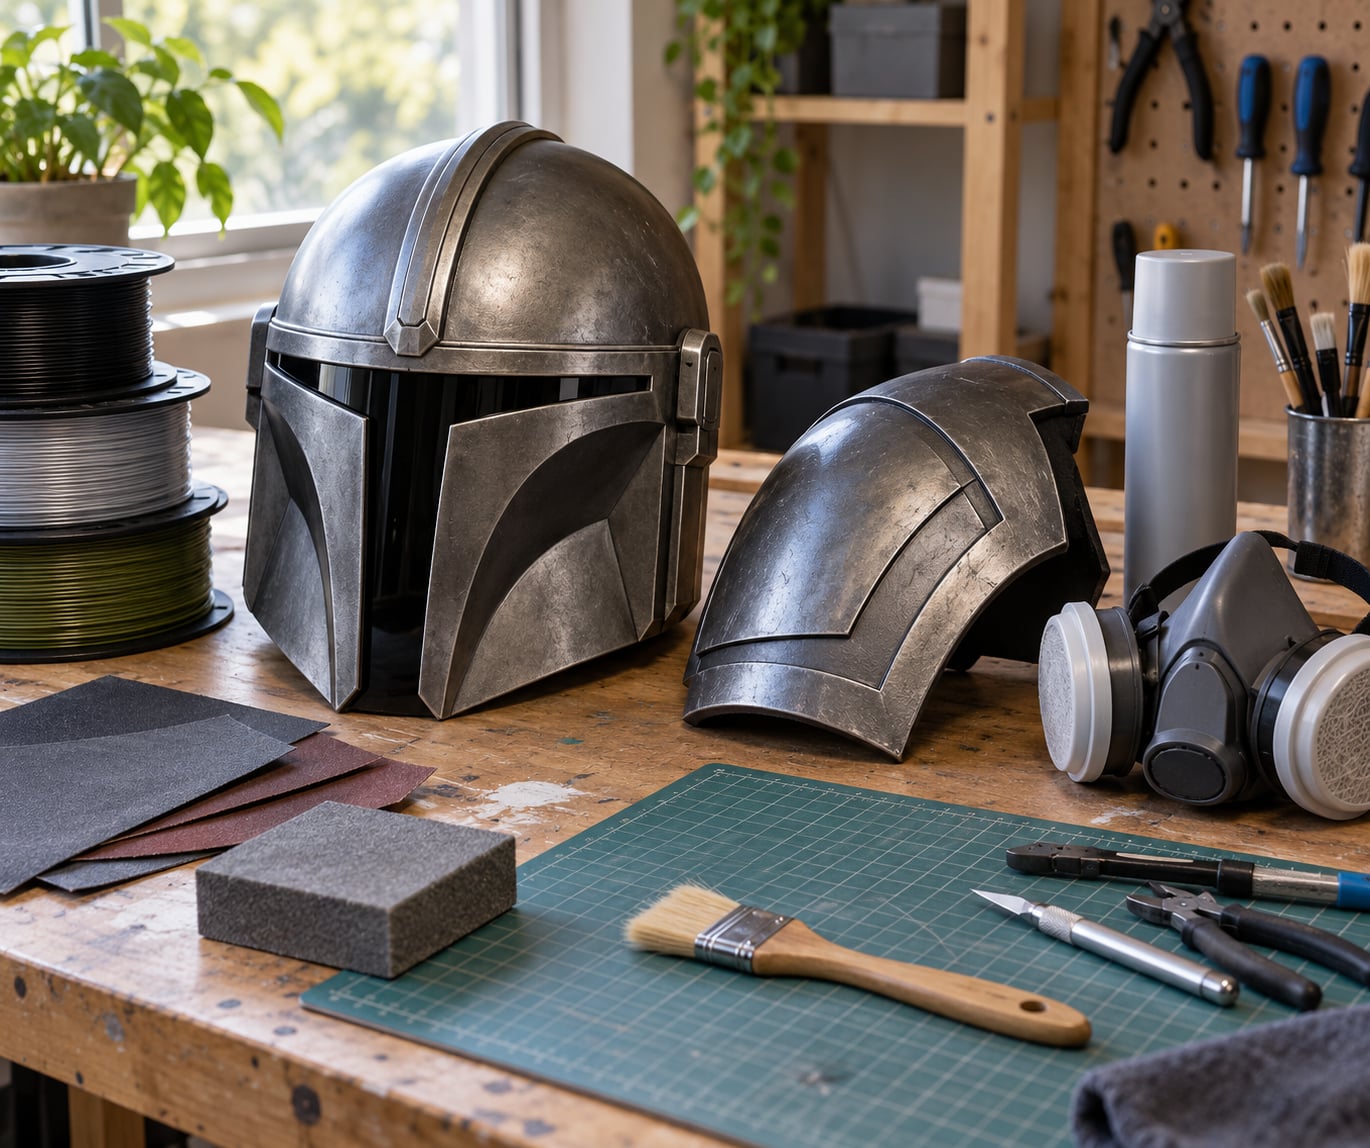
To print wearable props and smooth them properly, treat the job as one pipeline: design the part so it prints cleanly, print it in a material that survives being worn, then sand through a graded grit ladder, fill the remaining layer texture, prime, paint and seal. Most ugly props fail in the finishing stage, not the printing stage. Fix the surface work and a cheap print looks expensive; skip the surface work and hours of printing end up looking homemade.
Budget the whole thing in two columns. A helmet shell might be 22 hours of print time and 10 hours of finishing, which surprises people every time. The finish is not the last step, it is half the project.
This is the process I use on our own cosplay and prop builds, updated for 2026. Everything here applies to FDM prints unless I say otherwise, and resin gets its own notes in step two.
Table of Contents
- 1What You Need
- 2How to Print Wearable Props and Smooth Them: Step-by-Step
- 3Step 1: Prepare the Model for Printing
- 4Step 2: Choose the Right Material and Print Settings
- 5Step 3: Print the Prop and Check the Result
- 6Step 4: Remove Supports and Clean the Print
- 7Step 5: Fill, Sand, and Smooth the Surface
- 8Step 6: Prime, Paint, and Protect the Finish
- 9Common 3D Printing Wearable Prop Mistakes
- 10Frequently Asked Questions
- 11What is the best material for wearable 3D printed props?
- 12What layer height should I use to make a wearable prop smooth?
- 13How do I remove layer lines without losing important details?
- 14Is resin safe for making wearable props?
- 15Should I sand a 3D printed prop before or after filling it?
- 16How do I make a finished prop comfortable to wear?
- 17Conclusion
What You Need
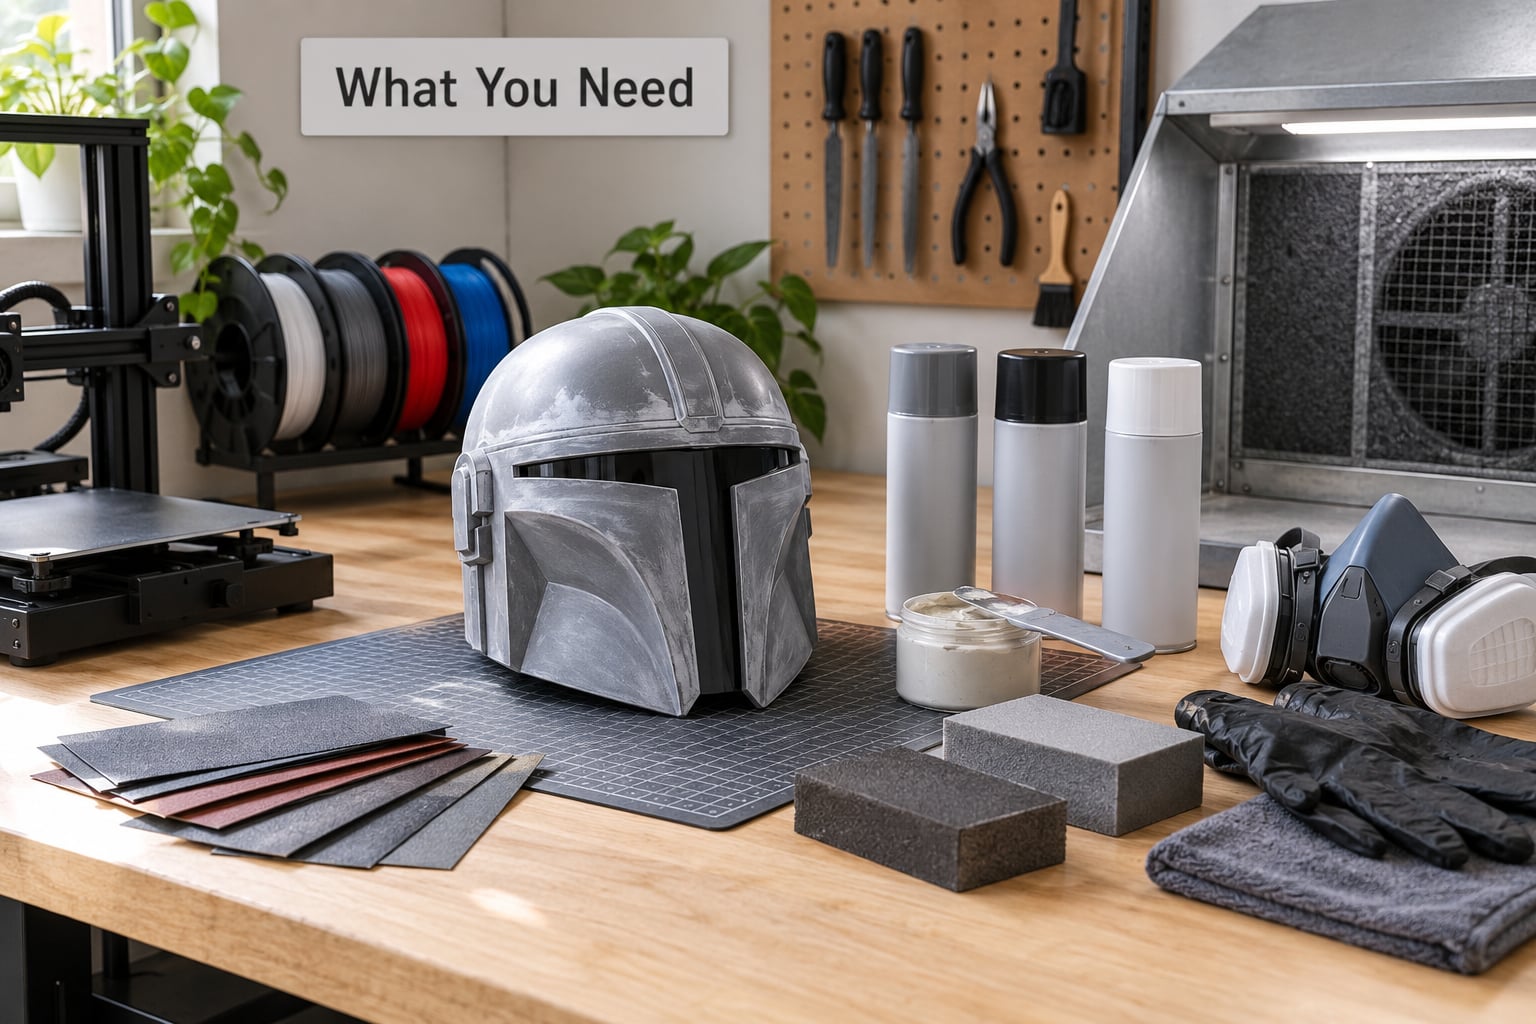
The filament matters more than the printer. Choose for impact, heat and sun exposure, not for how it looks coming off the spool.
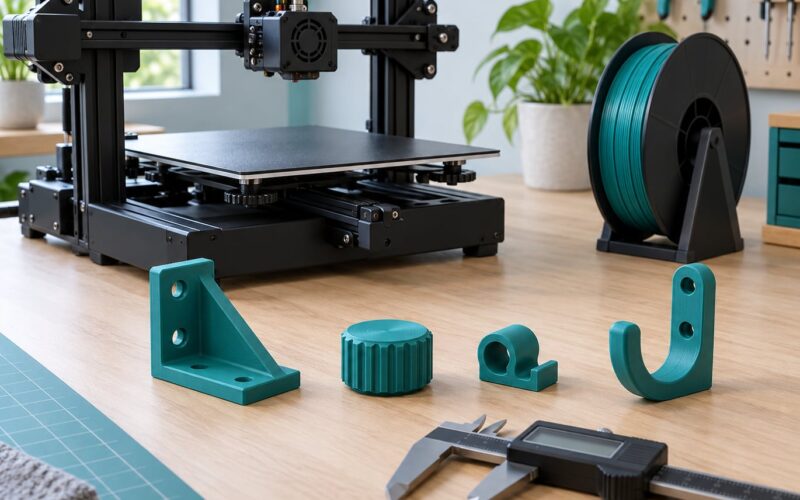
- Filament: two or three types is realistic for a full suit. PETG for mid-weight armour, ASA for anything that sees daylight or a car dashboard, TPU 85A or 90A for straps and flex joints. PLA is fine for indoor display pieces and small props.
- Filament dryer: PETG, ASA, TPU and nylon all pull moisture from the air. A print that looks like it has hairs and bubbles in the walls went in wet.
- Flush cutters and a hobby knife: support removal happens before anything else touches the part.
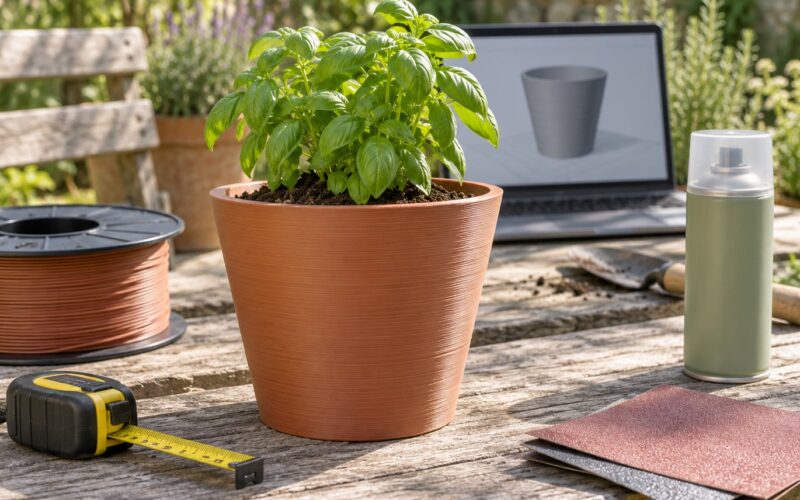
- Sandpaper: 120, 180, 240, 400 and 600 grit sheets, plus 800 to 1200 for wet sanding. Coarse work takes a surprising amount of paper, so buy the cheap packs.
- Sanding blocks and rubber fingers: flat surfaces need a rigid block to stay flat. Fingers sand a dome into a dented mess.
- Filler primer: a high-build spray filler, not a regular plastic primer. This is the step that actually hides remaining layer lines.
- Spray primer and paint: a good primer plus acrylic colour. Thin coats, always.
- Isopropyl alcohol and clean lint-free cloths: for degreasing before priming.
- Adhesives: CA glue for light assembly, two-part epoxy for load-bearing joints, fibreglass cloth and epoxy for reinforcement over cracks and strap anchors.
- Safety gear: eye protection, nitrile gloves, a P2 or P3 respirator for sanding and spraying, and a fan or fume extractor with a carbon filter if you print ABS or ASA indoors.
Two safety points worth stating plainly. ABS and ASA give off styrene while printing, so print them in an enclosed machine or a well-ventilated room, never in a bedroom or a closed office. Acetone is used in step five and it is highly flammable, so no open flame, no hot plate, and keep it away from the heated end of your printer.
How to Print Wearable Props and Smooth Them: Step-by-Step
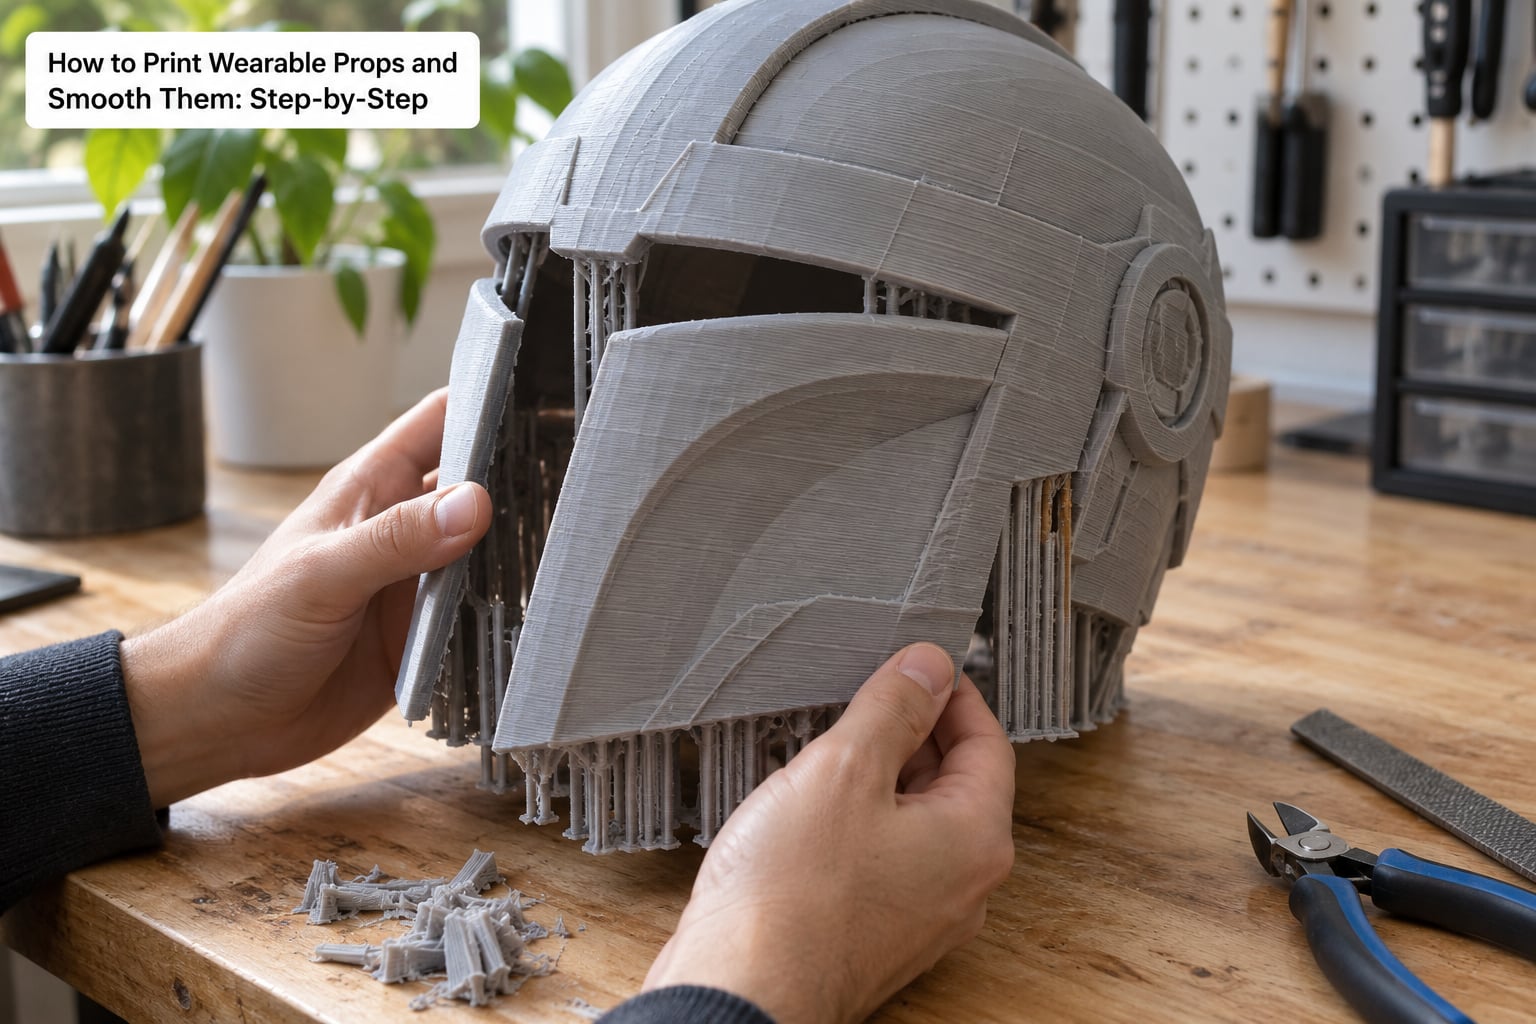
The full workflow runs in this order, and the order matters.
- Prepare the model: scale, section, orient, place supports.
- Pick the material and match the print settings to it.
- Print and inspect the raw part.
- Remove supports and clean the print.
- Sand through the grit ladder, then fill and wet sand.
- Prime, paint and seal.
If you sand before removing supports properly, you sand around the little gouges support removal leaves behind, and they show up under gloss paint every single time. Step four is not optional.
Step 1: Prepare the Model for Printing
Most fragile props are designed badly before a single layer is printed.
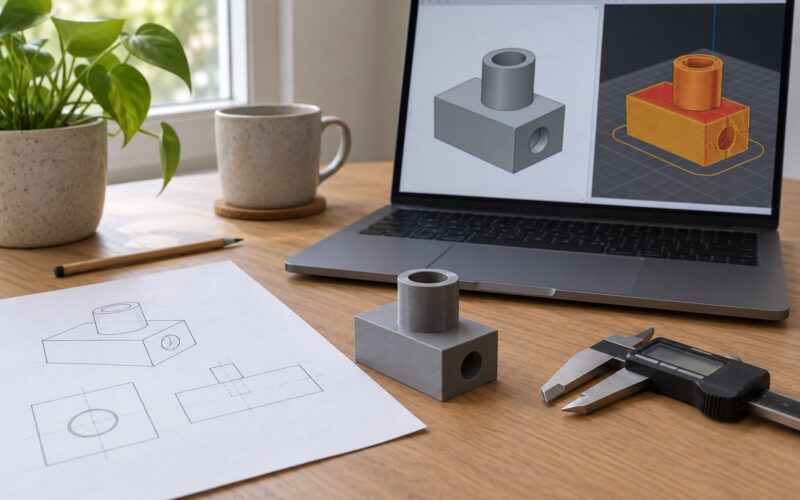
Scale first, always. Measure your own head, torso or forearm and print a calibration ring at the model’s default scale before committing to a 20-hour print. Scale in your slicer rather than in the model file, so you can adjust it without re-exporting. For a helmet, aim for roughly 1 to 2 mm of clearance at the widest point so it clears your head and whatever padding sits under it.
Check wall thickness. A wearable prop needs at least three solid walls, which on a 0.4 mm nozzle means about 1.2 mm per wall or a 3.6 mm shell. Anything thinner dents when you sand it and cracks when someone bumps into you on a crowded convention floor. Design vents, strap slots and openings with a 4 mm minimum border around them, because thin edges snap.
Section it. A helmet split into a crown, a front brow and a back shell prints faster, warps less and gives you seams you can route along design lines. Most seam-count arguments about build volume are really finishing-time arguments. A seam on the side of a helmet under a strap is invisible; a seam across the cheek is not.
Plan tolerances. For parts that plug together, leave 0.2 to 0.3 mm of clearance. FDM parts shrink and warp, so a zero-clearance joint will not seat even if it looks right on the screen. Use a printed test coupler before committing to ten identical joint pairs.
Orient for the least damage. Put the smoothest visible face upward, because upward-facing surfaces print cleanest and the first layer takes the most of the surface irregularity. Angle curved parts in 5 to 10 degree slices where the geometry allows it, and check whether your printer supports that. Rotate the seam into a hidden line or under a strap by hand, since most slicers cannot do it automatically.
Set supports to be removable. Use tree supports or paint-on supports on faces that will be visible, keep the Z contact distance around 0.2 mm, and set the interface density so the top layer is solid where supports touch. A support scar is easy to fill and slow to repair.
Step 2: Choose the Right Material and Print Settings
Pick the material by how the piece is used, then set the printer to match.
| Material | Impact and flex | Sun and heat | Printing | Finishing |
|---|---|---|---|---|
| PLA | Rigid, stress-cracks at vents and strap slots | Poor outdoors, softens in a hot car | Easiest of all, no enclosure | Sand and fill beautifully |
| PETG | Good flex and impact, the safe default | Fair, chalk slightly with UV | Needs dry filament, stringy | Sandable but slower than PLA |
| ABS | Tough, tolerates heat | Chalky in sun unless painted | Warps badly, needs an enclosure | Acetone vapour smooths it |
| ASA | Tough, better UV than ABS | Good outdoors | Warps badly, needs an enclosure | Acetone works, paint holds well |
| TPU 85A to 95A | Flexible, absorbs knocks | Good | Slow, clogs if pushed | Bonds to itself, sands poorly |
| Resin | Brittle unless toughened | Poor unless UV-stable | Separate machine, gloves required | Nearest to moulded plastic |
PETG at 230 to 250 C nozzle and 70 to 90 C bed with cooling at 40 to 60 percent is the workhorse setting for anything strapped to a body. Keep part cooling low, around 20 to 30 percent, because rapid cooling on tall sections encourages layer splitting.
ASA at roughly 255 C nozzle and about 100 C bed with cooling mostly off is the outdoor choice. Most experienced builders land on the same conclusion: wearables take impact and flex that PLA cannot, which is exactly why PLA shows stress cracks around vent slots and tapered edges after a day of wear.
PLA prints at 200 to 215 C on a cool bed with full fan, and it is the right answer when the prop lives on a shelf or gets worn for an afternoon indoors. Just reinforce strap anchors with fibreglass and epoxy, because that is where it fails.
TPU for straps, buckles and flex joints. Keep the extrusion speed low and never fully close the fan. Bend it into shape while it is still slightly warm.
Resin gives the smoothest surface of anything here and the least finishing work, but it needs gloves, a wash and cure station, and ventilation during curing. Fine detail wins, durability loses, so I do not use it for a chest plate that will be bumped all day.
Whatever you choose, dry the spool first. Wet PETG and ASA cause stringy seams and rough walls that you then have to sand off by hand.
Step 3: Print the Prop and Check the Result
The settings below reduce how much smoothing you have to do later.
- Layer height: 0.12 to 0.16 mm for any visible face. Thinner layers mean less to sand, and the time difference on a wearable prop is far smaller than the sanding time you save.
- Perimeters: at least 3 on outer walls. This is your strength, not your infill.
- Infill: 15 to 20 percent gyroid or grid. High infill adds weight and print time to a part you have to carry all day, and it does nothing for a thin shell that is going to flex at the shoulder.
- Outer wall speed: slow it down. A drop to 40 to 60 mm/s on external perimeters visibly improves surface quality and corner definition.
- Seam: move it by hand to a strap line, an underside or the join between two sections.
- Adhesion: a brim for anything tall or large, a raft if the bed is magnetic and the shape is awkward. Do not reach for glue stick as a release layer on a piece you plan to wear constantly.
- Warping: an enclosure or a draft shield, no open door, no sudden room temperature change mid-print, and consistent first-layer height. Large flat panels warp more than curved ones, so print them in sections.
- Cooling: full fan for PLA, partial for PETG, minimal for ABS and ASA.
When the print finishes, check three things before you touch a tool. Run a fingernail down the visible face and feel for ridges. Look along a raking light, a phone flashlight held flat to the part does it, to see where the seam sits. And check that the first layer stuck across the whole footprint, because a lifted corner in a large panel curves as the print goes on and that curve shows up in every photograph.
Step 4: Remove Supports and Clean the Print
Support removal is where most props get their permanent damage, and forum threads about it repeat the same complaint: tearing, gouging, and roughness that ruins the finish.
Work cold, straight after the print, before the plastic softens. Break off bulk supports with flush cutters in small bites from the outside in, and take the skin of the interface off with a hobby knife held almost flat, scraping away from the visible surface rather than toward it. Clamp the part in a vice with soft jaws or hold it in a towel so you are not levering against a finished edge.
Materials need different handling. On PLA, supports pop off cleanly. On PETG, the interface layer is gummy and slower to remove, so give it more time and a sharp blade. On TPU, cut generously and sand the remainder away, because flexible supports can snap inside the socket.
For PETG printed against PLA supports, soaking the part in isopropyl alcohol dissolves the support and leaves a noticeably cleaner interface than picking it off, though it takes patience and a well-ventilated space.
Then clean it. Wipe with isopropyl alcohol, let it dry fully, and inspect under raking light for cracks at the base of stress risers, around strap slots and along the section joins. A crack at a strap anchor gets reinforced with fibreglass cloth and epoxy. A crack across a large flat panel means reprint that section, because filler will hide the crack and the crack will fail on the floor.
Worth knowing: whatever you do here, do not reach for acetone on PLA. It etches and clouds the surface instead of melting it smooth.
Step 5: Fill, Sand, and Smooth the Surface
Sand in a graded ladder, never jumping grits, and stop before you reach the grit that starts eating detail.
| Grit | What it removes | Technique |
|---|---|---|
| 120 | Support scars, first-layer ripples, big blobs | Dry, by hand, with a block. Light passes only. |
| 180 to 240 | Sanding channel marks from the coarser grit | Dry, check the panel lines under raking light. |
| 400 | The visible layer-line texture | Dry. This is where the surface starts looking like plastic rather than wood. |
| 600 | Scratches from 400 | Dry or wet. Start wetting here if you want a gloss finish later. |
| 800 to 1200 | Scratches from the previous grit | Wet sand with water and a drop of detergent to reduce dust. |
That 120 to 240 to 400 sequence, then several coats of filler, then wet sand, then paint and clear coat, is the routine repeated most often in the printing communities for good reason. What almost nobody maps is which defect each grit fixes, so people stall at 400 wondering why layer lines still show under gloss.
Here is why: 400 grit cuts a layer line down but does not level the valleys between them. Filler primer does that. Spray two or three thin coats, let each cure as the label says rather than rushing, then sand the filler back with 400 and 600 until the surface reads flat under raking light. Check for chalky matte patches, because filler that has been over-sanded sinks into the texture and gloss paint will show it as a dull blotch.
PETG takes noticeably longer to sand than PLA and gums up the paper sooner. Expect roughly half the speed and change paper more often. TPU barely sands at all; if you use it, aim for a textured or flexible finish rather than trying to make it match hard plastic.
Protect your details. Panel lines, embossed logos and tapered edges disappear first, so hand sand around them and use a block only on flat panels. Check after every grit change with a fingertip and a light. Over-sanding makes parts thinner and more brittle, which is the opposite of what a wearable needs.
Chemical smoothing only applies to ABS and ASA. Acetone vapour smoothing melts the outer skin and leaves a gloss finish in one pass, and it works because it dissolves those two materials. It does nothing to PLA, PETG or TPU. On fine-detailed props it can round off the detail you spent days modelling, so test on an offcut first.
One alternative worth knowing about for small props with lots of fine detail: thin UV resin worked into the layer lines and cured with a UV light, then sanded. It is a DIY filler rather than a full finish, and it suits pieces where a full sand-and-fill pass would erase the detail. For a small metallic prop, the other cheap route people use is silver spray with a dark wash over it.
Step 6: Prime, Paint, and Protect the Finish
Paint on raw plastic looks cheap, whatever colour you use, so do not skip the primer.
Clean the part again with isopropyl alcohol, test your colour on an offcut or a hidden inside face, then lay down primer in thin coats with the can further away than you think. Thick coats run, trap dust and take days to cure. Follow the can’s cure time before handling, because paint applied early usually fingerprints or sticks to itself.
Use two or three thin colour coats, sanding lightly at 600 or 800 between coats only if you need an ultra-smooth result. Then seal with a compatible clear coat, water-based if you want the easiest clean-up. A satin or gloss top coat protects against the scuffs a worn prop collects by lunchtime.
Two areas need deliberate care. Anywhere the prop moves, such as a jaw hinge or a shoulder articulation, keep paint thinner so the joint does not jam. Anywhere it touches skin, leave the printed and primed surface unpainted or add a thin layer of fabric against the contact area, since bare plastic against sweat gets slippery and then gets dropped.
Strap anchors and load points get the fibreglass and epoxy reinforcement under the primer, not over it.
Common 3D Printing Wearable Prop Mistakes
Nearly every disappointing prop traces back to one of these, and all of them are fixable.
| Mistake | Why it happens | Fix |
|---|---|---|
| Cracks at strap slots and tapered edges | PLA or ASA under repeated flex, thin walls around openings | Four millimetre minimum border around every opening, fibreglass and epoxy at anchor points |
| Layer lines still visible under gloss paint | Sanding stopped at 400 with no filler between | Two or three thin filler coats, sand 400 then 600, re-prime |
| Rough support scars that ruin the finish | Supports pulled warm, contact distance too low | Remove cold with a flat knife, raise Z contact distance, use paint-on supports on visible faces |
| Panel lines and embossed detail gone | Heavy block sanding across details | Hand sand curves and detail, blocks only on flat panels, stop at the first sign of rounding |
| Flexible sections too soft to hold shape | Too much TPU, or TPU where stiffness was needed | Use TPU only for straps and joints, PETG or ASA for load-bearing flex |
| Stringy seams along a large flat panel | Retraction and seam placement on a long perimeter | Dry filament, tune retraction, move the seam to an underside or join line by hand |
| Part warps or pops off the bed mid-print | No enclosure, no brim, open door | Enclosure or draft shield, brim, keep the chamber steady, split large flat panels into sections |
| Chalky dull patch under gloss paint | Filler primer over-sanded or cured too fast | Longer cure between coats, gentler sanding, an extra primer coat over the patch |
| Print clears the body or pinches | Scale checked on screen, never printed | Print a calibration ring and a test coupler first |
| Surface etched and cloudy | Acetone used on PLA or PETG | Not reversible, reprint that section, restrict acetone to ABS and ASA |
Two planning habits fix most of that list before it starts. Print a calibration ring and a joint coupler before the big parts, and finish one small test piece through the entire pipeline so you know your real finishing time before you commit to a full suit.
Frequently Asked Questions
What is the best material for wearable 3D printed props?
PETG is the safest default for most wearables: it flexes instead of cracking, survives being bumped all day, and needs only a dry spool and a partial cooling fan. ASA is better for outdoor pieces and anything exposed to heat or sunlight, but it needs an enclosure to print without warping. Use TPU 85A or 90A only for straps and flex joints, and treat PLA as the indoor display option.
What layer height should I use to make a wearable prop smooth?
Use 0.12 to 0.16 mm on any face people will see or photograph. The extra print time is small next to the sanding time you save, because thinner layers mean shallower ridges for grit to level. Keep three or more perimeters on the outer walls for strength, and slow the external wall speed to roughly 40 to 60 mm/s, which improves corners and surface quality more than any other setting.
How do I remove layer lines without losing important details?
Sand progressively and never skip a grit. Run 120 for support scars, 180 to 240 to level, then 400 for the visible texture. Hand sand curves, panel lines and embossed logos instead of using a rigid block, and check under raking light after every stage. Finish with two thin coats of filler primer sanded back at 400 and 600, which levels the valleys between lines without touching your detail.
Is resin safe for making wearable props?
Resin needs gloves, a wash and cure station, and real ventilation during curing, because uncured resin is a skin sensitiser. Once fully cured it is inert, but a cured resin prop is still brittle and is a poor choice for a chest plate or gauntlet that will be knocked around. Reserve resin for small detail pieces where the near-moulded surface finish matters more than impact resistance.
Should I sand a 3D printed prop before or after filling it?
Both, in that order. Sand first with 120 through 400 to remove support scars and the raised layer texture, then fill, then sand the filler back with 400 and 600. Filling before sanding buries defects you will still see under gloss paint. Also sand before painting, never straight from the print to the can, because raw plastic takes paint unevenly and the finish looks thin.
How do I make a finished prop comfortable to wear?
Check the fit with a printed calibration ring first, leave 1 to 2 mm of clearance at the tightest point, and put soft fabric or padding between the prop and your skin. Pad the brow, cheek and collarbone contact areas and cut vent slots so heat can escape. Slightly rounded edges dig in less than sharp ones, so knock the corners down lightly before painting.
Conclusion
A wearable prop comes out looking good because of four decisions made before sanding starts: design it with at least three walls and generous borders around openings, print it in PETG or ASA for anything that gets worn in the sun, orient it so the visible face points up and the seam hides under a strap, then remove supports cold before a single sheet of abrasive touches it.
Do one small test piece through the whole pipeline first, from calibration ring to sealed finish, and time it. That number tells you more about whether the suit is realistic than any build-volume calculation ever will.