3D printing for home repair projects means using a desktop printer to make the one small plastic part that failed, instead of replacing the whole item. Most household breakage comes down to a knob, a bracket, a clip, a hinge leaf or a cover, and the manufacturer rarely sells that piece on its own.
A replacement knob might weigh 12 grams and take 40 minutes to print. The new appliance costs two hundred times that. That gap is the entire reason people buy a printer for repairs rather than for figurines, and it works because nothing about a small plastic bracket needs industrial manufacturing.
This guide walks through the whole loop: deciding whether a printed part is appropriate, getting a model, fitting it correctly on the first or third try, and knowing which repairs to walk away from. Most projects take an evening of work and a few hours of machine time. The hardest part is not the printing. It is deciding what the part has to survive.
Table of Contents
- 1What You Need
- 2Step-by-Step: 3D Printing for Home Repair Projects
- 31. Identify the repair and inspect the failed part
- 42. Measure accurately and model the replacement
- 53. Choose the right printer and material
- 64. Plan 3D printing for home repair projects
- 75. Print, test, and refine the part
- 86. Finish and install the replacement safely
- 9Common 3D Printing Repair Mistakes and Fixes
- 10Frequently Asked Questions
- 11What kind of 3D printer is best for home repairs?
- 12Can PLA filament be used for household repair parts?
- 13Are 3D-printed parts strong enough for home repairs?
- 14How do I make a 3D-printed replacement fit correctly?
- 15Can I use 3D-printed parts outdoors or in hot and wet areas?
- 16Which home repairs should I not attempt with a 3D-printed part?
- 17Conclusion
What You Need
The equipment list is short, and most beginners already own half of it.
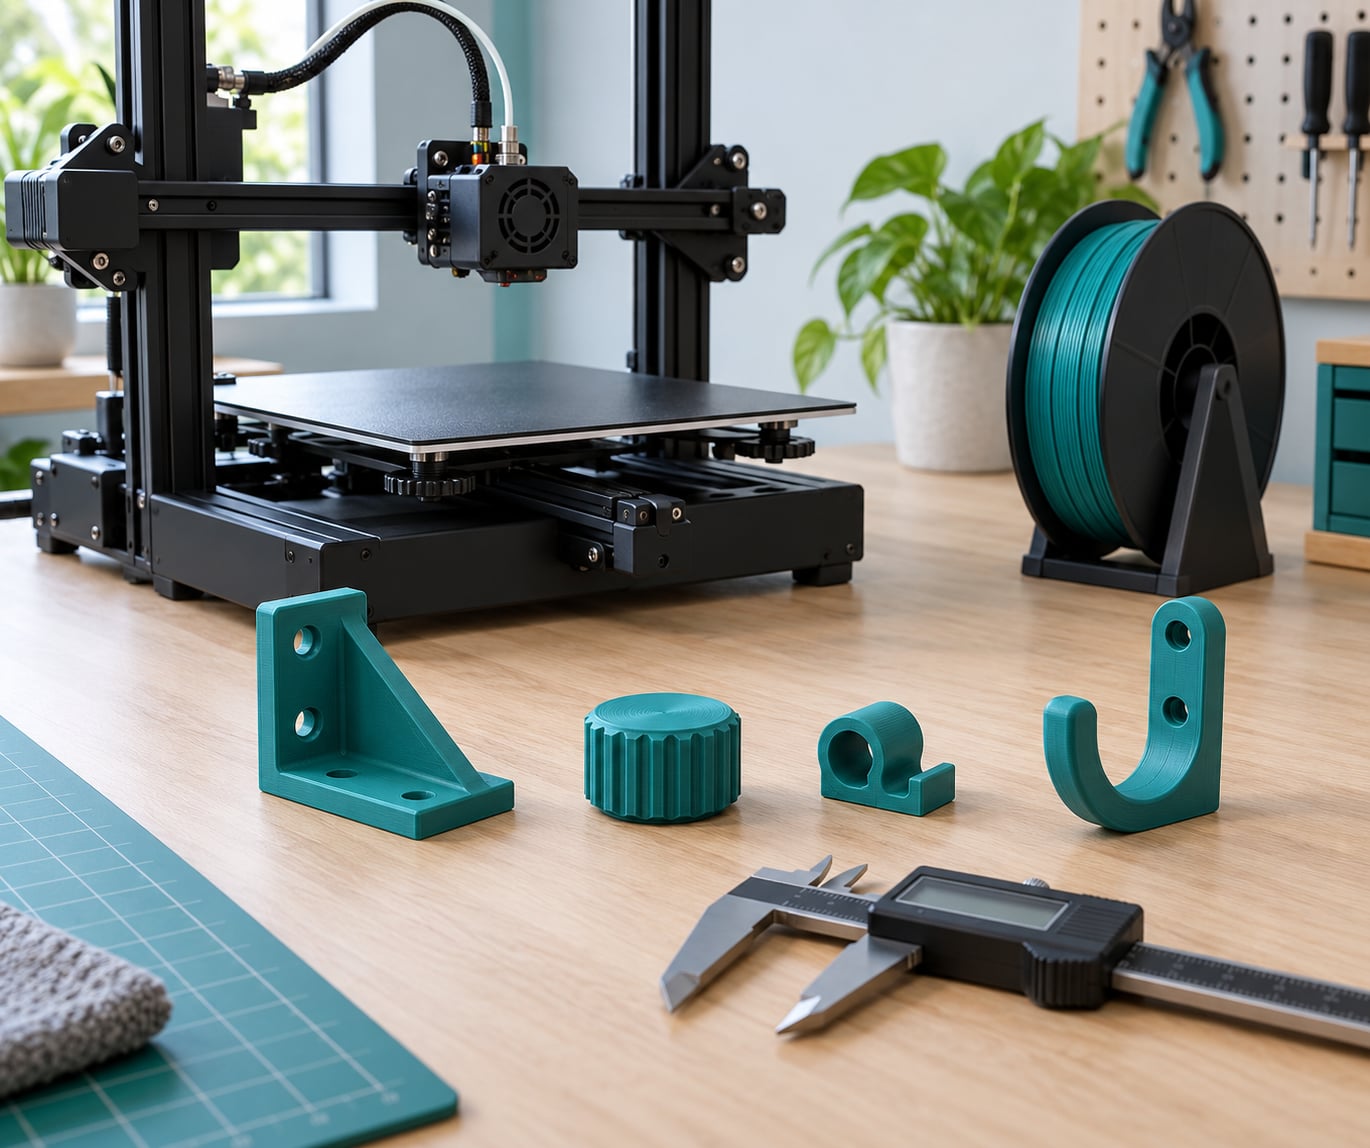
A printer. For repair work, a filament (FDM) machine covers almost everything: brackets, hinges, knobs, clips, drawer dividers, wall hooks and jigs. A resin printer earns its place only for very fine detail, such as a small clip that snaps into a slot under a millimetre wide. Resin is a different workflow with different ventilation and handling requirements, and I would not start there.
Filament. Start with one spool of PLA for light parts and one of PETG for anything that gets handled, warmed, or loaded. Add ASA, nylon or polycarbonate only when a specific job calls for heat or strength. Filament choice matters more to the outcome than printer brand.
Digital calipers. This is the tool that decides whether the project works. You need to measure the socket, the hole and the shaft, not eyeball them.
CAD software and a slicer. FreeCAD handles parametric modelling if you want full control. Photogrammetry apps turn a phone photo set into a rough mesh. A slicer such as PrusaSlicer, OrcaSlicer or Cura turns a mesh into printable toolpaths and is not optional.
Finishing tools. Files, sanding sticks, 180 to 400 grit paper, hobby paint, and a small clamp for test fitting. Most functional prints need none of this, which is exactly the point.
Protection. Nitrile gloves and eye protection for support removal, and a decent filter or a spare room for ABS and ASA fumes.
One honest note on whether a printer pays for itself. If you expect one repair a year, the machine cost dwarfs the parts you would buy. Treat it as a tool you will use, not an investment you expect to recover.
Step-by-Step: 3D Printing for Home Repair Projects
1. Identify the repair and inspect the failed part
Start by asking whether a printed replacement is a reasonable idea at all. Hold the failed part and answer four questions: what load does it carry, how hot does the area get, how wet does it get, and how little clearance does it have to work in?
Load is the big one. A cabinet hinge leaf that only swings a door is nothing like a bracket holding a shelf of books. Heat rules out PLA and most other low-temperature filaments outright, because PLA starts to lose stiffness well before it visibly softens. Moisture rules out anything that will live outdoors or in a sink cabinet without a coating.
Keep the broken part. Do not bin it. It is the only dimensional reference you have, and the manufacturers of cheap consumer goods often publish nothing useful about component dimensions. Photograph it from four angles next to a ruler, and photograph where it sat in the assembly, because assembly context tells you the load direction.
Ask whether a jig works better than a replacement. A printed template that marks screw hole positions for a new cabinet hinge often solves the problem in 20 minutes of printing, when a replacement part would need an entire reverse-engineered model. Printers in the r/3Dprinting community describe both approaches constantly, and the jig route is underrated.
2. Measure accurately and model the replacement
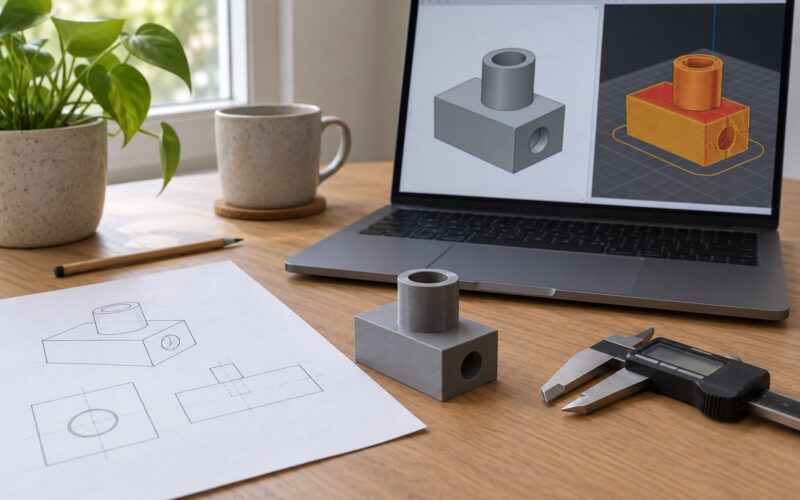
Measure only the dimensions that matter. Every dimension you add is a dimension you can get wrong. For a knob, that is the shaft diameter, the shaft length, and the bore depth. For a bracket, it is hole spacing, hole diameter, and the offset between the mounting faces.
Write each measurement down with its units and re-measure in the reverse order to catch a misread. Then add clearance deliberately. A sliding fit wants roughly 0.2 to 0.3 mm of extra space on a diameter, a press fit wants the shaft slightly oversize. FDM printers vary a lot between machines, so treat these as starting points and let the test fit correct you.
Two modelling details cause most failures. Sharp internal corners are impossible to print and impossible to insert into, so add a fillet or a lead-in chamfer on anything that goes into a hole. Mating parts need a small draft angle so they release from the nozzle without dragging.
You have three ways to get a model, and the honest tradeoffs matter:
- Download a free model. Fastest, zero skill. Printables, Thangs, Cults3D and MakerWorld all host usable repair models. Vet before you commit: check the upload date, the photo count, whether the designer printed it themselves, and whether the file has enough triangles to look finished rather than faceted. Thingiverse content is still findable, but the active communities have largely moved to the other four.
- Scan the original. Use a 3D scanner or a photogrammetry app with the part on a plain background and good diffuse light. Scanning is fast but struggles with shiny black, transparent, thin and deeply concave surfaces, which describes a startling share of failed appliance parts. Add masking tape or a matte spray coating to a shiny part and the scan improves dramatically.
- Model it yourself. Slowest, and the only method that lets you fix the design flaw that caused the break. A 3D scan gives you a clone of the same weak geometry; a CAD model lets you thicken the hinge rib, add a fillet at the stress riser, and fix the part so it survives.
3. Choose the right printer and material
Match the filament to the load case, not to habit. This table is the decision most beginners skip and most printed failures trace back to.
| Load case | Best filament | Why | Watch out for |
|---|---|---|---|
| No stress: clips, dividers, hooks, trim | PLA | Easy to print, low warp, tight detail, sandable and paintable | Brittle if thin; softens in a hot car or attic |
| Light stress: knobs, handles, brackets, hinge leaves | PETG | Tougher than PLA, survives drops and repeated handling, heat tolerant to around 80 C | Strings more; needs a little more temperature discipline |
| Heavy stress: shelf brackets, latches, load-bearing mounts | ASA, nylon, or polycarbonate | Higher heat deflection, better impact and creep resistance | Nylon needs an enclosure and a hardened nozzle; ASA warps without a chamber |
| Heat and UV: near a stove, outdoors, in a car | ASA or polycarbonate | The UV-stable choices, and they hold shape at temperatures that soften PLA | Still not for a stovetop surface or a heater housing |
| Flexible: gaskets, bumpers, cable strain relief | TPU | Bends repeatedly without cracking, good grip and abrasion resistance | Prints slowly, bridges badly, needs slower speeds |
| Fine detail: small latch, keyed insert | Resin, or FDM at 0.1 mm layer height | Resin captures detail FDM cannot reach | Resin needs gloves, ventilation and a wash and cure step |
On ventilation, the honest answer: PLA and PETG release very little, and a normally ventilated room is fine for an FDM machine, including overnight. ABS and ASA at high temperatures are a different conversation, and a carbon or HEPA filter or a closed room helps. Resin needs gloves, a wash station, and a space you do not share with food or bedding.
4. Plan 3D printing for home repair projects
Four settings decide whether a functional part survives, and most people only tune one of them.
Walls beat infill. For a loaded part, raise wall count before you raise infill. Strength in FDM comes from how many solid shells run around the geometry, not from how much honeycomb sits inside it. Four to six walls usually outperforms 60 percent infill in a side-loaded test, and it prints more predictably.
Orientation follows the load. Layers bond to each other well within a layer plane and poorly across layers. A part that carries load in one direction wants that direction printed flat on the bed, with each layer spanning across the stress. This single choice fixes more failed prints than any material swap.
Layer height is a tradeoff. 0.2 mm is the sane default for functional parts. Drop to 0.12 mm for visible fit surfaces and mating holes. Go coarser only for a rough draft you intend to sand.
Supports are a last resort. Every support is a scar and an extra removal step. Redesign the part to bridge short gaps at 45 degrees, and add a small chamfer where the angle starts. When you do need supports, place them on surfaces you can hide or sand without affecting a fit.
Budget print time honestly. A 60 percent infill, six-wall bracket can run eight hours, and the print has to sit undisturbed. Print small test coupons alongside the real part so a bad profile is caught in 20 minutes rather than overnight.
5. Print, test, and refine the part
When the print finishes, look at it before you force anything. Check for layer shifts, gaps between layers, blobs at the seams, stringing, and lifted corners. Any of those means the print is weaker than it looks, and it should be reprinted rather than tested.
Test fit by hand, gently. You should be able to push the part in with light finger pressure. If it needs a tool, something is wrong with the model, not with your grip.
Diagnose the fit before you reprint, because reprinting the same file unchanged always produces the same fit.
- Will not go in at all: holes printed undersize. Increase the bore by 0.2 to 0.3 mm in CAD, or use a hole that measured slightly oversize when you calipered it.
- Goes in loose and rocks: the slot is oversized or the part is warped out of flat. Scale the model to 100.5 percent, or add a small rib to fill the gap.
- Fits but wobbles under load: the part has an elephant foot, where the first few layers spread out and tighten the clearance at the base. Slice with an elephant foot compensation and a small chamfer on the leading edge.
- Snapped during removal: it was under-supported or the layer adhesion was poor. Add a small fillet at the break line, raise the nozzle temperature within the material’s range, and slow the outer wall.
Save the file and the slicer profile the moment it works. The second failure of the same part is a two-minute reprint, not a new project.
6. Finish and install the replacement safely
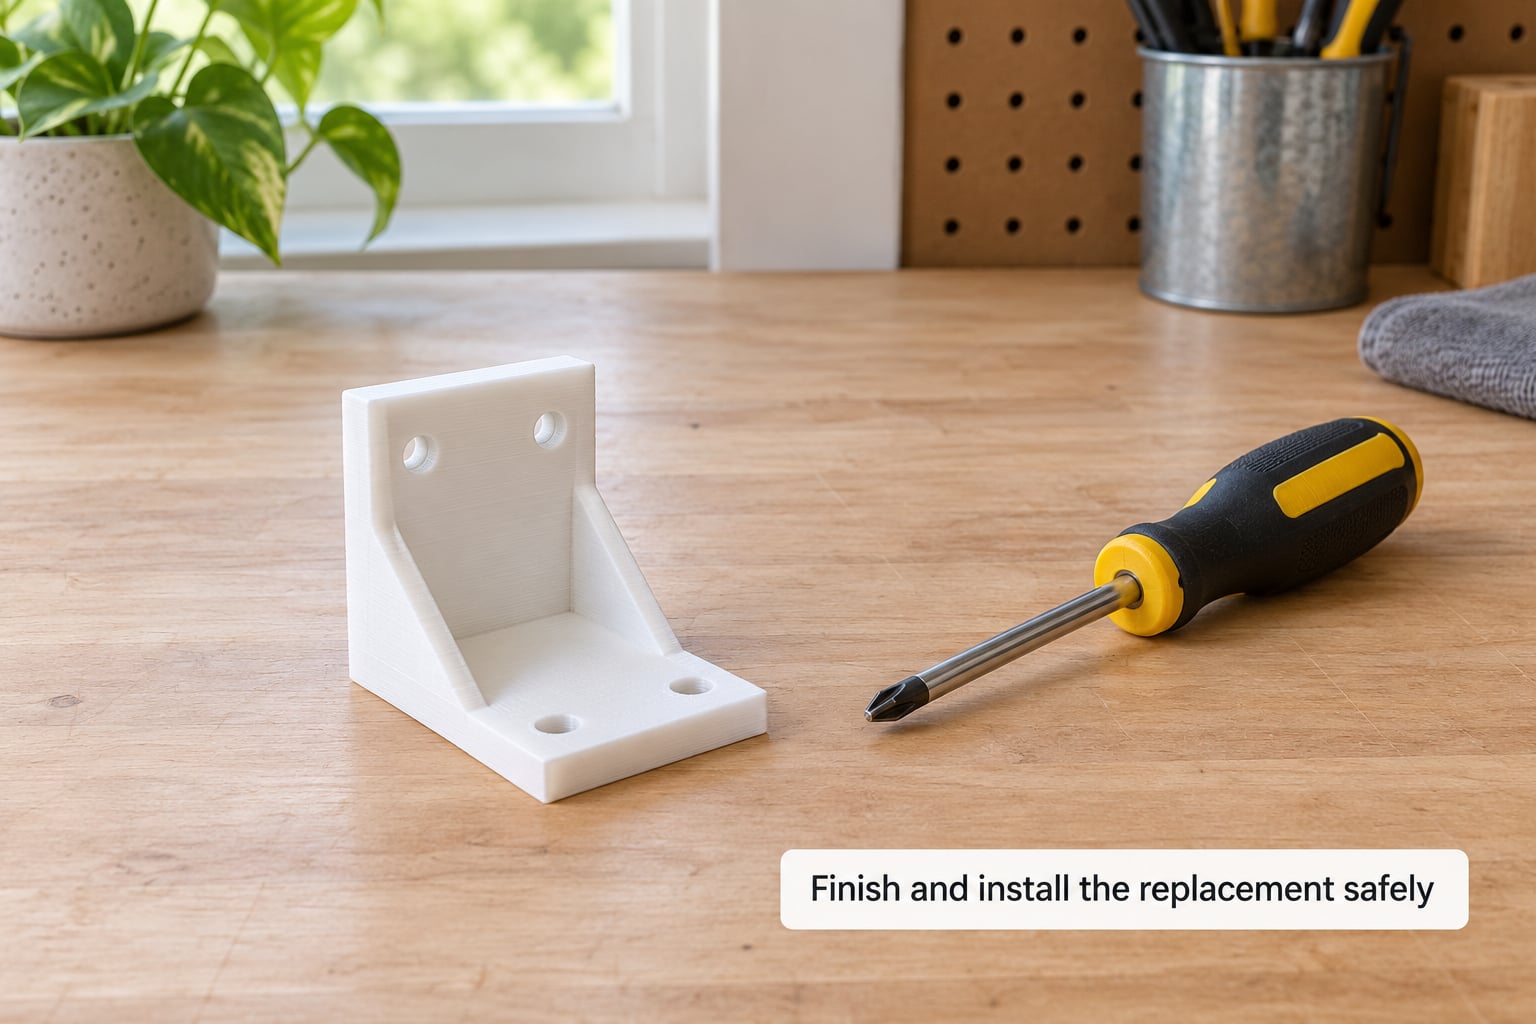
Most functional prints are better left raw. A part that goes into a mechanism should keep its printed surface so any future slip reads clearly rather than being hidden under filler.
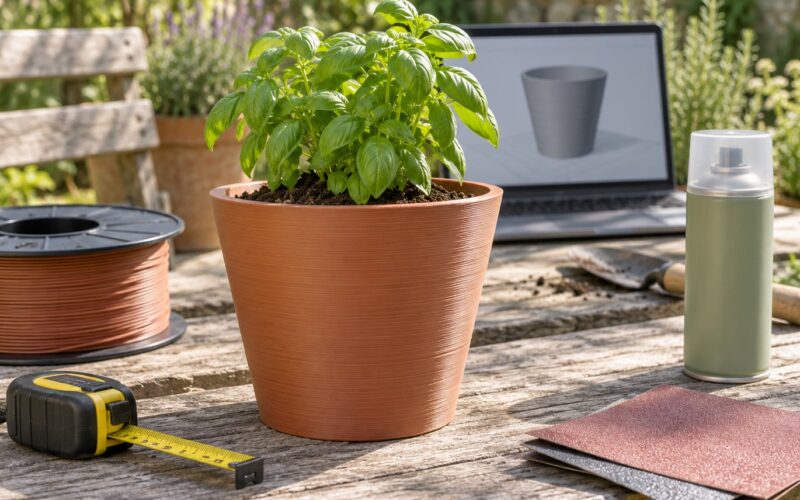
For visible parts, work up through 180, 240 and 400 grit, fill the layer lines with filler primer, sand again, then paint. A light coat of matte clear finish protects a PETG knob in a humid room. Skip heat-set smoothing on anything that needs to stay dimensionally accurate, because the process warps flat panels.
Install it as if the part were the original. Use the specified screws, do not overtighten plastic threads, and check the part moves freely through its full range before you close the housing up.
There are repairs you should not attempt with a printed part, whatever the model quality. Anything structural or load-bearing. Anything on mains electricity, including enclosure parts near a live panel. Anything involving gas, water pressure, or a child-safety restraint. Anything that carries a person’s weight. And any surface that touches food, unless you are using a resin formulated and labelled for food contact and you follow its cure schedule exactly.
Cosmetic trim, a broken drawer runner, a missing vent grille, a control knob, a cable clip and a mounting template are all fair game. A load-bearing shelf bracket in a garage is not. Follow the manufacturer’s instructions for the original item, and bring in a qualified professional for structural, electrical and gas work.
Common 3D Printing Repair Mistakes and Fixes
Every one of these shows up repeatedly in home repair printing, and every one has a specific cause.
- Measuring the old part instead of the socket. The shaft may be worn out of round. Measure the hole the part goes into, in three places, and take the average.
- Guessing dimensions instead of using calipers. Eyeball accuracy on a 3 mm shaft is poor. This is the single most common cause of a reprint that still does not fit.
- Copying the original design flaw. If the part broke at a thin rib, printing the same thin rib reproduces the failure. Thicken it in CAD.
- Strong in infill, weak in reality. High infill with two walls looks substantial in a slicer preview and snaps along the layer lines. Add walls.
- Printing a loaded part on its edge. The load then pulls across layer boundaries. Reorient it flat.
- Printing PLA near heat. A knob near a stove or on a windowsill deforms without warning. Move up to PETG, ASA or polycarbonate.
- No clearance in the design. Zero-clearance CAD models cannot be printed or assembled. Design the fit, then compensate for the process.
- Over-supporting. Scars on a mating surface become a fit problem later. Redesign to bridge instead.
- Warping at the corners. Add a brim, keep the enclosure steady, and make sure the bed is not drafty. Corners lift first because they cool fastest.
- Reprinting the same file after a failed fit. Change one dimension or one setting, or the second print fails identically.
- Ignoring a part that already snapped once. If the original was designed with a stress riser, the reprint inherits it. That is the moment to model a real fix.
A few tips worth keeping. Print a 20 mm test block before committing to a real part, so calibration problems surface in minutes. Keep every filament spool labelled with the material and the nozzle temperature you used. And never print a load-bearing or electrical part on a machine you have not run a test coupon on.
Frequently Asked Questions
What kind of 3D printer is best for home repairs?
A filament FDM printer handles almost every home repair part: brackets, hinges, knobs, clips, covers and jigs. Resin is only worth it for very fine detail such as a small keyed insert or a latch narrower than a millimetre, and it adds washing, curing, gloves and ventilation to the workflow. Start with FDM, get good at walls and orientation, and only look at resin when a specific job needs it.
Can PLA filament be used for household repair parts?
Yes, for the large majority of household repairs. PLA is accurate, easy to sand and paint, and ideal for clips, drawer dividers, hooks, trim and non-loaded brackets. Its limits are heat and impact: it softens near a hot surface or a parked car and snaps if a thin part is loaded. For knobs, handles and anything handled daily, PETG is the better choice.
Are 3D-printed parts strong enough for home repairs?
For most repairs, yes. A part printed with four to six walls and oriented so each layer runs across the load will handle repeated daily use, and it often outlasts the original thin-wall component it replaces. Two situations are different: anything structural, and anything where a failure would be a safety hazard. Use a qualified professional for those, and use ASA, nylon or polycarbonate for serious load.
How do I make a 3D-printed replacement fit correctly?
Measure the socket rather than the worn original, with digital calipers, and take three readings to average out wear. In CAD, add 0.2 to 0.3 mm of clearance for a sliding fit, fillet or chamfer any hole the part enters, and add a small draft angle so it releases from the nozzle. Then test fit by hand and change one dimension at a time, because reprinting the same file unchanged gives the same result.
Can I use 3D-printed parts outdoors or in hot and wet areas?
Outdoors and near heat, avoid PLA entirely, since it degrades in ultraviolet light and softens in a hot car or attic. ASA or polycarbonate handle sun and heat far better, and a thin coat of exterior paint adds real weather resistance. For wet indoor areas such as a sink cabinet, PETG works, and filling the surface with epoxy after printing closes the layer lines that otherwise trap water.
Which home repairs should I not attempt with a 3D-printed part?
Skip printed parts for anything structural or load-bearing, anything on mains electricity, anything involving gas or water pressure, anything that carries a person, and any surface that touches food unless you use a food-contact resin with the correct cure schedule. Printing a replacement for your own broken item is generally fine; the limits are about consequences of failure, not about ownership. Bring in a qualified professional for those jobs.
Conclusion
The safest first move is boring: keep the broken part, measure it properly with calipers, and decide what the replacement has to survive before you pick a material. Start on something non-critical, like a drawer divider, a cable clip or a mounting jig, and learn the workflow there. Once a first part fits and holds, the harder projects stop being mysterious. Then leave structural, electrical and gas work to professionals, as the manual and the code require.