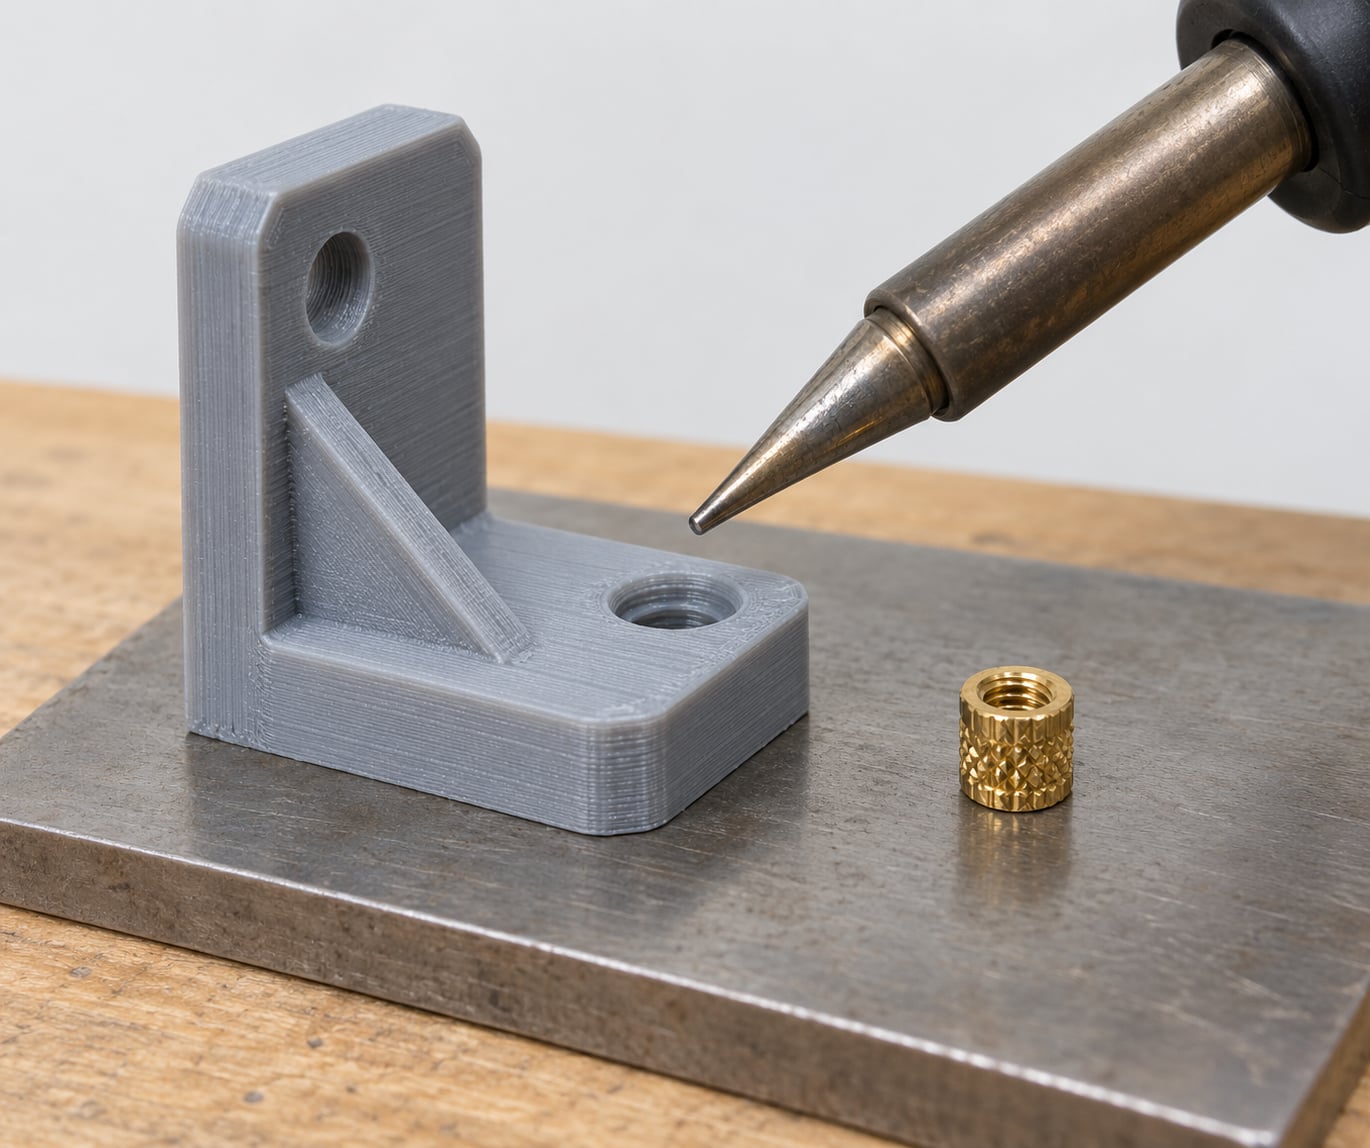
How to add threaded inserts to 3D prints is mostly a CAD problem: model a hole the size the insert manufacturer specifies, print it with a thick boss around it, then press the knurled brass sleeve into the plastic with a heated soldering iron tip until the melted plastic flows into the knurling. The plastic cools, grips the knurls, and you are left with a real metal thread that survives being opened and closed far more times than a screw running directly into printed plastic. It takes about five minutes per insert once you have the tools, and about an hour to do it properly for the first time on a fresh part.
The reason to bother is durability. A self-tapping screw driven into a PLA or PETG hole shears plastic off the thread crests every time it turns. After a handful of cycles the screw stops biting, then spins. I have a battery door on a printed enclosure that ate exactly this way, and the same door rebuilt with a brass insert has gone back on and off dozens of times without complaint.
Table of Contents
- 1What You Need
- 2Step-by-Step: How to Add Threaded Inserts to 3D Prints
- 31. Choose the Right Threaded Insert
- 42. Design the Recessed Insert Pocket
- 53. Export, Slice, and Print the Part
- 64. Insert the Threaded Insert Correctly
- 75. Clean and Test the Thread
- 8Common Mistakes
- 9Frequently Asked Questions
- 10How do I size the hole for a threaded insert in a 3D print?
- 11Can I use a threaded insert in PLA or PETG?
- 12Should the insert pocket be printed in a particular orientation?
- 13Why does my threaded insert spin or wobble after installation?
- 14How do I remove a heat set threaded insert?
- 15Do I need to print a thread directly into the part instead of using an insert?
- 16Conclusion
What You Need
Everything here is cheap and most of it is already on a workbench. The insert itself is the only consumable, and the one thing you absolutely must not skip is the manufacturer’s hole dimensions.
- The insert itself in the thread size you need, most often M3, M4 or M5. Brass heat-set inserts are the common choice; stainless steel versions exist for corrosion and weight reasons.
- The matching screw, ideally with a flat or pan head rather than a countersunk head, so the head does not sink into soft plastic and split the boss.
- A heat-set tool or a soldering iron with a conical or stepped tip sized to the insert. A dedicated press tool is nicer; a temperature-controlled soldering iron does the same job.
- CAD software such as Fusion 360 or FreeCAD for the pocket, and a slicer such as PrusaSlicer or Cura for print settings.
- A printer, obviously, plus a hard flat surface to push against.
- Tweezers or fine pliers for holding the insert, and optionally a spare tip, some isopropyl alcohol, and a compressed air bulb.
The one item that is not a tool: the hole size chart from whichever insert brand you bought. Hole diameters are not interchangeable across brands, and the widely circulated generic dimensions cause exactly the spinning and cracking complaints that show up in forums. Read the number off the insert datasheet or its printed test coupon and use that.
Step-by-Step: How to Add Threaded Inserts to 3D Prints
1. Choose the Right Threaded Insert
Heat-set inserts melt into the plastic. Press-fit inserts, also called threaded rivet nuts, are pushed in cold with a press or hammer and deform to lock into a slightly undersized hole. Heat-set is the default choice for FDM prints because the hole can be tuned with heat and it needs no pressing force, which matters when the boss is thin.
Match the insert to the job, not just to the screw. If the joint gets opened and closed regularly, use a brass heat-set insert sized for your metric screw. If the part will be discarded or the load is light and permanent, a self-tapping screw straight into a clearance hole is faster and perfectly fine. Users on r/3Dprinting consistently recommend inserts for anything functional that gets screwed together, and PETG and ABS parts are exactly the case they mean.
One honest caveat: brass adds weight. On a drone frame or a small RC panel, several M2 inserts are noticeable on the balance. Press-fit or captive nut traps are lighter if weight is the deciding factor.
2. Design the Recessed Insert Pocket
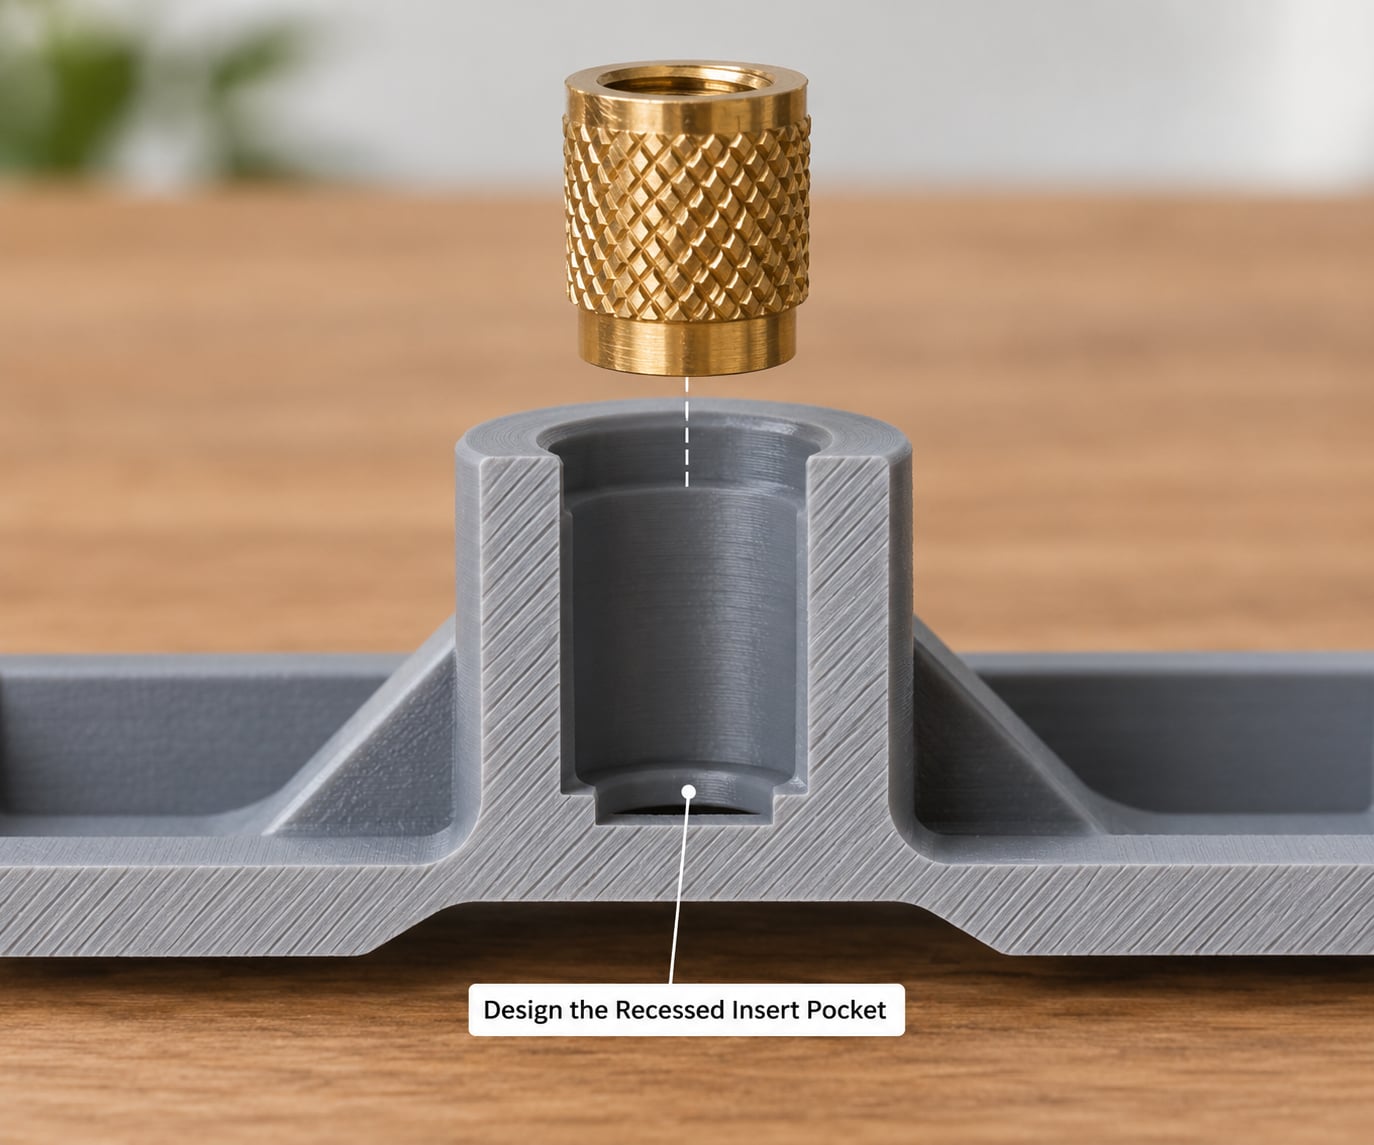
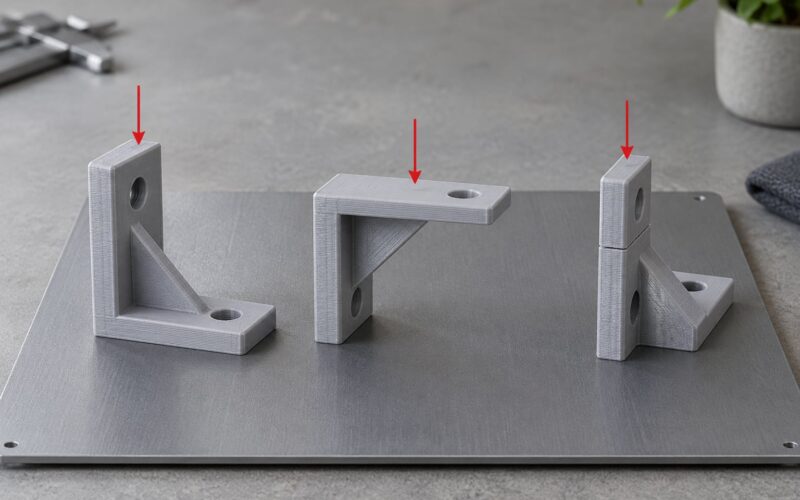
This is the half of the job that decides whether the insert works, and it all happens before the printer starts. Four rules: the pocket needs a solid floor, its diameter comes from the manufacturer, it goes deeper than the insert is long, and the boss around it is thick enough not to split.
First, place the insert against continuous solid material, not against an open cavity. Heat flows into whatever it touches, and if the pocket breaks through to an air gap underneath, the plastic does not melt evenly. Build the pocket into a raised boss sitting on a solid wall or floor rather than drilling into a thin panel.
Second, set the pocket diameter to the insert’s outer diameter, minus whatever the manufacturer specifies for the target material. Most brands publish a recommended hole slightly under nominal because FDM holes already print small, usually by around 0.1 to 0.2 mm. That shrinkage works in your favour here, so do not compensate for it twice. If your printer produces accurate holes, go with the datasheet number exactly.
Third, cut the pocket 1 to 2 mm deeper than the insert length. That extra depth is relief space for displaced plastic. Without it the insert bottoms out on its own debris and sits proud instead of flush, which is the most common complaint about an otherwise good install.
Fourth, add a small chamfer or lead-in at the mouth so the insert finds the hole rather than skating off the edge, and model the screw clearance hole above it. The clearance hole should follow the screw’s major diameter with a little room, not the pitch diameter.
The sizes below are a starting point for common brass heat-set inserts. Check them against the brand you buy before committing, and treat them as a coupon target rather than gospel.
| Screw | Typical insert OD | Suggested pocket diameter | Minimum pocket depth |
|---|---|---|---|
| M2 | 3.2 to 3.6 mm | 3.2 to 3.4 mm | 3.0 to 3.5 mm |
| M2.5 | 3.6 to 4.0 mm | 3.6 to 3.8 mm | 3.5 to 4.0 mm |
| M3 | 4.0 to 4.6 mm | 4.0 to 4.2 mm | 4.0 to 5.0 mm |
| M4 | 5.6 to 6.0 mm | 5.6 to 5.8 mm | 5.5 to 6.5 mm |
| M5 | 6.4 to 7.6 mm | 7.2 to 7.4 mm | 7.0 to 8.0 mm |
Now the boss itself. Give the insert roughly twice its outer diameter of surrounding material, which works out to about 1.5 mm of plastic on every side of an M3. Four or more perimeter walls around the pocket is the community consensus number, and infill of 30 to 50 percent inside the boss keeps the core from being hollow. A generous flat pad around the screw head matters too, since that is where the clamping load lands.
Tool temperature follows the filament. The number below is the iron setting, not the nozzle temperature.
| Filament | Tool temperature | Note |
|---|---|---|
| PLA and PLA+ | 200 to 230 C | Installs easily; creeps under sustained load in warm conditions |
| PETG | 230 to 250 C | Best all-round choice for functional parts |
| ASA and ABS | 240 to 260 C | Handles heat far better than PLA |
| Nylon | 260 to 290 C | Check for warping around the boss first |
| Polycarbonate | 270 to 300 C | Work near the edge of the material’s limits |
3. Export, Slice, and Print the Part
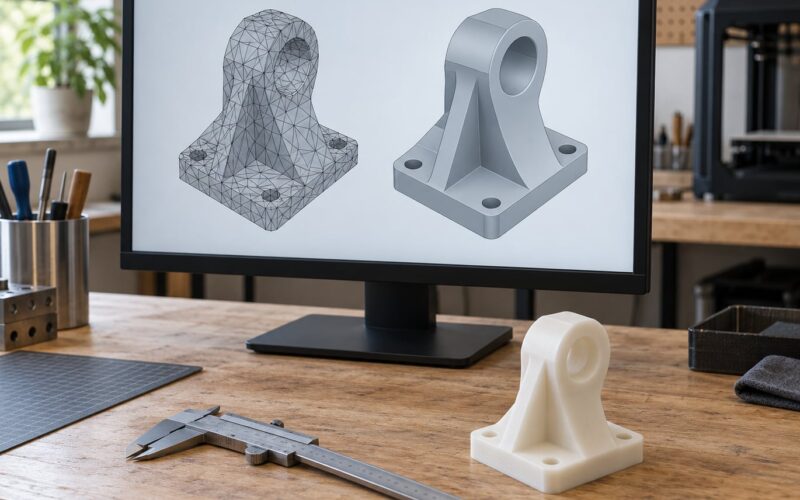
Export as STL for a normal FDM print, or STEP if you want to keep the parametric model for later edits. If you model the pocket as a parametric feature driven by the insert diameter, changing brands later is a one-number edit instead of a redraw.
On slicing, two settings matter more than the rest. Keep perimeters at three or more so the boss has real walls, and check the layer height against the insert diameter: at 0.2 mm layers an M3 pocket is about 20 layers deep, which is plenty, but a fine 0.08 mm layer height on an M2 pocket gives you very little room for error and is not worth it. Orientation matters most where the pocket runs along Z, since a vertical hole gives the cleanest cylindrical wall; if the hole has to be horizontal, add a small chamfer at the opening and expect slightly elliptical holes.
Before committing a full enclosure or a bracket, print a small test coupon: a flat plate with one M3 and one M4 pocket, a few millimetres of solid material around each, and enough size to test screw-in by hand. Install one insert, check whether it seats flush and whether the screw self-aligns. If the coupon is off, change one number and reprint a coupon rather than reprinting the whole part.
4. Insert the Threaded Insert Correctly
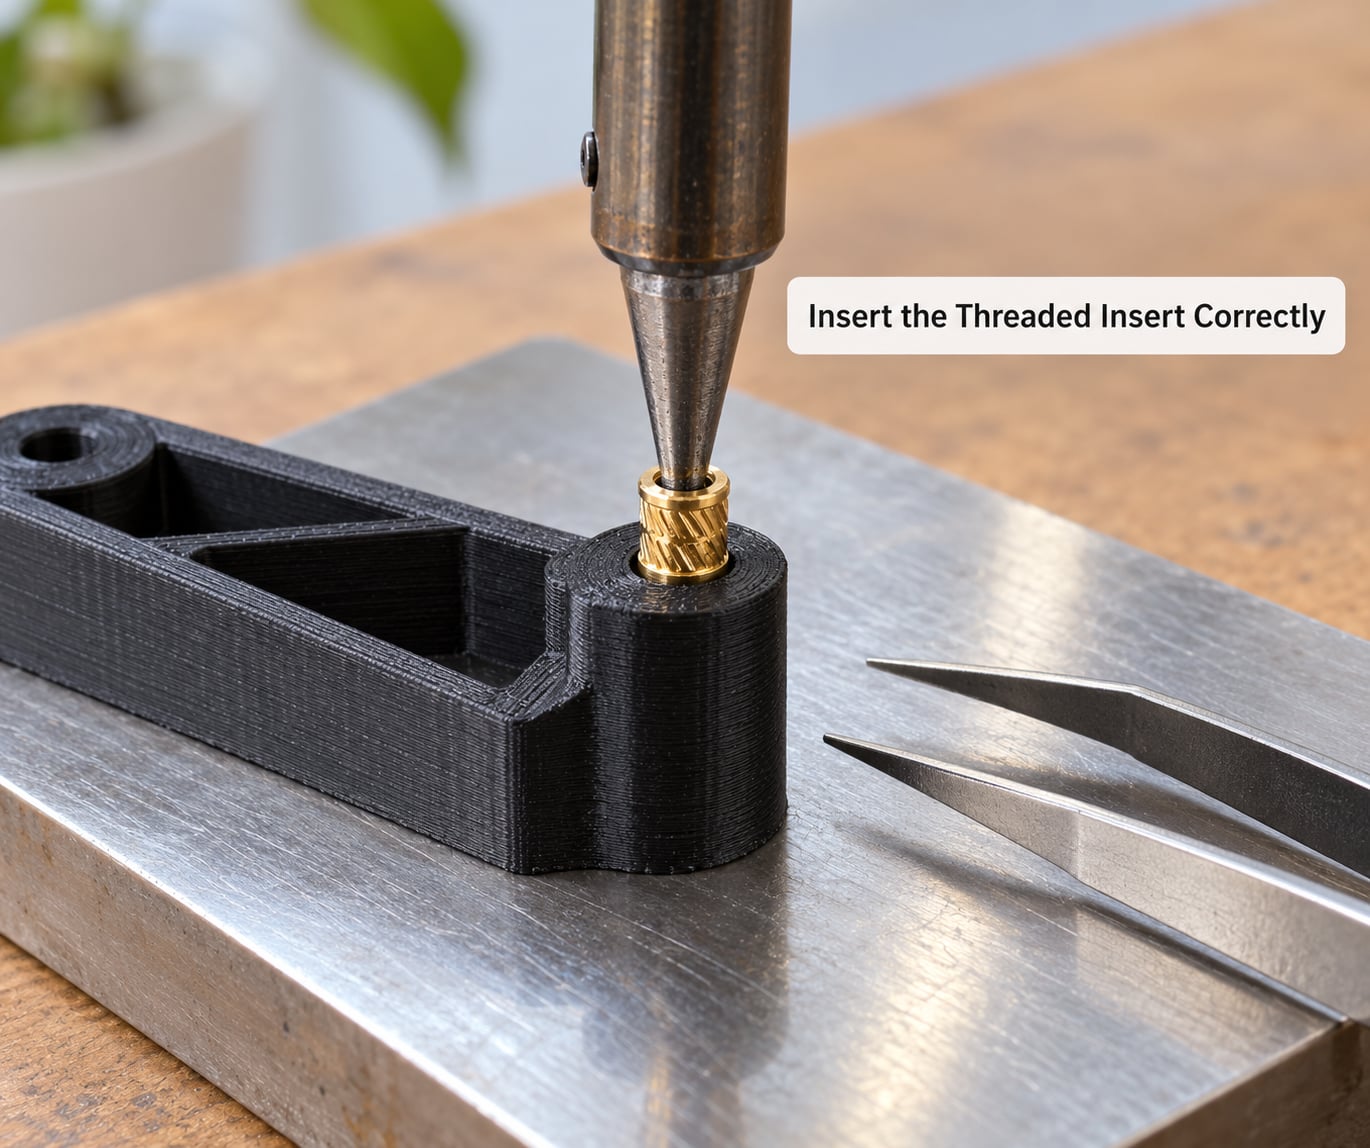
Print done, part off the bed and cool. Clean the pocket so no stringing or support residue sits under the insert, then set the tool to the temperature from the table above. You want the plastic to slump and flow into the knurls, not char or bubble.
Drop the insert into the pocket and press straight down with the tip while holding it level. Push until it is roughly flush with the surface, or a hair proud of it. Then lift the iron and stop touching it. This is the step people break: the plastic needs 20 to 30 seconds to cool and set, and nudging the insert while it is still soft tilts it. Walk away, come back, check it is level, then move on.
If the plastic bubbles up on one side and creeps into the thread, you went in too fast or too hot. Back the temperature down 20 degrees and slow the press. If you get a puff of smoke when the tip touches the plastic, drop it another 30 degrees.
Plates with several inserts are where people lose patience. Mark the pocket centres on the surface with a scribe before you start, work from a hard flat plate so every insert presses against the same plane, and stop after each one to confirm it is level before moving to the next. Aligning four inserts at once is a common r/3Dprinting complaint precisely because people try to rush them together.
5. Clean and Test the Thread
Run a compressed air burst or an isopropyl wipe down the insert so any plastic flash sitting on the thread crest is gone. Look straight down the hole and check the insert is level and fully seated.
Now thread the screw in by hand. It should start on its own and advance smoothly with light finger pressure for several full turns before you feel resistance. If it binds, cross-threads, or needs a wrench to start, the insert is crooked or has plastic in the thread, and you should pull it while it is still warm rather than fight it.
Use a thread gauge or a second matching screw to confirm the pitch is right, or simply tighten the first screw to the torque the joint needs and check it does not bottom out before it is snug. Resist cranking it down: the screw will strip before the insert does, and over-torquing is what cracks the boss in the first place.
Common Mistakes
Nearly every failure here has a symptom you can recognise before you start the next install.
| Symptom | Likely cause | Fix |
|---|---|---|
| Insert spins or wobbles in the hole | Pocket too large, or the insert never reached full depth | Reduce the pocket diameter by 0.1 to 0.2 mm and reprint, or reheat and press it fully home |
| Insert sits proud, not flush | Pocket too shallow, no relief space for displaced plastic | Add 1 to 2 mm of depth and reprint the boss |
| Boss cracks or splits on the way in | Walls too thin or infill too low | Raise the boss to about twice the insert diameter, use 4 or more perimeters and 30 to 50 percent infill |
| Plastic bubbles into the thread | Too much heat or too fast a press | Drop tool temperature by 20 to 30 C and push more slowly |
| Screw will not start by hand | Insert went in crooked, or thread is contaminated | Reheat while still warm, pull it out, re-press straight down |
| Thread feels loose after many cycles | Hole printed oversize, no knurl engagement | Fill with epoxy and retap, or print the boss with a smaller pocket |
| Hole blocked or filled with plastic | Support material left in the pocket, or heavy stringing | Clear the pocket before heating; use a hole with a slight downward taper |
Two more that catch people out. Brass inserts above M5 are hard to find and get expensive, so for larger fasteners plan around a captive nut trap or a heat-set nut rather than fighting the supply. And resin or SLA prints cannot take heat-set inserts at all, because the resin will not flow into the knurling; there, press-fit a threaded insert into a hole 0.2 mm undersize and bond it with cyanoacrylate.
Frequently Asked Questions
How do I size the hole for a threaded insert in a 3D print?
Use the pocket diameter the insert manufacturer lists for your material, not a generic number. Most brass heat-set inserts sit slightly under their nominal outer diameter because FDM holes already print about 0.1 to 0.2 mm undersize. Cut the pocket 1 to 2 mm deeper than the insert is long, add a small chamfer at the mouth, and keep at least 1.5 mm of plastic around it.
Can I use a threaded insert in PLA or PETG?
Both work. PLA installs at the lowest temperature, around 200 to 230 C on the tool, but it creeps under sustained load, so avoid bolts carrying real weight in a warm car or workshop. PETG tolerates more heat and more load and is the safer default for functional parts. ASA and ABS outperform PLA in heat, and nylon and polycarbonate work at higher tool settings still.
Should the insert pocket be printed in a particular orientation?
A pocket that runs along the Z axis prints the cleanest round hole because the nozzle describes perfect circles. If the hole must be horizontal, expect a slightly elliptical opening, so add a generous chamfer at the mouth to let the insert self-centre. Whichever way you orient it, keep the boss sitting on solid material rather than overhanging an open cavity.
Why does my threaded insert spin or wobble after installation?
Two causes cover almost every case. The pocket is larger than the insert, so the knurls never grip the wall, or the insert never reached full depth because the hole lacked relief space. Measure the pocket and the insert together and close the gap by 0.1 to 0.2 mm if it is loose. If the fit is correct and it still spins, drill the hole out and pack it with epoxy, then retap.
How do I remove a heat set threaded insert?
Heat the boss back to the install temperature with the tip and pull the insert out with tweezers while the plastic is soft, taking care not to lift the surrounding plastic with it. To save the thread, drive a screw into the insert, rest the part on a hard surface, and twist the screw rather than levering on the insert. Dremel the hole out and fill it if the part is scrap.
Do I need to print a thread directly into the part instead of using an insert?
Only for one-off parts that will never be opened again. Printed threads need careful orientation, a fine layer height, and they strip quickly once a screw has cycled through them a few times. An insert gives a metal-on-metal thread that survives repeated disassembly and costs a few minutes per hole. For jigs, fixtures, enclosure lids and anything serviced, use inserts.
Conclusion
The whole technique reduces to four things: pick the insert, take the pocket diameter from that brand’s datasheet rather than from a forum post, cut it deeper than the insert is long inside a solid thick boss, then press it straight down and leave it alone while it cools. Get those right and the screw goes in by hand and comes out cleanly every time.
Before you run a whole enclosure or a robot bracket, verify the insert specifications against the part you actually bought, then print a small coupon with one pocket and prove the fit on that. Updating a dimension in CAD costs a minute; reprinting a failed part costs hours. And if the joint does not need to open more than a couple of times, skip the insert entirely and drive a self-tapping screw into a clearance hole.