To export printable models from Blender, make the mesh a closed, watertight solid, set the scene to real-world millimeters, then go to File > Export > Stl (.stl) and tick Apply Modifiers, Apply Unit Scale, and Forward: -Z, Up: Y. Ten minutes of checking before the export saves a wasted filament spool later.
One thing worth saying up front: Blender does not send files to a printer. Whatever you export — STL, OBJ or 3MF — has to go into a slicer such as Bambu Studio, OrcaSlicer, PrusaSlicer or Cura, and only that slicer produces G-code or toolpaths the machine understands. The export is the handoff point between modelling and printing, and almost every print that goes wrong can be traced back to something that happened there.
The good news is that the failure rate drops hard once you know the three things that actually break: scale, open surfaces, and modifiers that never got applied. The rest of this guide walks through those in the order you will meet them.
Table of Contents
- 1What You Need
- 2How to Export Printable Models from Blender: Step-by-Step
- 3Step 1: Check that the model is a closed, manifold mesh
- 4Step 2: Set the model scale and units
- 5Step 3: Inspect the model for printing problems
- 6Step 4: Apply transforms and position the model
- 7Step 5: Export printable models from Blender in the correct format
- 8Step 6: Import the file into a slicer and verify it
- 9Step 7: Save a production-ready copy
- 10Common Mistakes
- 11Fixing common Blender export problems
- 12Quick tips for reliable 3D printing exports
- 13A note on colour, materials and multi-part models
- 14Printing at home versus sending to a print service
- 15Frequently Asked Questions
- 16Can Blender export models for 3D printing?
- 17Should I export STL or 3MF from Blender?
- 18Why is my exported STL the wrong size?
- 19How do I orient a model before exporting it?
- 20Can I 3D print a model made in Blender?
- 21Conclusion
What You Need
A short list, because none of this needs new hardware or paid software:
- Blender 4.x or 5.x. The export menu has been stable since 3.x, but a few labels moved between 2.8 and 4.x, and most tutorials online still show the old ones.
- A slicer. Bambu Studio, OrcaSlicer, PrusaSlicer and Cura are all fine. You need one open and ready before you start, because the slicer is where you verify the result.
- The 3D Print Toolbox add-on. It ships with Blender and is disabled by default. Enable it in Edit > Preferences > Add-ons, search “Print”, tick Import-Export: 3D Print Toolbox.
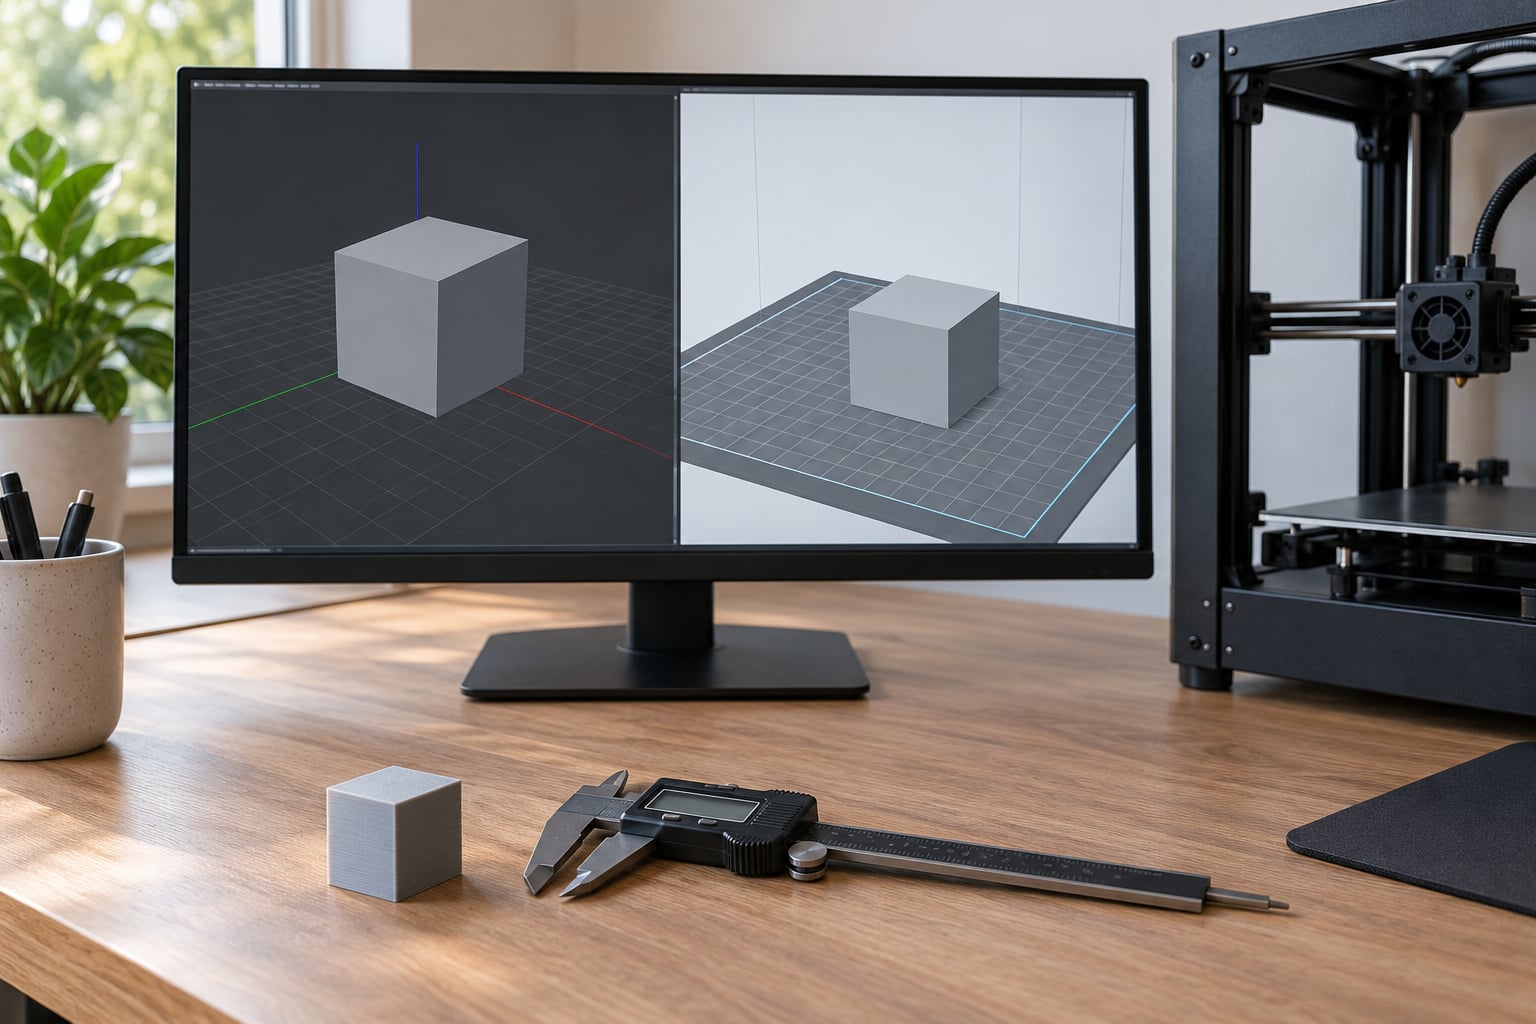
- A 20 mm test cube. Add a cube with Shift+A, then type 20 into the dimension fields. You will use it to prove your scale is correct rather than guessing.
- Calipers, ideally. Optional, but they turn an argument about whether the slicer is lying into a measurement.
If your mesh came from a sculpt, a scan, or one of those image-to-3D generators, add a repair tool such as Meshmixer or Netfabb to your toolkit. Blender can do most of the cleanup itself, but a dedicated repair app has finer control over stubborn holes.
How to Export Printable Models from Blender: Step-by-Step
Step 1: Check that the model is a closed, manifold mesh
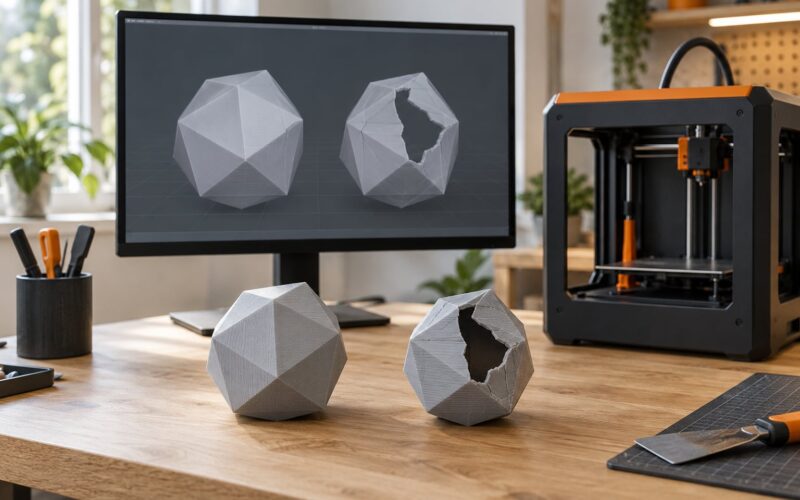
A printable model is a solid volume with no holes. Edges should be shared by exactly two faces, every face should point outward, and there should be no stray geometry floating inside. In Edit Mode, open the sidebar with N and switch to the 3D Print tab, then press Check All.
The panel lists every fault it finds: non-manifold edges, bad contiguous faces, intersecting faces, zero-area faces, thin faces, faces that are not flat. Click any line in that list and Blender selects and frames the offending geometry in the viewport, which is far more useful than a red number with no explanation.
Users on r/blender report the built-in watertight auto-fix clears roughly 70% of meshes, and that the rest still need a manual pass. That manual pass usually means: Edit Mode, Select > All by Trait > Non Contiguous, then Mesh > Merge by Distance at a small threshold to weld duplicate vertices, Mesh > Fill or F for small holes, and finally Mesh > Normals > Recalculate Outside.
If the mesh is a shell — one surface with no thickness, like a scanned skull or a sculpt that was never solidified — add a Solidify modifier of roughly 1 to 1.2 mm for an FDM nozzle of 0.4 mm. For resin, 0.8 to 1 mm is plenty.
Step 2: Set the model scale and units
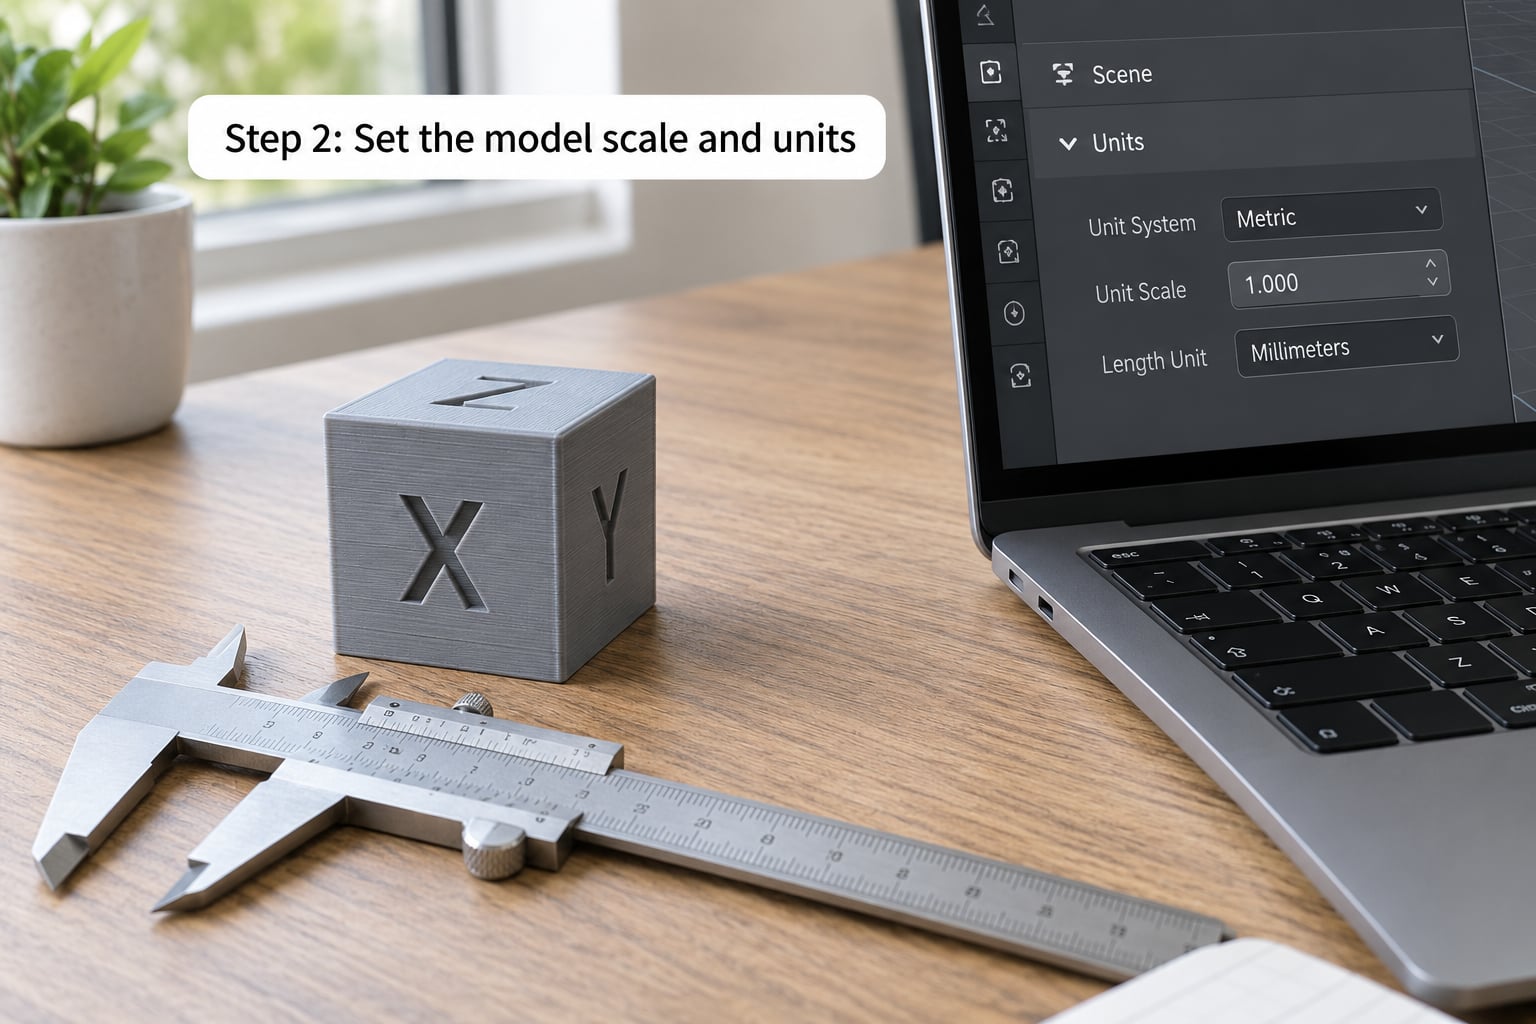
This is the single most common Blender export failure, and the default settings cause it. Blender’s default unit system is metric with a scale of 1.0, which means 1 Blender unit is treated as 1 metre. Model a part that you meant to be 50 mm across, export it, and the slicer reports a 50 metre object. Or you set the unit scale yourself, get it wrong, and the part arrives 1000 times too small.
Both conventions below are correct. Pick one and stick to it for the whole project.
Convention A — think in millimeters. Open Properties > Scene > Units, set the unit system to Metric and set Unit Scale to 0.001. Now one Blender unit reads as one millimeter everywhere in the interface: type 20 into a dimension field and it stays 20. At export, leave Apply Unit Scale checked.
Convention B — keep Blender’s metre default. Leave Unit Scale at 1.0 and model the cube as 0.02 units on a side, which is 20 mm in real terms. At export, set Transform Scale to 1000 so the written coordinates come out in millimeters.
Whichever you choose, verify rather than trust. Make your 20 mm test cube, export it, load it into the slicer, and read the dimensions panel. If it says 20 mm, you are done and you will never think about scale again. If it says 20 000 mm or 0.02 mm, one of the two numbers above is wrong and you just found out before the print, not after.
Step 3: Inspect the model for printing problems
Watertight does not mean printable. A closed mesh can still be a bad print, and you can only fix some of this in Blender while the mesh is still editable.
- Walls thinner than your nozzle. With a 0.4 mm nozzle, anything under two perimeters wide will come out as a single bead or not at all. Resin printers tolerate far thinner, down to about 0.4 mm.
- Overhangs. Past roughly 45 degrees, FDM printers start needing supports. The single most effective fix is not geometry at all — rotate the model so its largest flat face sits on the build plate and most overhangs disappear.
- Self-intersection. Two shapes merged with a Boolean modifier often leave faces cutting through each other. Use the Boolean modifier’s Exact solver, or run a Voxel Remesh at a fine voxel size and shade it smooth afterwards.
- Interior cavities and floating shells. Hollow prints trap resin and support material. Open them as vents, or remove them.
- Triangle count. For small FDM parts, 30 000 to 60 000 triangles is the comfortable range. Above 100 000, slicing slows noticeably and the file gets huge for no benefit on the printed surface.
If the count is the problem rather than the shape, add a Decimate modifier set to Collapse with a ratio around 0.5, check the result visually, and adjust from there. Never decimate a part that has to fit precisely — triangles are fine for cosplay props and figurines, and a poor choice for a mating bracket.
Step 4: Apply transforms and position the model
With the object selected, press Ctrl + A and choose Rotation and Scale. Applying scale is important, because a non-uniform object scale distorts exported geometry if it is not baked into the vertices. Applying rotation keeps the file’s axis orientation predictable for whoever opens it next.
Then handle the origin. Object > Transform > Origin to Geometry puts the origin at the edge or corner of the bounding box, which is more predictable than leaving it wherever you last clicked. Drop the object so its lowest point sits at Z = 0, because that is the plane the slicer treats as the build plate.
Rotate the model into its intended print orientation while you still have a viewport. Once it is a file, rotating it in the slicer is possible but clumsy, and split supports into the exported geometry are not something the slicer can undo.
Step 5: Export printable models from Blender in the correct format
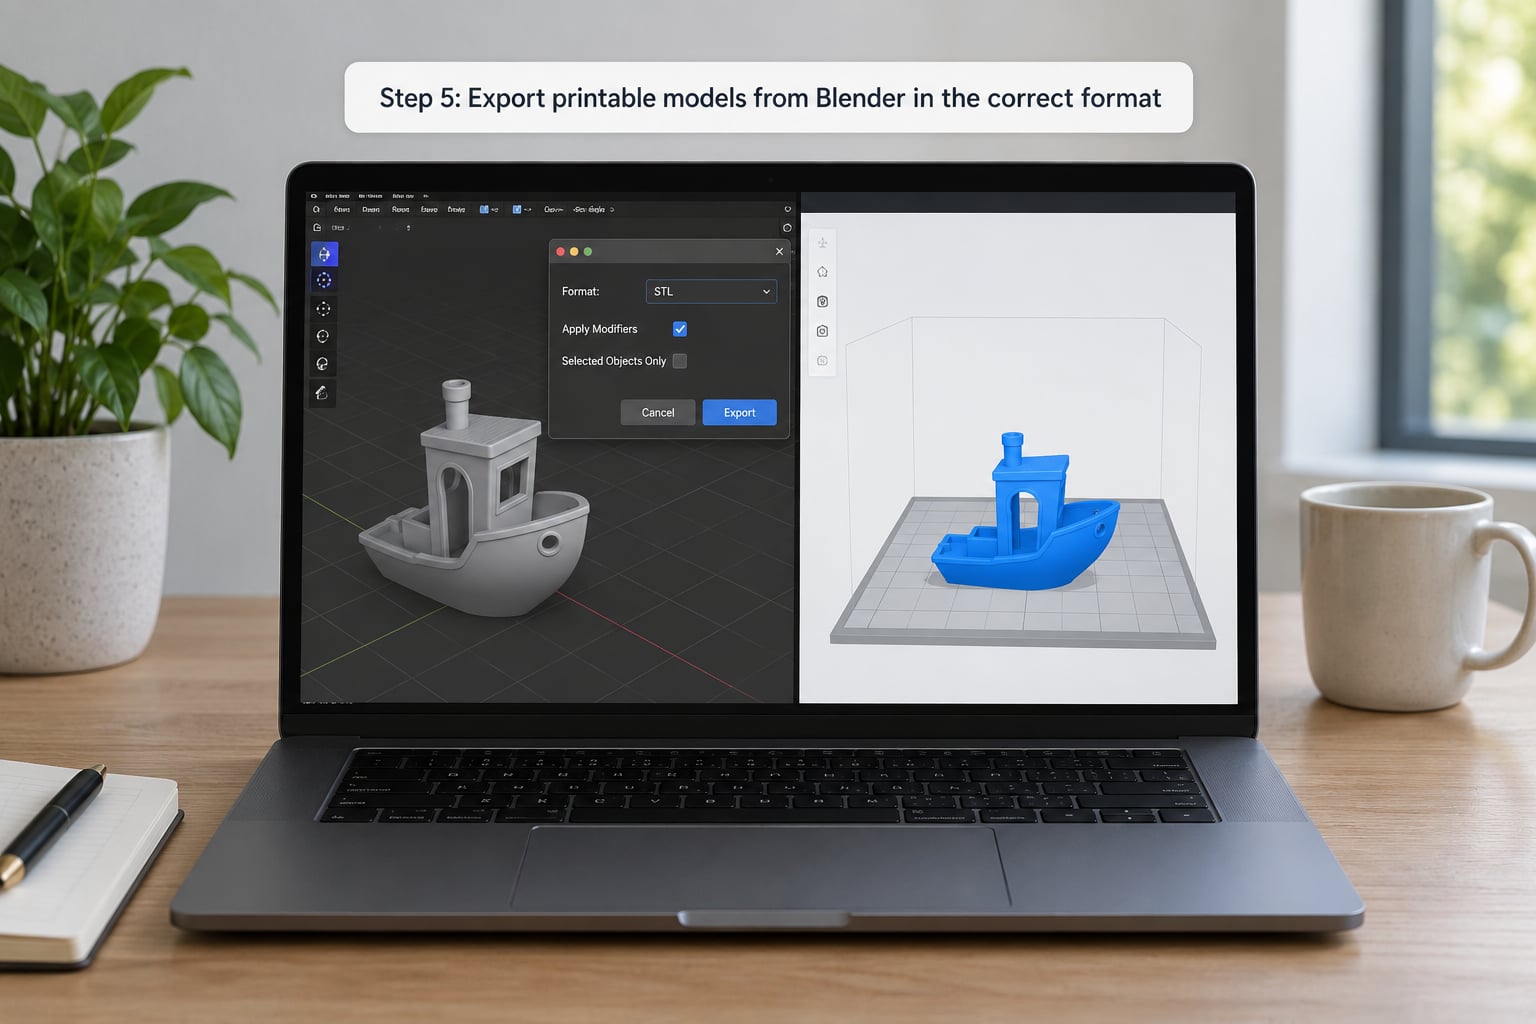
Go to File > Export. In Blender 4.x and 5.x the mesh entries sit near the top of that menu: Stl (.stl), Wavefront (.obj), 3D Manufacturing Format (.3mf), Collada (.dae) and Polygon (.ply). Pick your format and the export dialog opens with these settings:
| Option | What it does | What I tick |
|---|---|---|
| Apply Modifiers | Evaluates Subdivision, Solidify, Boolean and Decimate modifiers into the exported mesh | On, always |
| Apply Unit Scale | Writes geometry using your scene unit settings instead of raw Blender coordinates | On with Convention A |
| Transform Scale | A manual multiplier applied to the written coordinates | 1.0 with Convention A, 1000 with Convention B |
| Forward / Up | Which axes map to the target Y and Z. -Z forward and Y up is the standard for printing | Forward: -Z, Up: Y |
| Selection Only | Exports just the selected objects instead of the whole scene | On when the scene has one part to print |
| ASCII vs Binary | ASCII is a readable text file about six times larger; Binary is compact and faster to load | Binary, unless you are debugging |
Give the file a name that will still make sense in three months — part name, material, layer height, and a version number beats “untitled_final_2.stl”. Then confirm the export.
Step 6: Import the file into a slicer and verify it
Drag the STL or 3MF into Bambu Studio, OrcaSlicer, PrusaSlicer or Cura. Two checks matter before you touch any settings.
First, read the model’s bounding box in the slicer’s dimensions panel. It should match the real-world size you designed. Second, watch for repair messages — slicers silently patch small holes and tell you how many, and a model that needed fifteen automatic repairs is a model worth re-exporting.
Then orient it. The largest flat face goes down, sharp points go up, and details that would otherwise be overhangs rotate away from vertical. Slice a preview and look at the toolpaths: thin, floating or doubled walls show up there, not on the plate.
Step 7: Save a production-ready copy
Keep two files: the master .blend with all modifiers live and editable, and an exported copy in a separate folder for whatever you actually send to print. Name the exported file after the print orientation too, because the same mesh printed on its side is a different part in practice.
Write down the units convention, triangle count and orientation in a text file next to the export. Ten seconds of notes beats reconstructing why last year’s bracket came out 1.2 mm thick.
Common Mistakes
Fixing common Blender export problems
Nearly every bad print traces back to one of these rows:
| Symptom in the slicer | Cause | Fix |
|---|---|---|
| Model arrives 1000 times too small or too large | Blender’s default metre unit system, or Apply Unit Scale and Transform Scale fighting each other | Set Unit Scale to 0.001 with Apply Unit Scale on, or leave it at 1.0 and set Transform Scale to 1000 — never both. Verify with the 20 mm cube. |
| Dimensions are off by a round factor of 2.54 | Imperial scene units, or an inch-based dimension typed into a millimetre field | Switch the scene unit system to Metric and re-enter the size. |
| “Non-manifold geometry” warning | Open edges, more or fewer than two faces per edge, or a hole in the surface | Run 3D Print Toolbox > Check All, fix each flagged face, then Mesh > Normals > Recalculate Outside |
| Holes or gaps in the print | Thin walls below nozzle diameter, or a shell with no Solidify applied | Thicken the wall or add Solidify at 1 to 1.2 mm for FDM |
| Slicer treats the model as hollow or inside-out | Inward-facing normals | Edit Mode, A to select all, Mesh > Normals > Recalculate Outside |
| Exported file has no geometry at all | Selection Only was ticked with nothing relevant selected, or the object was hidden and excluded from the view layer | Re-export with Selection Only off, or select the object first and confirm it is visible in the outliner |
| File is hundreds of megabytes | A Subdivision Surface modifier at a high level, or a dense scan | Lower the viewport and render subdivision levels, or add a Decimate modifier set to Collapse |
| Missing fine detail in the print | Decimate applied too aggressively, or the detail sits on an unsupported overhang | Raise the decimate ratio, rotate the part, or add supports locally |
| Parts intersect when assembled | Separate meshes exported from the same file with zero clearance designed in | Design at least 0.2 to 0.3 mm clearance for FDM and 0.1 mm for resin, and measure before printing |
| Colour or texture missing after export | STL carries geometry only, no materials or vertex colour | Export 3MF for colour data, or split the model by material and print each part separately |
Quick tips for reliable 3D printing exports
- Build in millimeters, export in millimeters. One unit convention per project removes the entire category of scale bugs.
- Save a 20 mm calibration cube once. Export it whenever a project starts and compare. Most “the slicer is broken” moments turn out to be a changed setting.
- Never edit the exported file. Fix problems back in the .blend, or you will have two versions that disagree.
- Keep export presets. If your files always use the same options, save a preset in the export dialog rather than re-checking six boxes each time.
- Triangulate only when a target demands it. Blender’s exporters handle n-gons and quads; forcing triangles early makes the mesh harder to repair and rarely helps.
- Use ASCII once, for debugging. The text file shows the exact vertex and face counts, which makes an empty or truncated export obvious immediately.
- Version your .blend files. Blender saves break between major versions occasionally, and a print that took six hours should not depend on a file that may not reopen.
- Run the slicer preflight every time. Warnings about thin walls, overhangs or missing bed area cost nothing to read and catch design problems that never survive contact with a printer.
A note on colour, materials and multi-part models
Texture paint does not survive an STL export. That is not a bug — STL stores triangles and nothing else, no materials, no colours, no UVs. Users chase this one for weeks before somebody says it plainly: if your print is multi-colour, Blender’s STL is the wrong container.
Export 3MF instead, from the same File > Export menu. It carries vertex colours, material assignments, object names and multi-part metadata in a single packaged file, which is why slicers such as Bambu Studio and OrcaSlicer handle it well for multi-material and multi-colour prints. For very large assemblies, some slicers still prefer separate STLs per part.
OBJ with an MTL sidecar file is the other option and it does carry material names and base colours. The catch is packaging: the OBJ, the MTL and every referenced texture image must travel together in one folder with the same relative paths, or the material information is dropped on arrival. Zip the folder rather than uploading loose files.
To print an assembly in separate colours, the straightforward approach is to duplicate the model once per material, delete or hide everything that does not belong to that material, and export each one as its own file. Boolean union merges geometry but not colour, so it is not a shortcut here.
Printing at home versus sending to a print service
The export itself barely changes, but the acceptance criteria tighten. Home printers forgive a lot — your slicer will repair small holes, and you can reorient freely. Print services run automated preflight and reject files outright.
Most services want a closed solid, metric units, parts that touch the build plate rather than floating in space, and a tolerance of at least 0.5 mm on mating faces. They also often prefer millimetres because their quoting software reads them that way. State the real-world dimensions in your upload notes; it prevents the single most common rejection, a part that arrived at 1000 times the intended size.
Blender is a good tool for organic shapes, figurines, cosplay props and quick prototypes. For press fits, thin-wall enclosures and anything that must stay parametric after an edit, a CAD tool is the right choice — Blender gives you no constraint history, and a fit that works today breaks the next time you move a vertex.
Frequently Asked Questions
Can Blender export models for 3D printing?
Yes. Blender exports STL, OBJ and 3MF from the File Export menu, and every one of those files can be sliced for FDM or resin printing. Blender cannot send a file straight to a printer: the export must be loaded into a slicer such as Bambu Studio, OrcaSlicer, PrusaSlicer or Cura, which converts the mesh into toolpaths. STL is the safest default, and 3MF is the better choice when your print needs colour or multiple parts.
Should I export STL or 3MF from Blender?
Export STL for ordinary single-colour parts, because every slicer reads it and nothing can go wrong with the format. Choose 3MF when the print is multi-colour, needs specific material assignments, or contains several parts that must stay together, since 3MF stores colour, names and part metadata in one packaged file. Blender exports 3MF from File Export 3D Manufacturing Format, and the geometry is identical either way.
Why is my exported STL the wrong size?
Almost always because Blender’s default scene unit system treats one Blender unit as one metre, so a part modelled at 20 units exports as 20 metres. Set Properties Scene Units to Metric with Unit Scale 0.001 and leave Apply Unit Scale ticked at export, or keep the default 1.0 and set Transform Scale to 1000 instead. Do not use both. Confirm with a 20 mm test cube before exporting the real part.
How do I orient a model before exporting it?
Rotate it in Blender while you still have the viewport, placing the largest flat face flat on the Z = 0 plane and turning sharp points upward. Rotation is applied with Ctrl+A Rotation and Scale so the exported axis orientation is predictable. In the export dialog keep Forward set to -Z and Up set to Y, which is the standard printing convention. Orientation decided in Blender is far easier to change than an import rotation inside a slicer.
Can I 3D print a model made in Blender?
Yes, as long as the mesh is a closed, watertight solid with a minimum wall thickness your printer can actually lay down — roughly two perimeters wide for a 0.4 mm nozzle. Run the 3D Print Toolbox add-on from the sidebar and press Check All before exporting, then fix anything it flags. Blender is a strong choice for organic forms, props and prototypes, while precision mechanical fits are usually better handled in CAD.
Conclusion
Start with the mesh, not the export button. Run 3D Print Toolbox > Check All and clear every flagged face, decide on one unit convention and prove it with a 20 mm cube, then export through File > Export > Stl (.stl) with Apply Modifiers and Apply Unit Scale set. Load the result into your slicer, read the dimensions, and only then start looking at layer height and infill.